Monthly Craft:
March 2025
Spring ‘Fun Flap’ Card
This card was inspired by: Easy Spring Card (YouTube, 7:31)
This page is available at:
https://onemathematicalcat.org/Crafts/March2025_SpringCard.htm
Print it out for card-making!
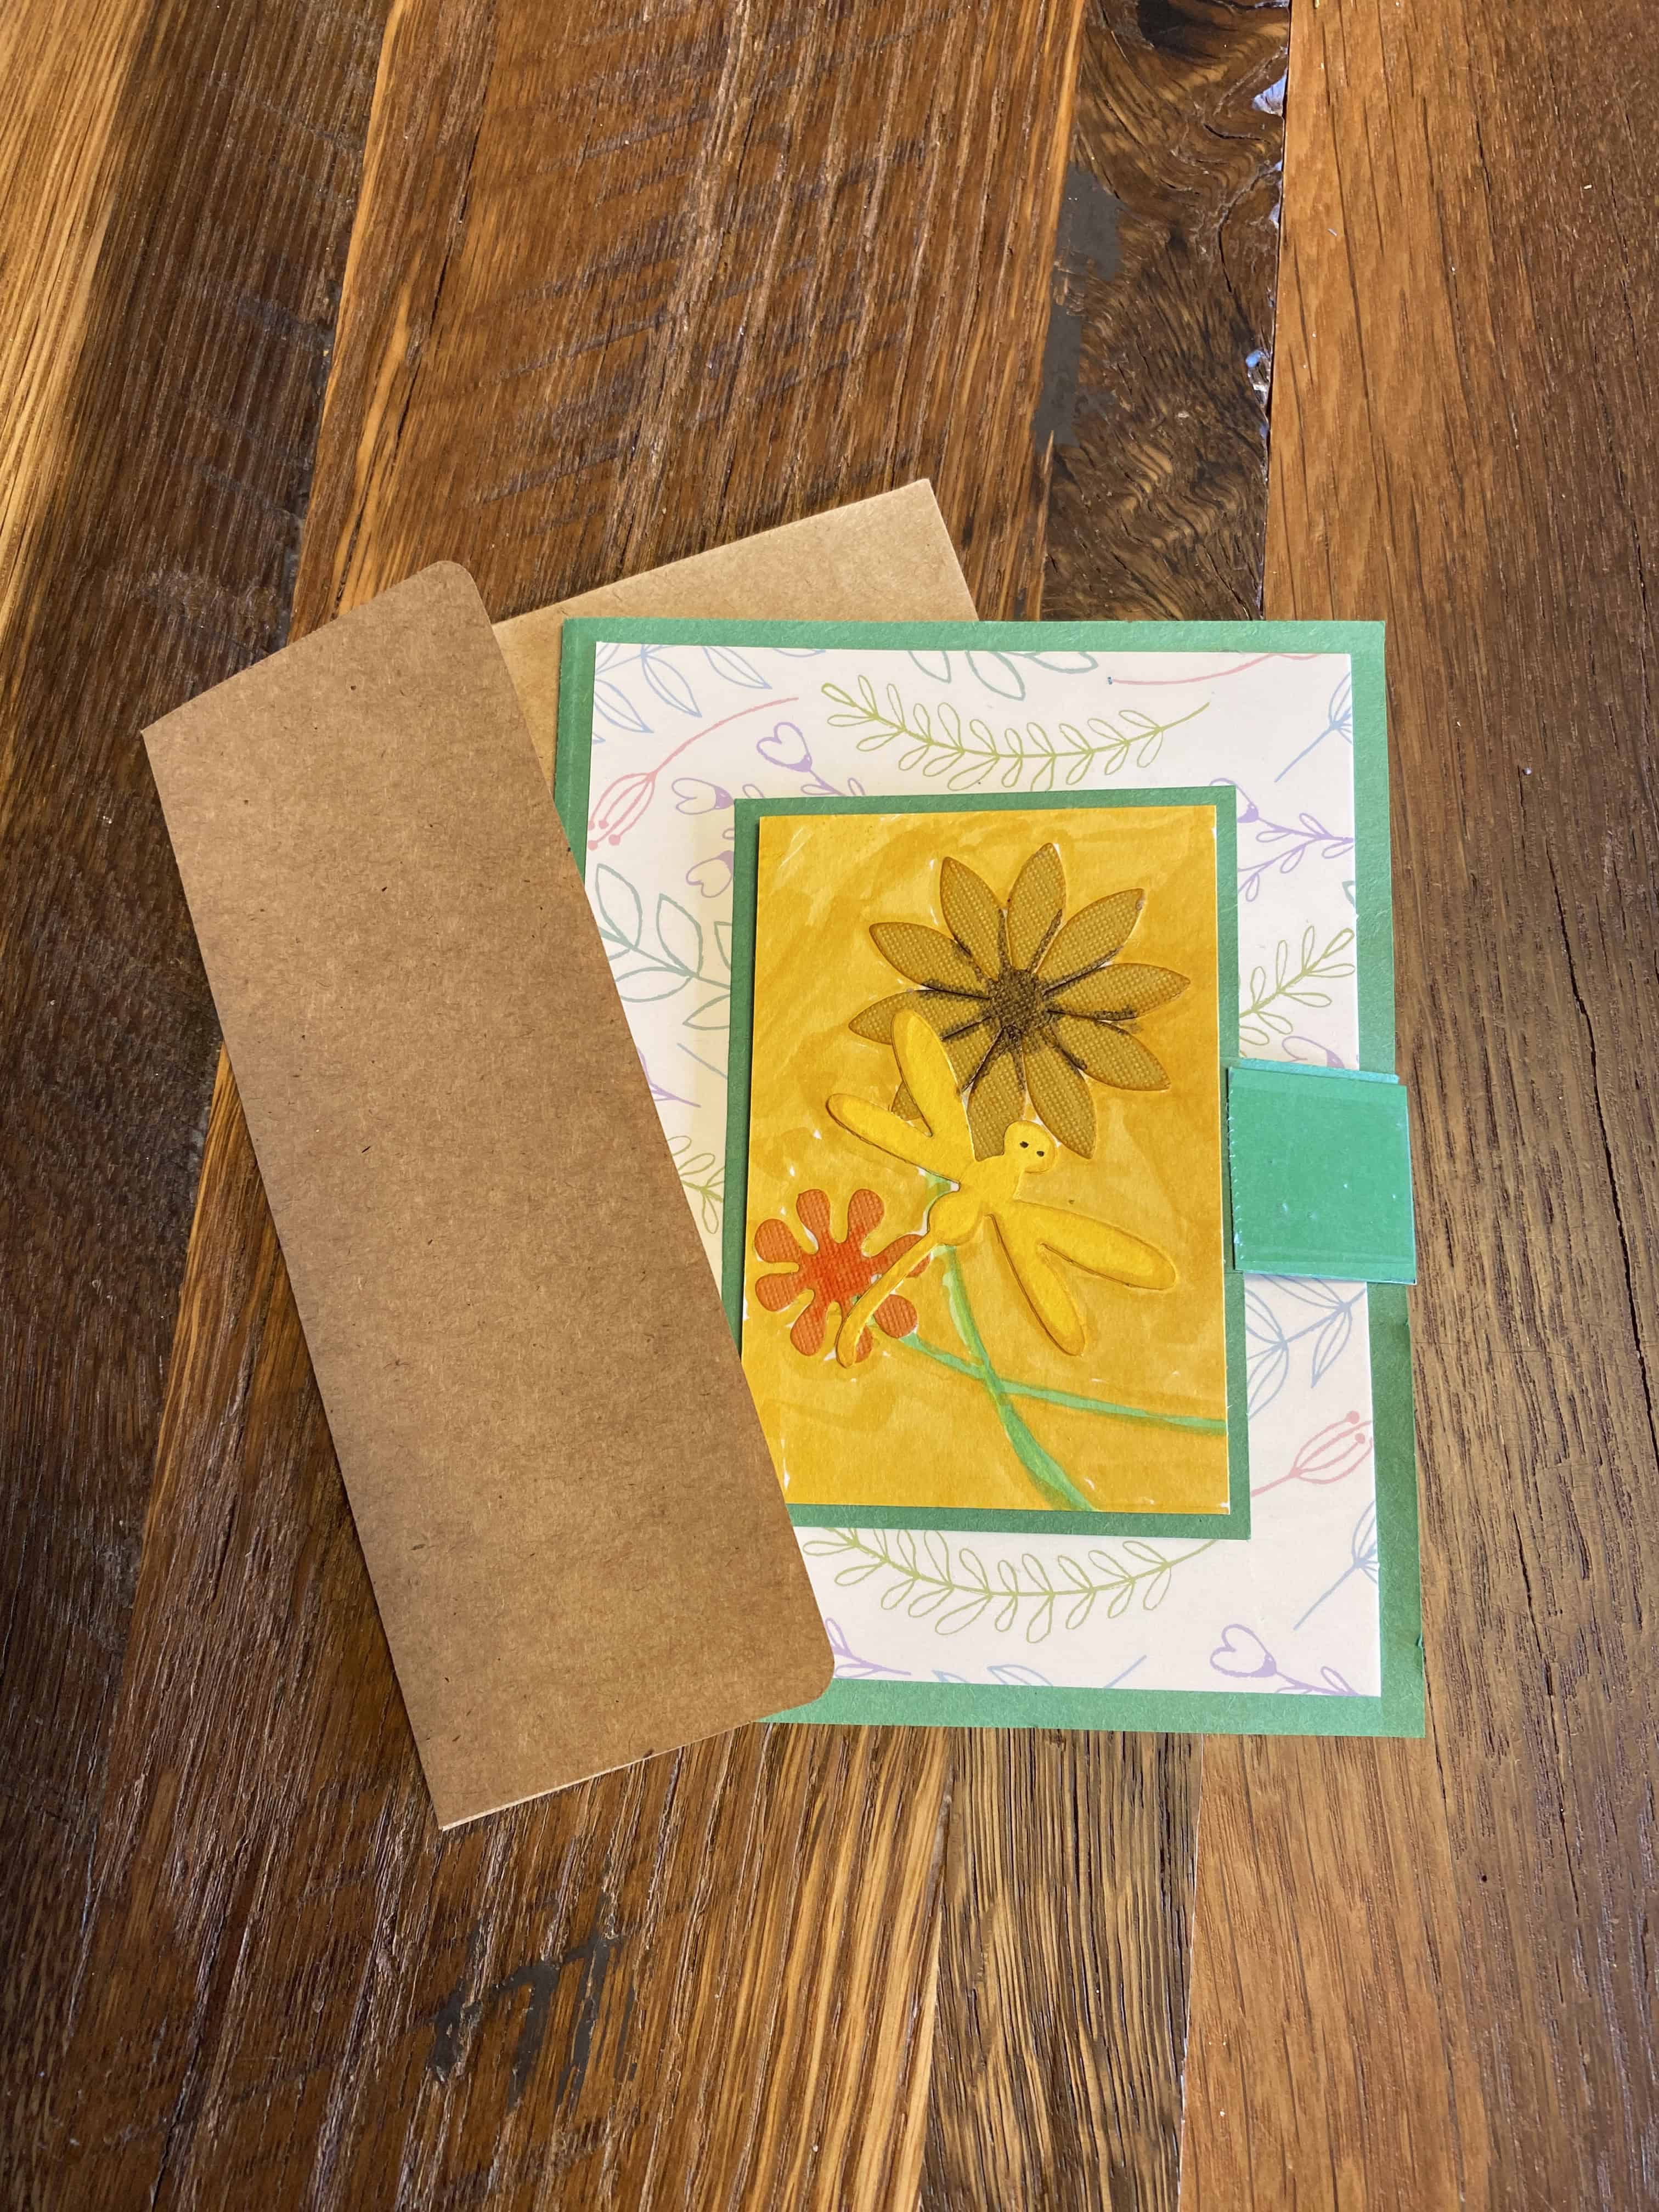
The finished card is $\,4\frac 14\text{in}\times 5\frac 12\text{in}\,,$ and fits in a standard A2 envelope
Three different grass dies, cut from different paper and layered, add depth; a stamped Spring message with embossing powder adds sparkle
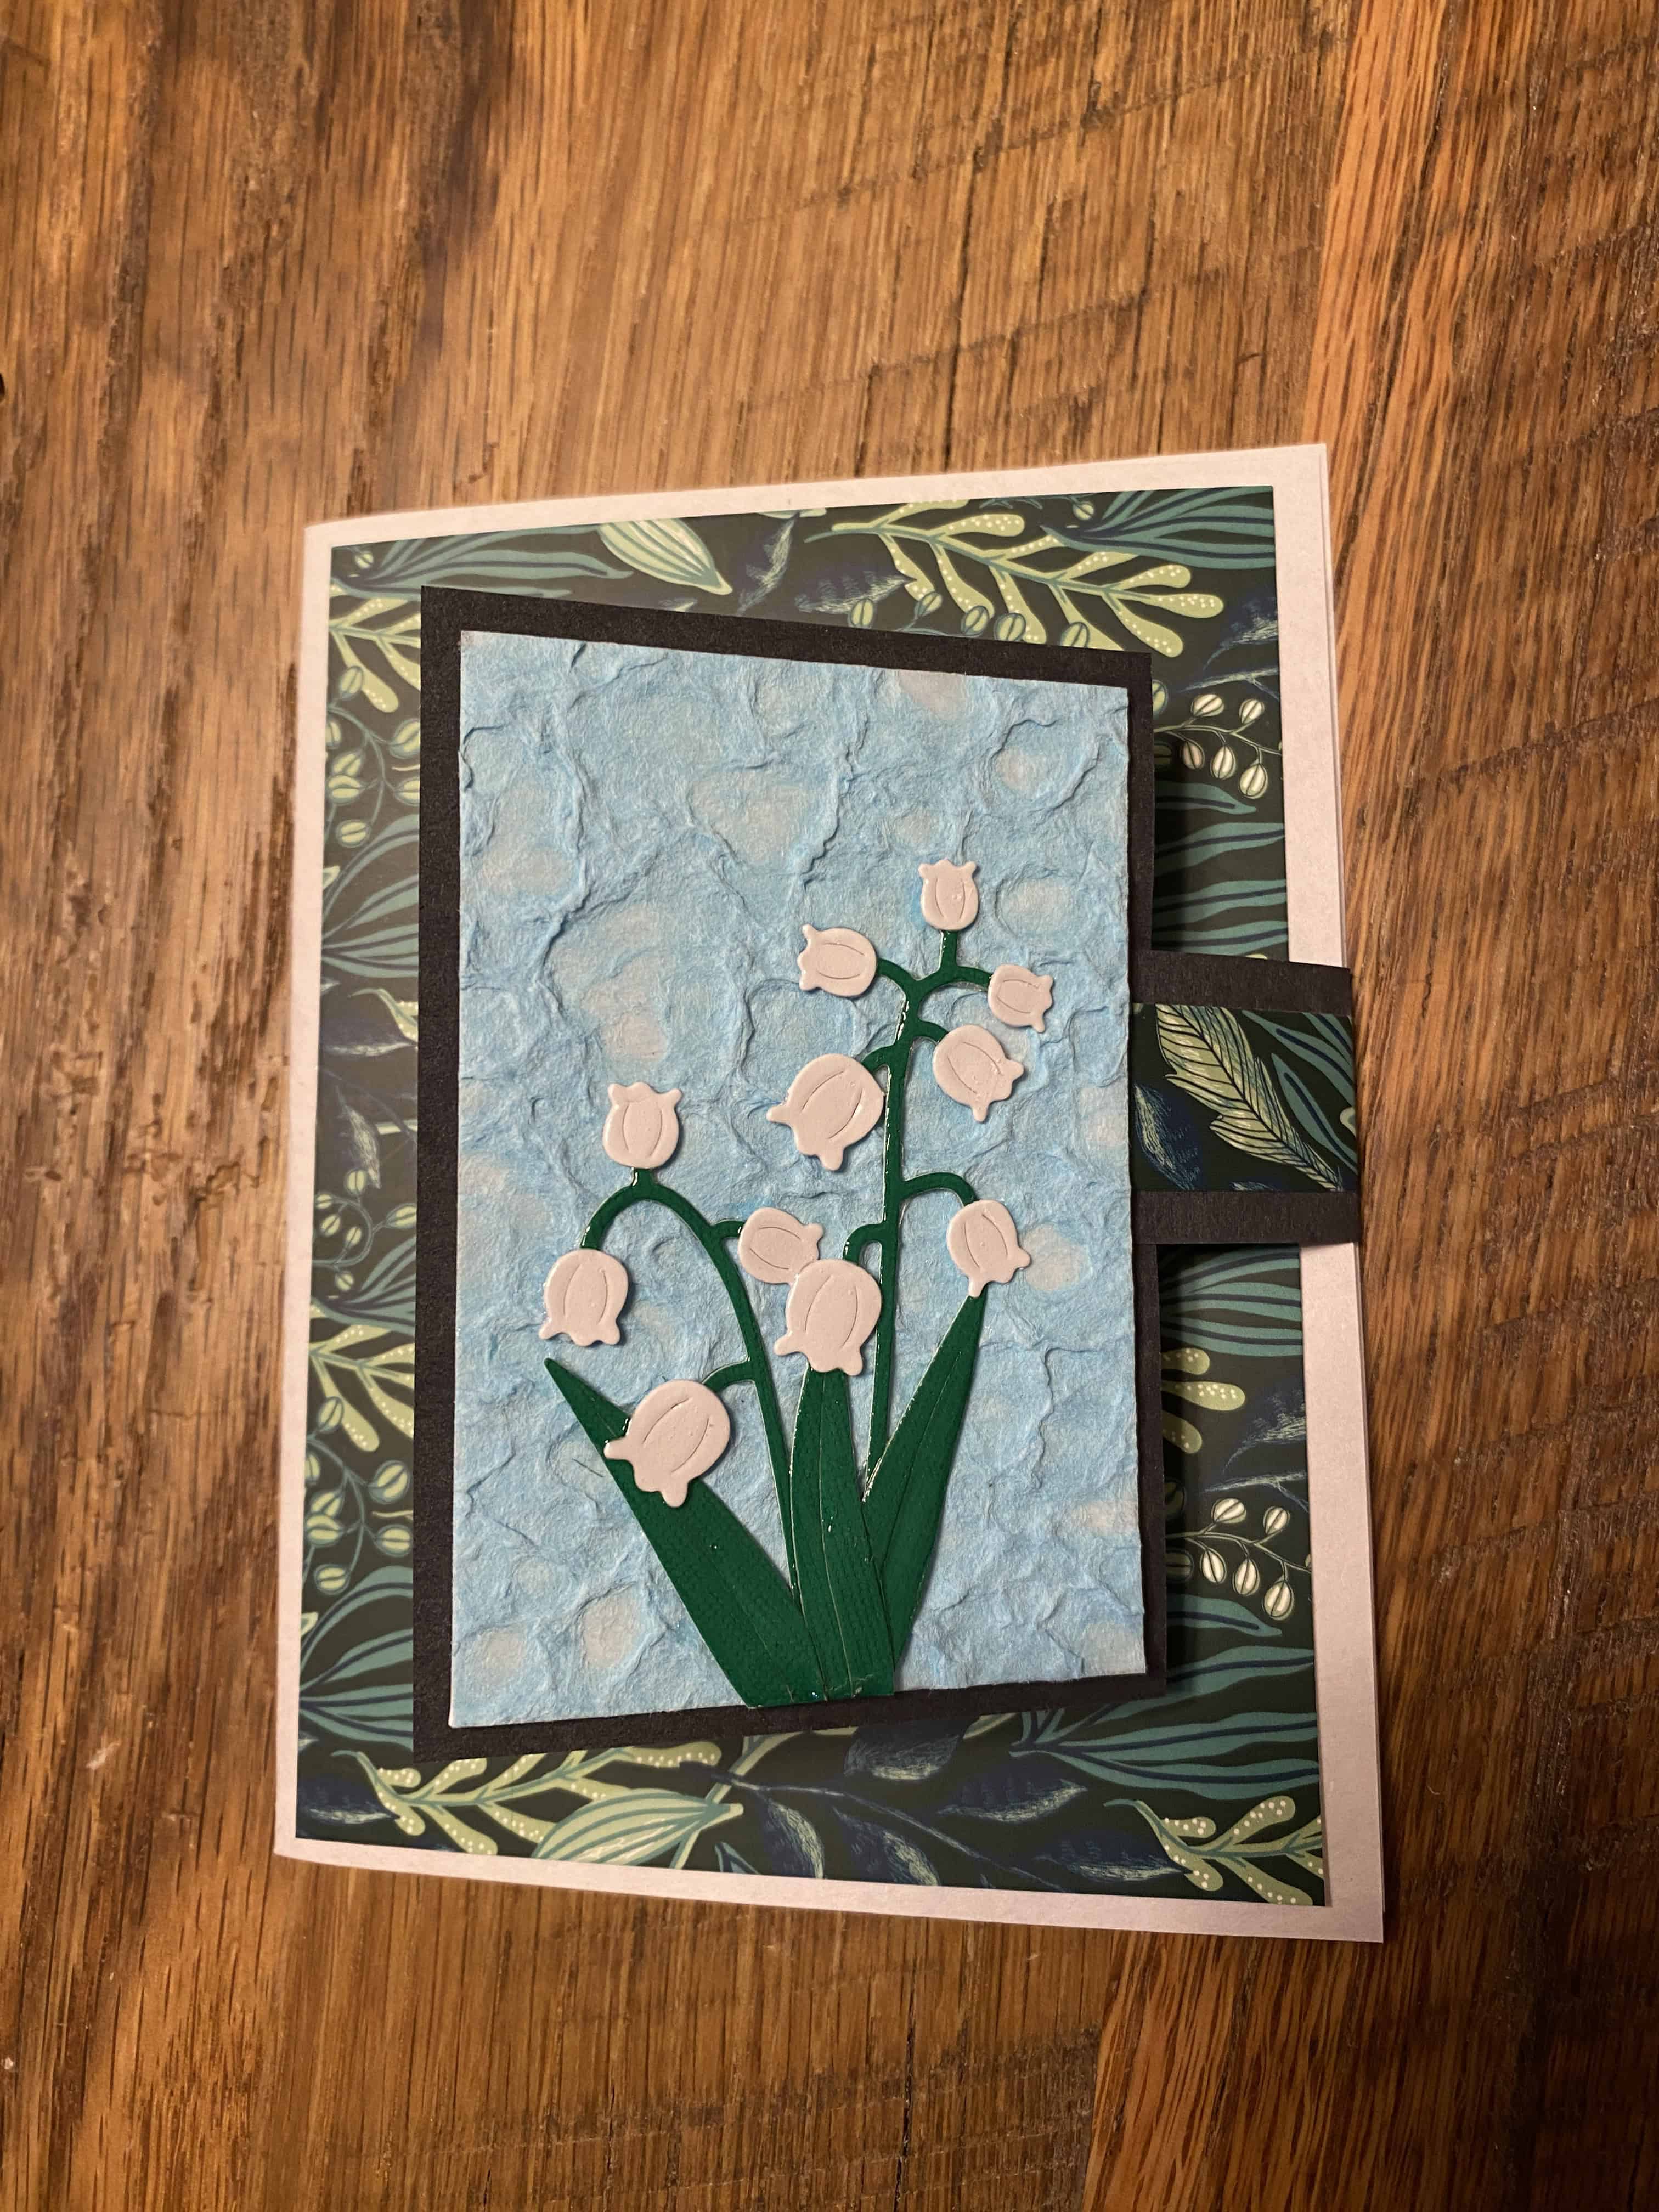
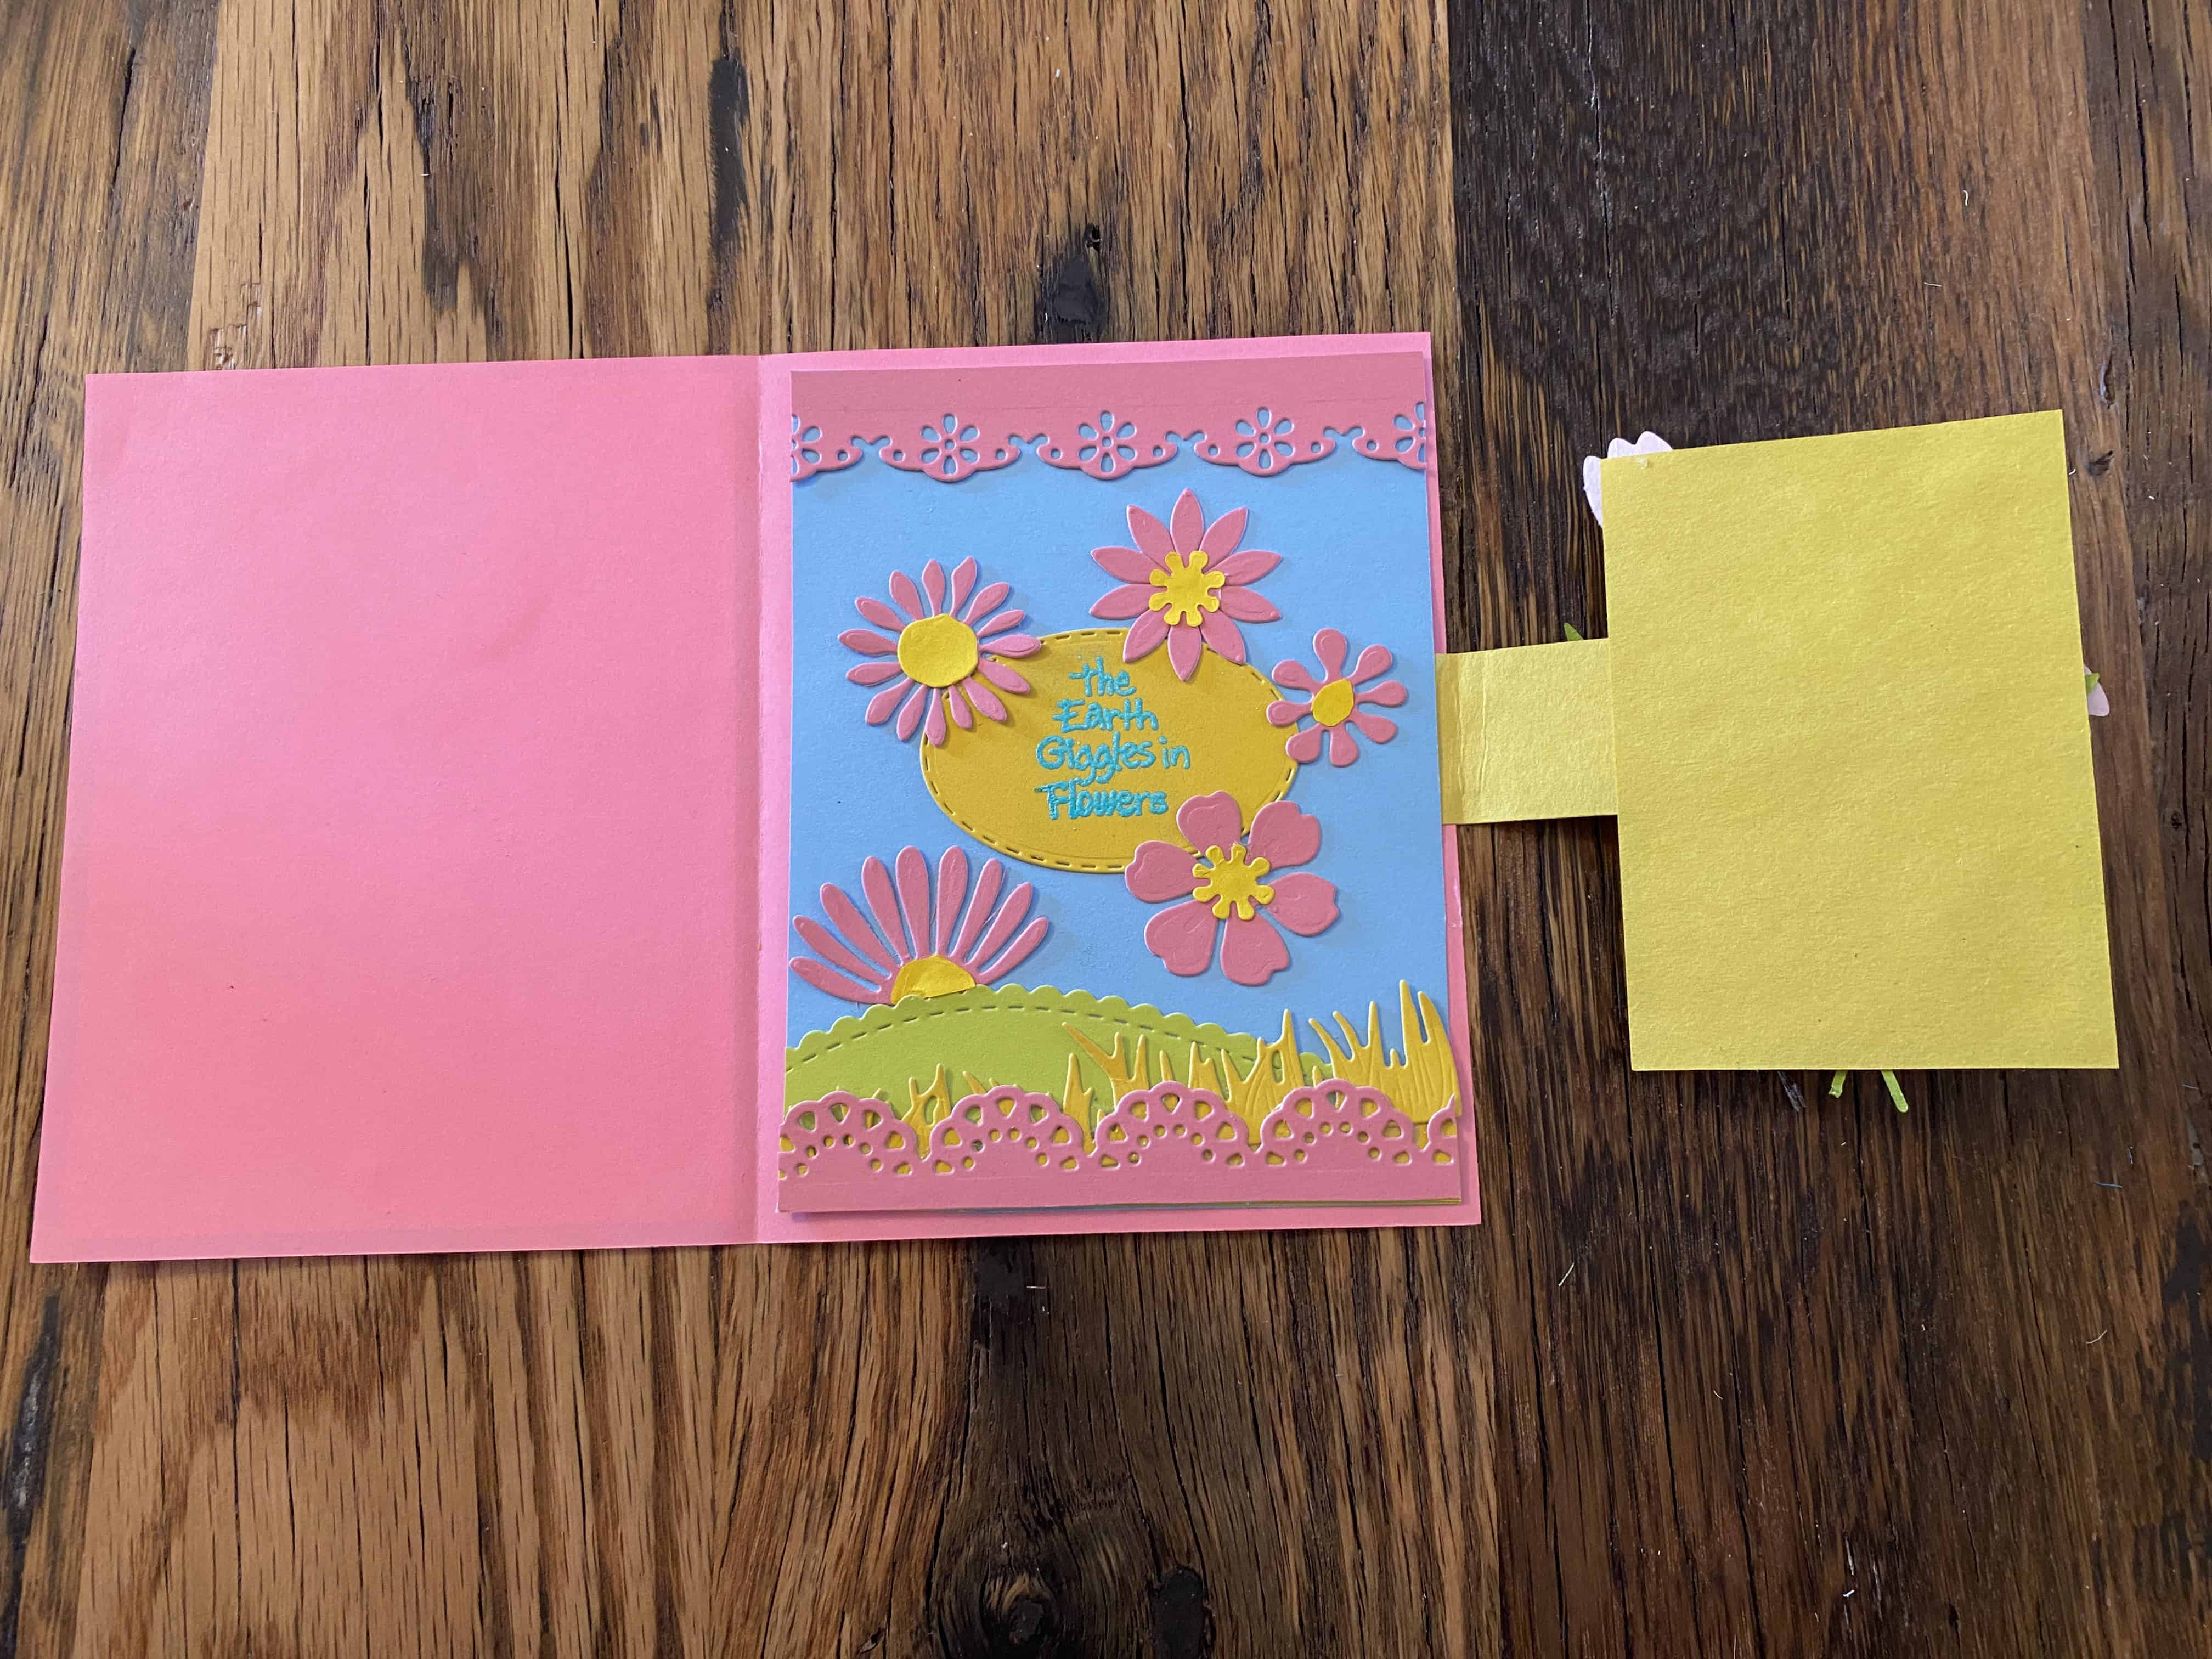
So many variations are possible!
Both of these variations used this Tulips and Trumpet Blossoms die cut.

Names for the Pieces
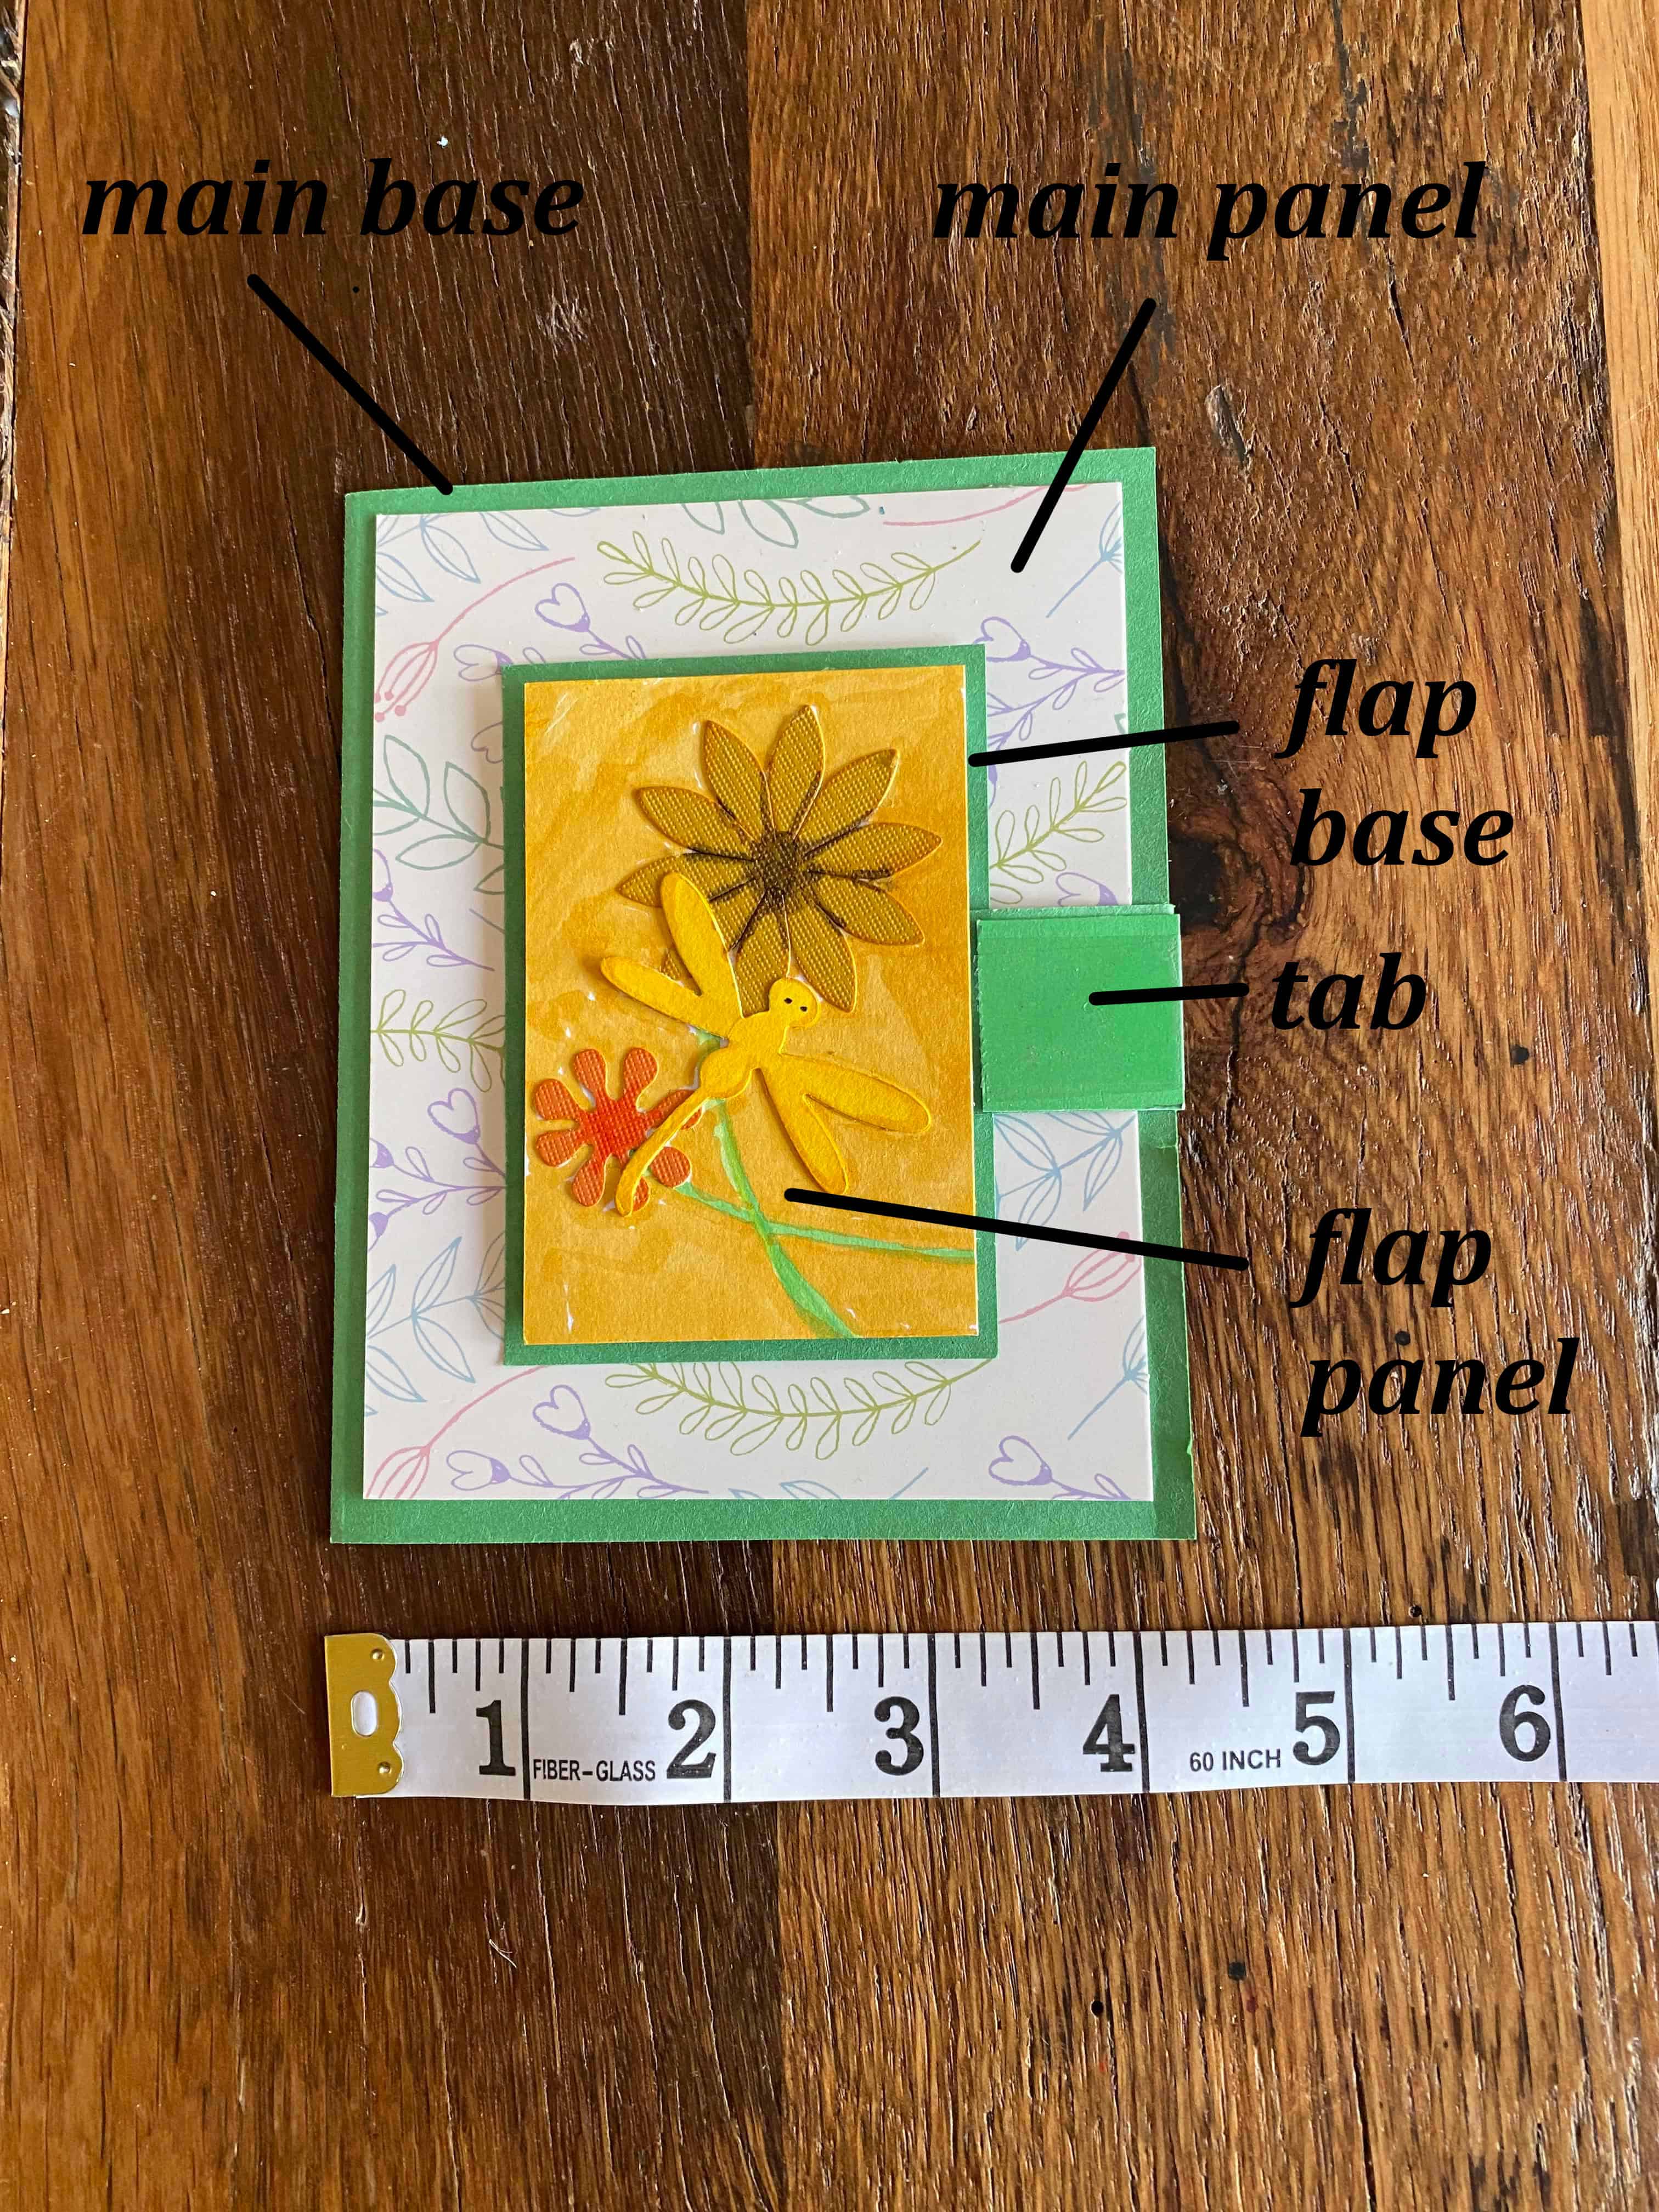
You can use either cardstock or construction paper for the pieces, depending on what you have.
I made another (different) card for the remaining photos in these instructions!
Step 1: Choose a Spring-Themed Design for the Main Panel
I bought this set of 24 blank (4in x 6in) cards, but you can use any decorative paper.
If you use the cards, then you get both the main panel and inner panel from the front/back of the card. The $\,4\text{in}\times \frac34\text{in}\,$ piece that is cut off to get the correct size can be used as the tab!
- Main Panel (decorative): $\,4\text{in}\times 5\frac14\text{in}$
Step 2: Choose Coordinating Color for the Main Base, Flap Base, and Tab
Choose a color that looks good with your decorative main panel. Cut rectangles:
-
Main base (half of an $\,8\frac12\text{in}\times 11\text{in}\,$ sheet):
$\,8\frac12\text{in}\times 5\frac12\text{in}$
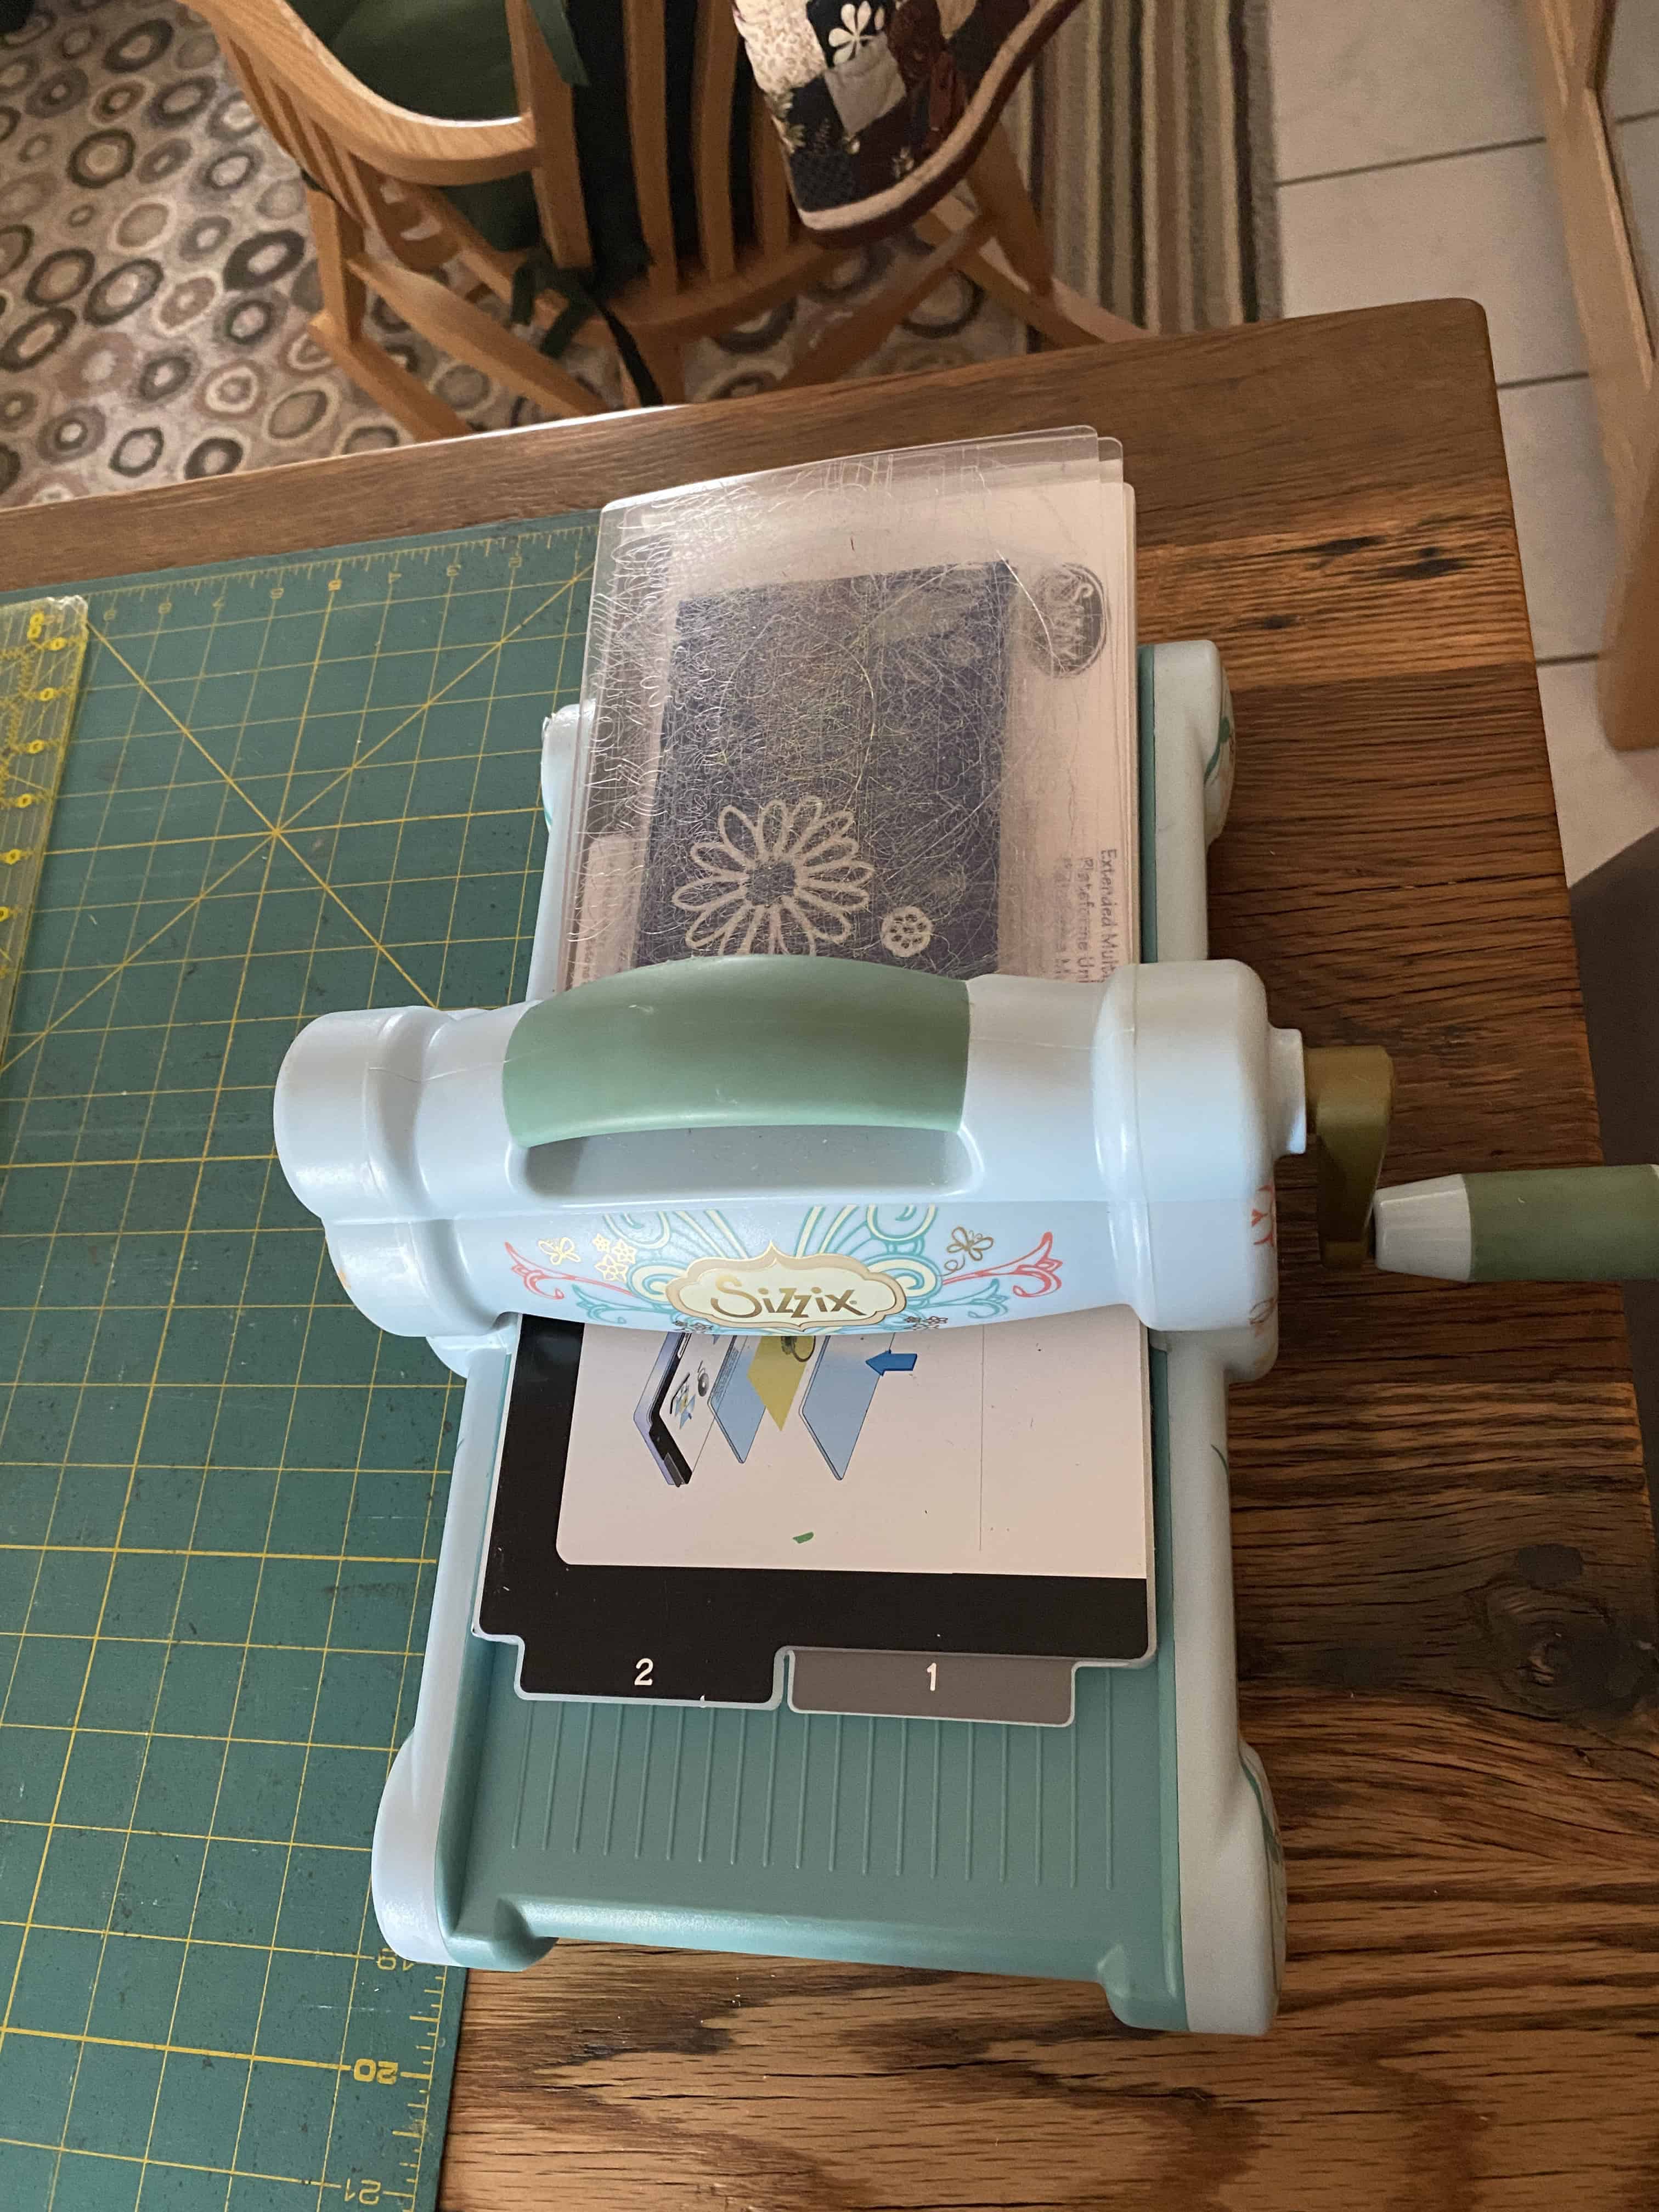
Score in half, using my Scor-pal, parallel to the shorter edge. Then, fold in half (away from you) along the scored line, and crease.
Compare with the dimensions of the main panel: when the main panel is centered over the front of the main base, a $\,\frac18''\,$ border will peek out on all sides!
- Flap base: $\,3\frac58\text{in}\times 2\frac 12\text{in}$
-
Tab: approximately $\,5\frac12\text{in}\times 1\text{in}$
Both the length and width can vary slightly; use different paper, as desired.
Score in center (parallel to short edge); fold away; crease.
Step 3: Cut Flap Panel and Inner Panel
Use white cardstock:
-
Flap panel: $\,3\frac38\text{in}\times 2\frac14\text{in}$
Compare with the dimensions of the flap base: when the flap panel is centered over the flap base, a $\,\frac18''\,$ border will peek out on all sides!
-
Inner panel: $\,5\frac14\text{in}\times 4\text{in}$
(If you're using a blank card, then you already have this piece done!)
Step 4: Adhere Main Panel to Front of Main Base
Use a double-sided tape roller.
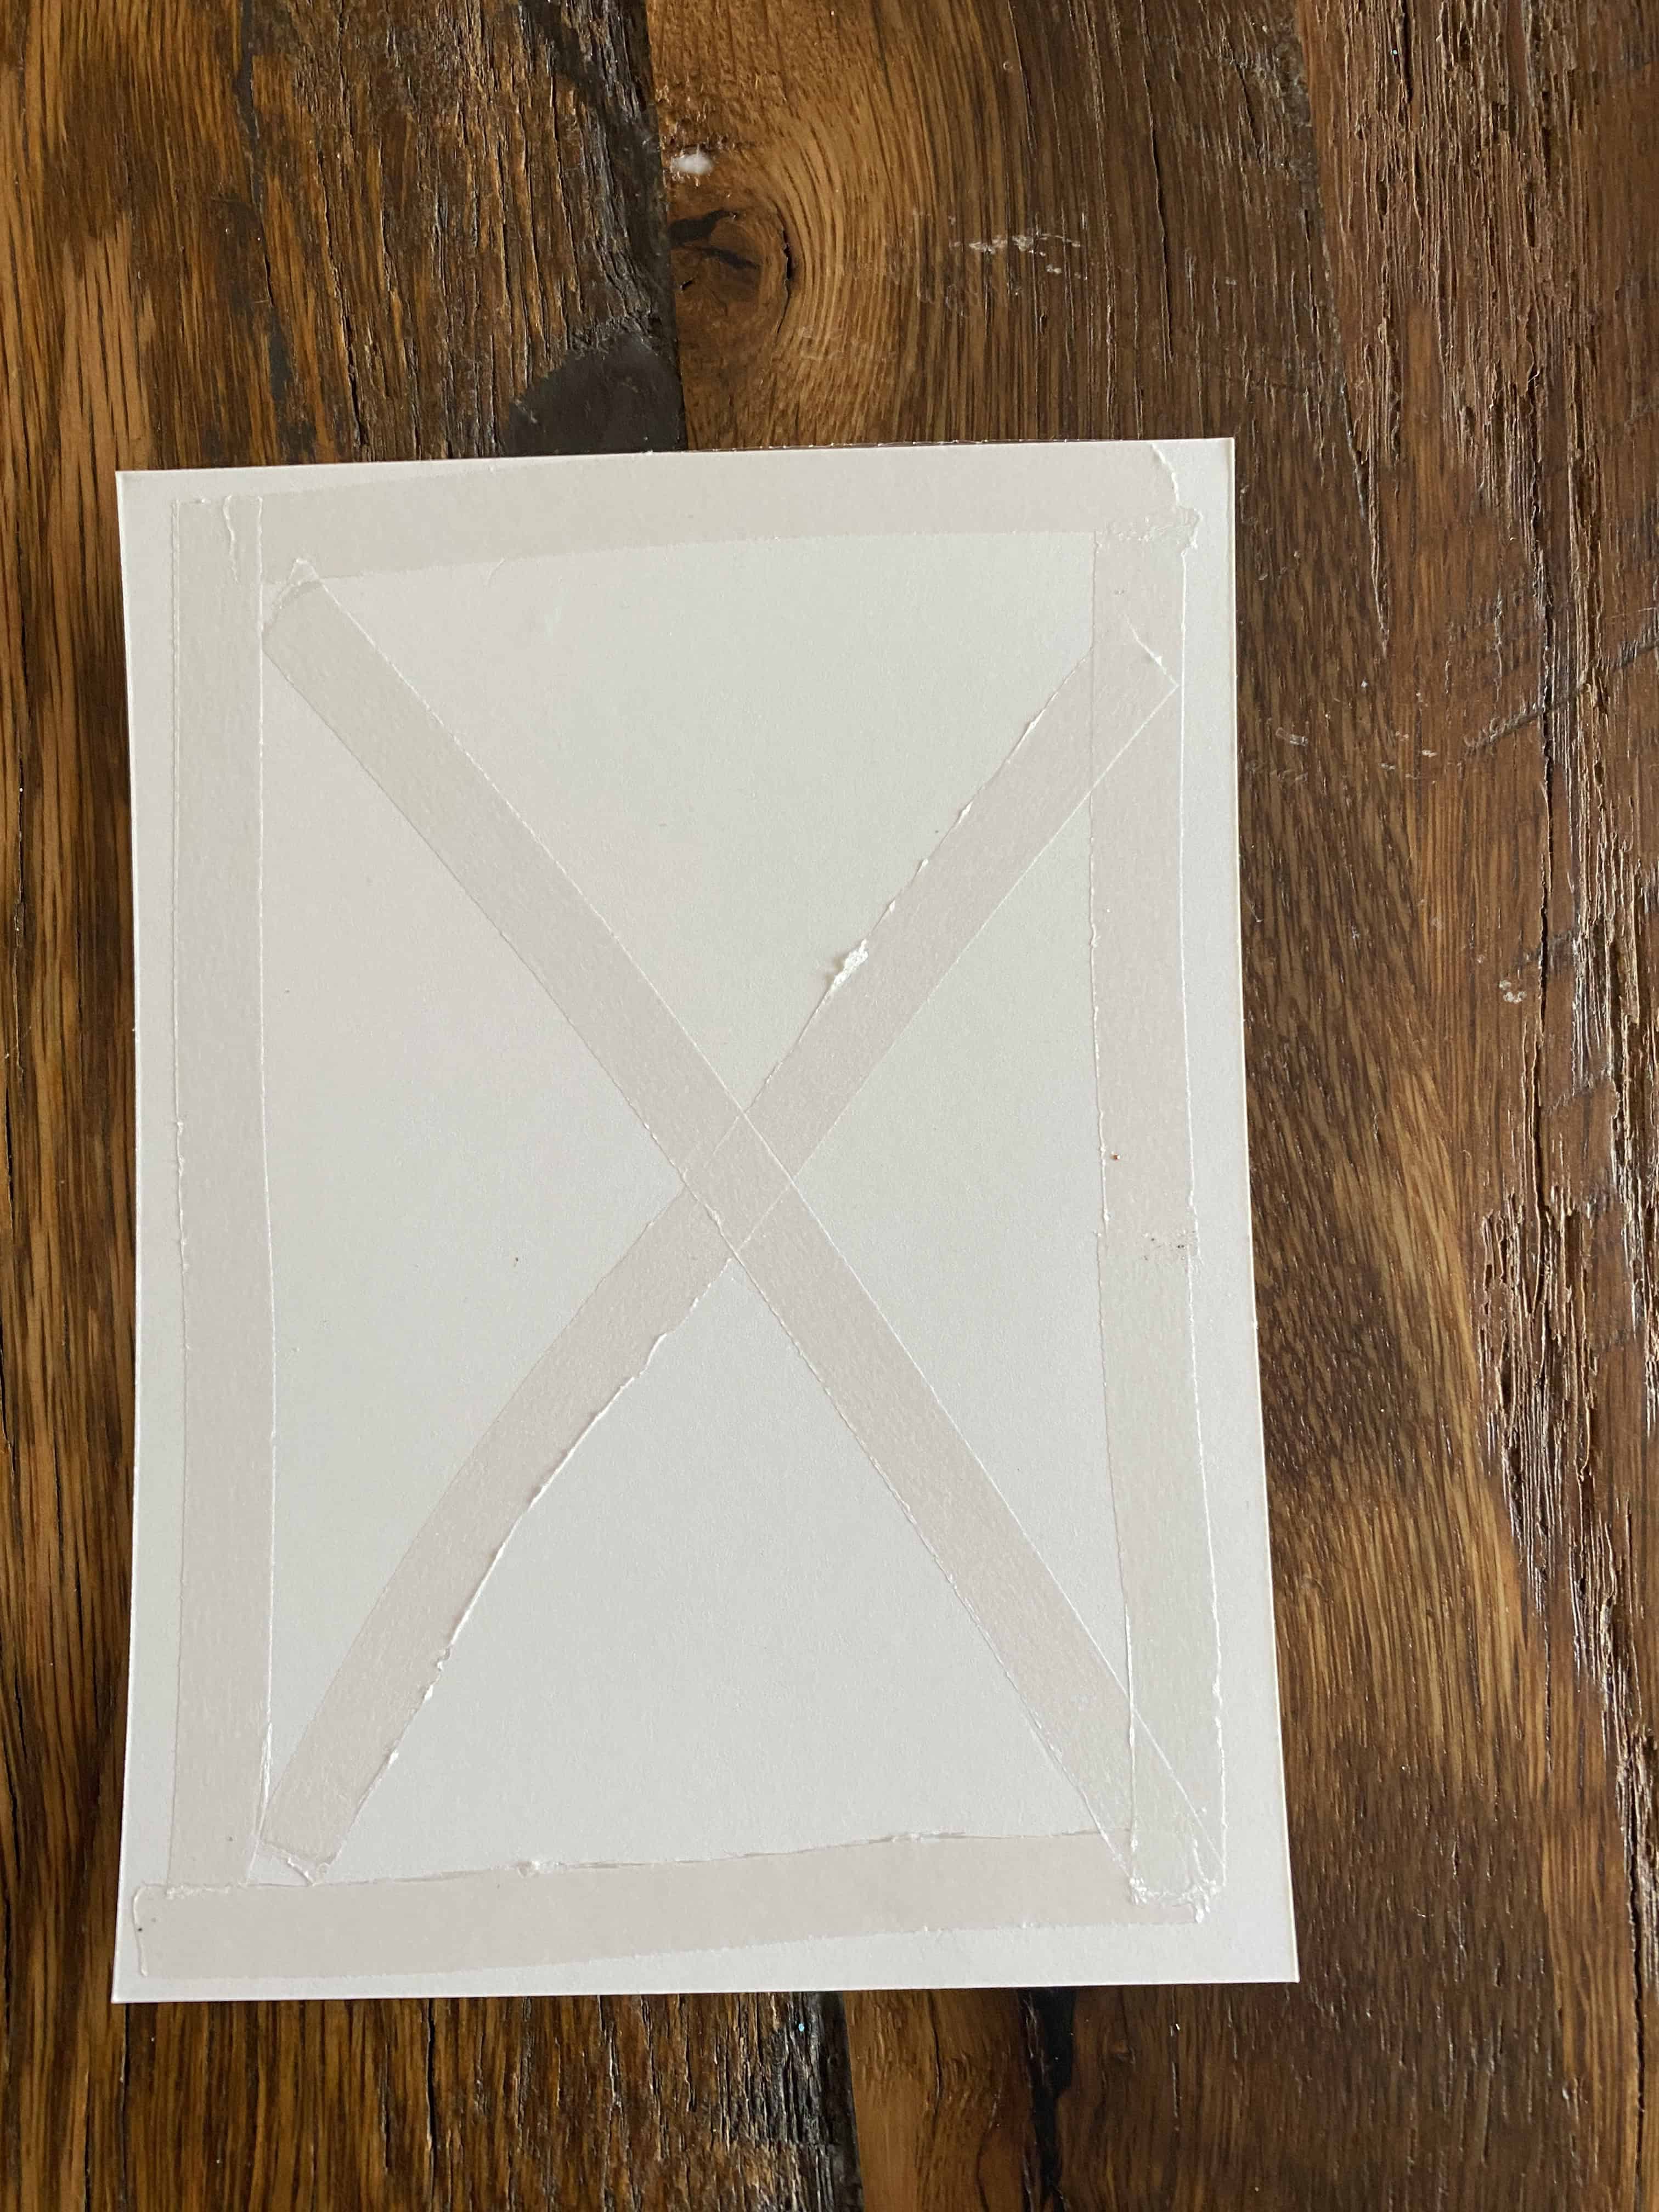
Back of (decorative) main panel: put a strip of adhesive close to all four edges, and then a big ‘X’ in the middle
Center nicely on front of main base
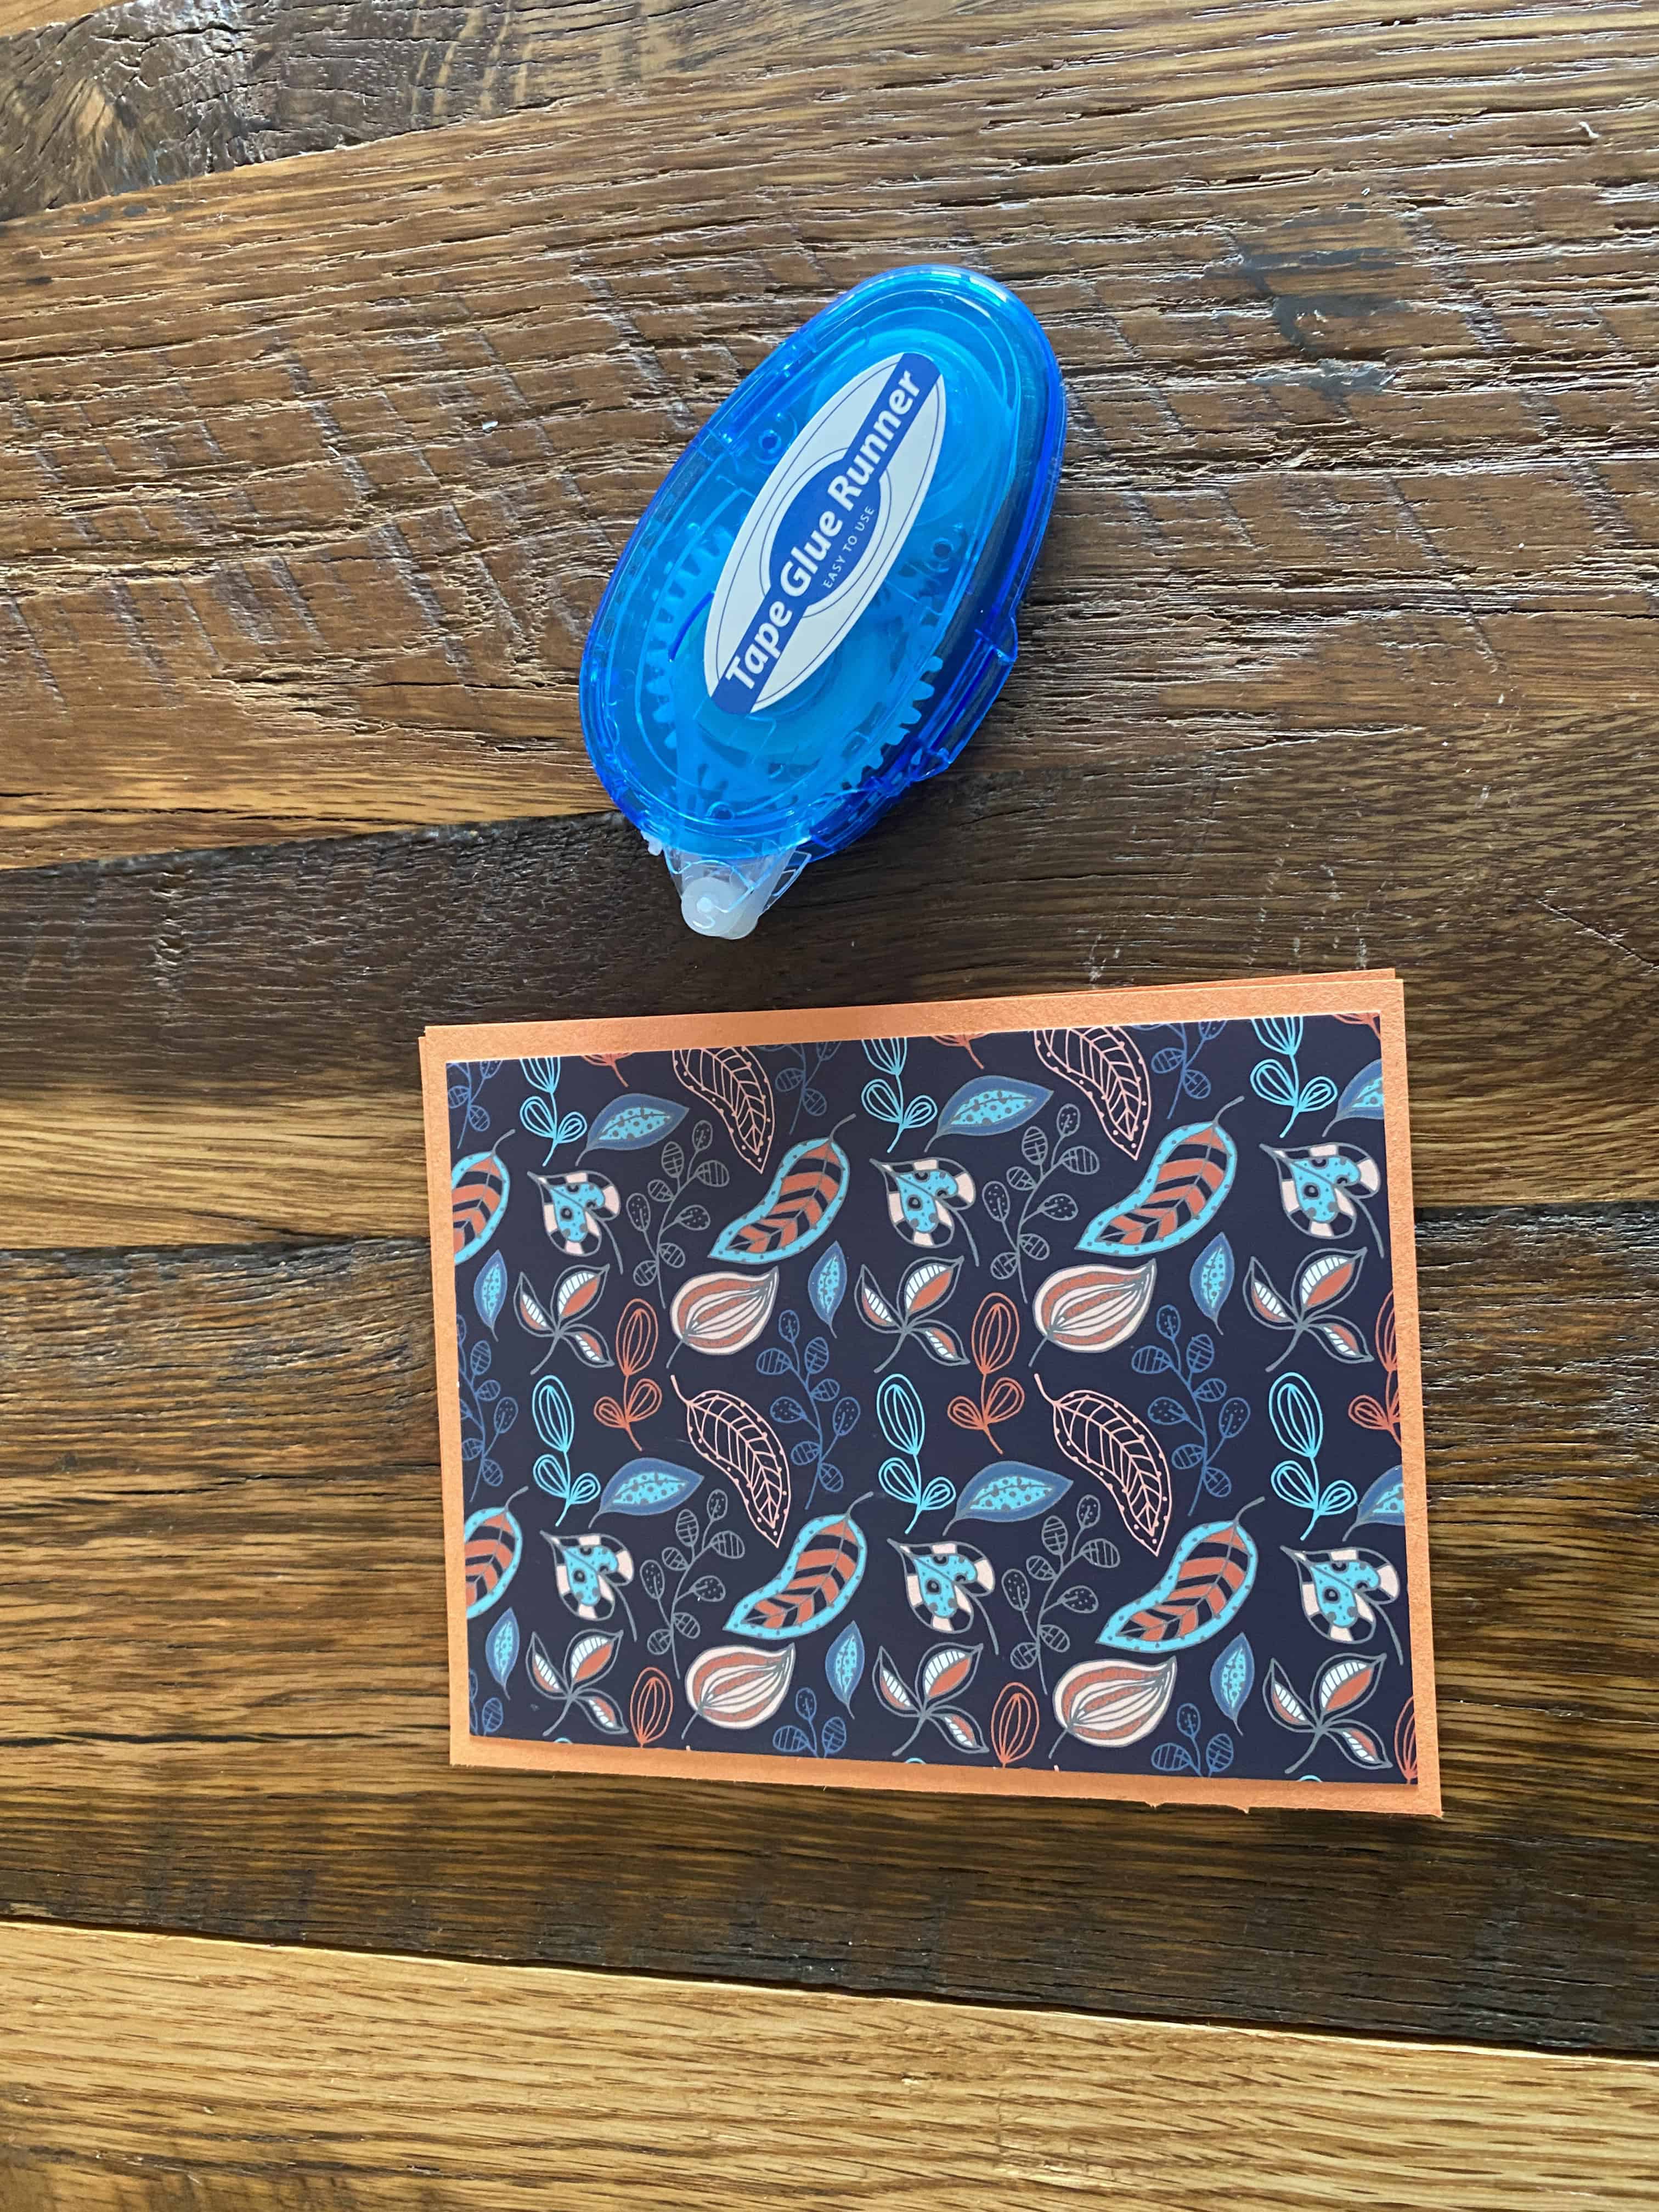
Using an adhesive tape roller makes it super easy!
Step 5: Adhere Tab to Inside of Card
For added interest, I decided to make a layered tab, using both the decorative and base paper! Notice that they're different lengths—that doesn't matter—those ends will be hidden on both the inside and outside.
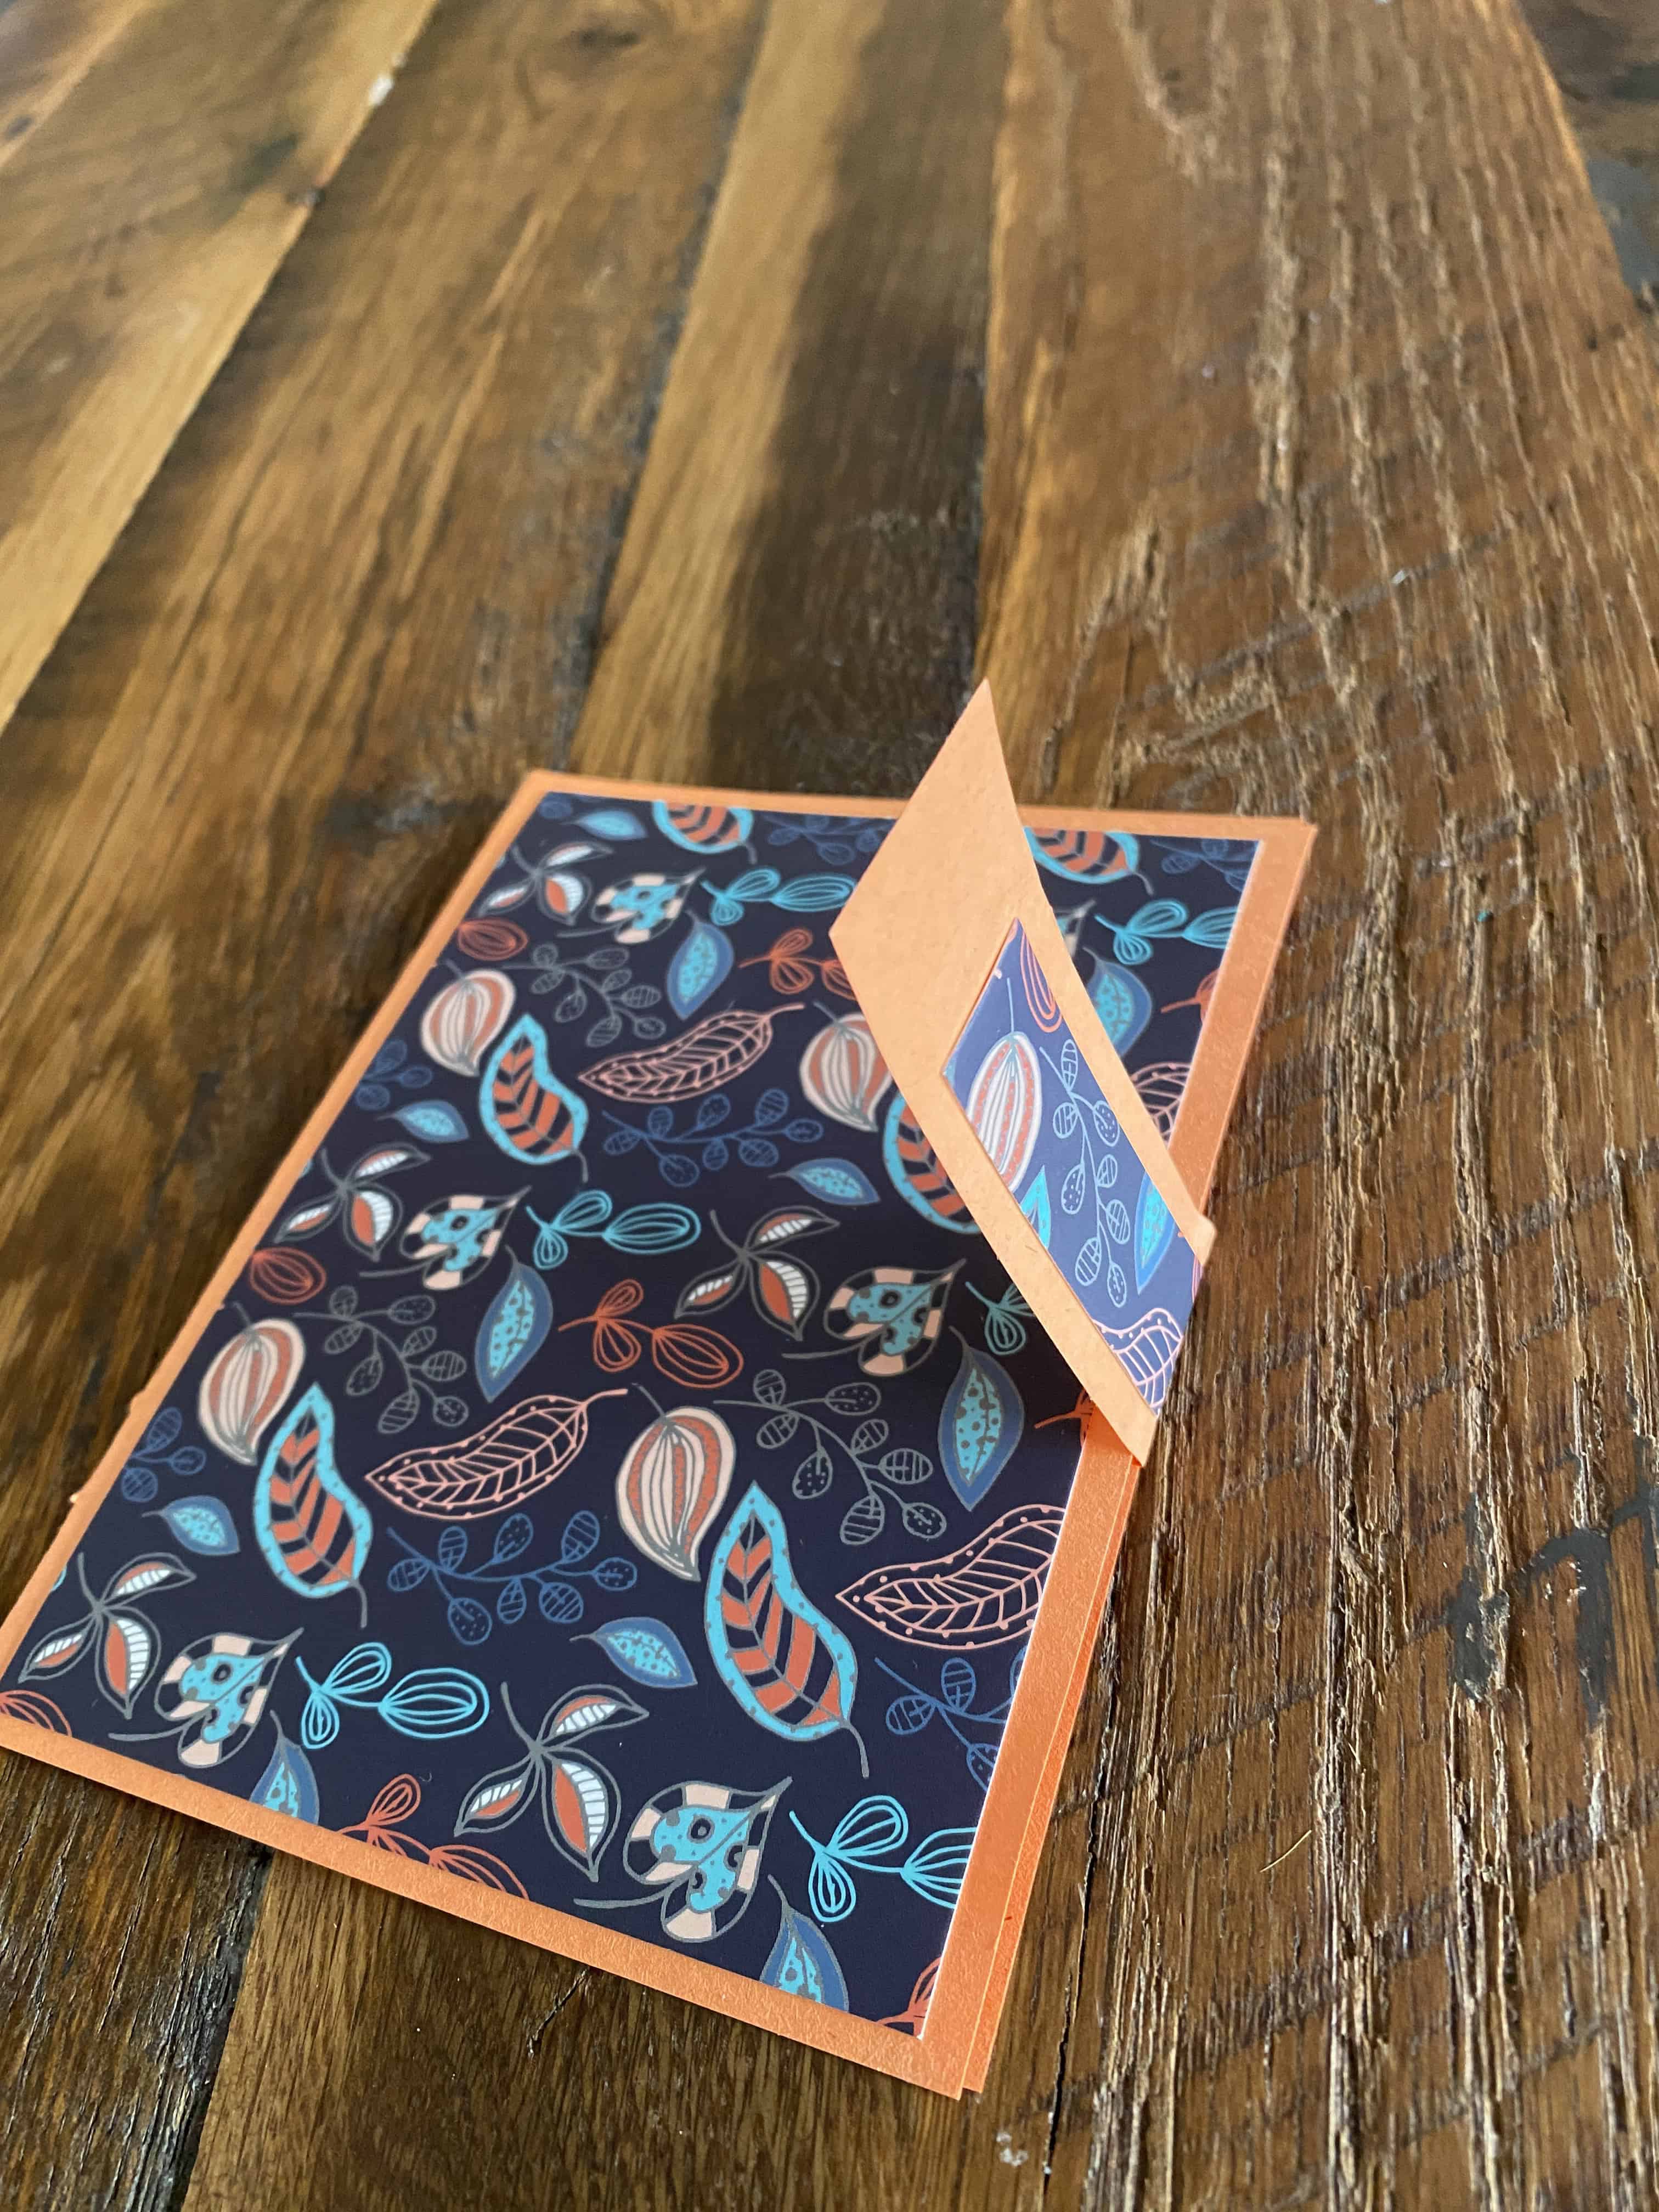
Center the tab as shown
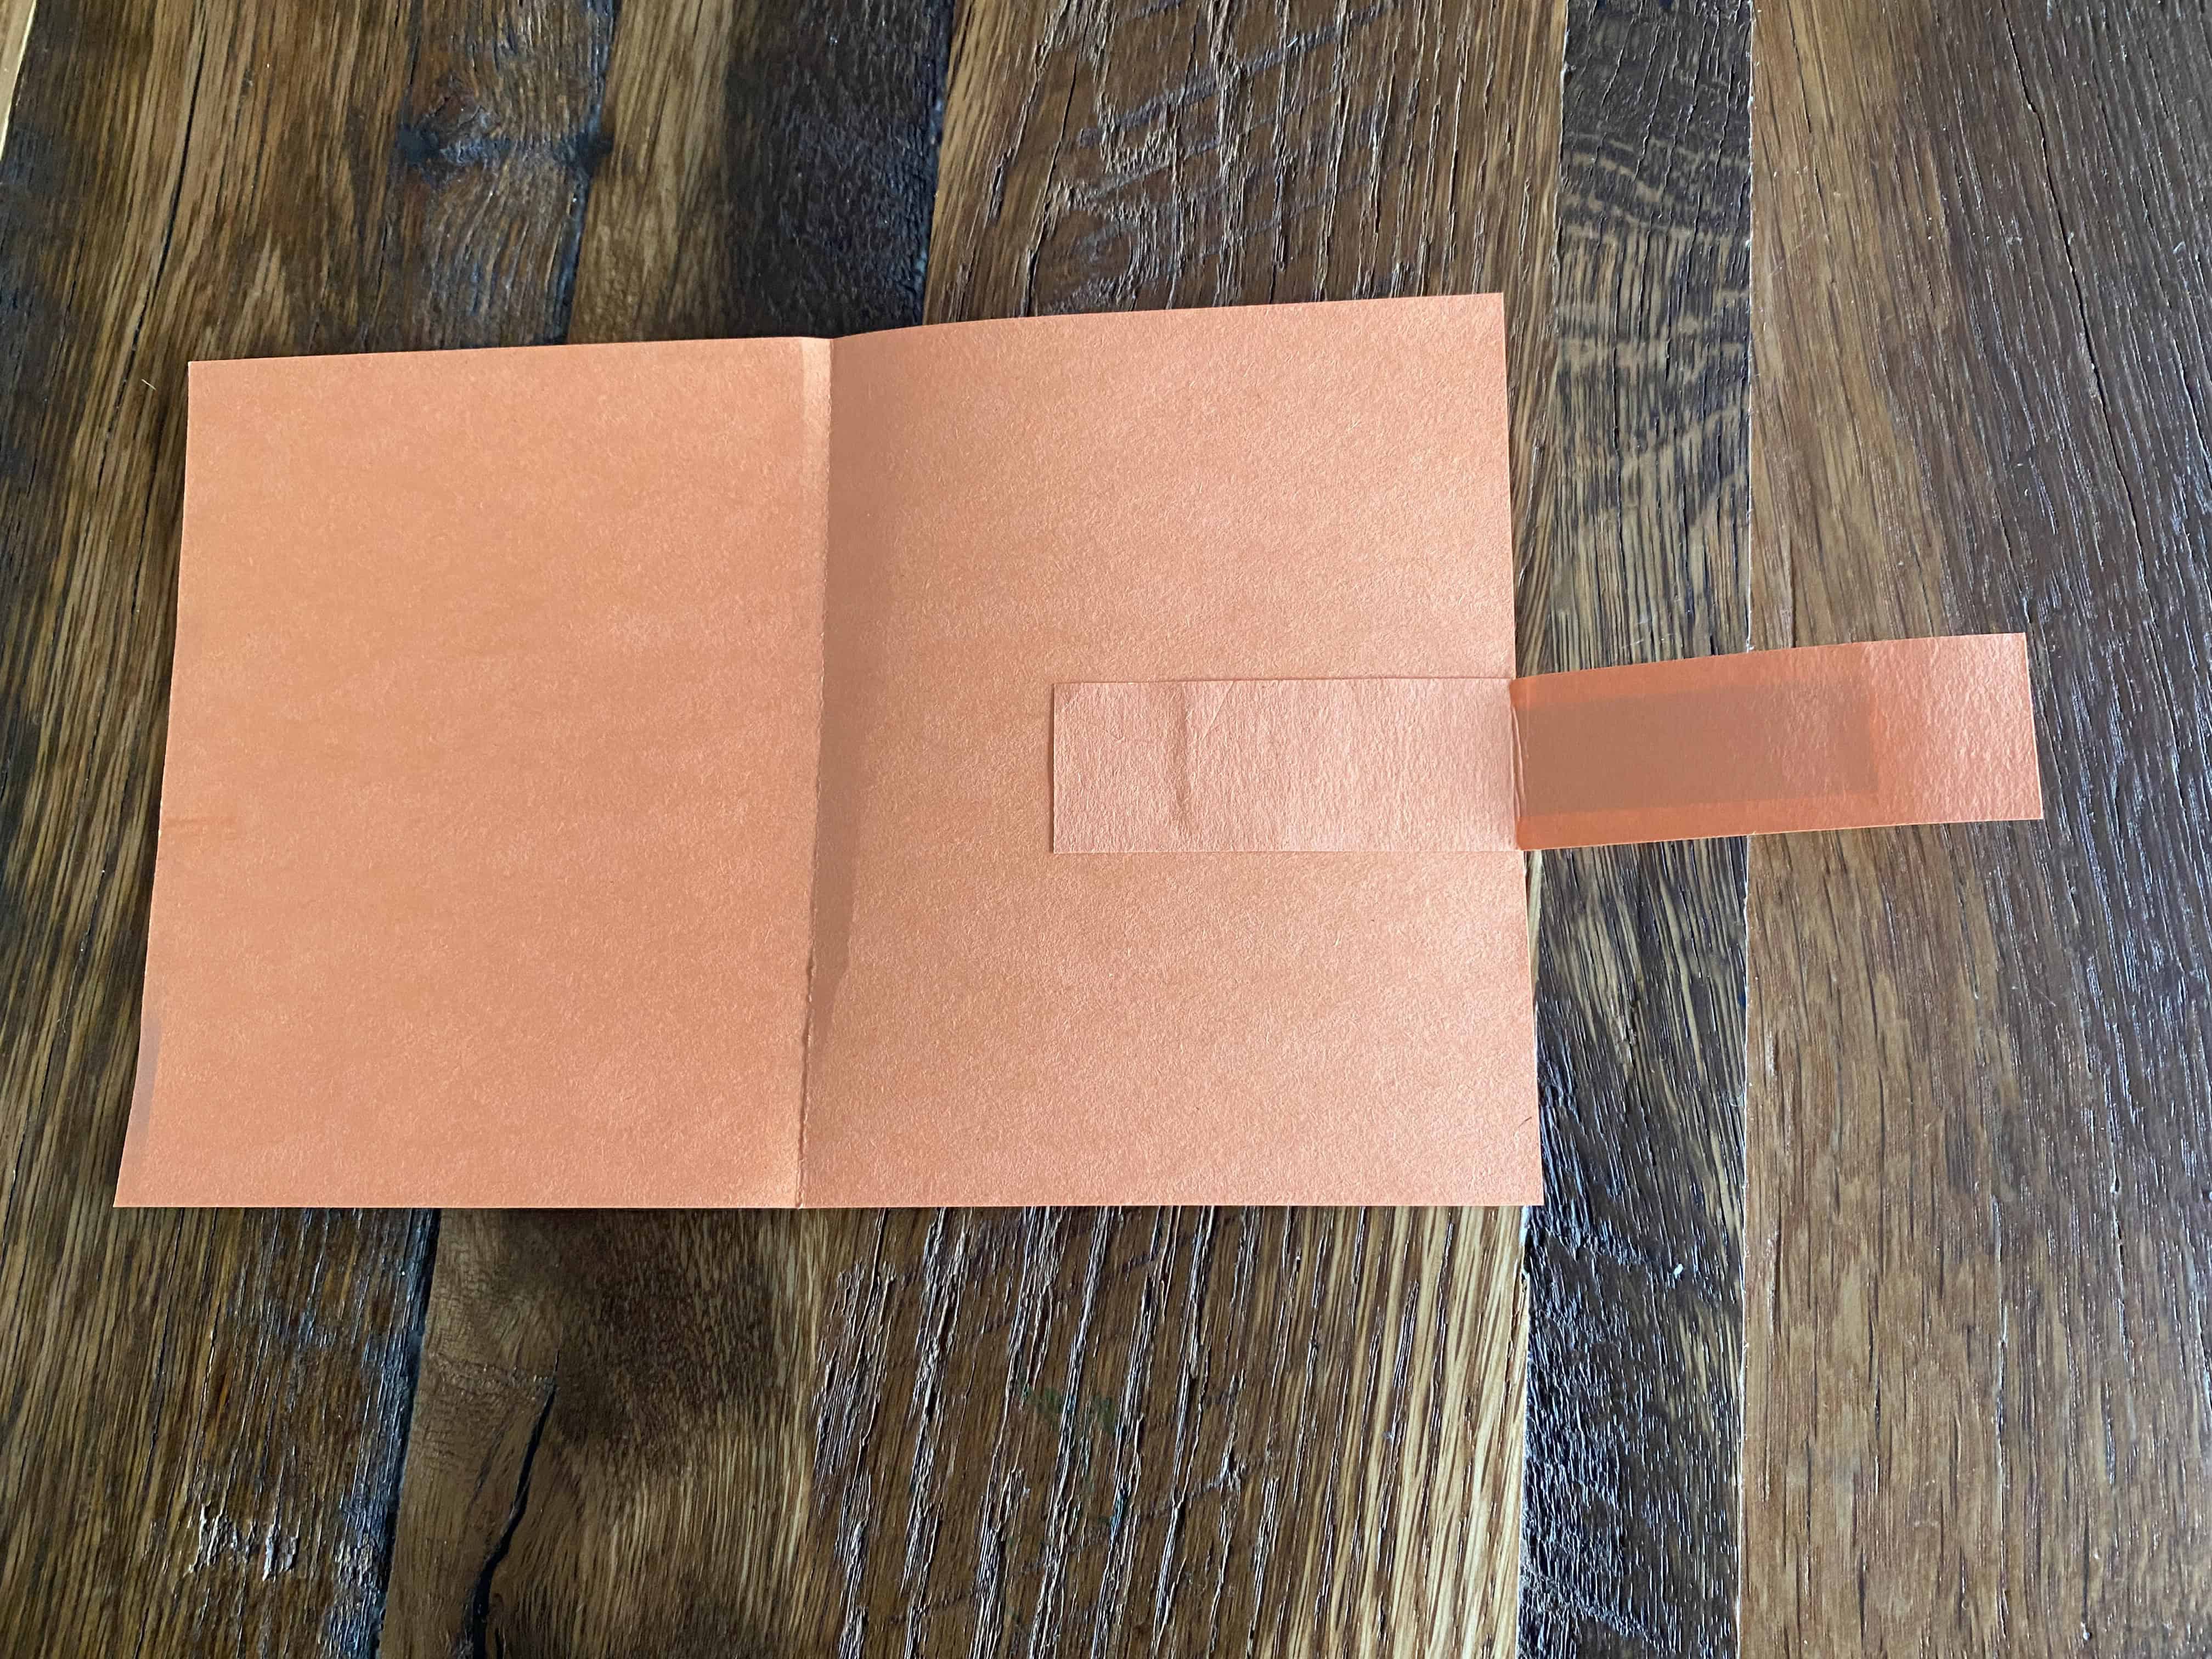
Adhere (half of the) tab to the inside of the card, as shown. The middle crease of the tab aligns with the edge of the card.
Be careful: you're putting adhesive on the RIGHT side of the tab, not the wrong side!
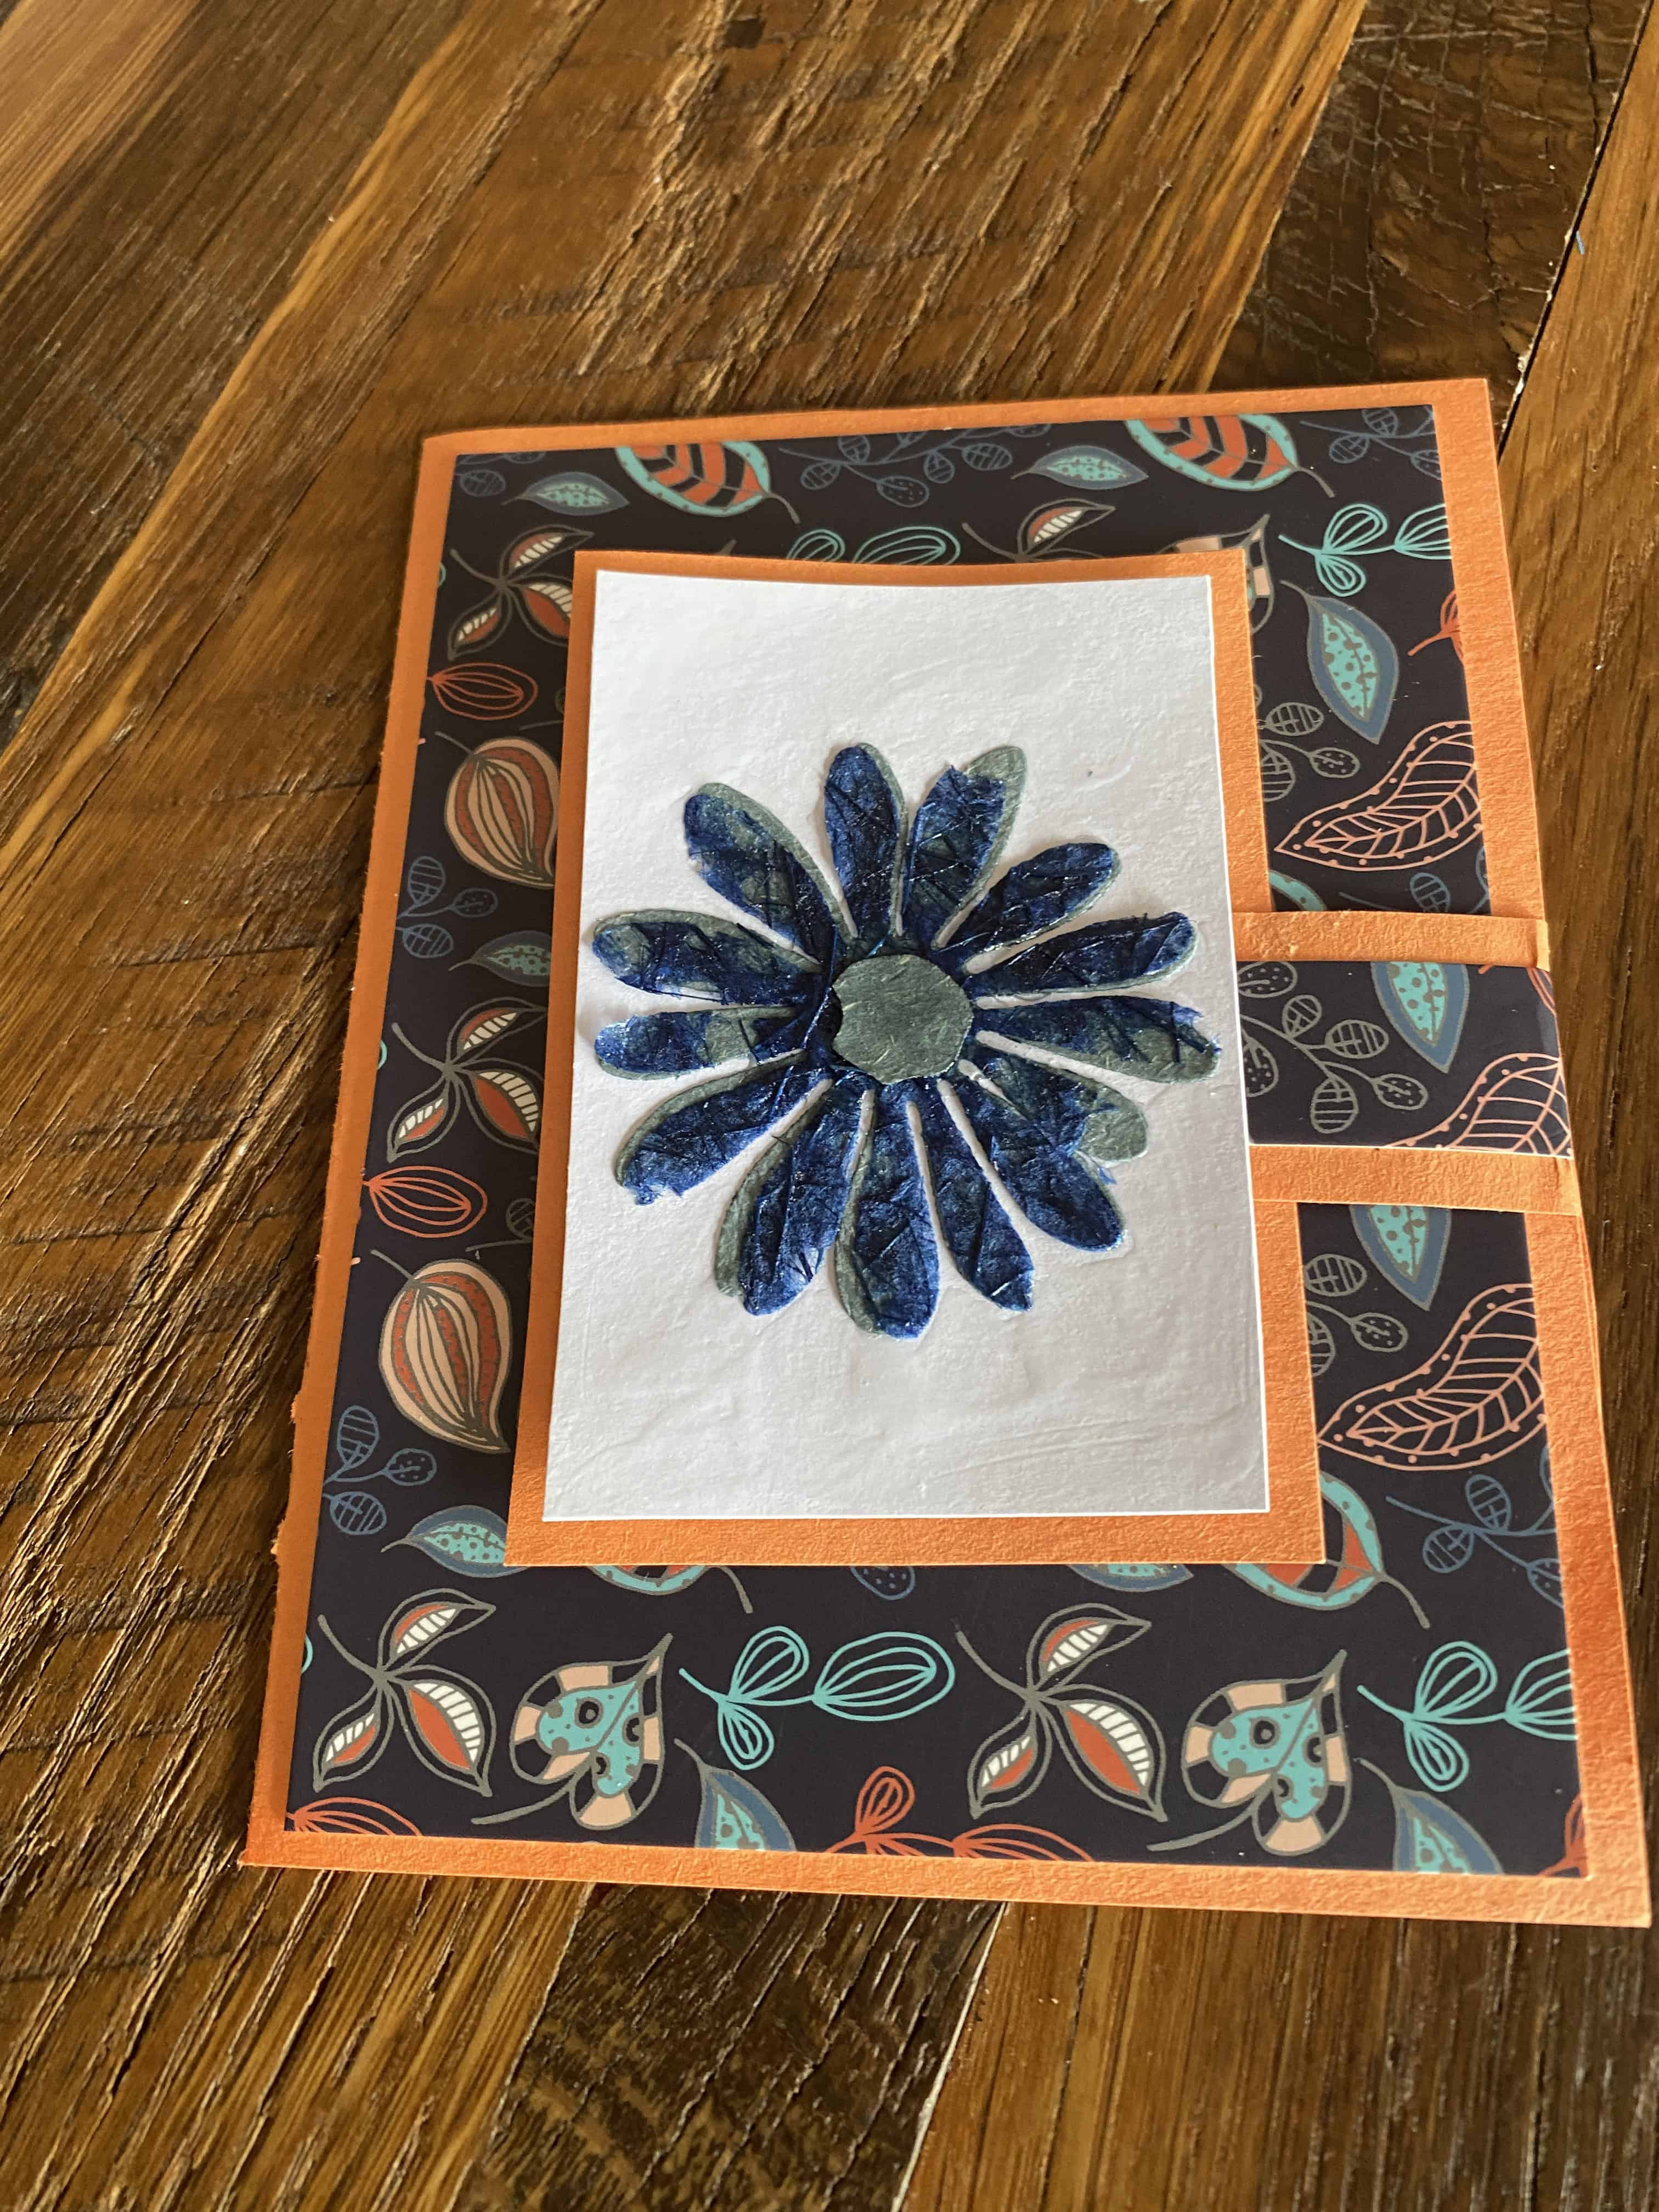
Step 6: Decorate the Flap Panel
Get creative! Use die cuts, stamps/embossing powder, alcohol (blending) markers, gel pens, glitter markers, ribbons, gems, stickers, whatever!
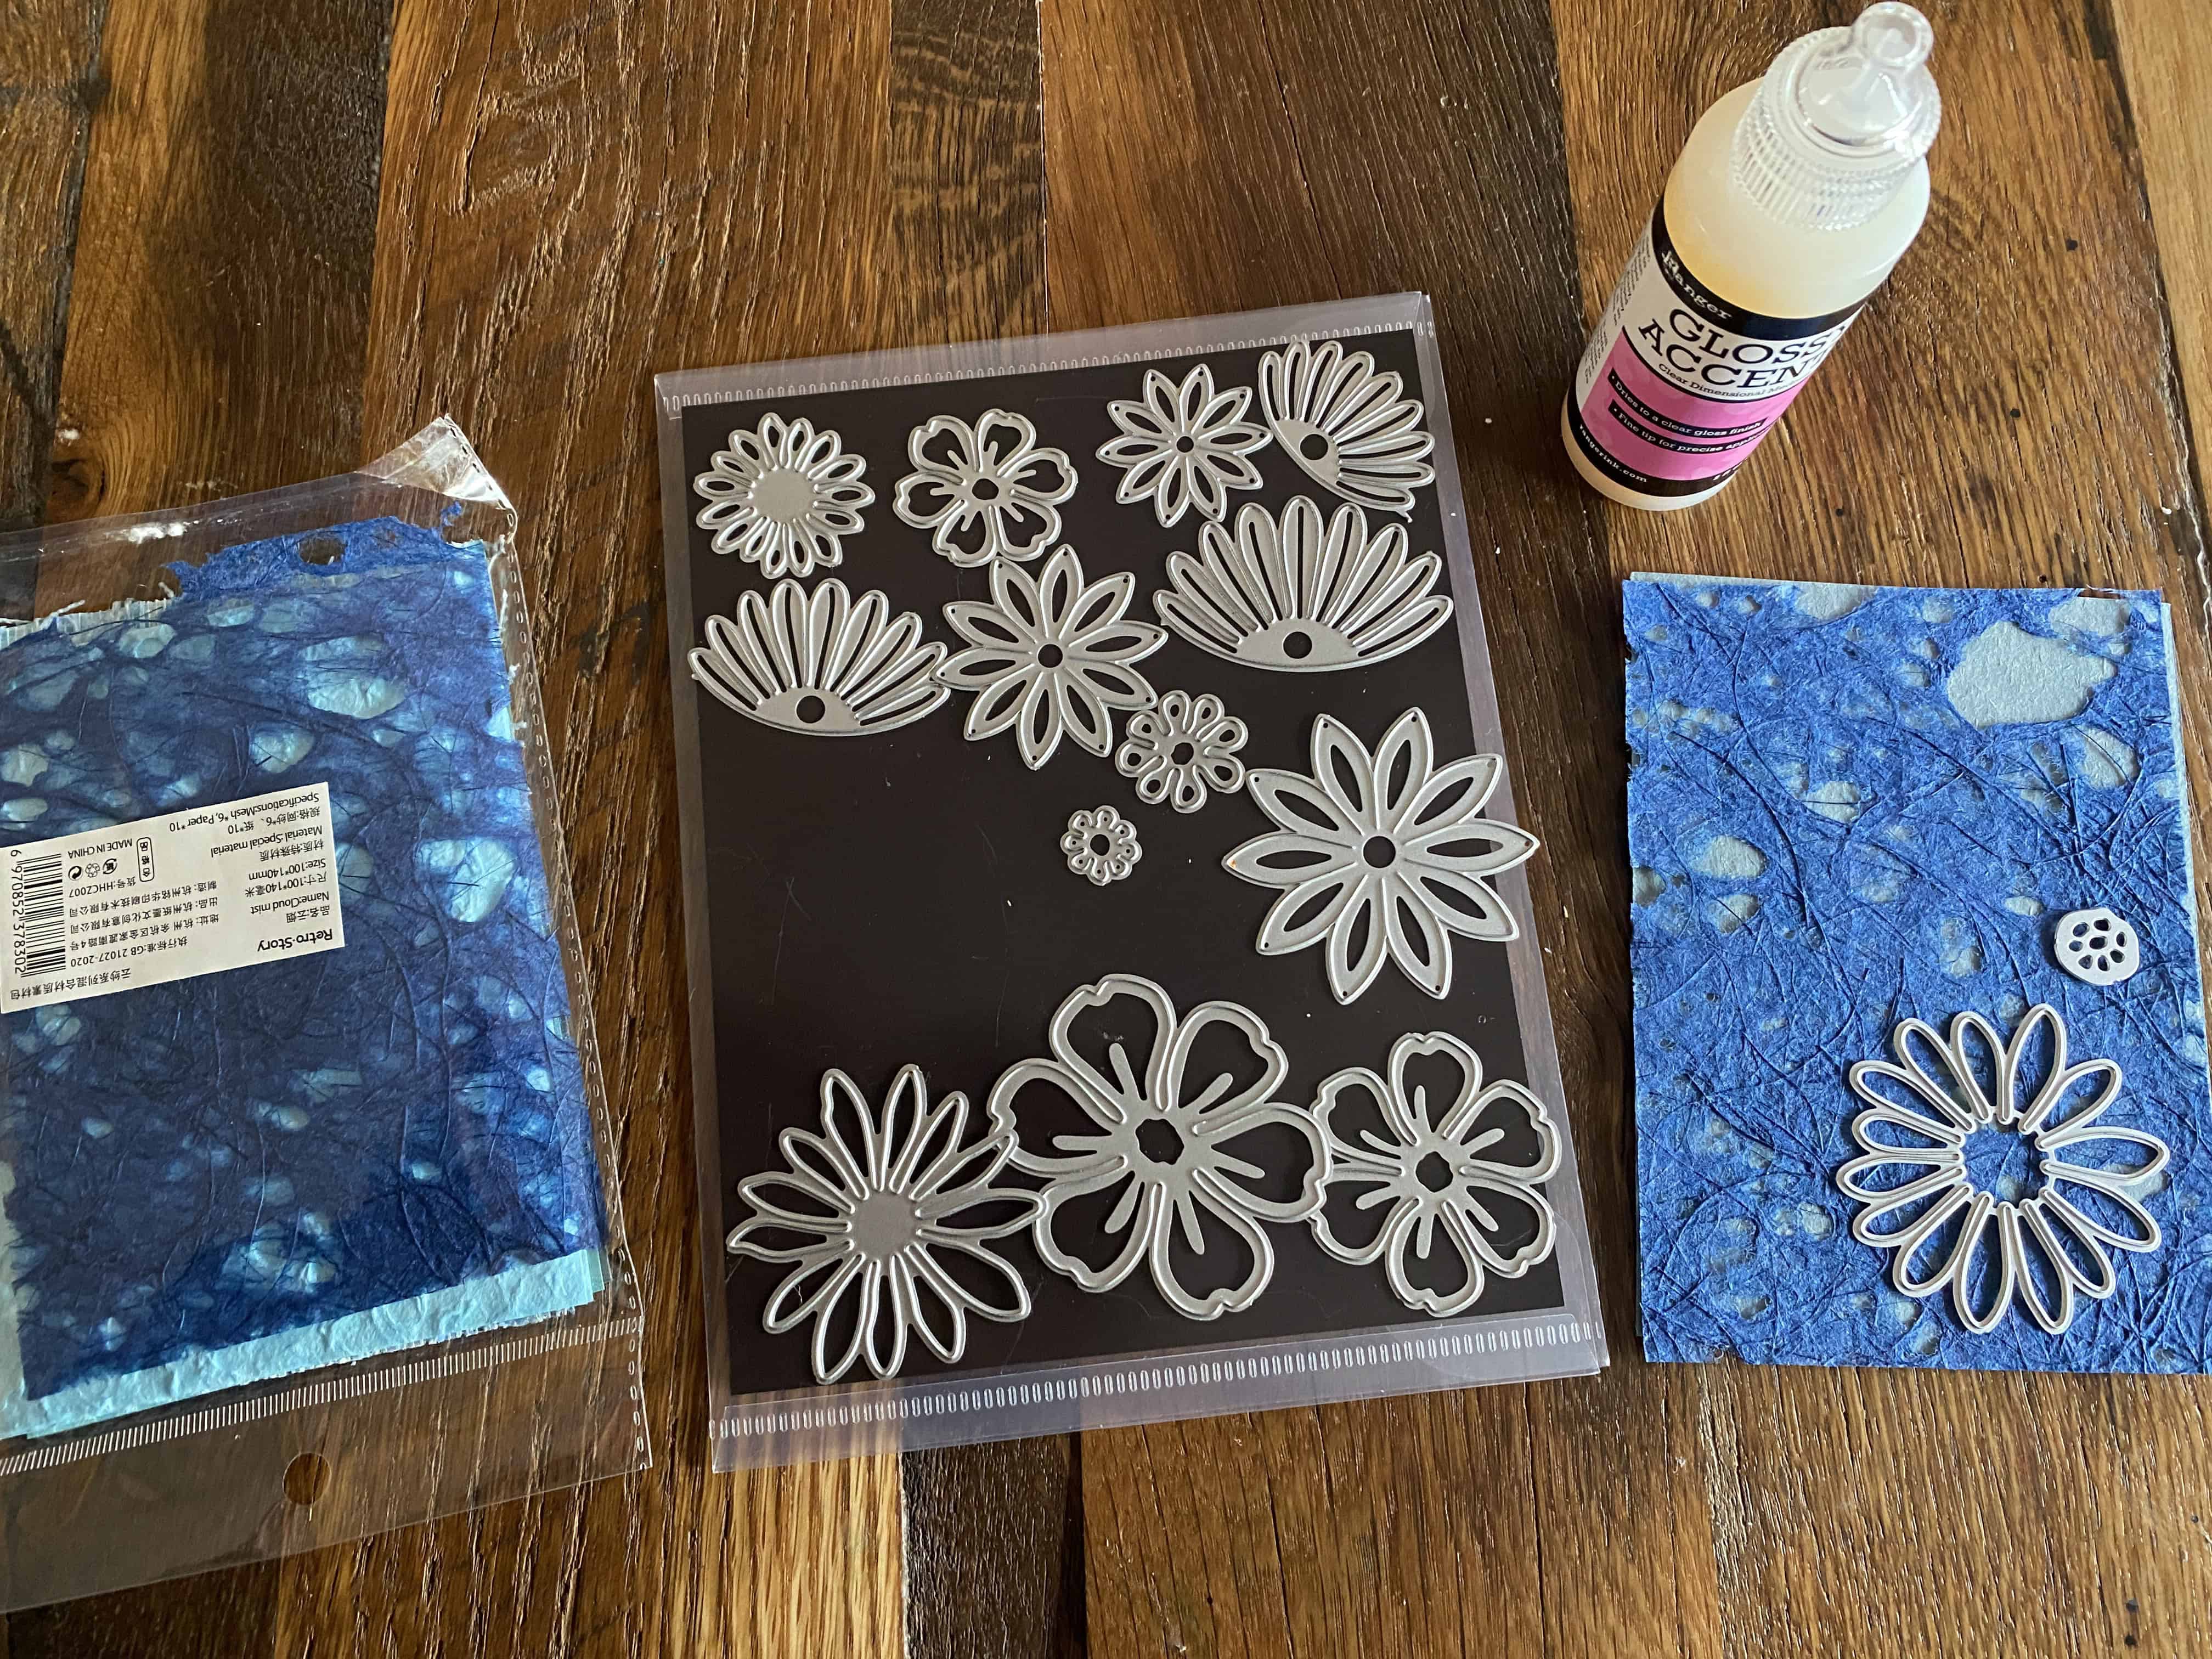
I chose a single flower die, cut on two layers of textured paper

I offset the two layers ever-so-slightly, then used Glossy Accents to assemble—it adds sheen and dimension (but you have to let it dry!)
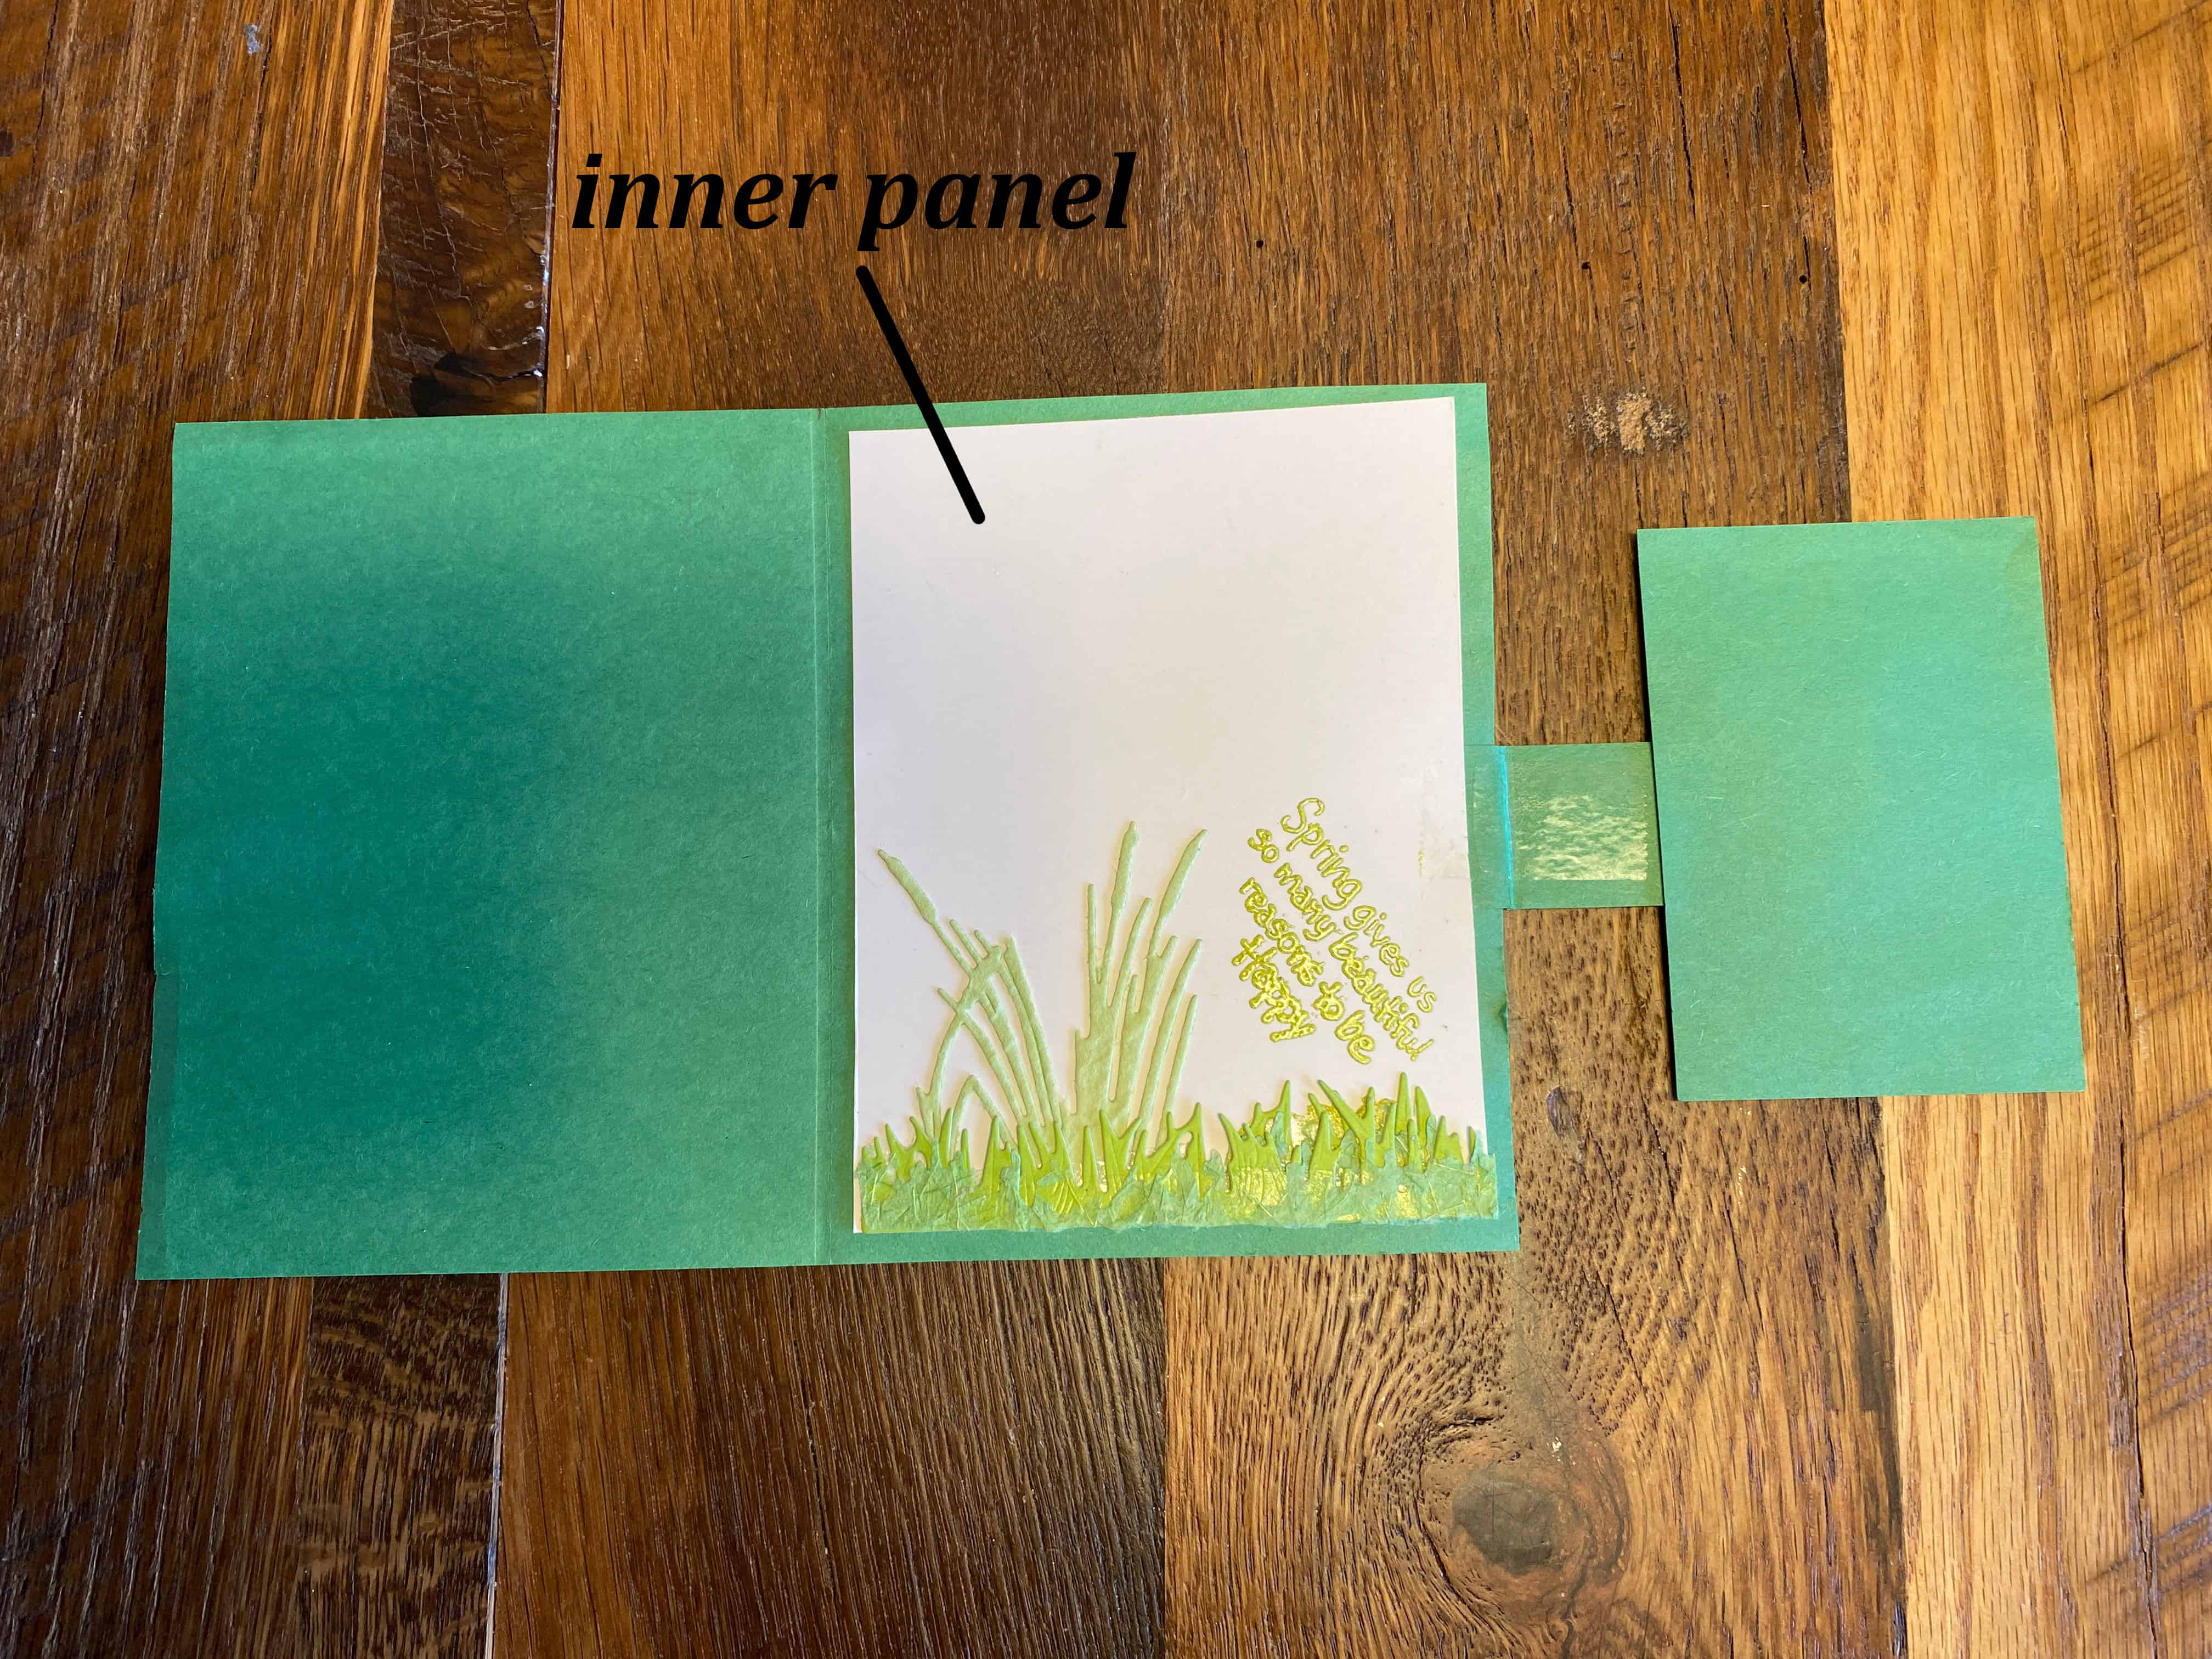
Step 7: Decorate the Inner (Inside) Panel
Again, get creative!
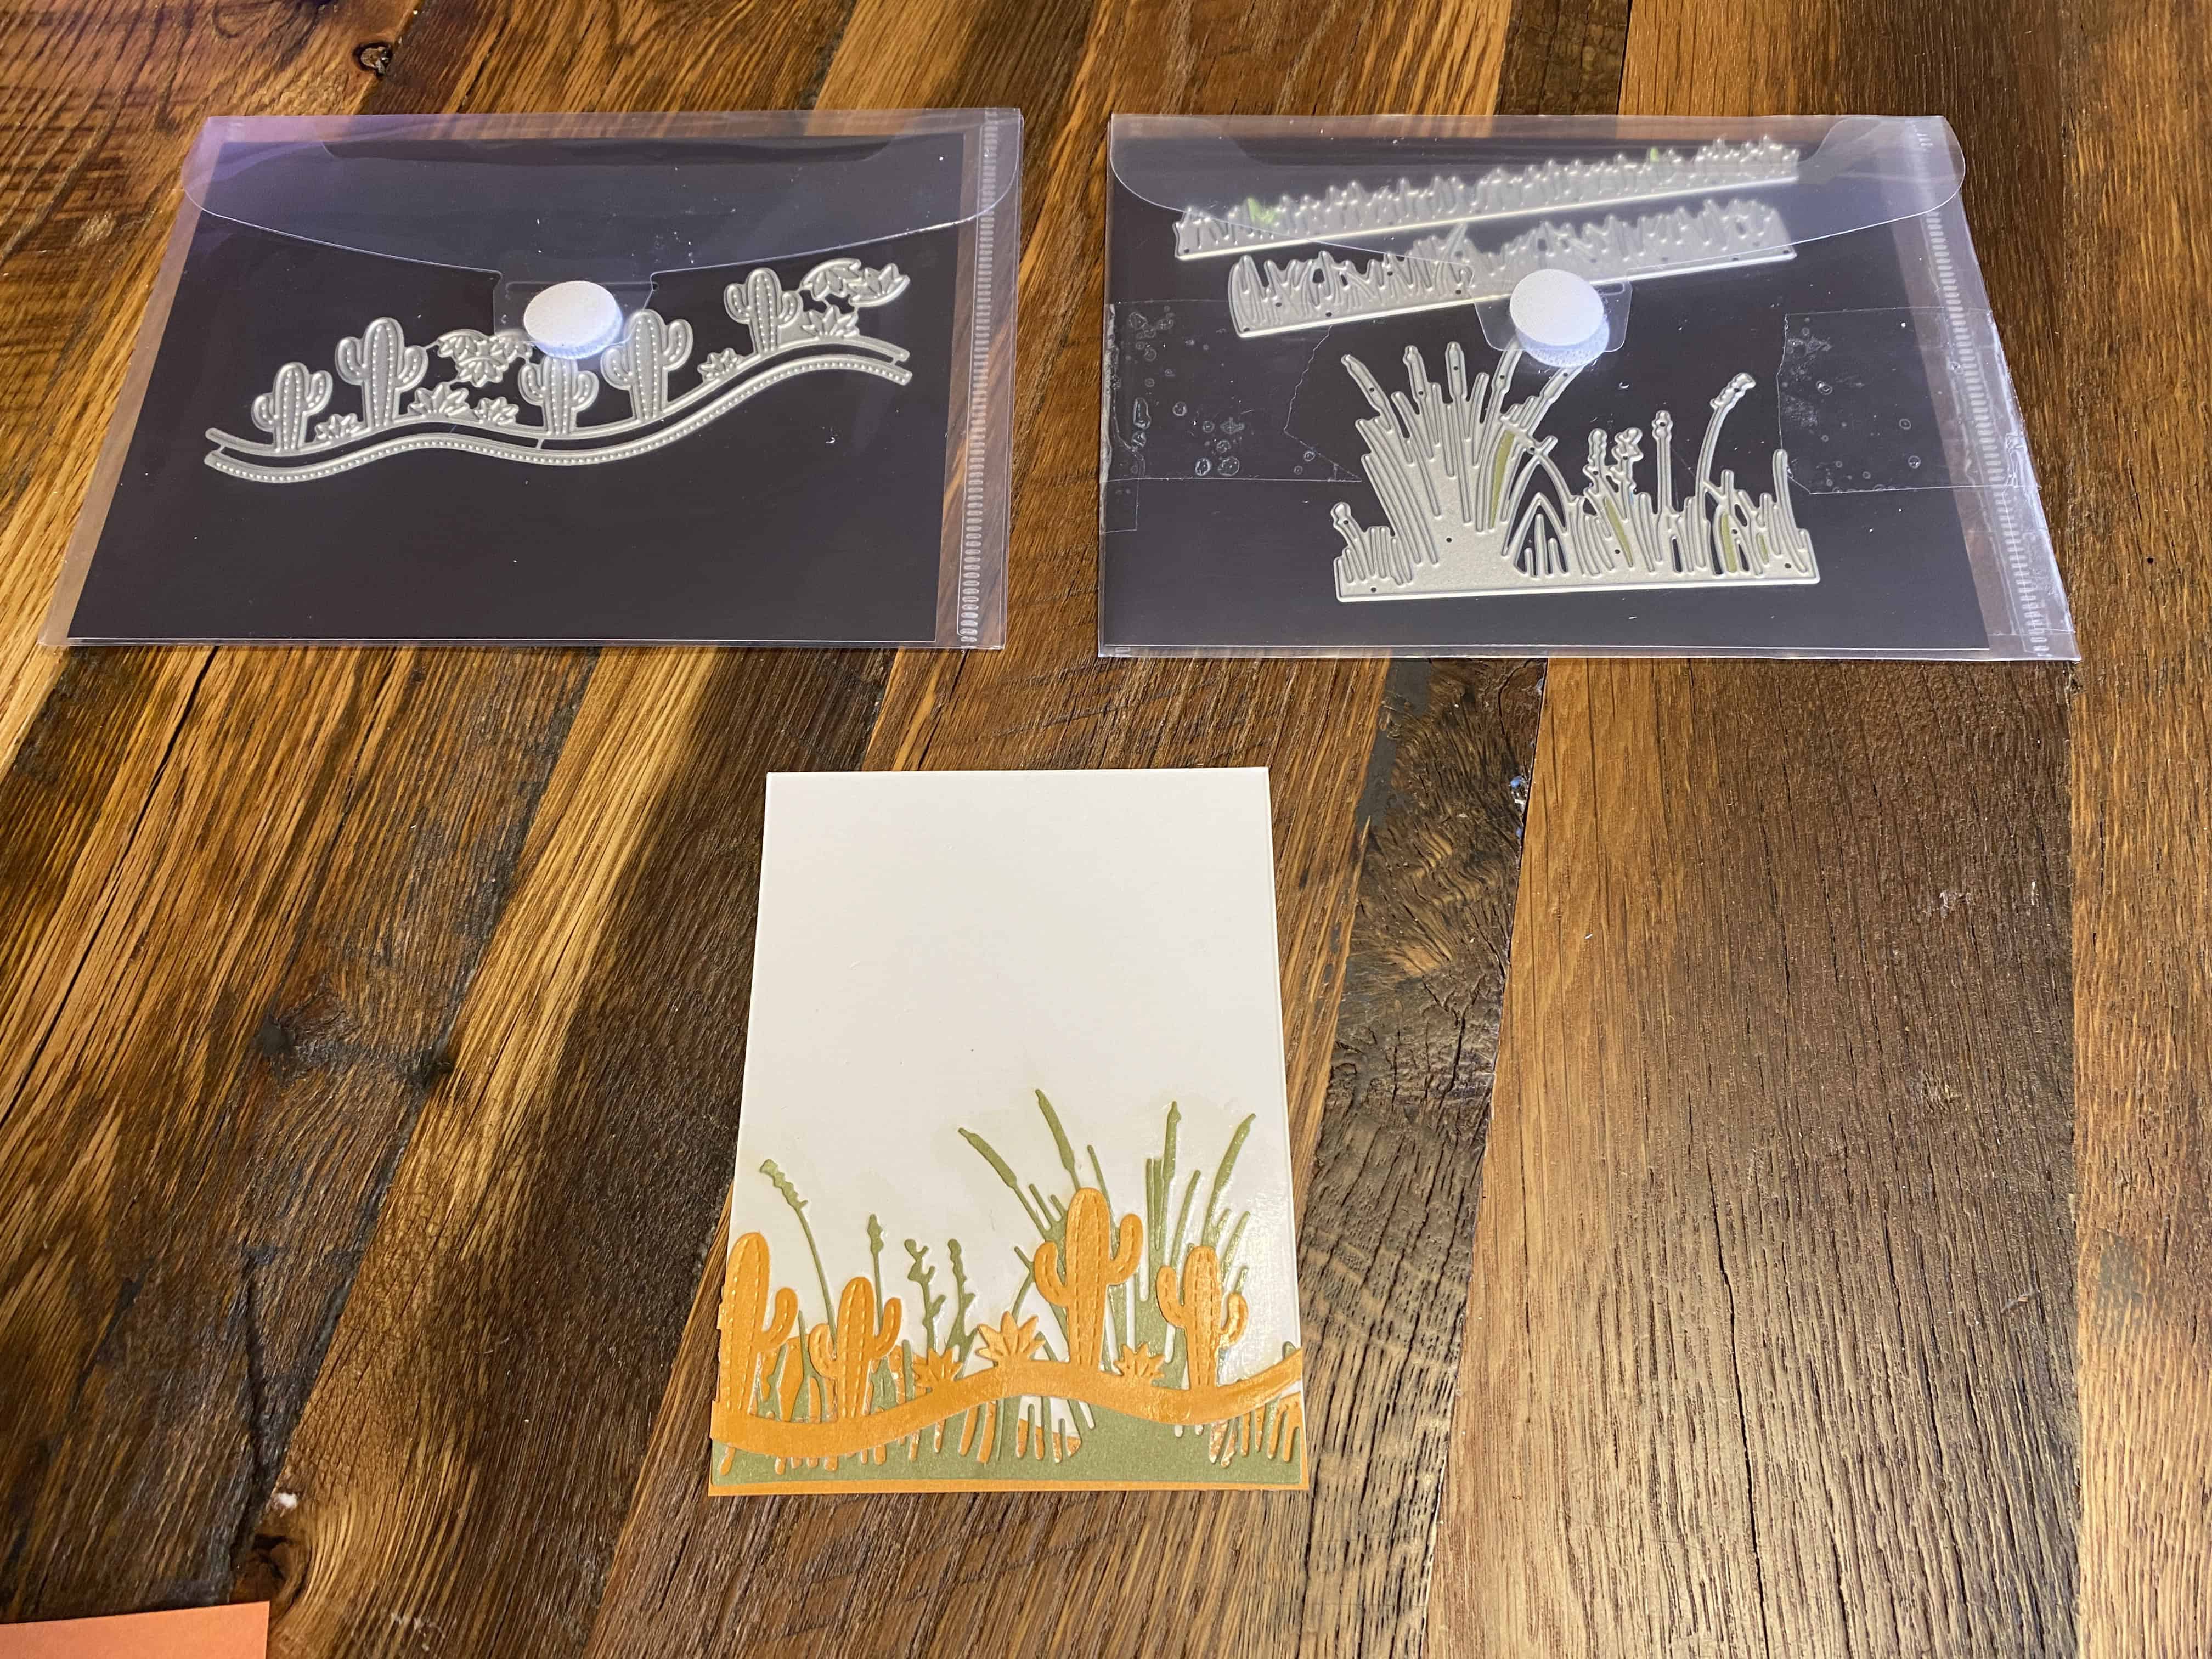
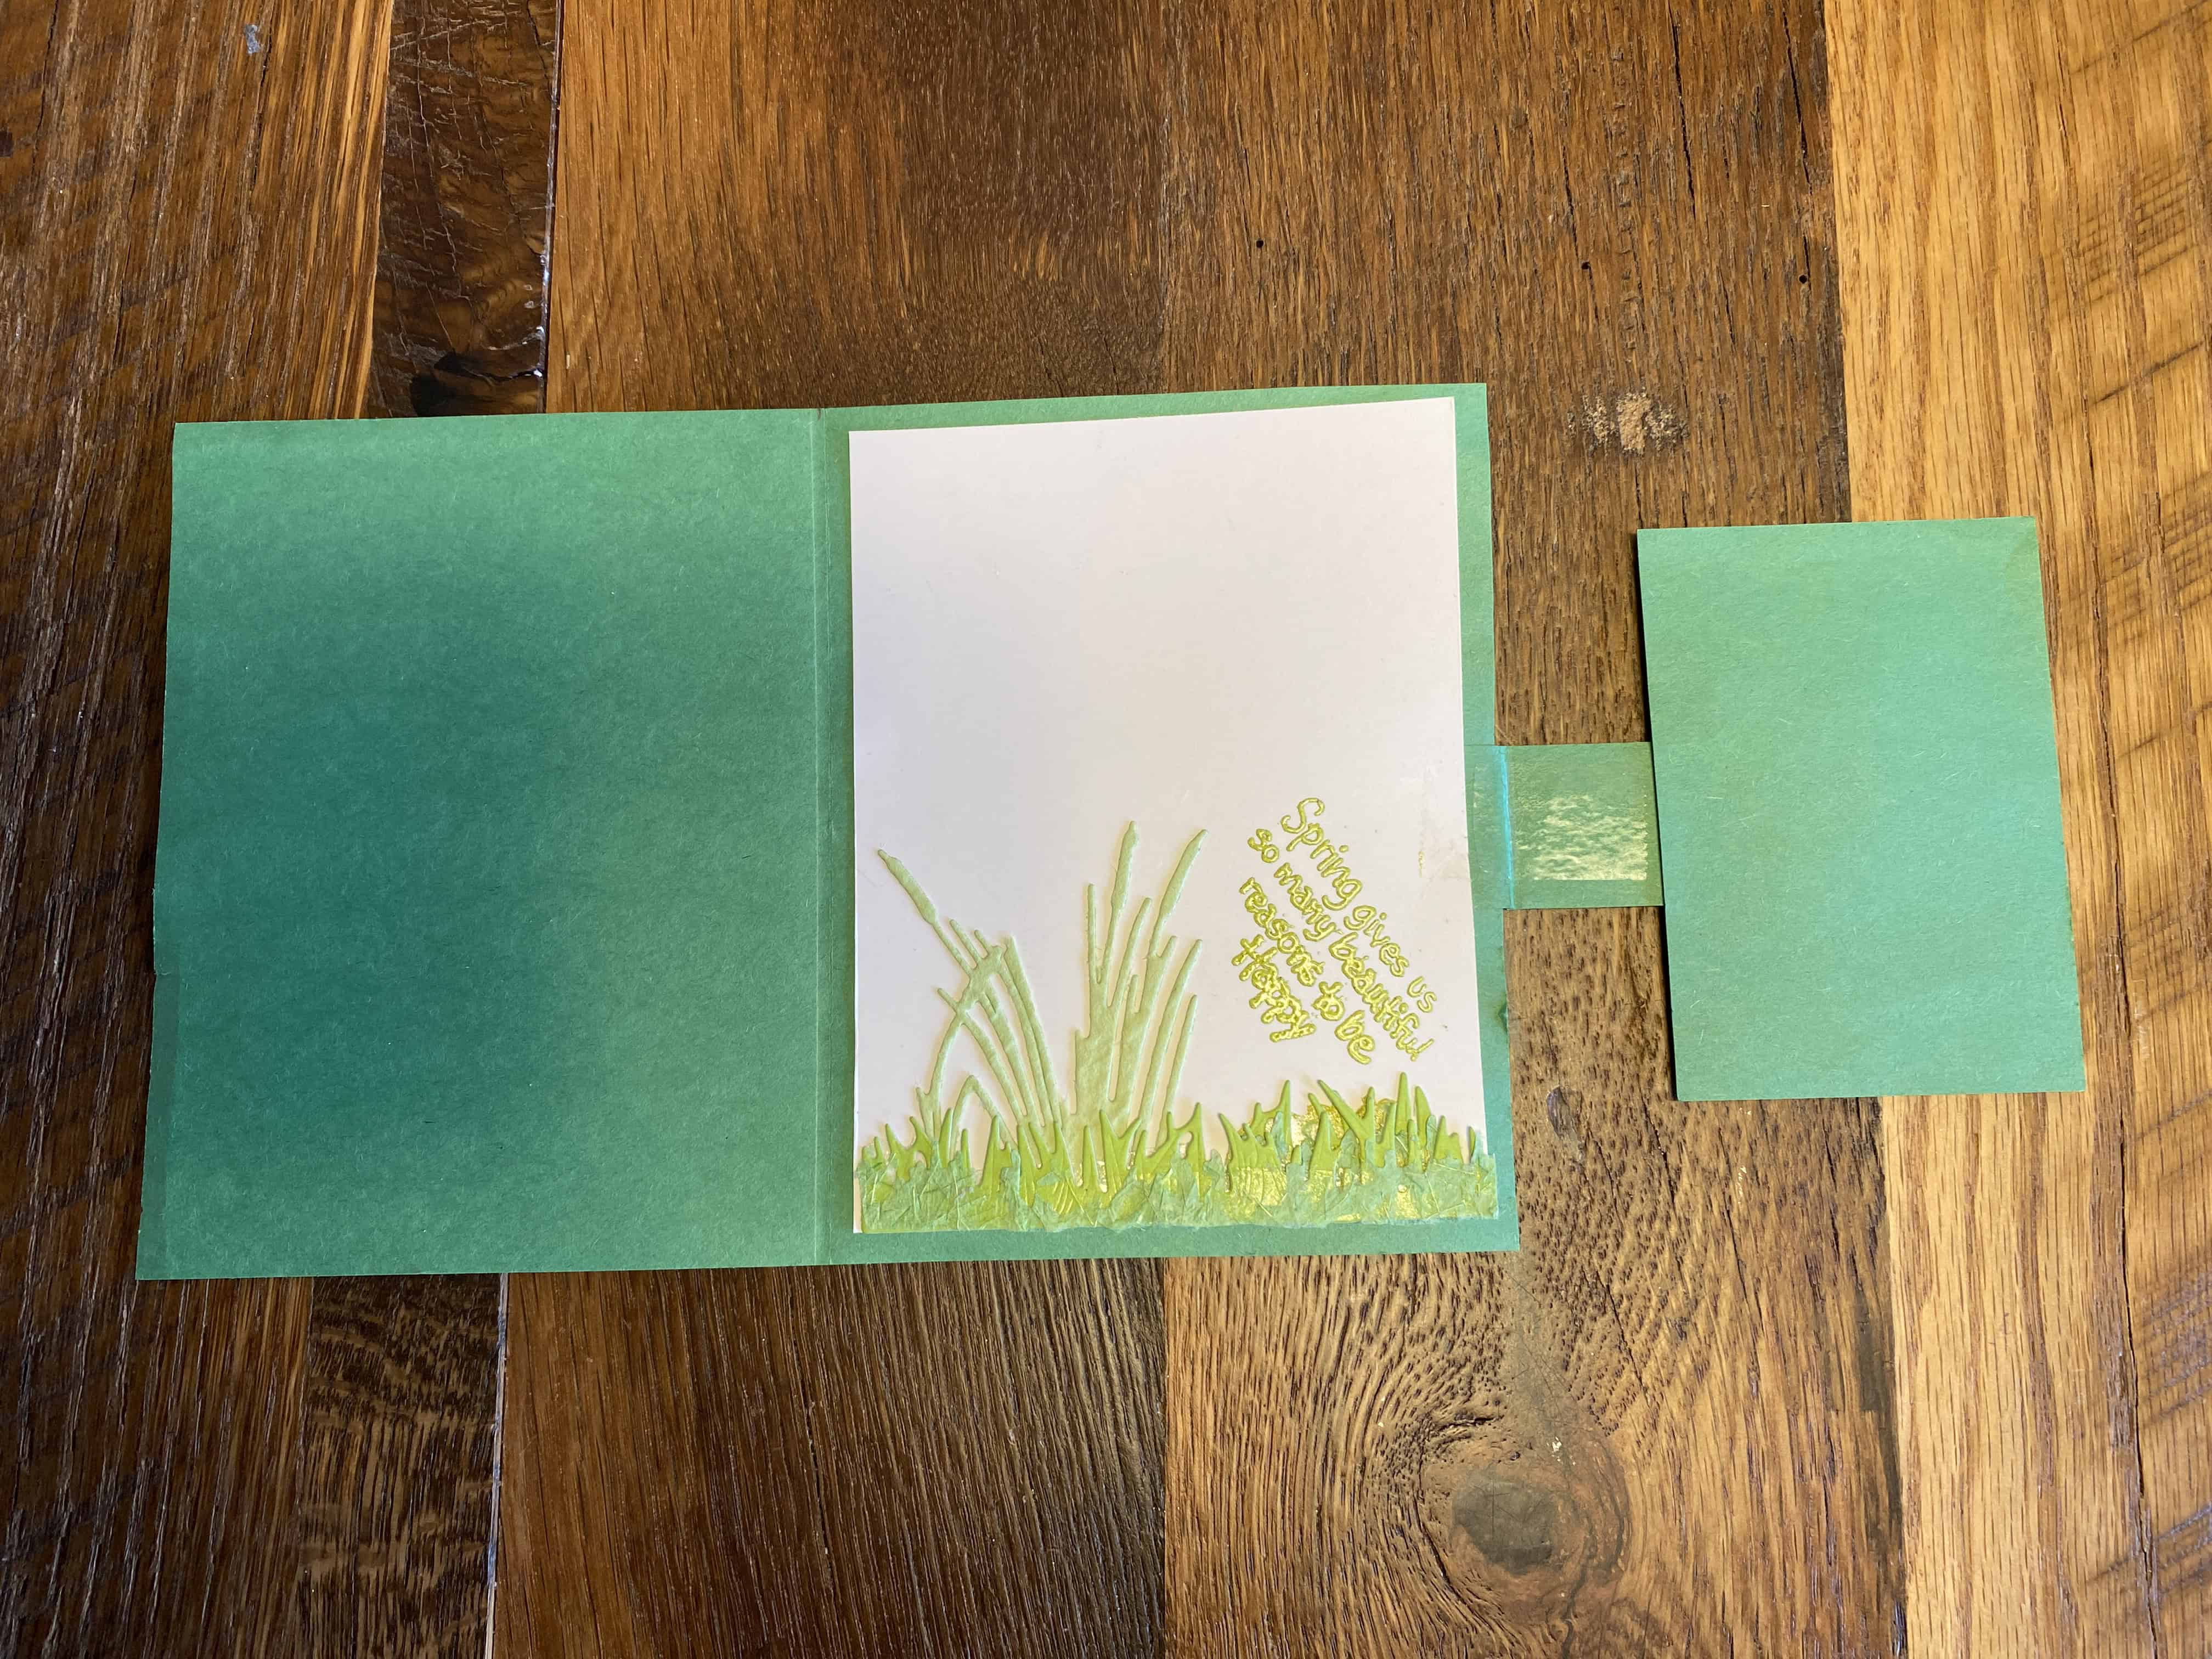
I chose a combination of grass and cactus borders, layered, to decorate the inside: attach with adhesive tape roller, then smear with Glossy Accents for sheen
I like to stamp/emboss on a separate paper: if I goof up, then I don't have to re-do the entire inside panel
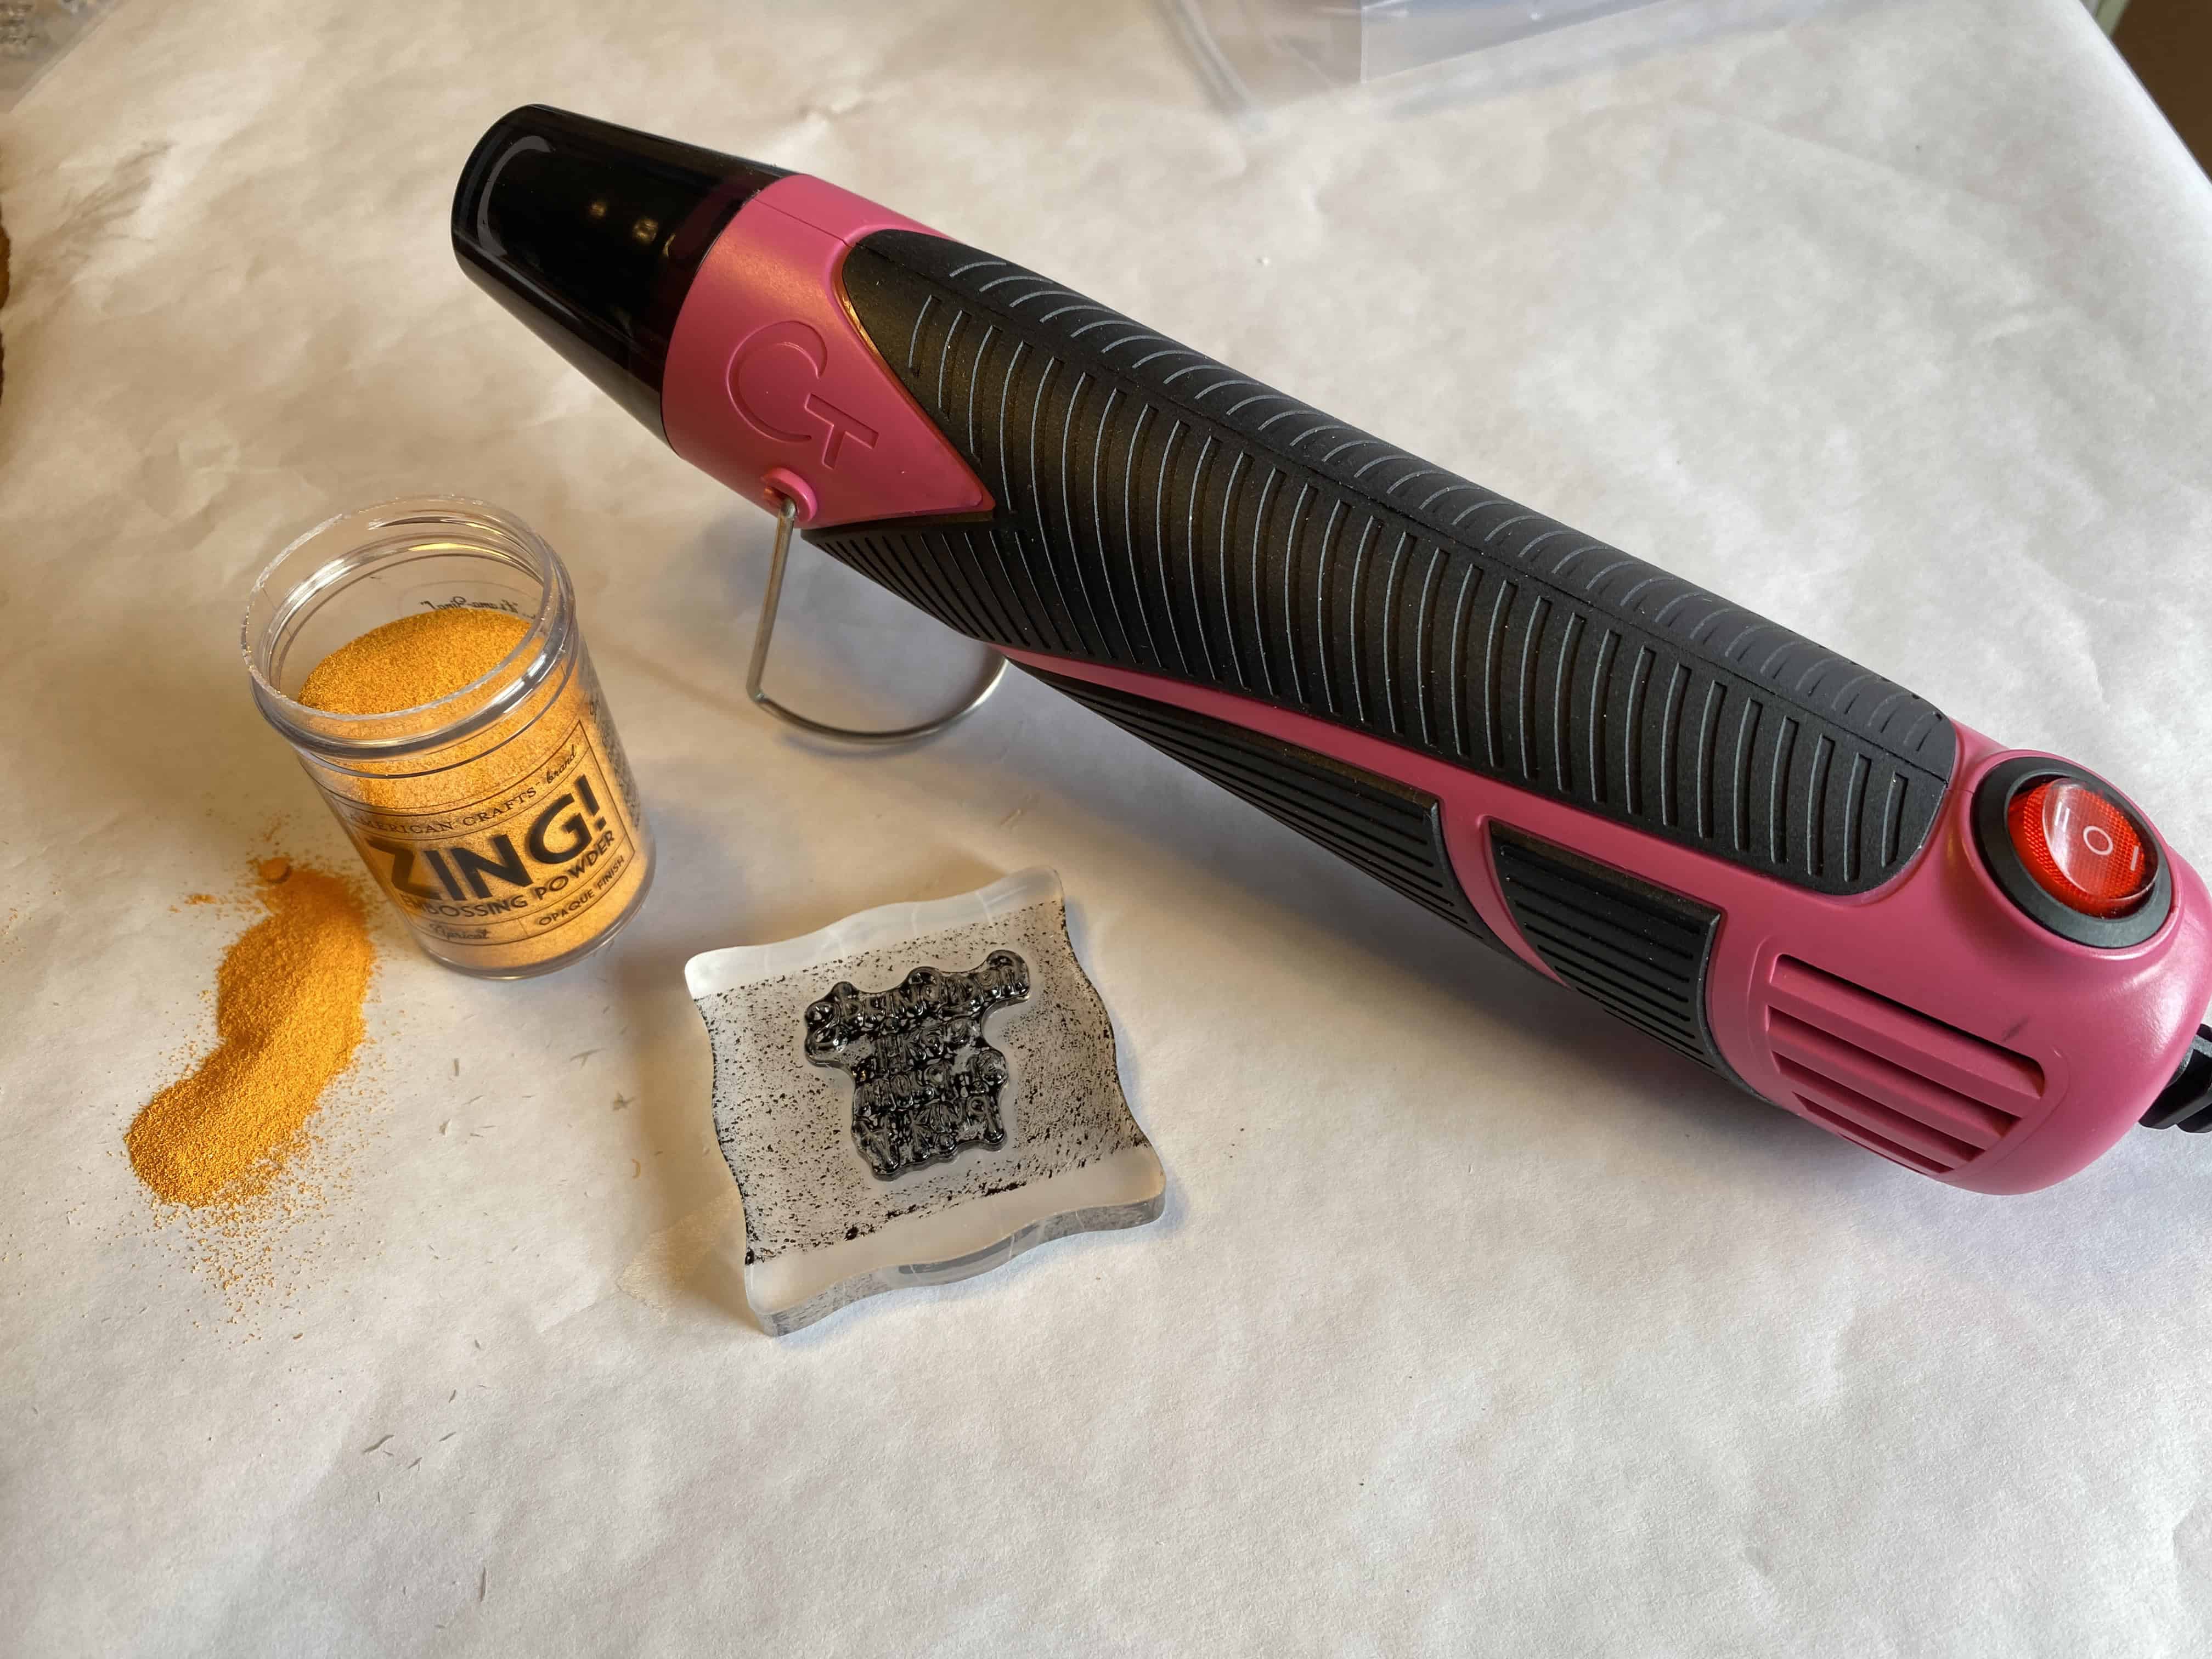
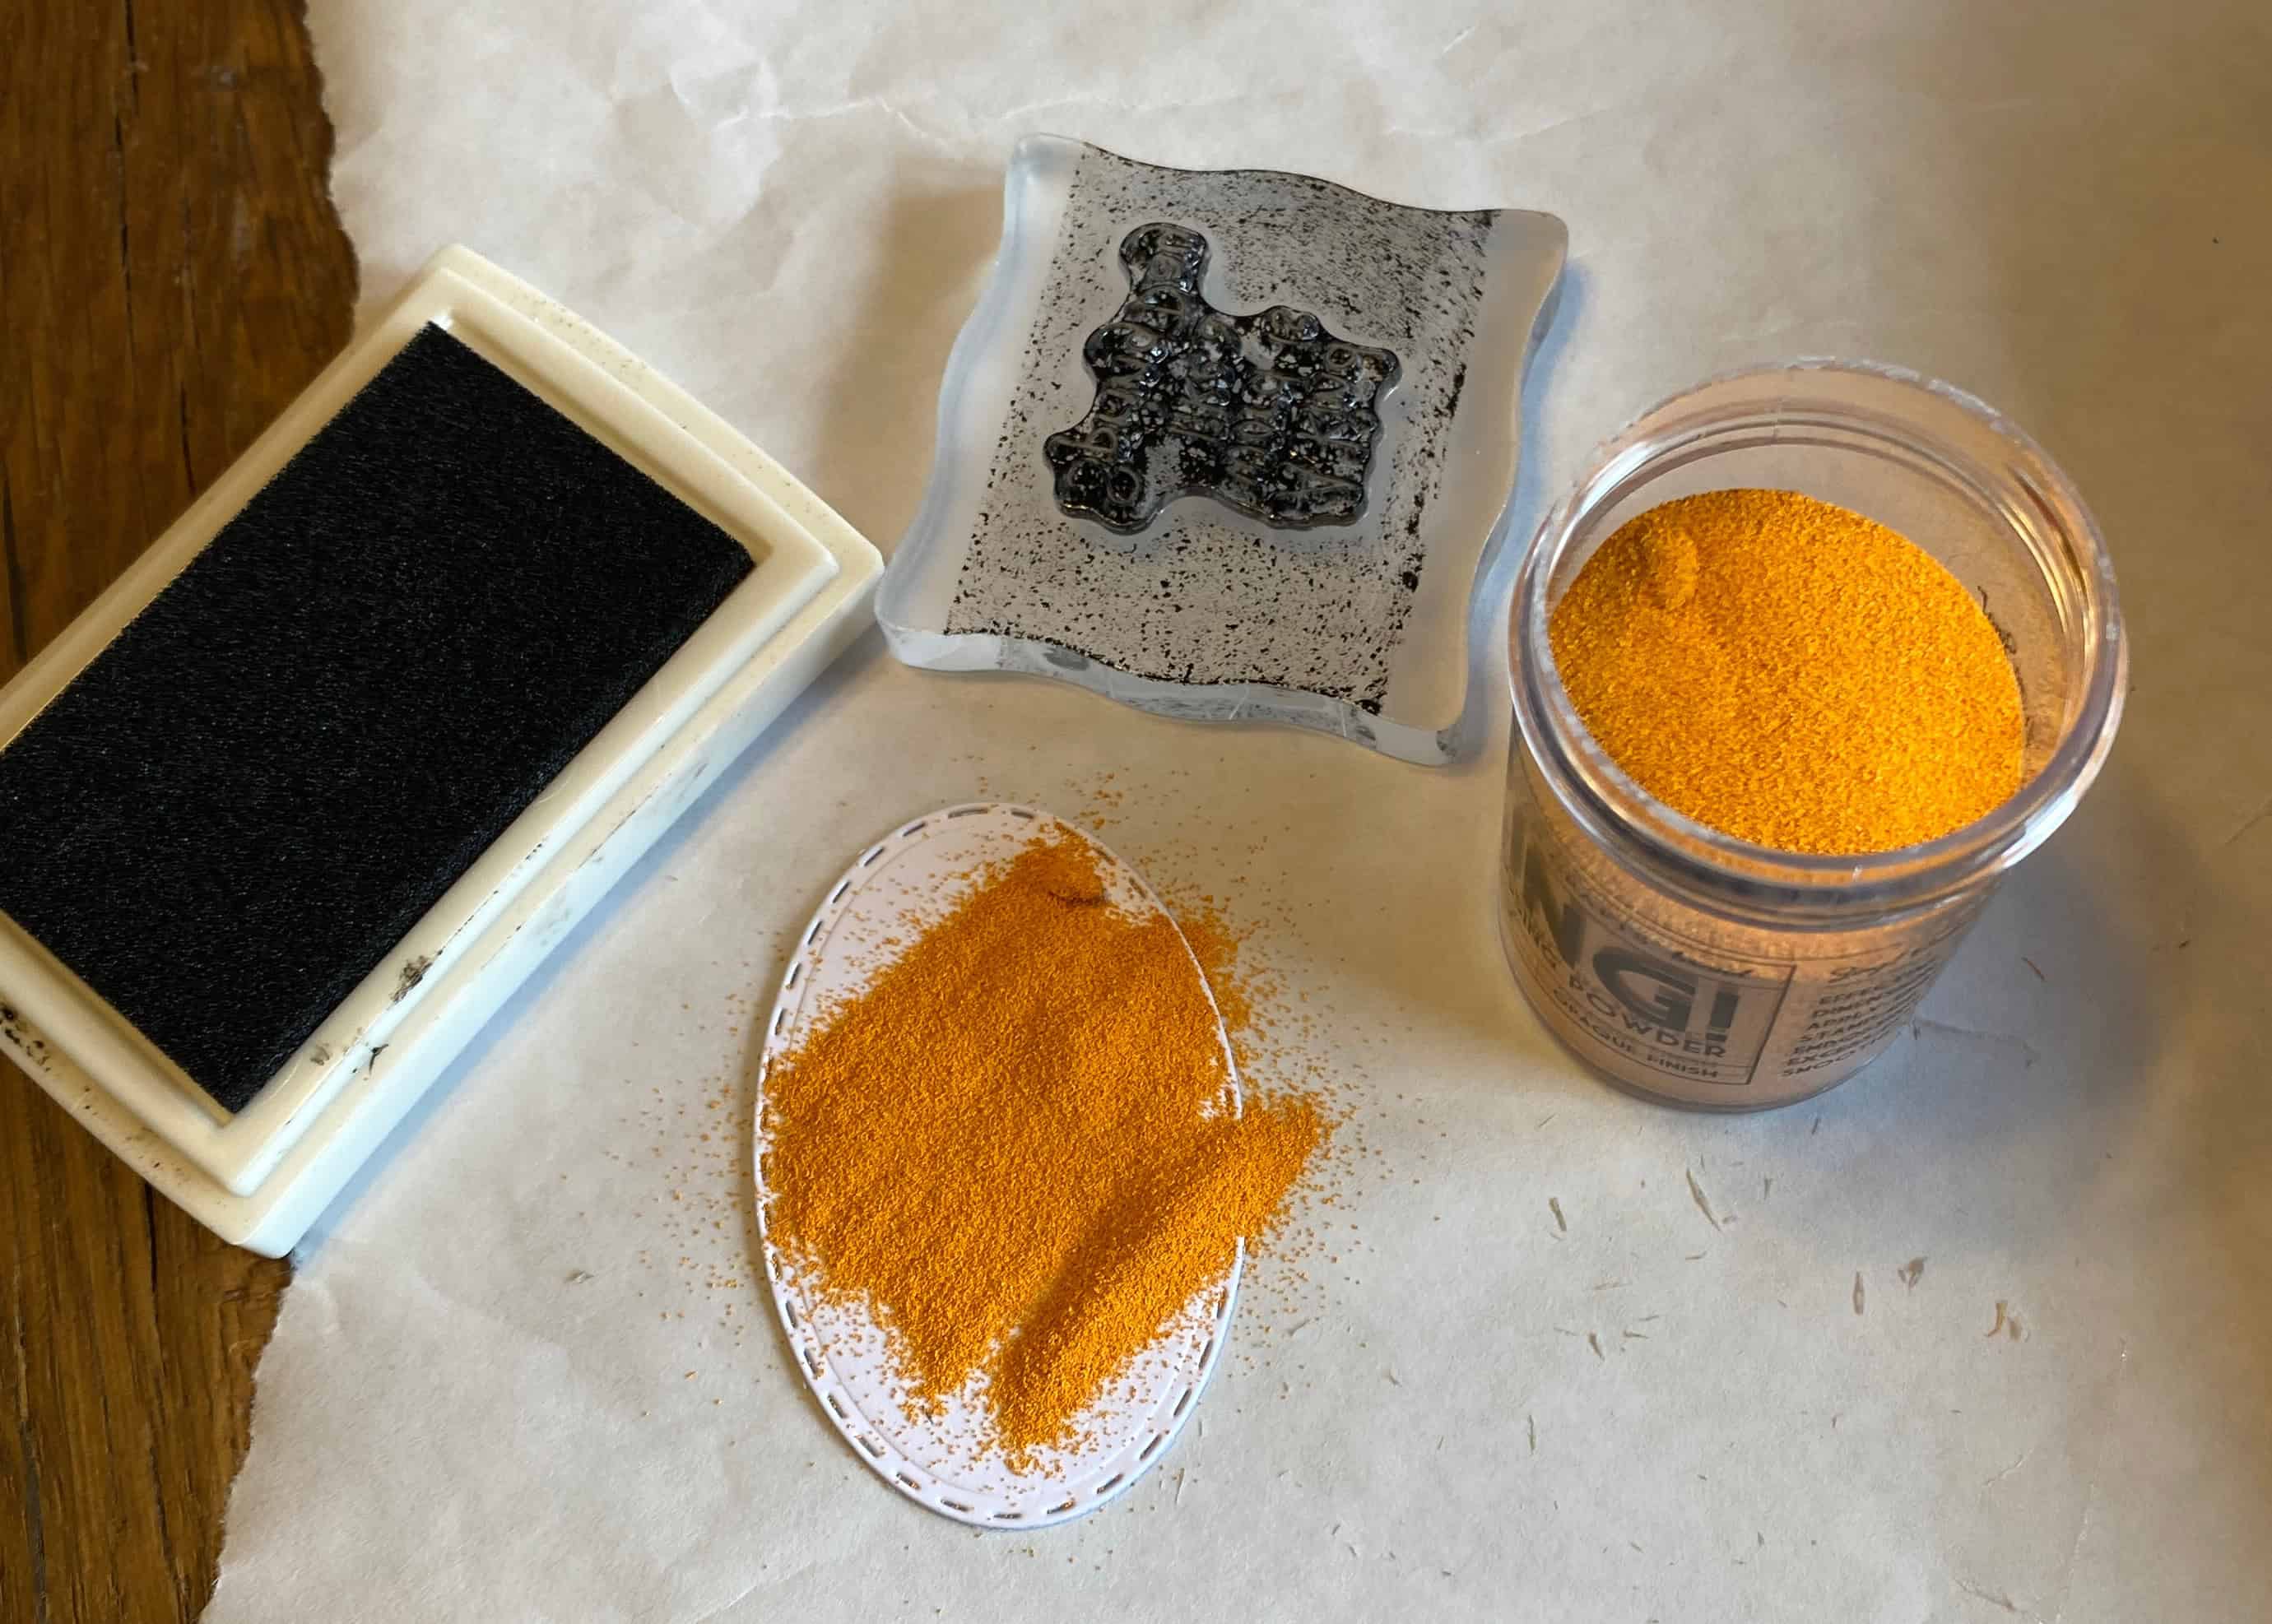
Stamp/emboss process: ink stamp thoroughly (color doesn't matter since it will be covered by embossing power); press stamp on paper; while ink is wet, cover completely with embossing powder; tap off excess powder (to return to jar); use heat gun to dry
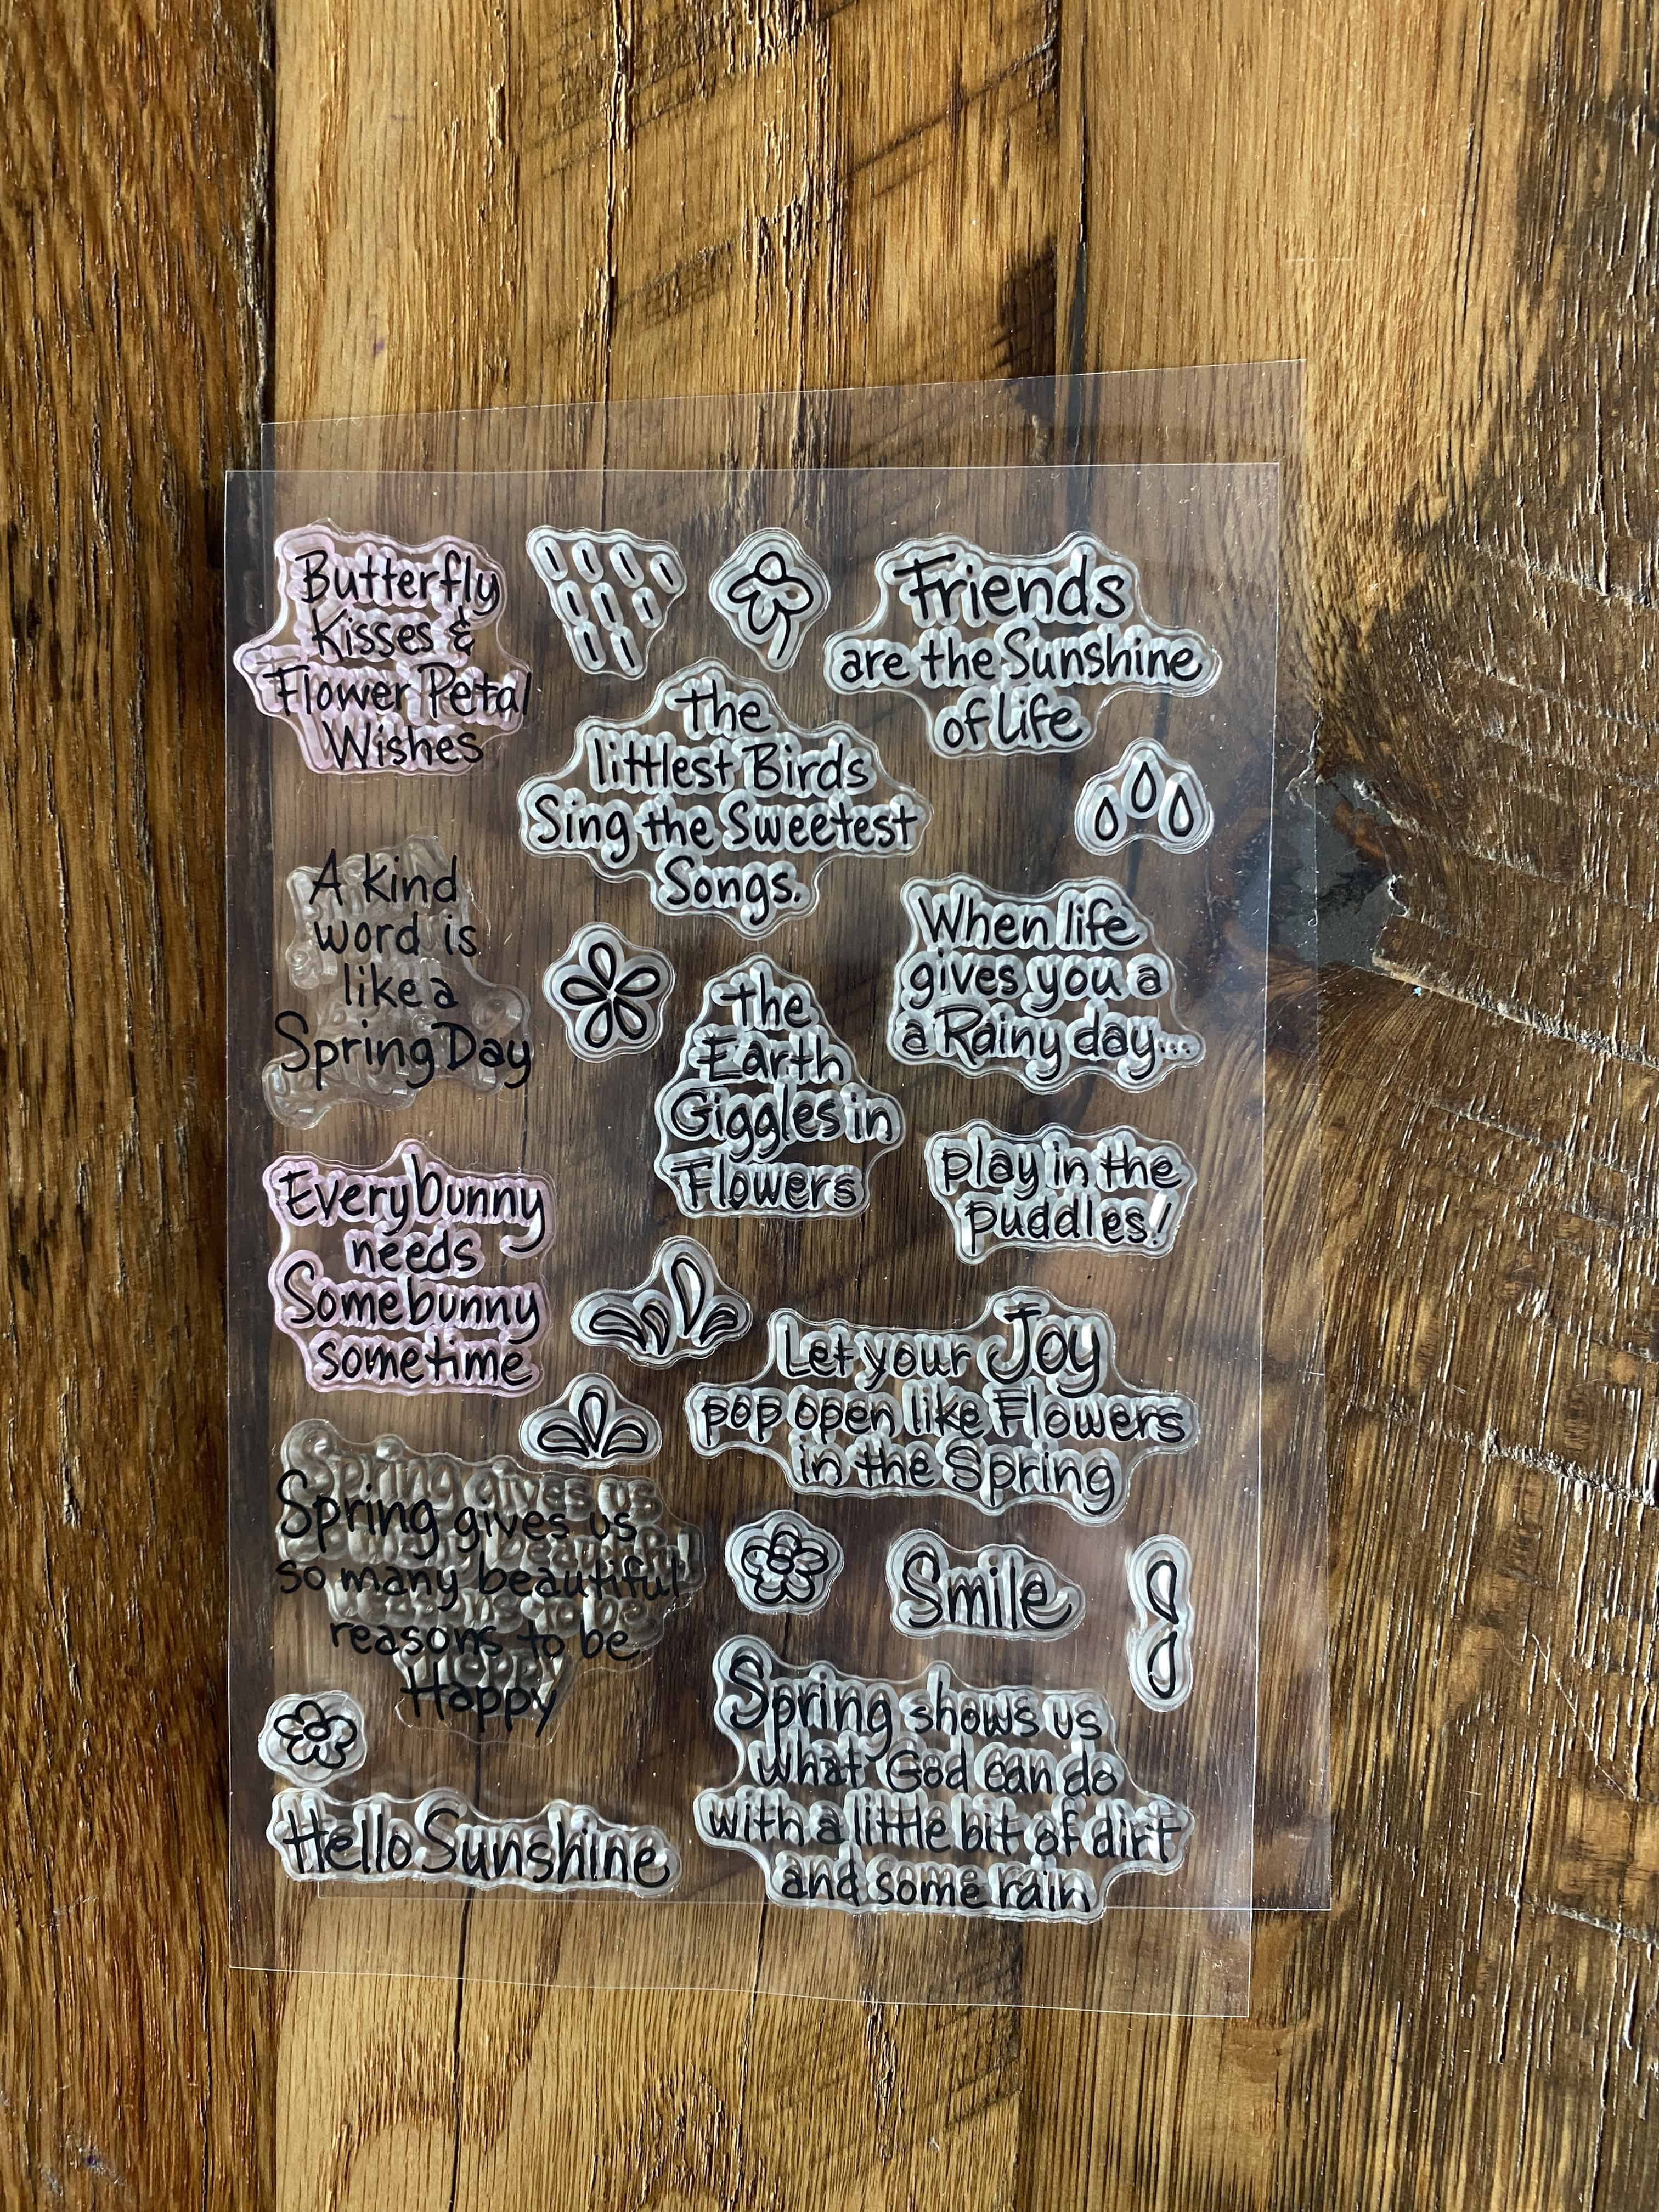
This is a great collection of Spring Greeting Stamps
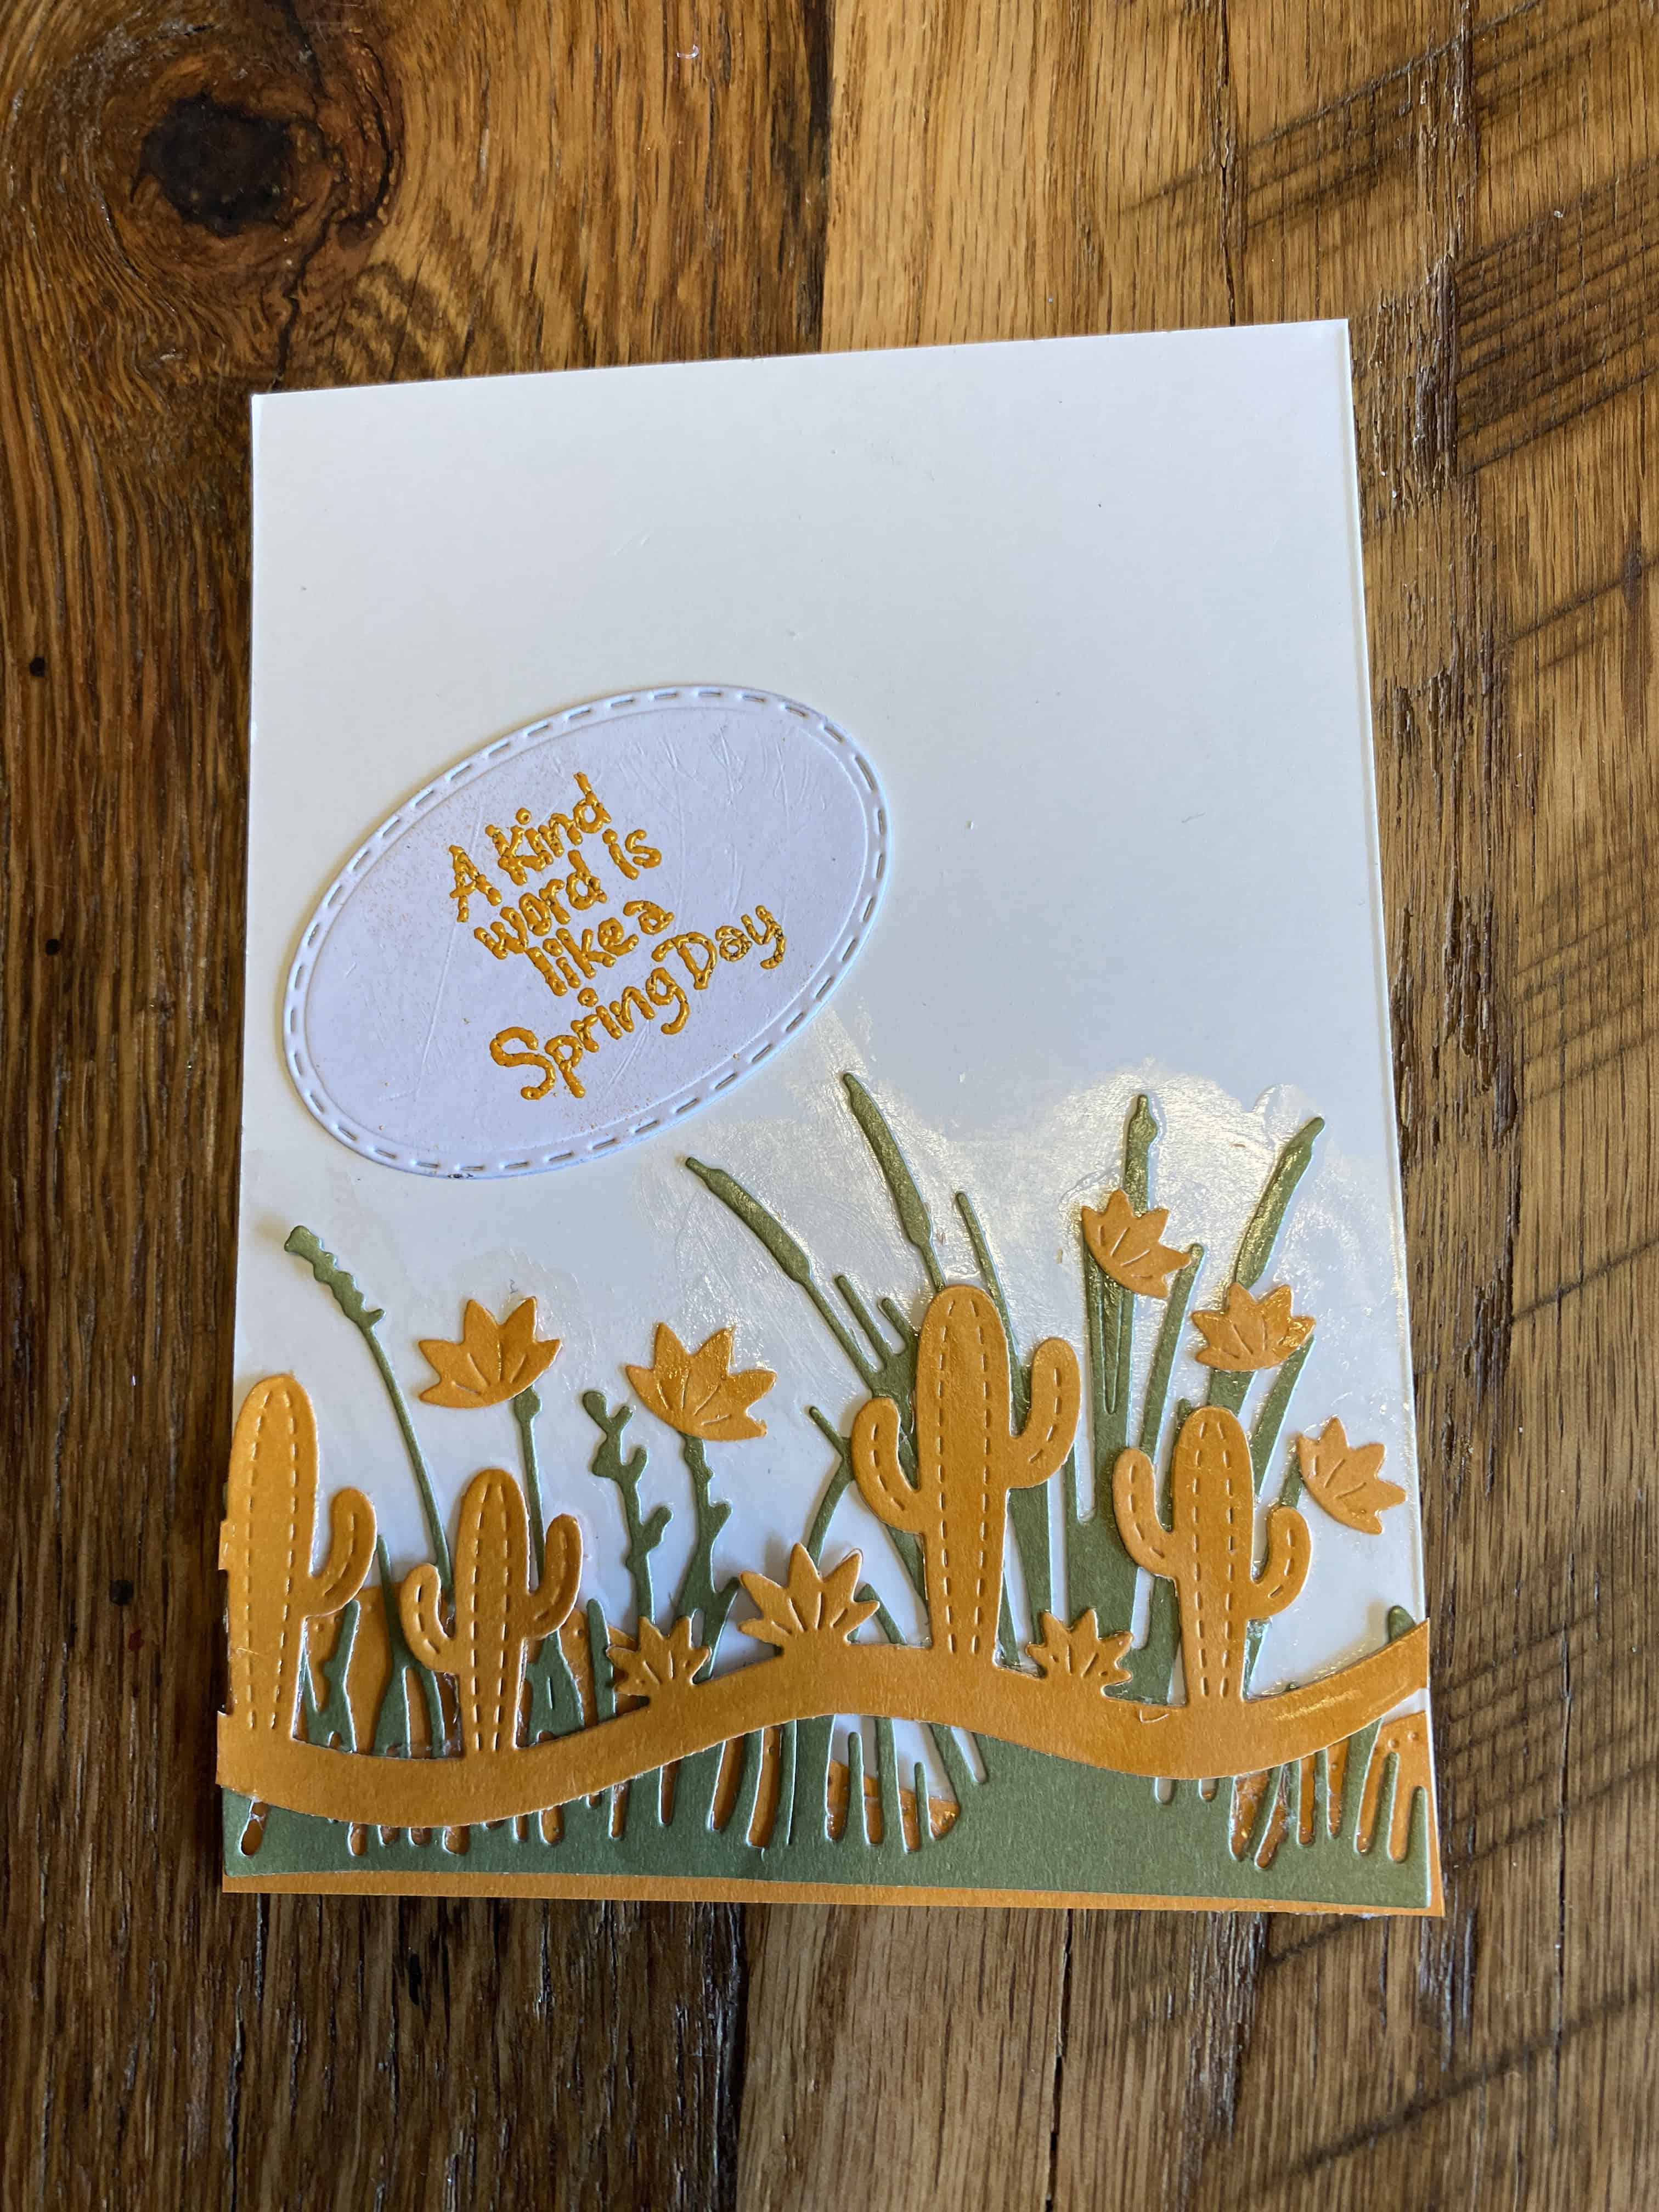
Adhere the greeting to the inner panel!
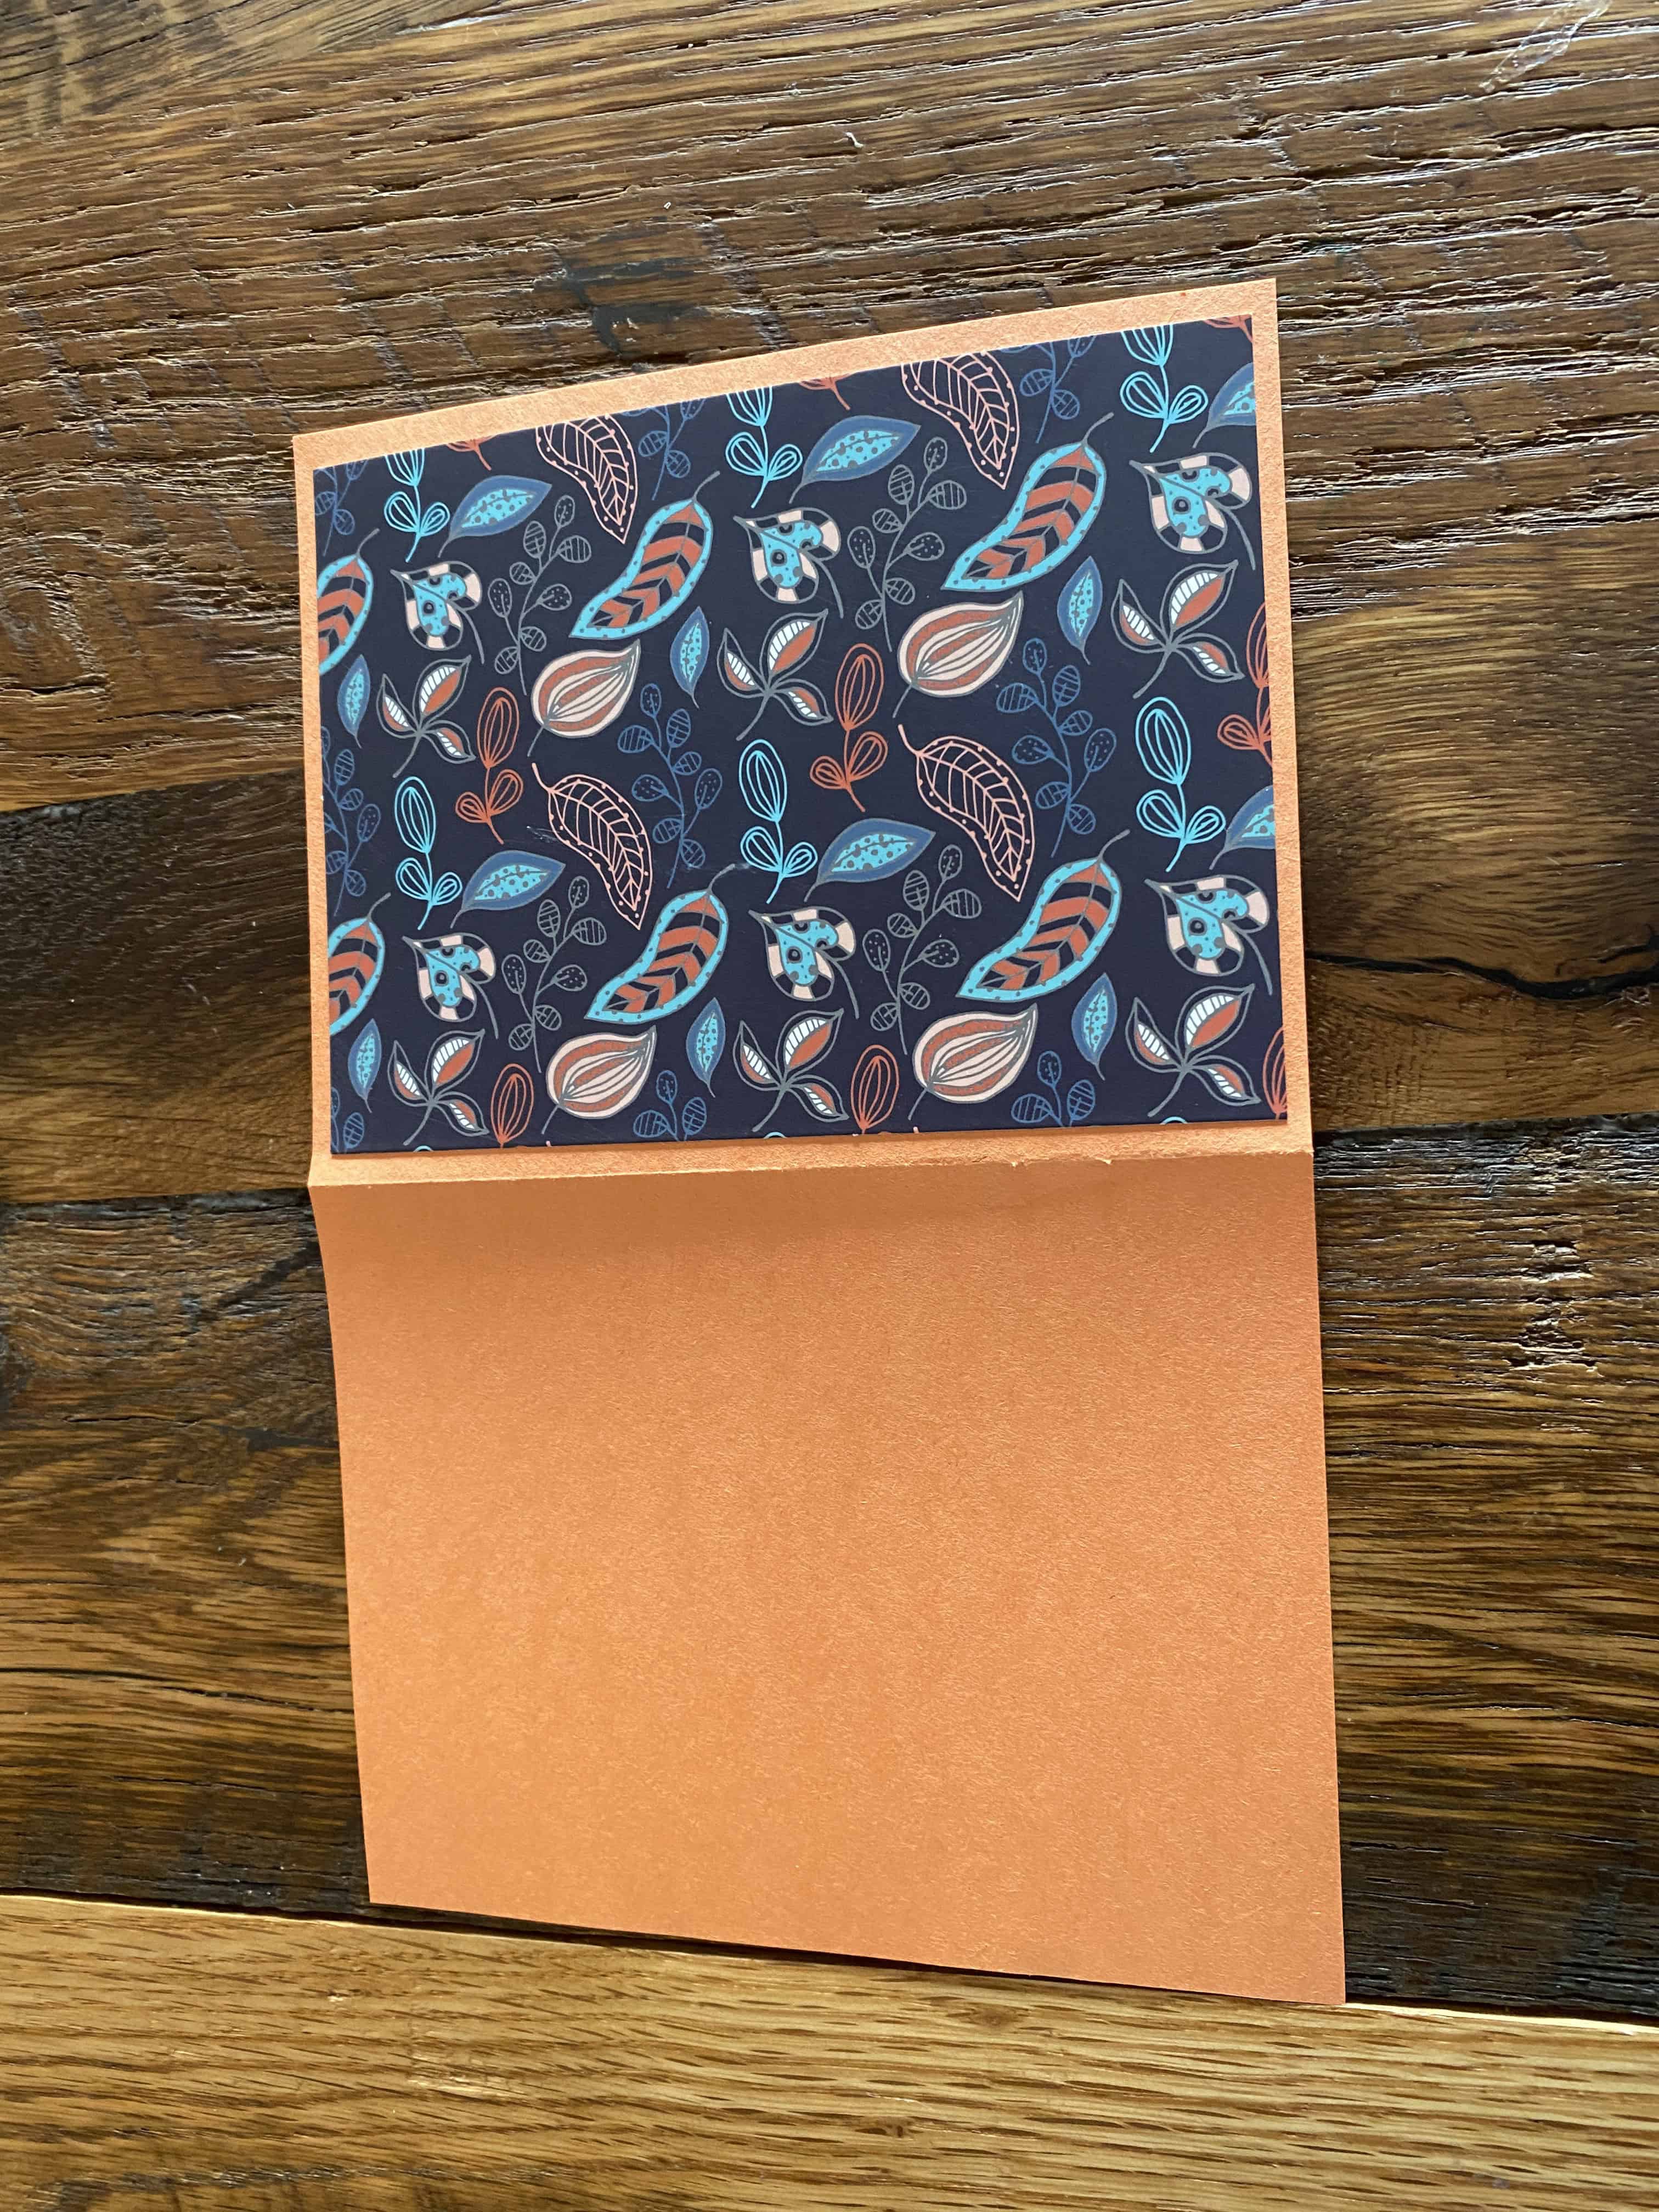
Step 8: Adhere Inner Panel to Inside of Card
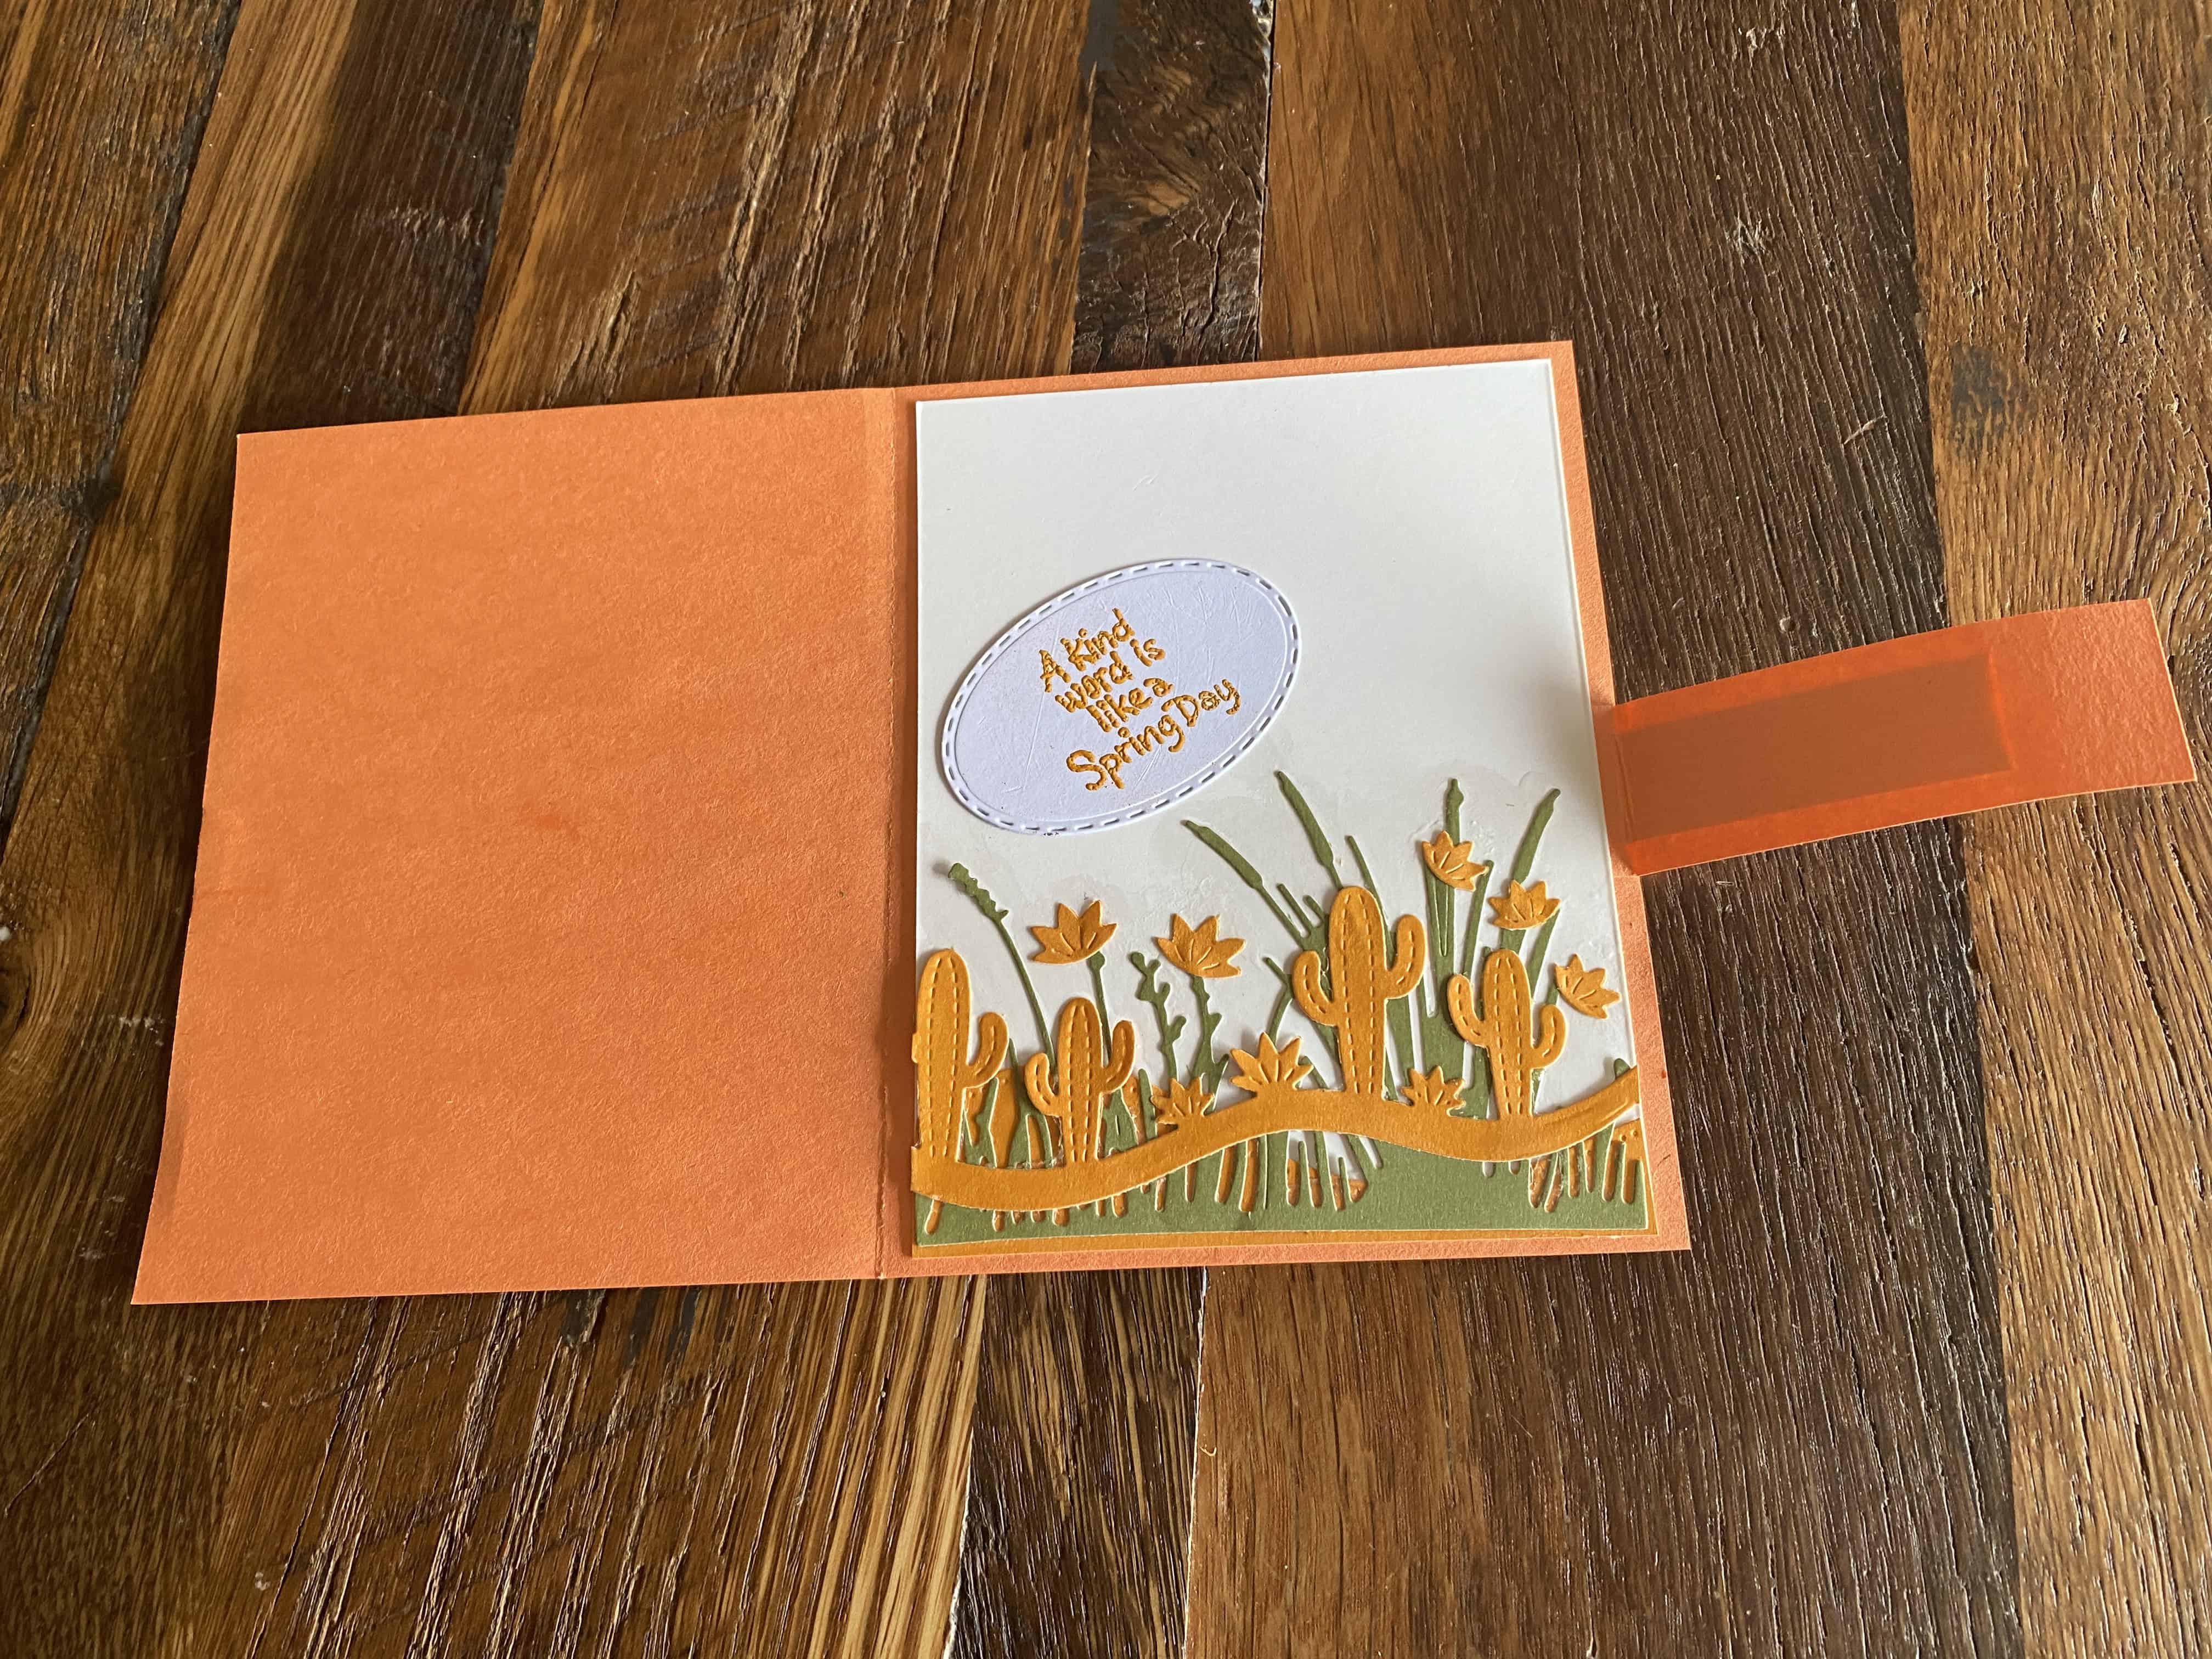
As in Step 4, adhere inner panel to inside of card
Step 9: Adhere Tab to Flap Base
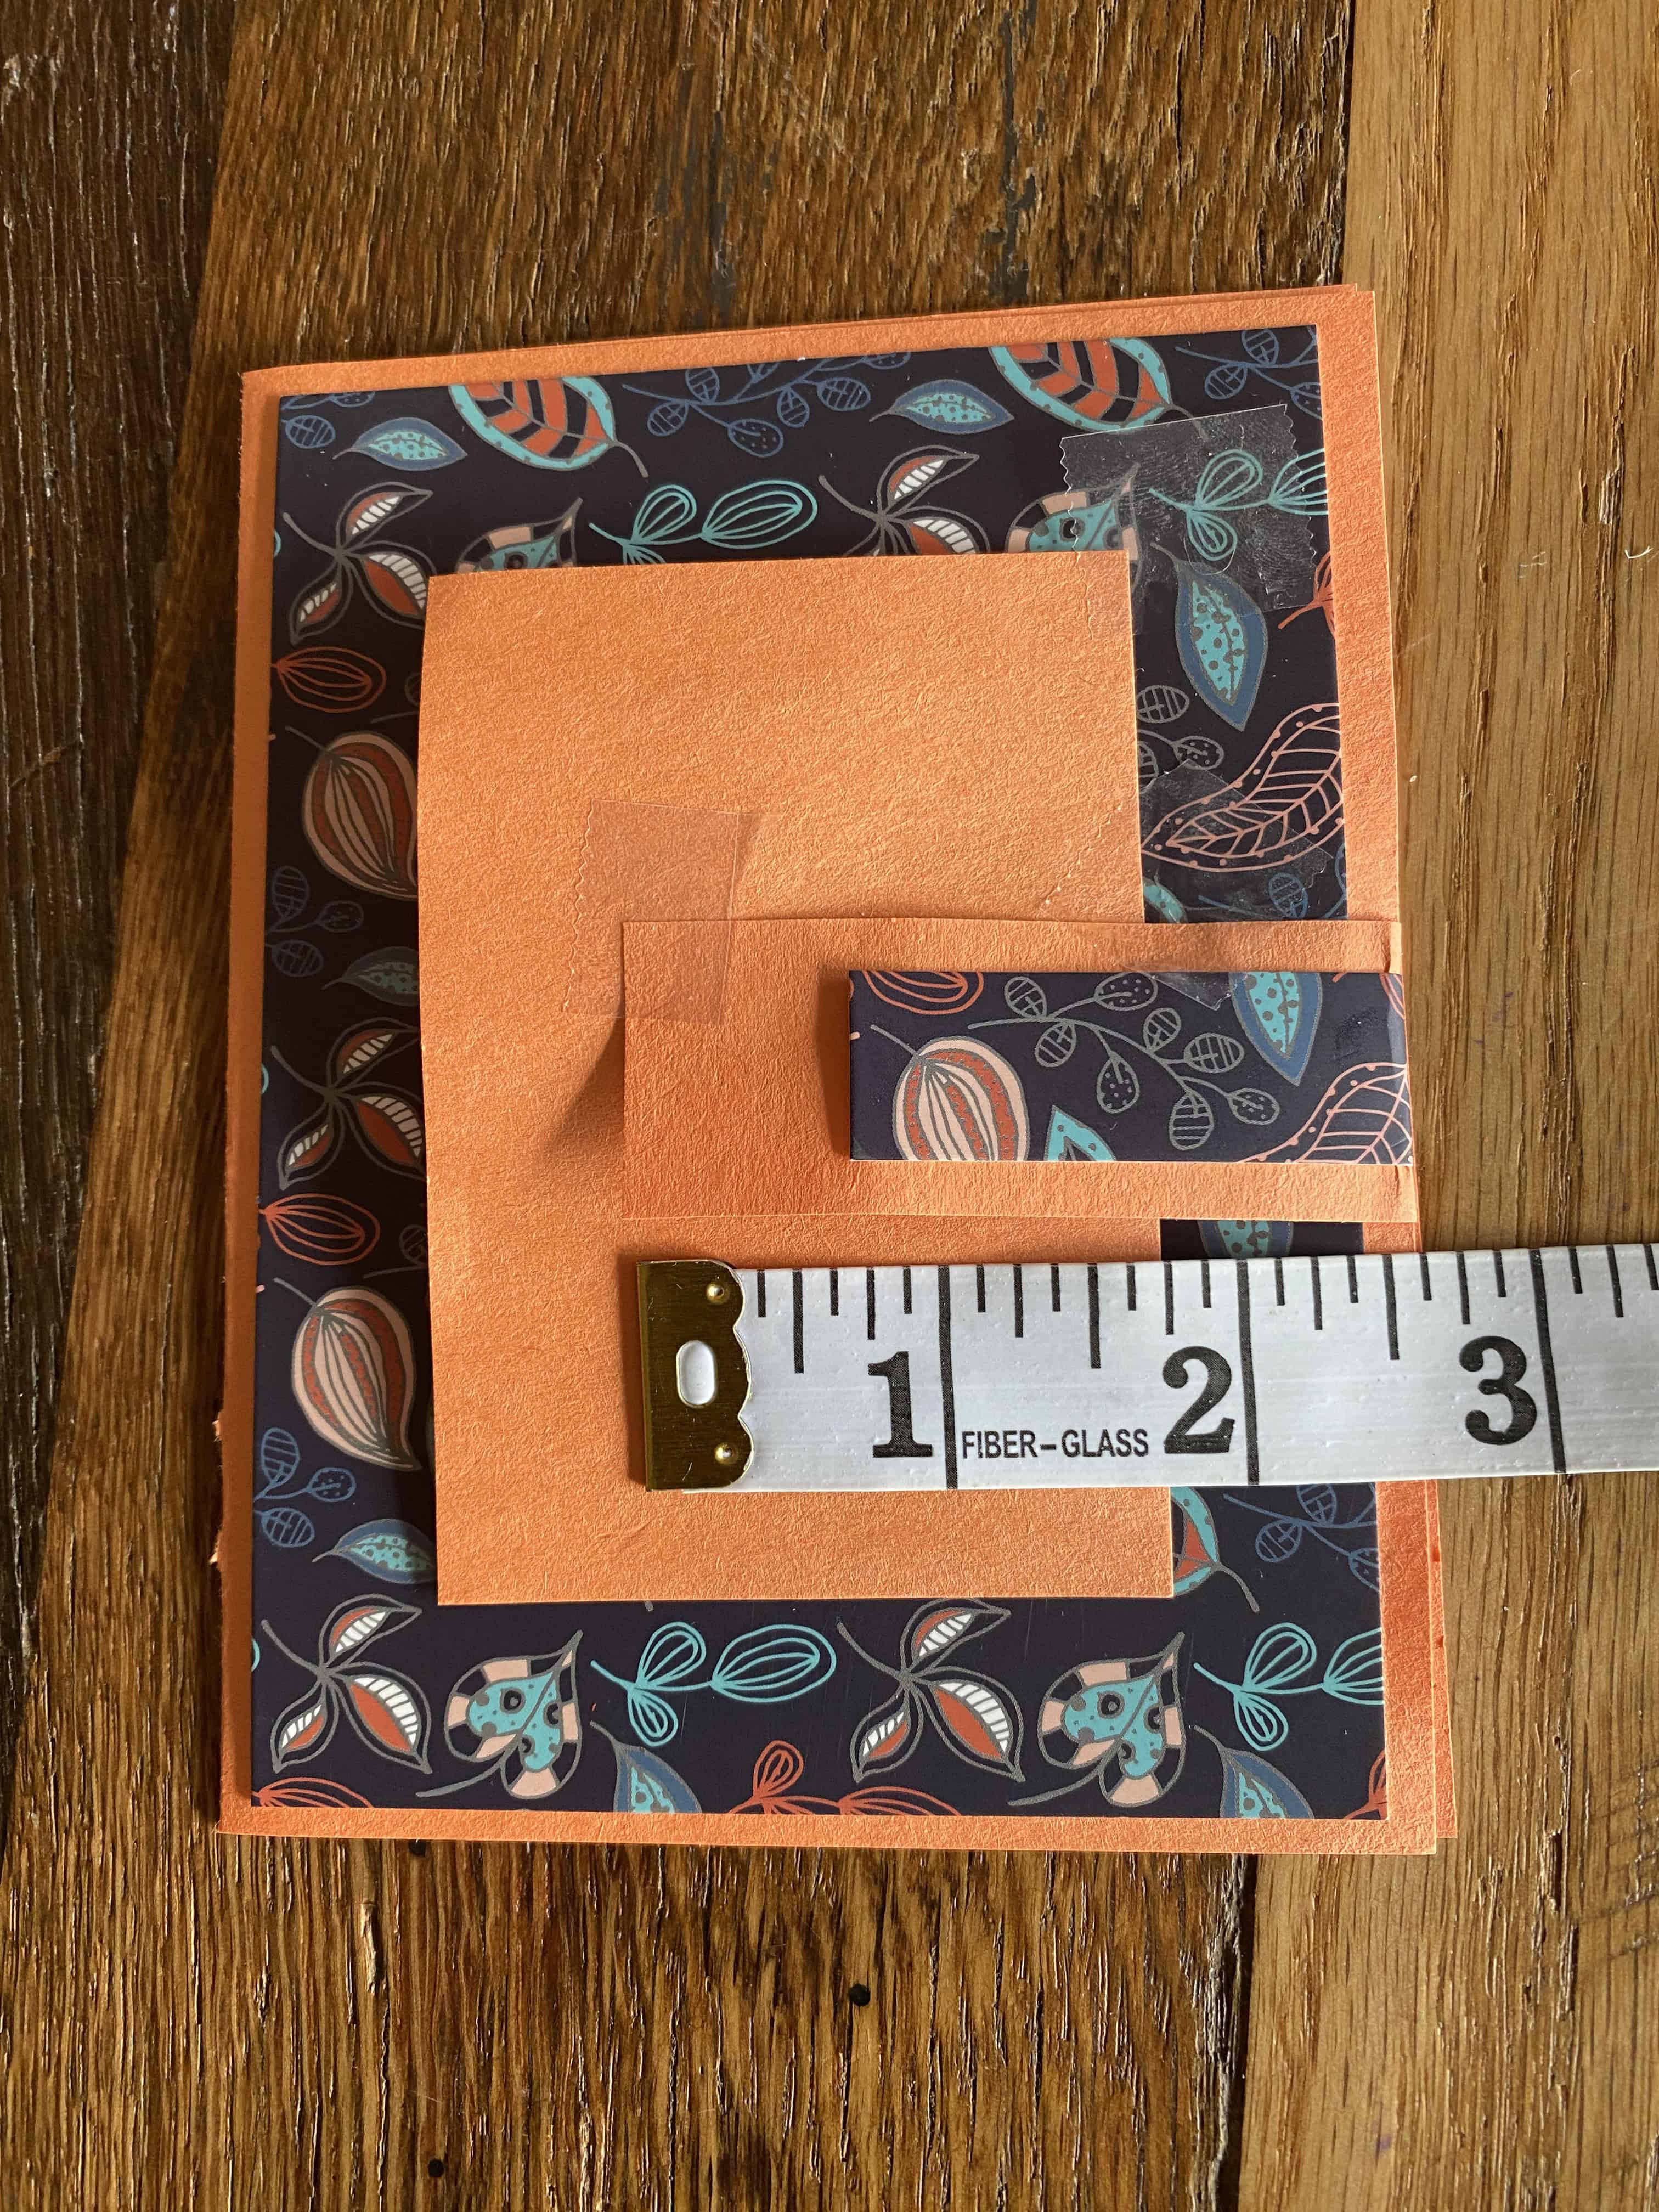
Center the flap base in the main panel. Fold the tab down, and measure from the end of the tab to the edge of the flap: you need to know how far to extend the glue on the back of the tab. (I'll put $\,1\frac34''\,$ of glue on the back of this tab.)
The little pieces of tape you see here were just to hold things down so I could take this photo!
Step 10: Adhere Flap Panel to Flap Base
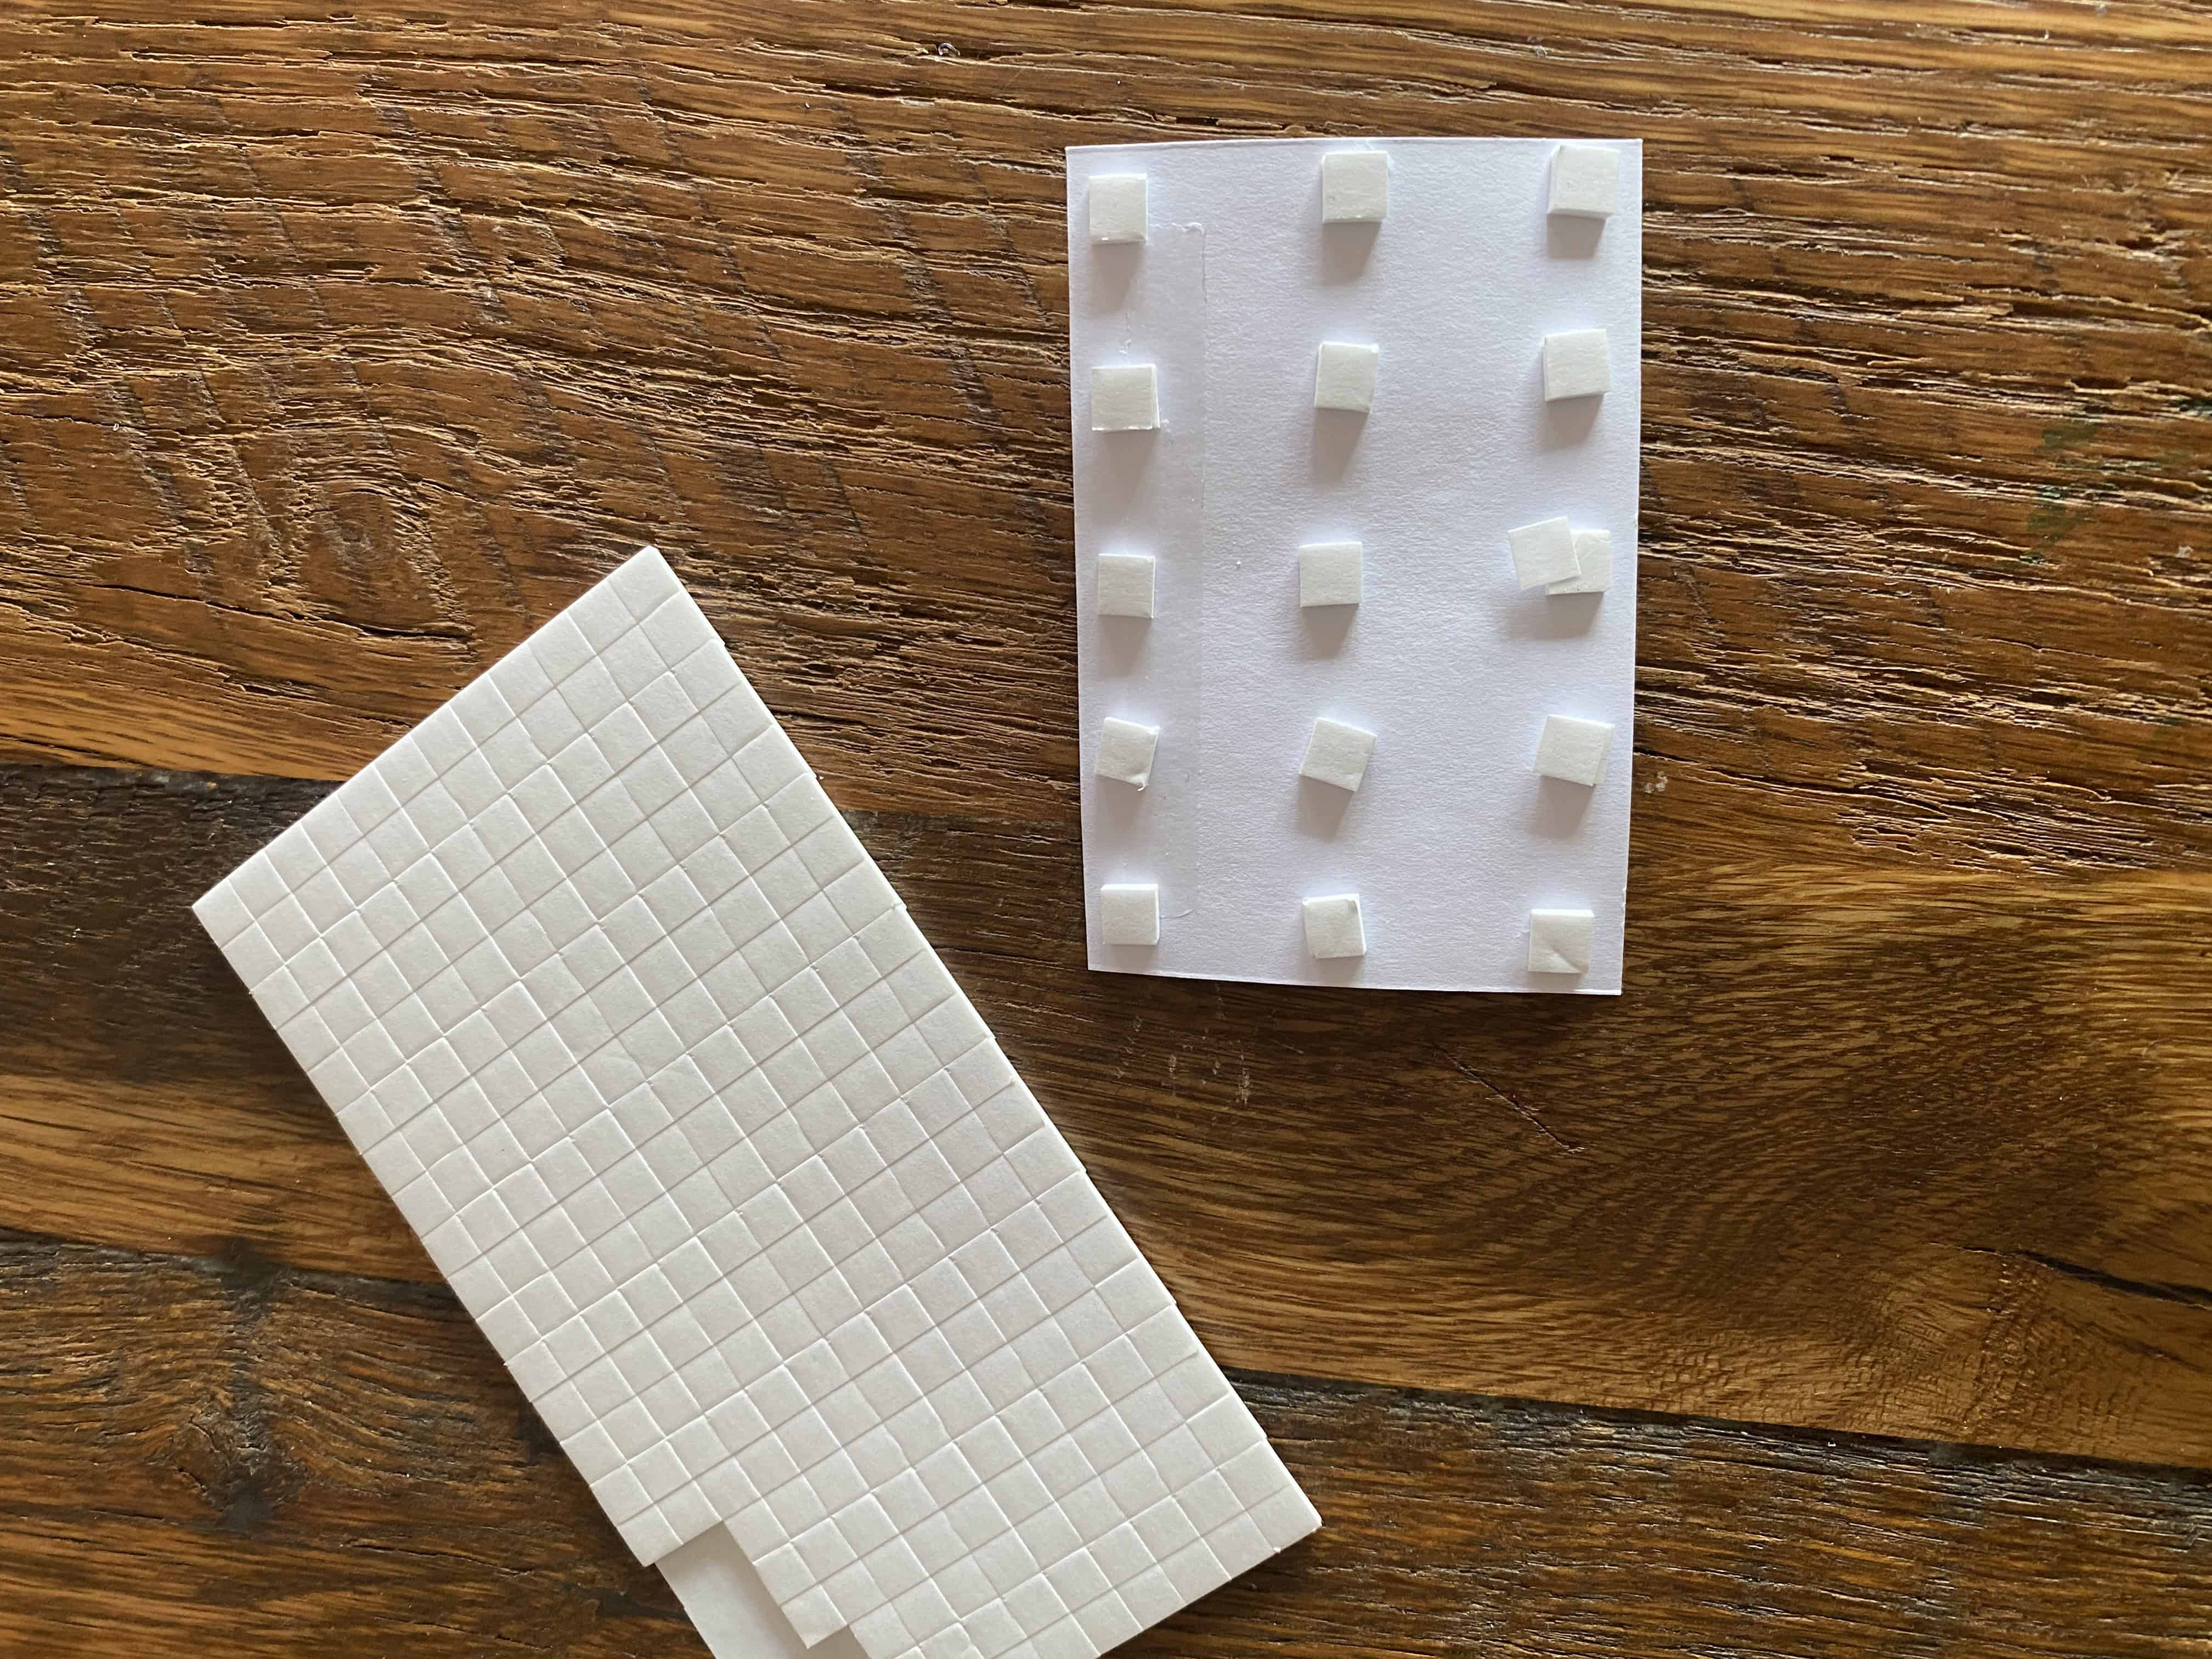
You can use adhesive foam squares to “pop up” the flap panel and give it a raised, 3D effect
I use precision tweezers to help me get the backings off all those teeny-tiny foam squares!
The gorgeous finished card!