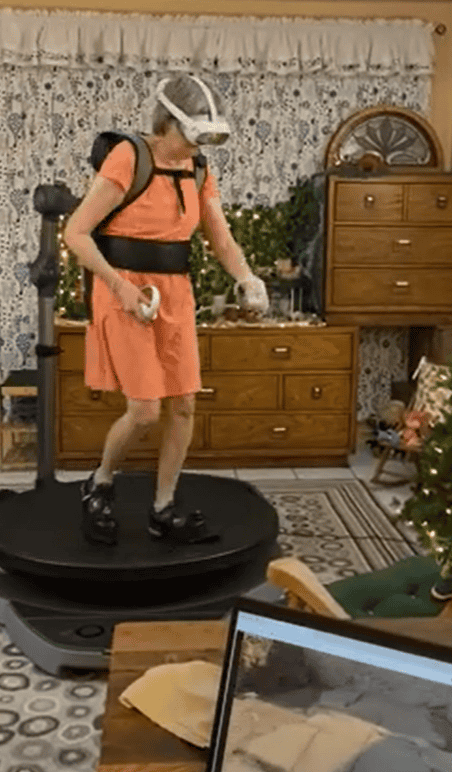
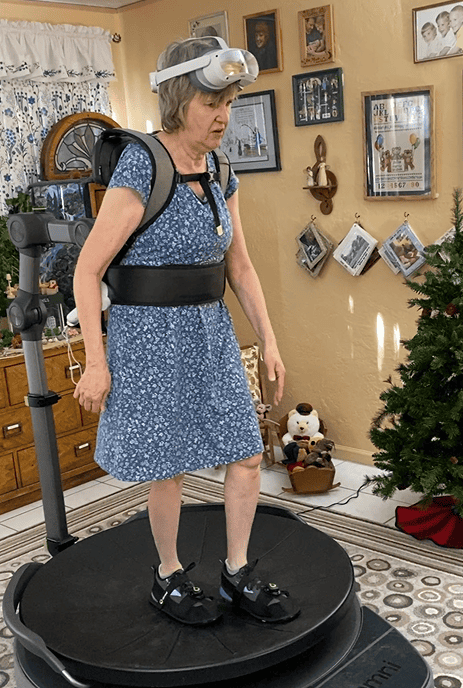
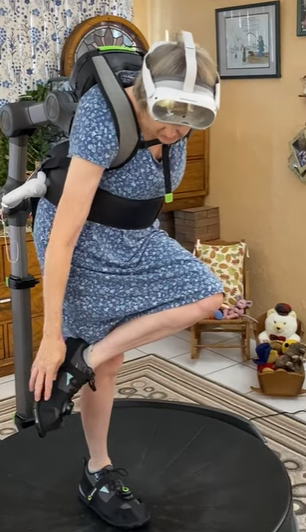
My Experience with the Omni One by Virtuix
This page documents my journey with the Omni One: background, pre-order and order, delivery, setup, preparing to play, and our first (and second) steps.
The Omni One gives you full-body immersion in VR (Virtual Reality). If you've never tried this before, get ready for quite an experience (and great exercise).
Thinking of getting an Omni One? Then, the info on this page might be useful to you. You can get the Omni One here.
There are loads of photos on this page! To get started, you might want to jump to our (hilarious) First Steps videos at the bottom of this page.
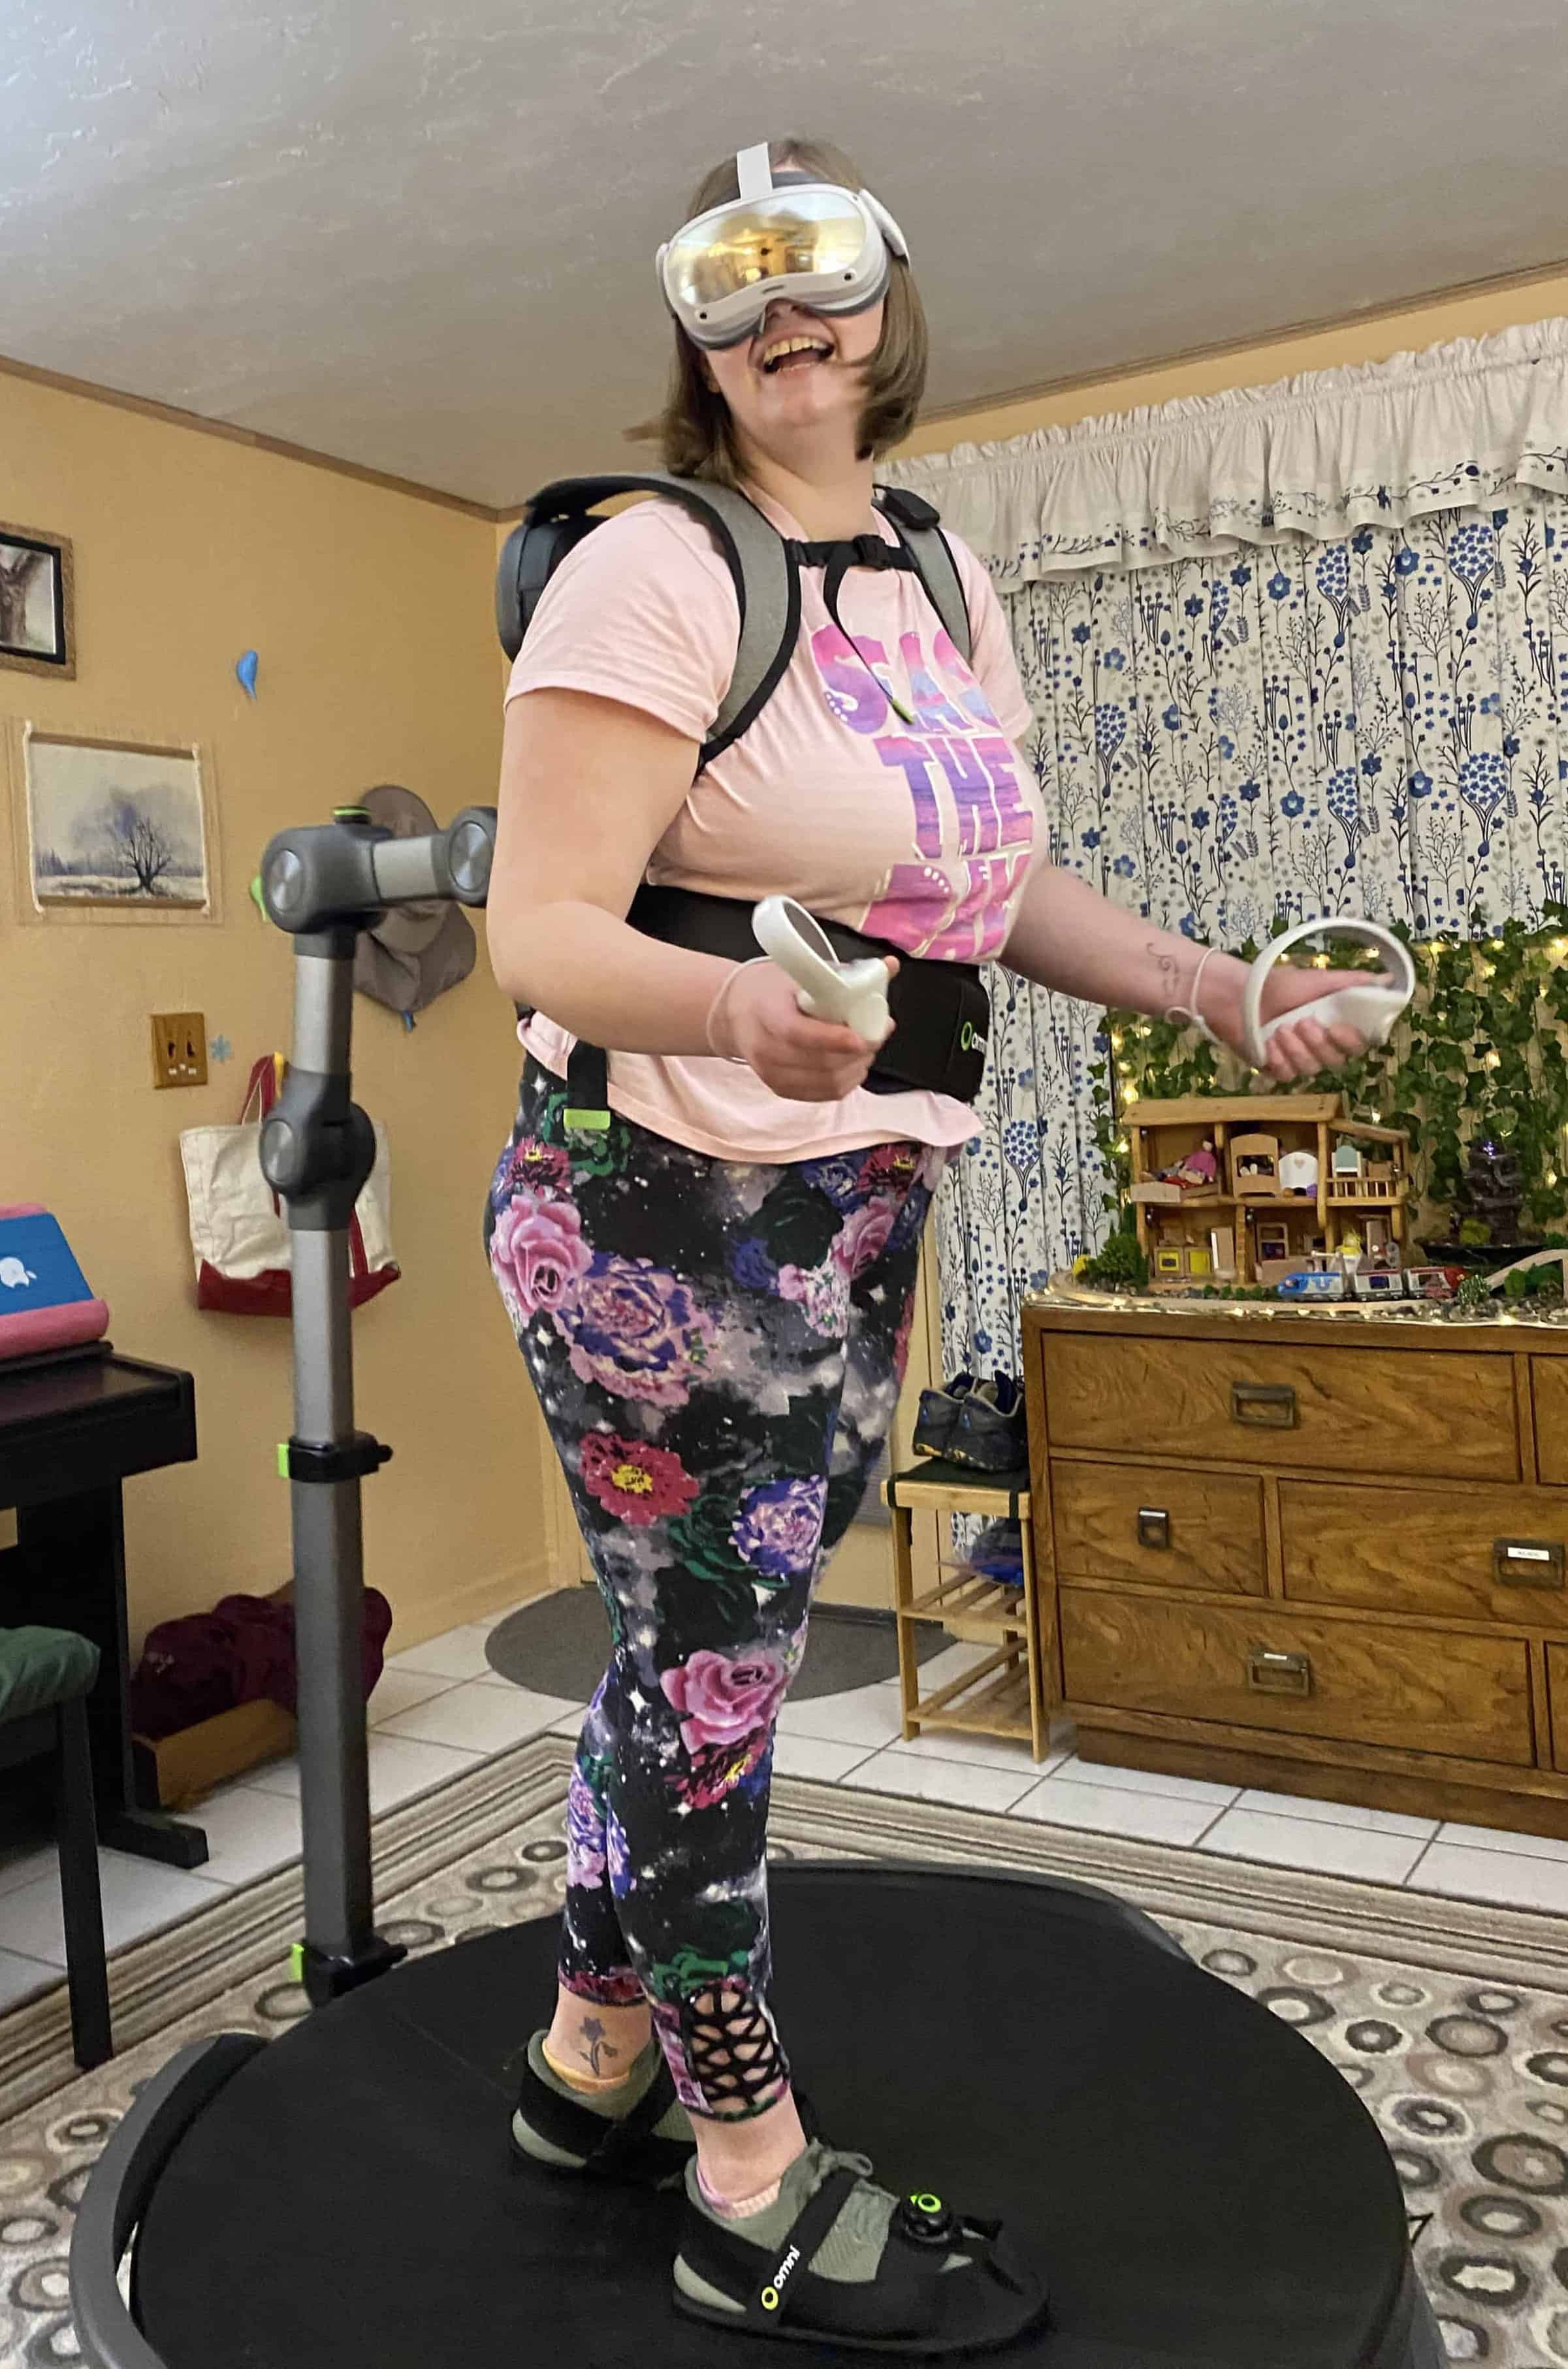
Marybelle's first steps!
(YouTube, 53 seconds)
Background: My Interest in Virtual Reality
For decades, I've loosely followed Virtual Reality. In early 2023, I stumbled on the Omni One (at that time, in development). I recognized it as a (future) opportunity to fulfill my dream of exploring the world virtually.
I am not the target audience for the Omni One. I'm old (66 as of this writing, in November 2024). I've never played video games (except a few minutes, to try and see what all the interest is). I've never worn a virtual reality headset.
I have no interest in gaming on the Omni One. (However, my children sure do!) Instead, I hope to (eventually) take my daily walks in (virtual) exotic places.
Pre-Order and Order
Wanting to support Omni One development, I became a Virtuix stockholder on May 7, 2023. It helped that they offered good incentives for a future purchase of the Omni One. (Note: the monthly investor newsletters are great.)
On September 16, 2023, I put down a \$200 deposit for pre-order of my own Omni One. I did not want a beta unit. Instead, as an investor, I would be first in line to get the ‘general release’ model. In March 2024, I paid in full for my Omni One.
Things that are worthwhile are worth waiting for. Getting something right takes time. These played out with the Omni One.
Virtuix is one classy and honest business: when delays occurred, they offered me a full refund of my money until the Omni One was ready to ship. I chose not to get my money back. I thought they could make good use of my funds for development. (Also, I didn't want to risk spending the money on something else.)
At various times during the waiting process, I got discouraged and even a bit worried—was I a victim of a very elaborate scam? Was there really a product in my future? So, I wrote to help@virtuix.com . With no exceptions, my emails were answered promptly, professionally, kindly, and reassuringly. Really good customer service.
Pre-Delivery
On November 18, 2024 I received an email from Virtuix: ‘Your Omni One is Shipping!’
On November 19, 2024, I received my first email from BTX Global Logistics (https://www.btxglobal.com) with preliminary shipping information. It included a link to a tracking page where I could follow the progress of my Omni One shipment.
On Monday, November 25, 2024, I got a telephone call from the shippers, wanting to set up a delivery window for the next day. My window was 9AM to 2PM; someone needed to be at the delivery address the entire time.
The preliminary shipping information said the shipment was 380 pounds. (The actual weight ended up being 304 pounds.) I arranged for two of my adult ‘bonus kids’ to come on Tuesday afternoon to move the delivery inside and set it up with me.

Preparation for delivery: large pieces of cardboard to protect the rug, in case the boxes were dirty. Ends up this wasn't needed.
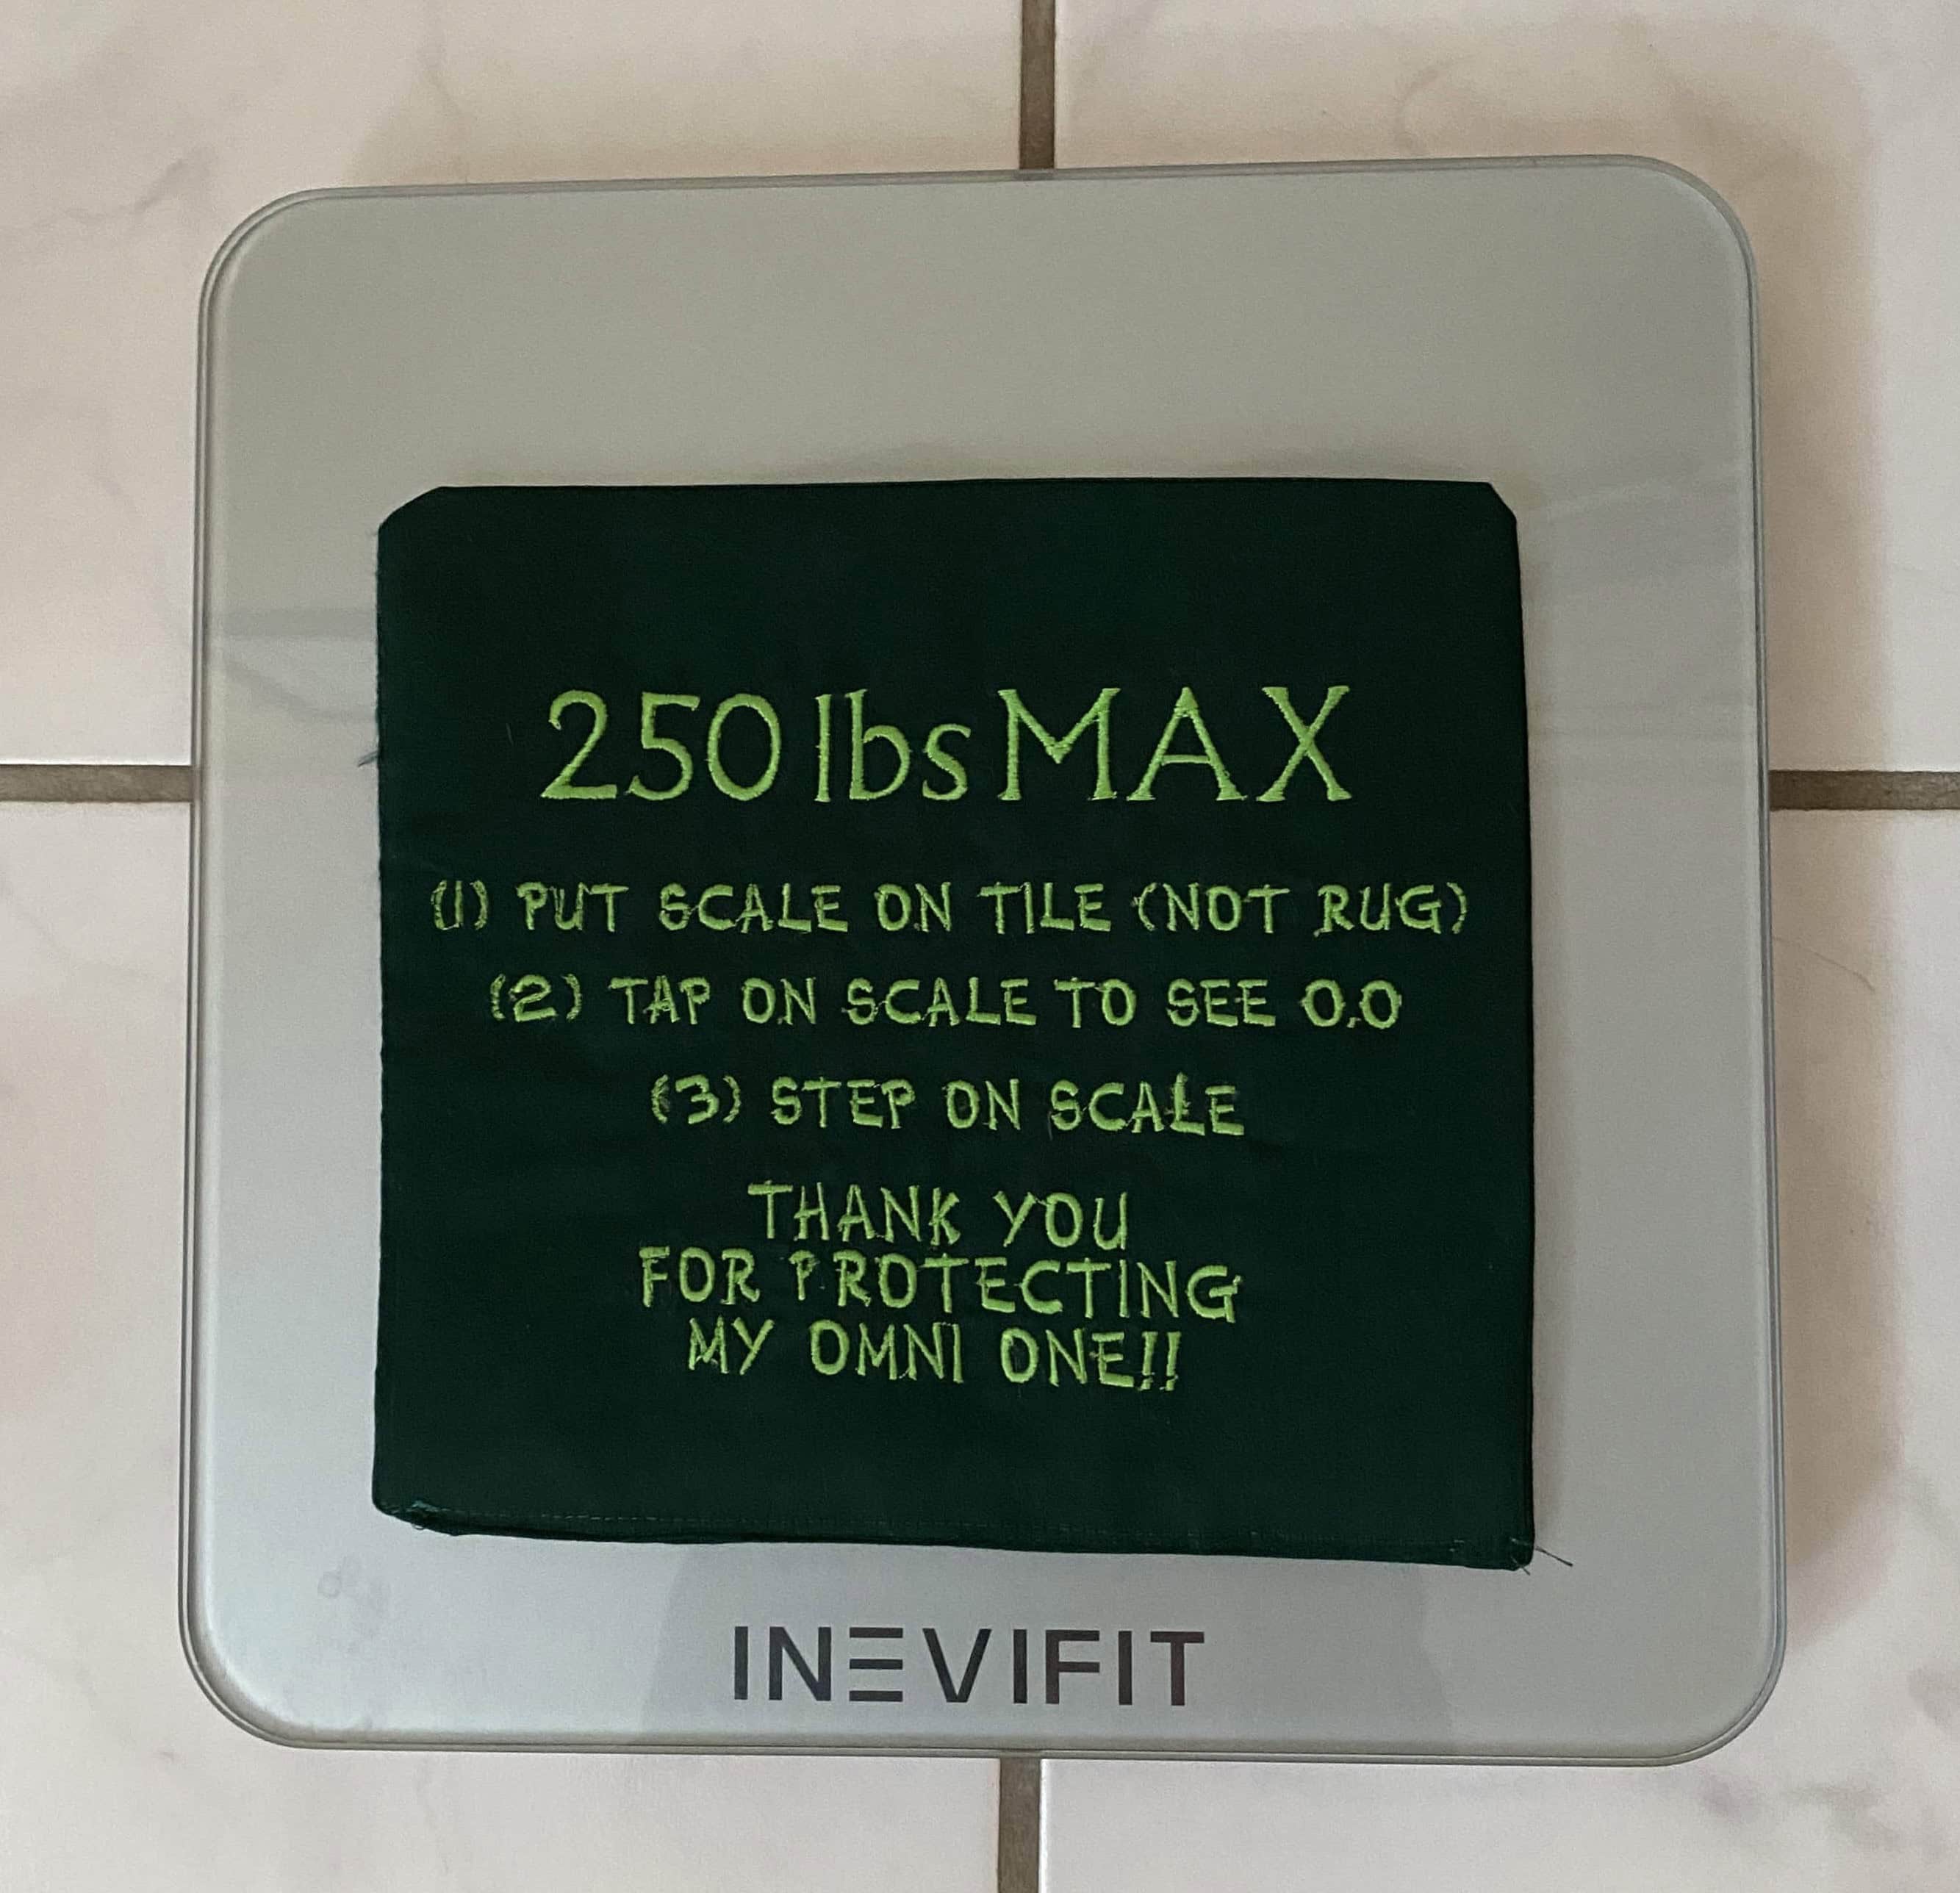
More prep: A custom-embroidered sign to notify potential users of the 250 pound max weight limit on the Omni One
Delivery
Tuesday, November 26, 2024: Shortly before noon, the delivery driver knocked on my door. Several minutes later, the Omni One was delivered. I signed for it and got my copy of the shipment papers. (I received an email confirmation of delivery from BTX Global Logistics the next day.)

Bigger box wouldn't quite fit through the entry ...
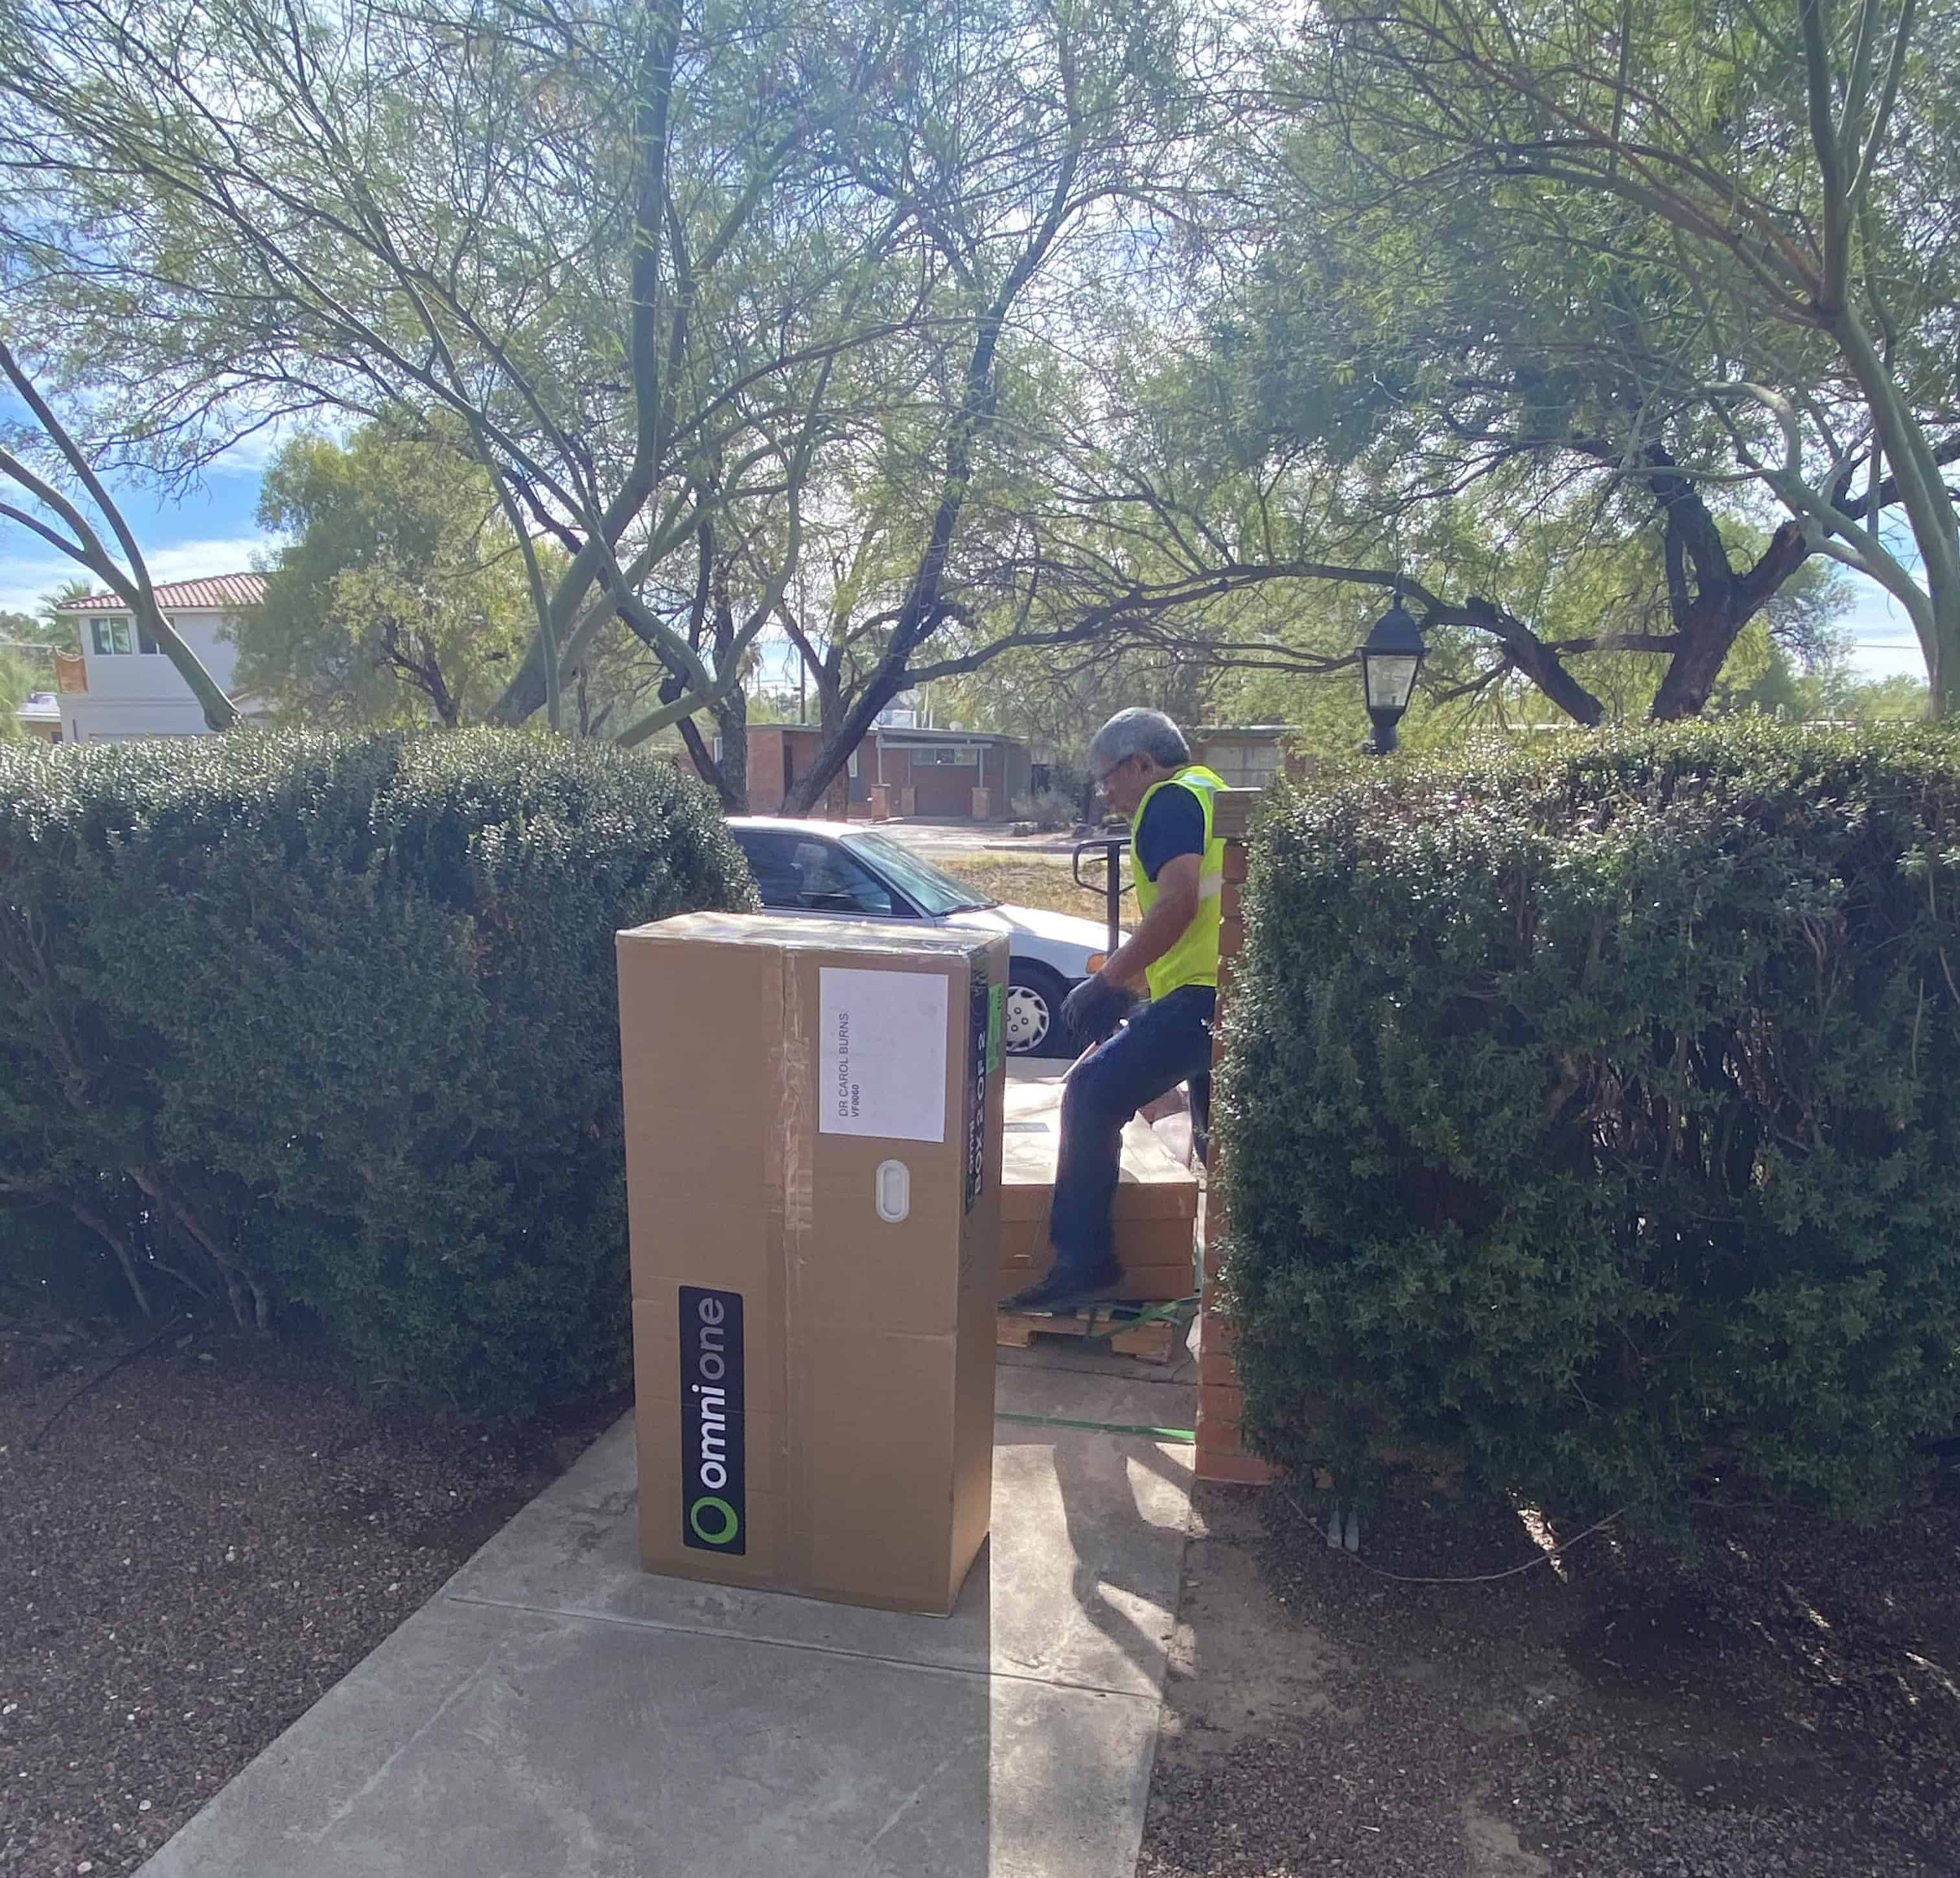
... so boxes needed to be separated.

A different delivery company saw my (single) delivery man struggling. He stopped and helped. Such kindness!
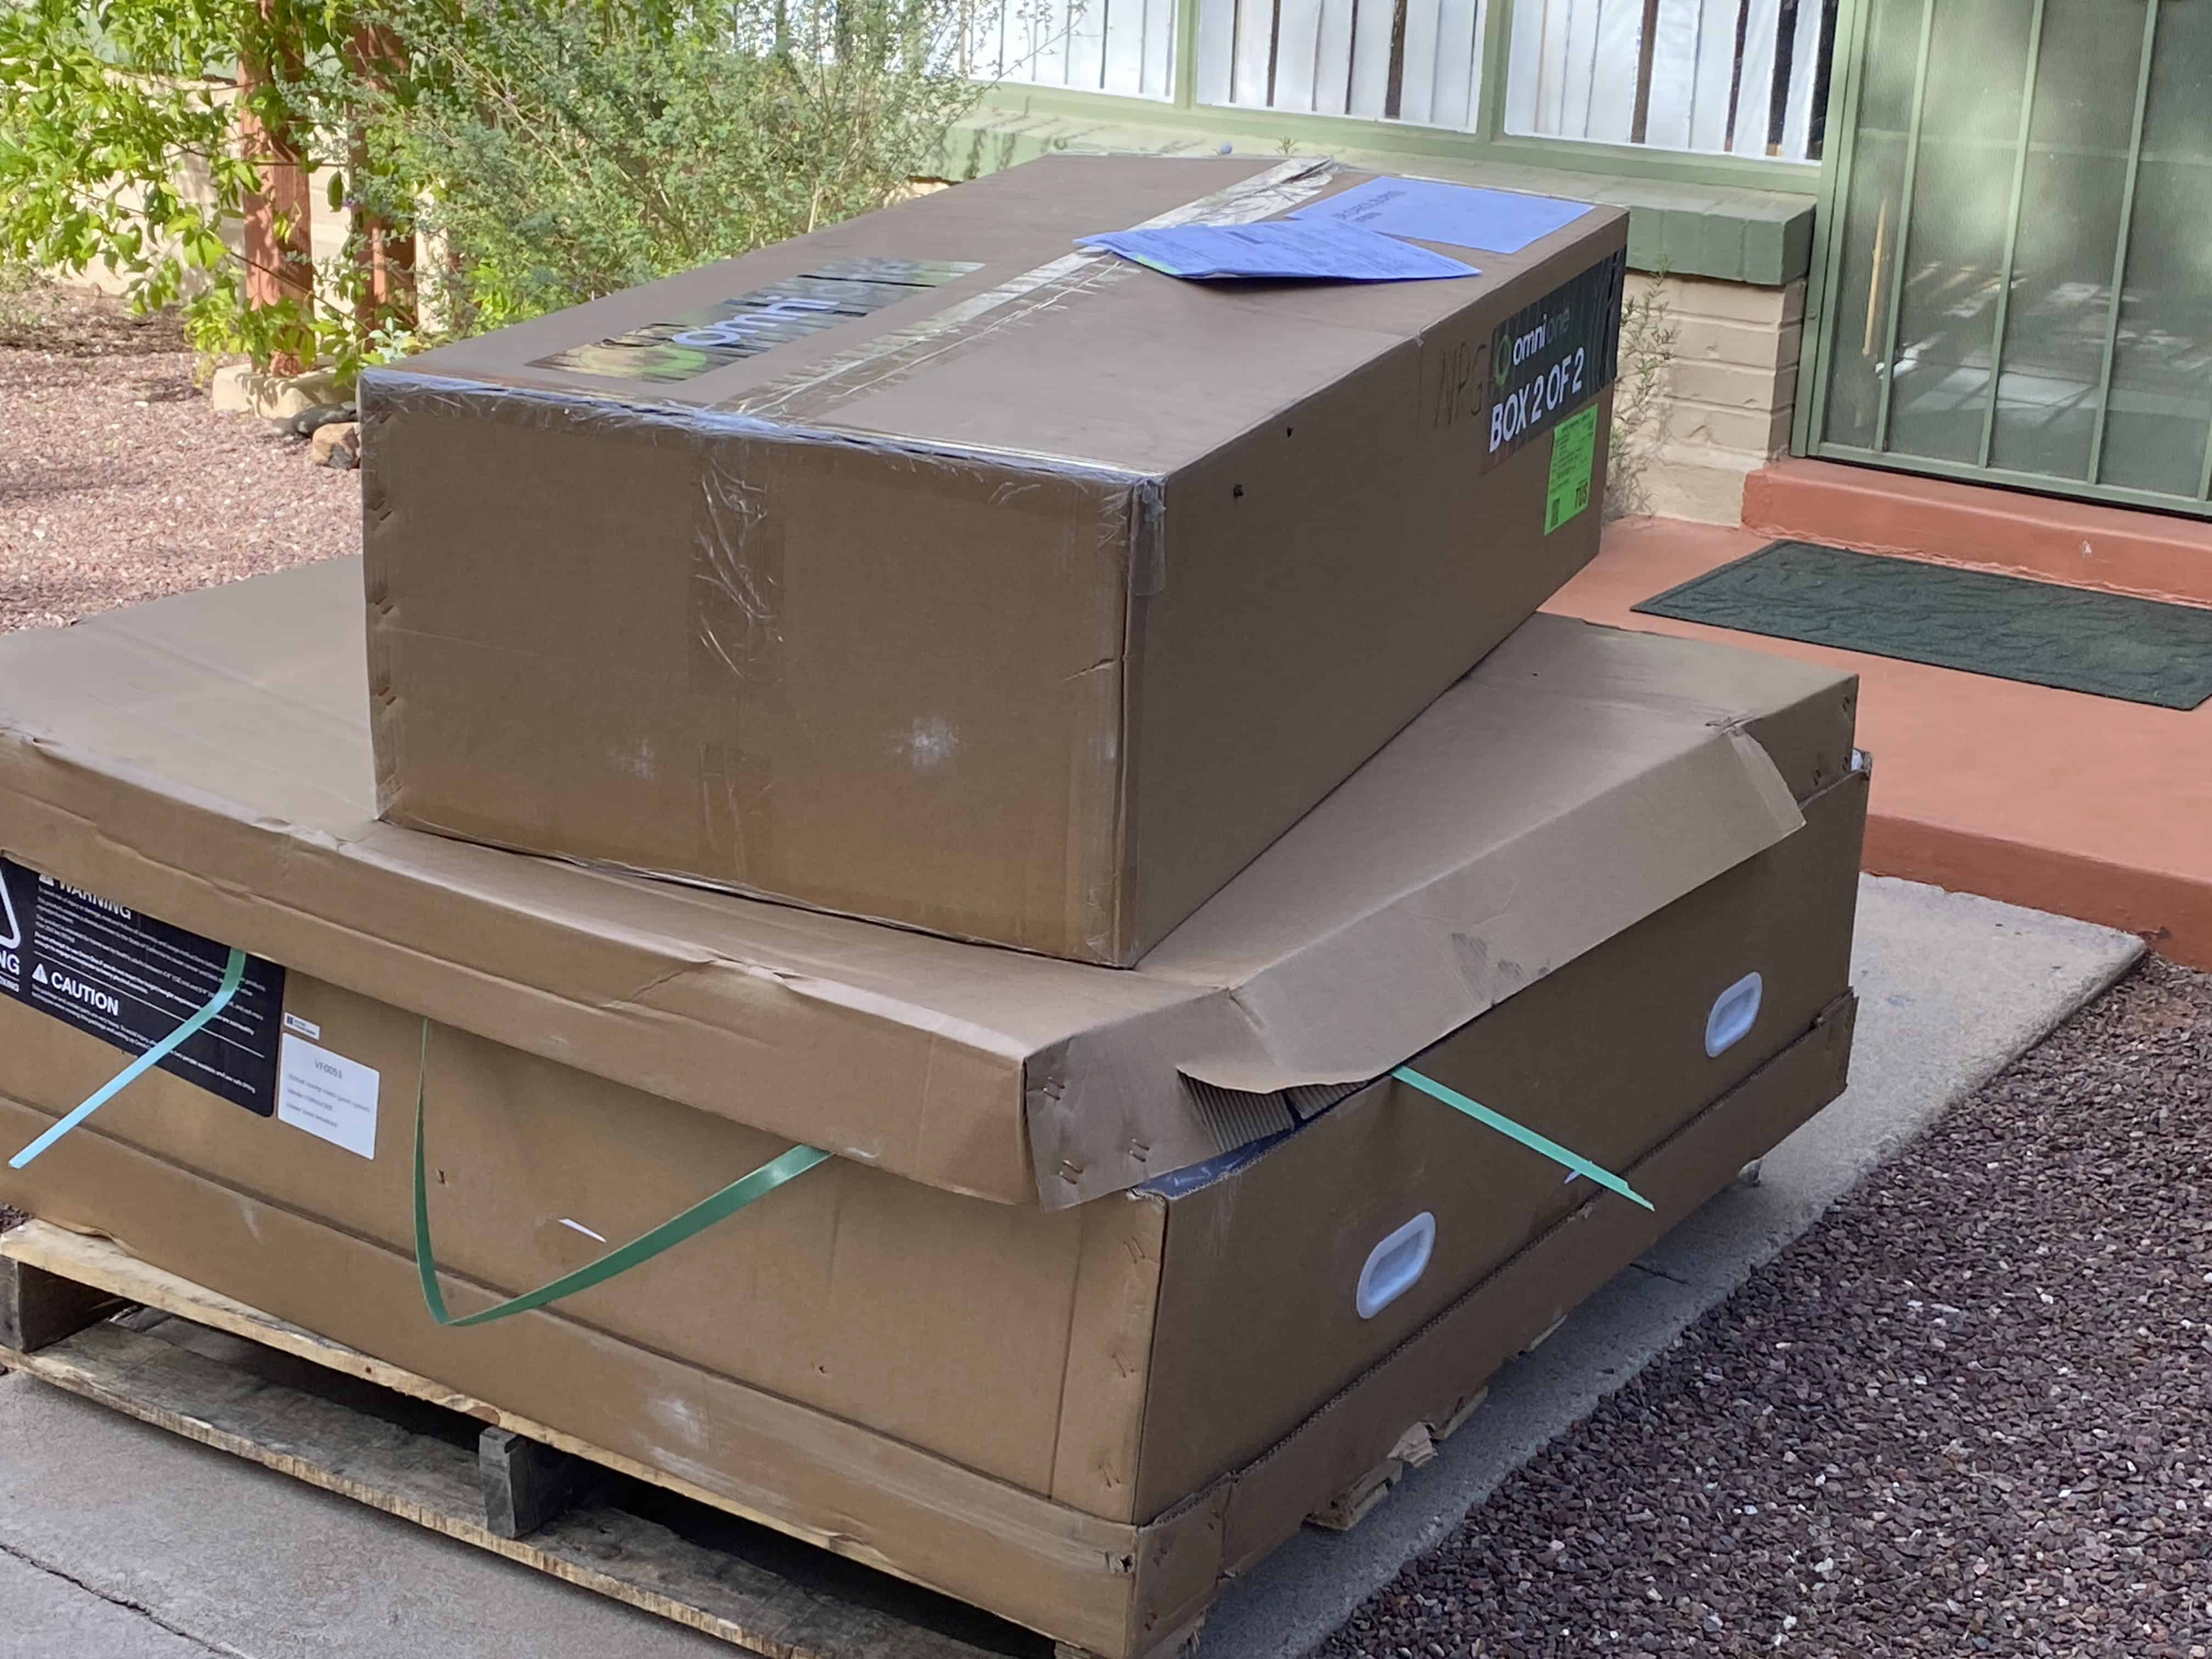
Two boxes, on both a pallet and plywood sheet, were delivered to just outside my front door.
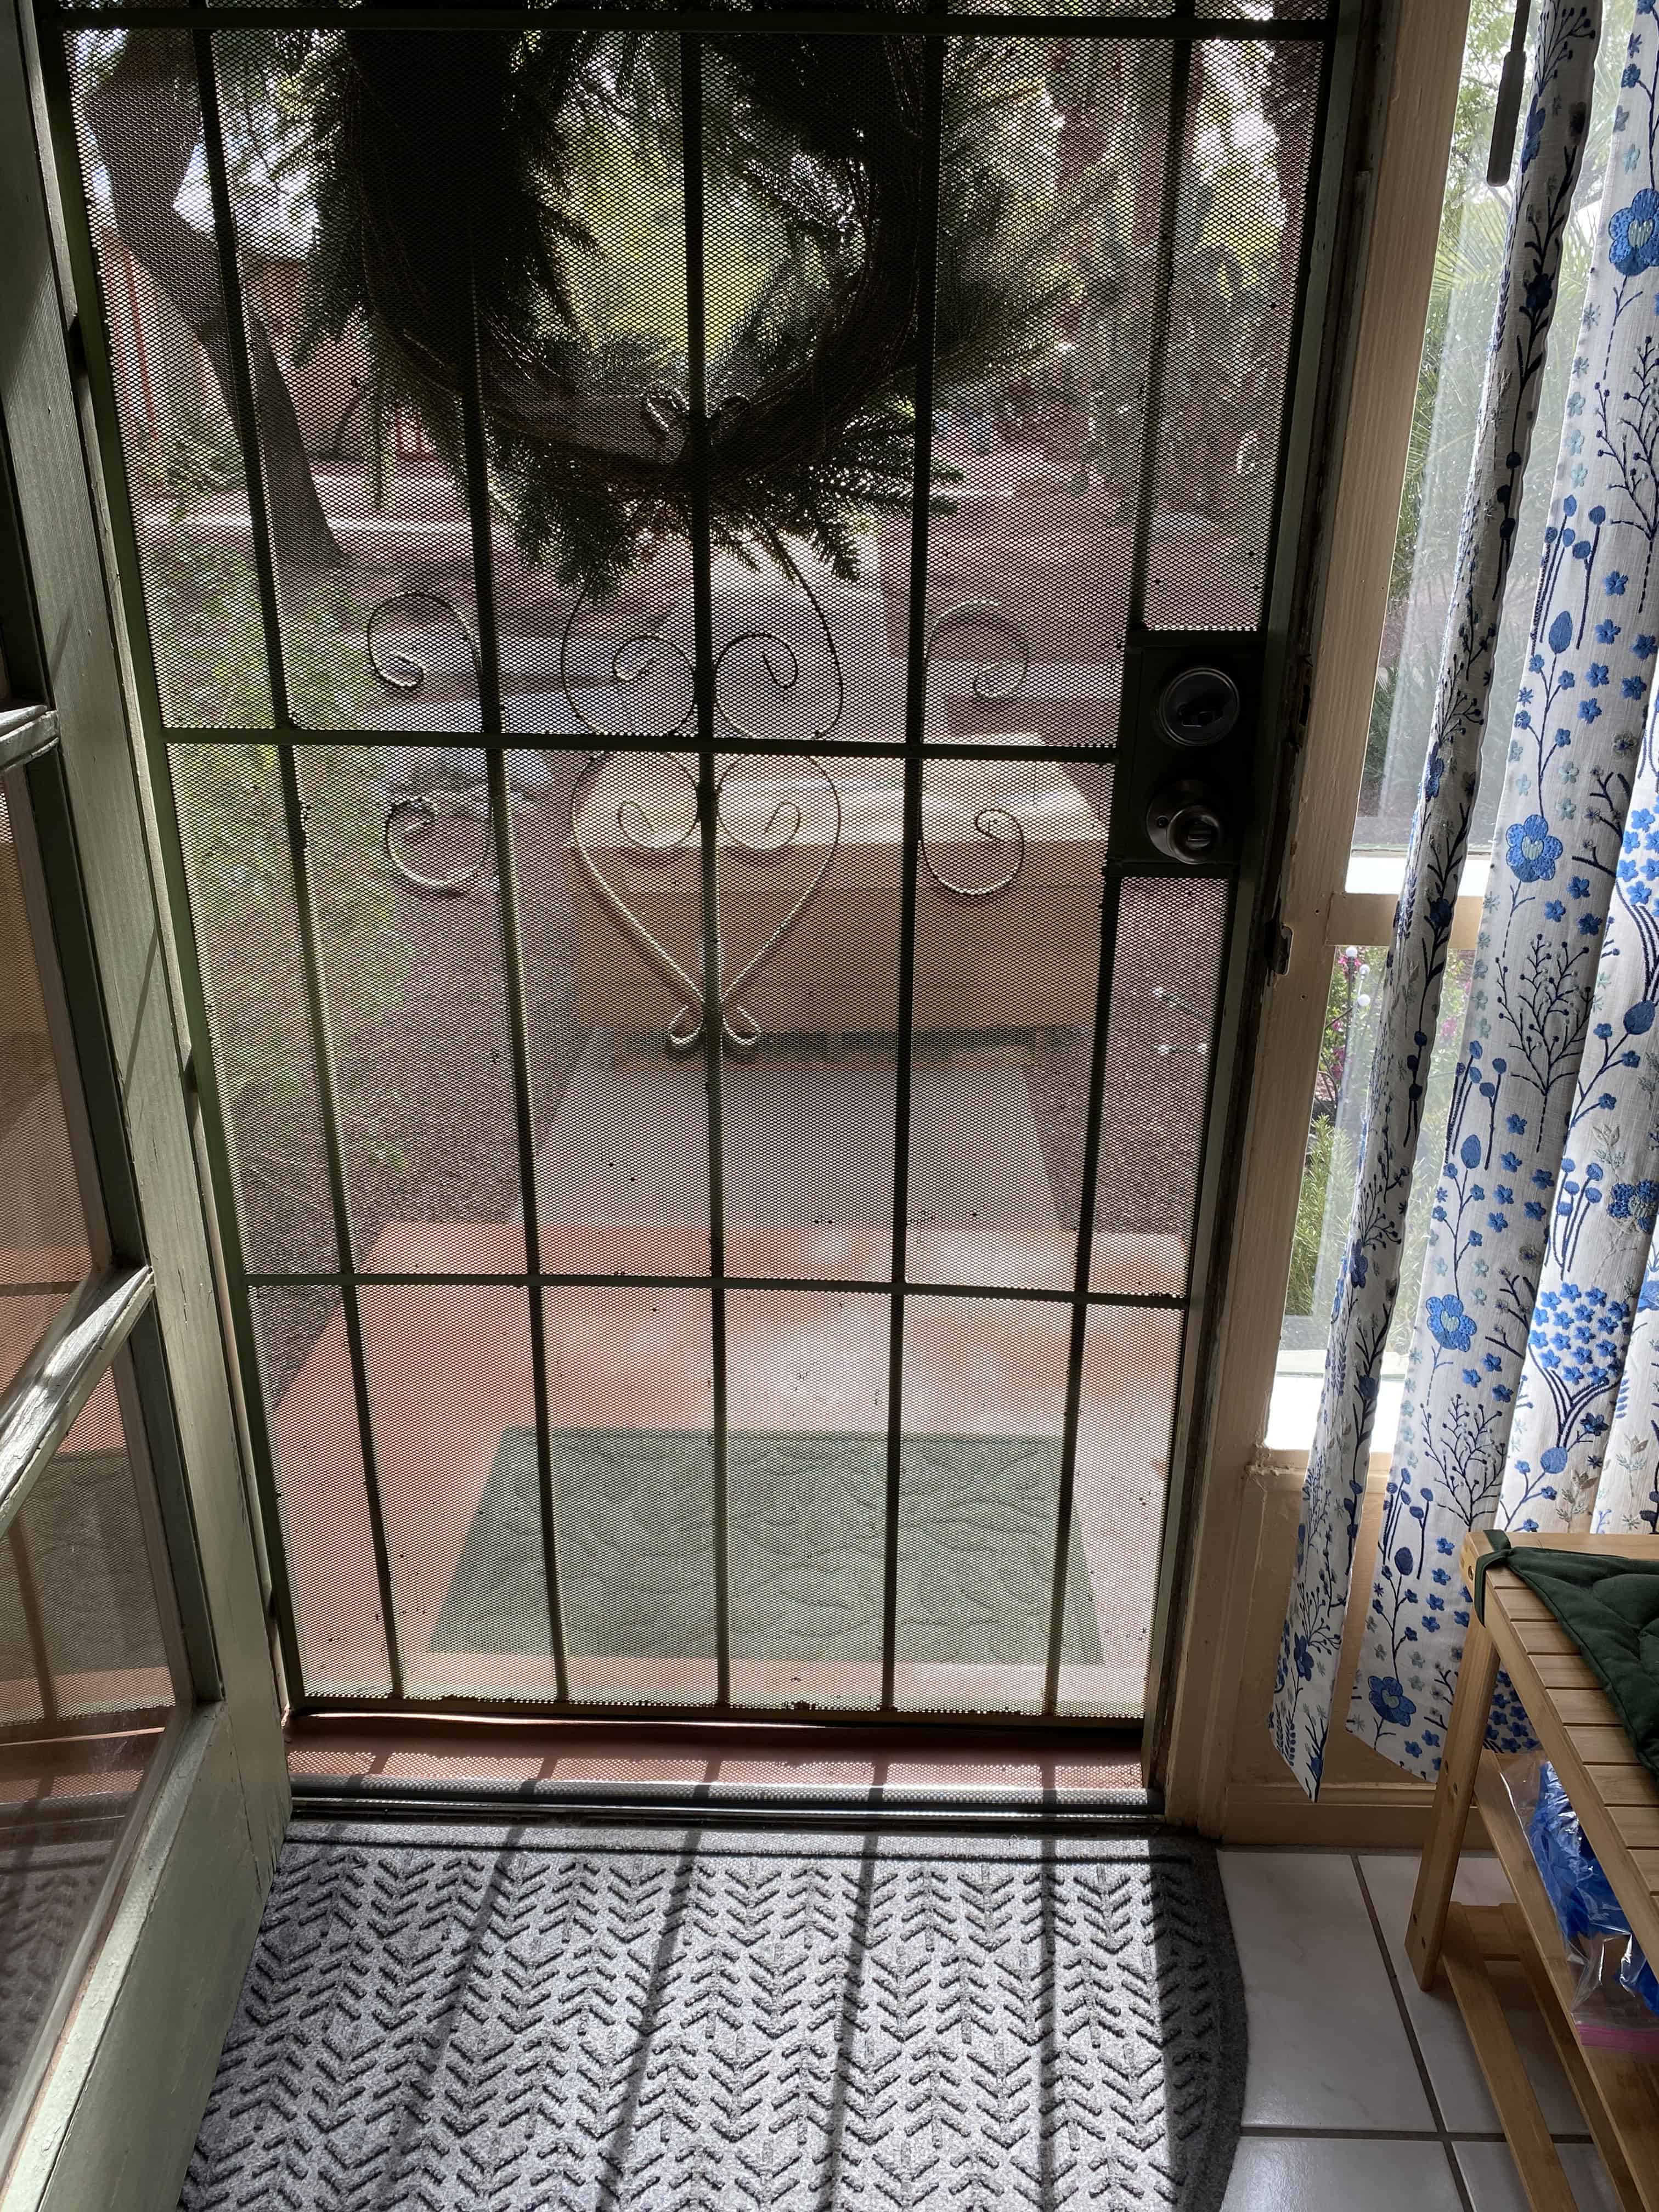
I got the smaller box in myself, by ‘flipping’ it end-over-end (slowly and carefully). The bigger box remained outside until later in the day when I had help coming. (Luckily, no rain!)
Setup
Smaller Box
I started with the smaller box, since it was in the house:
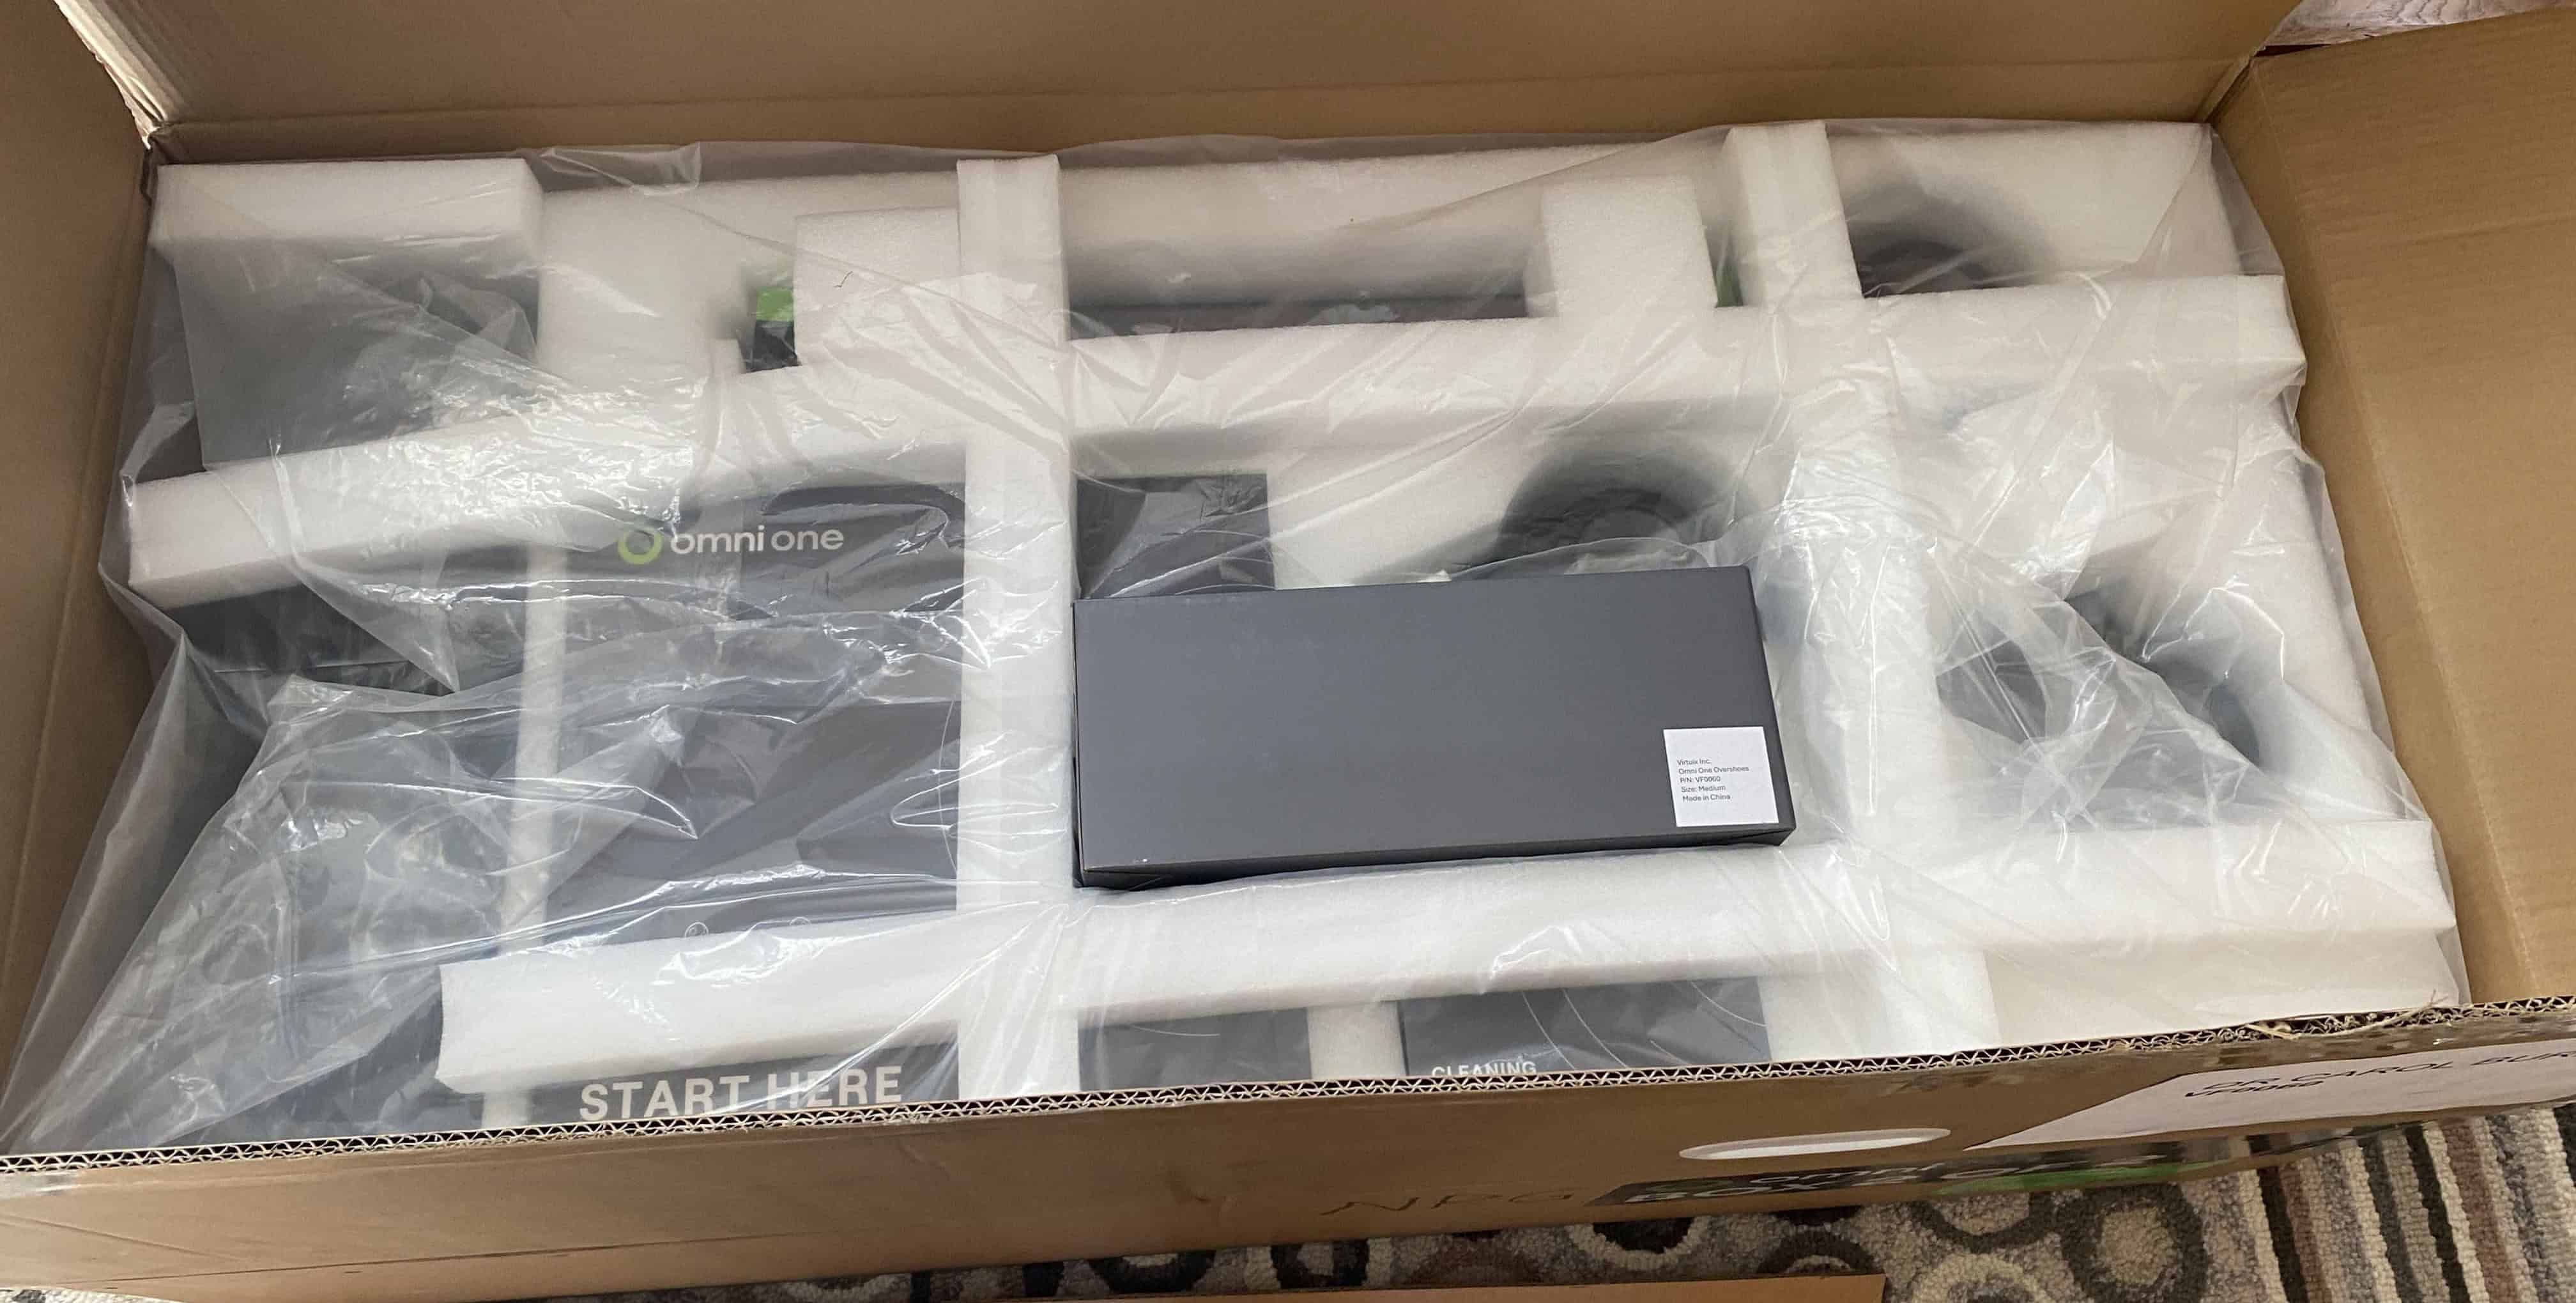
Top layer
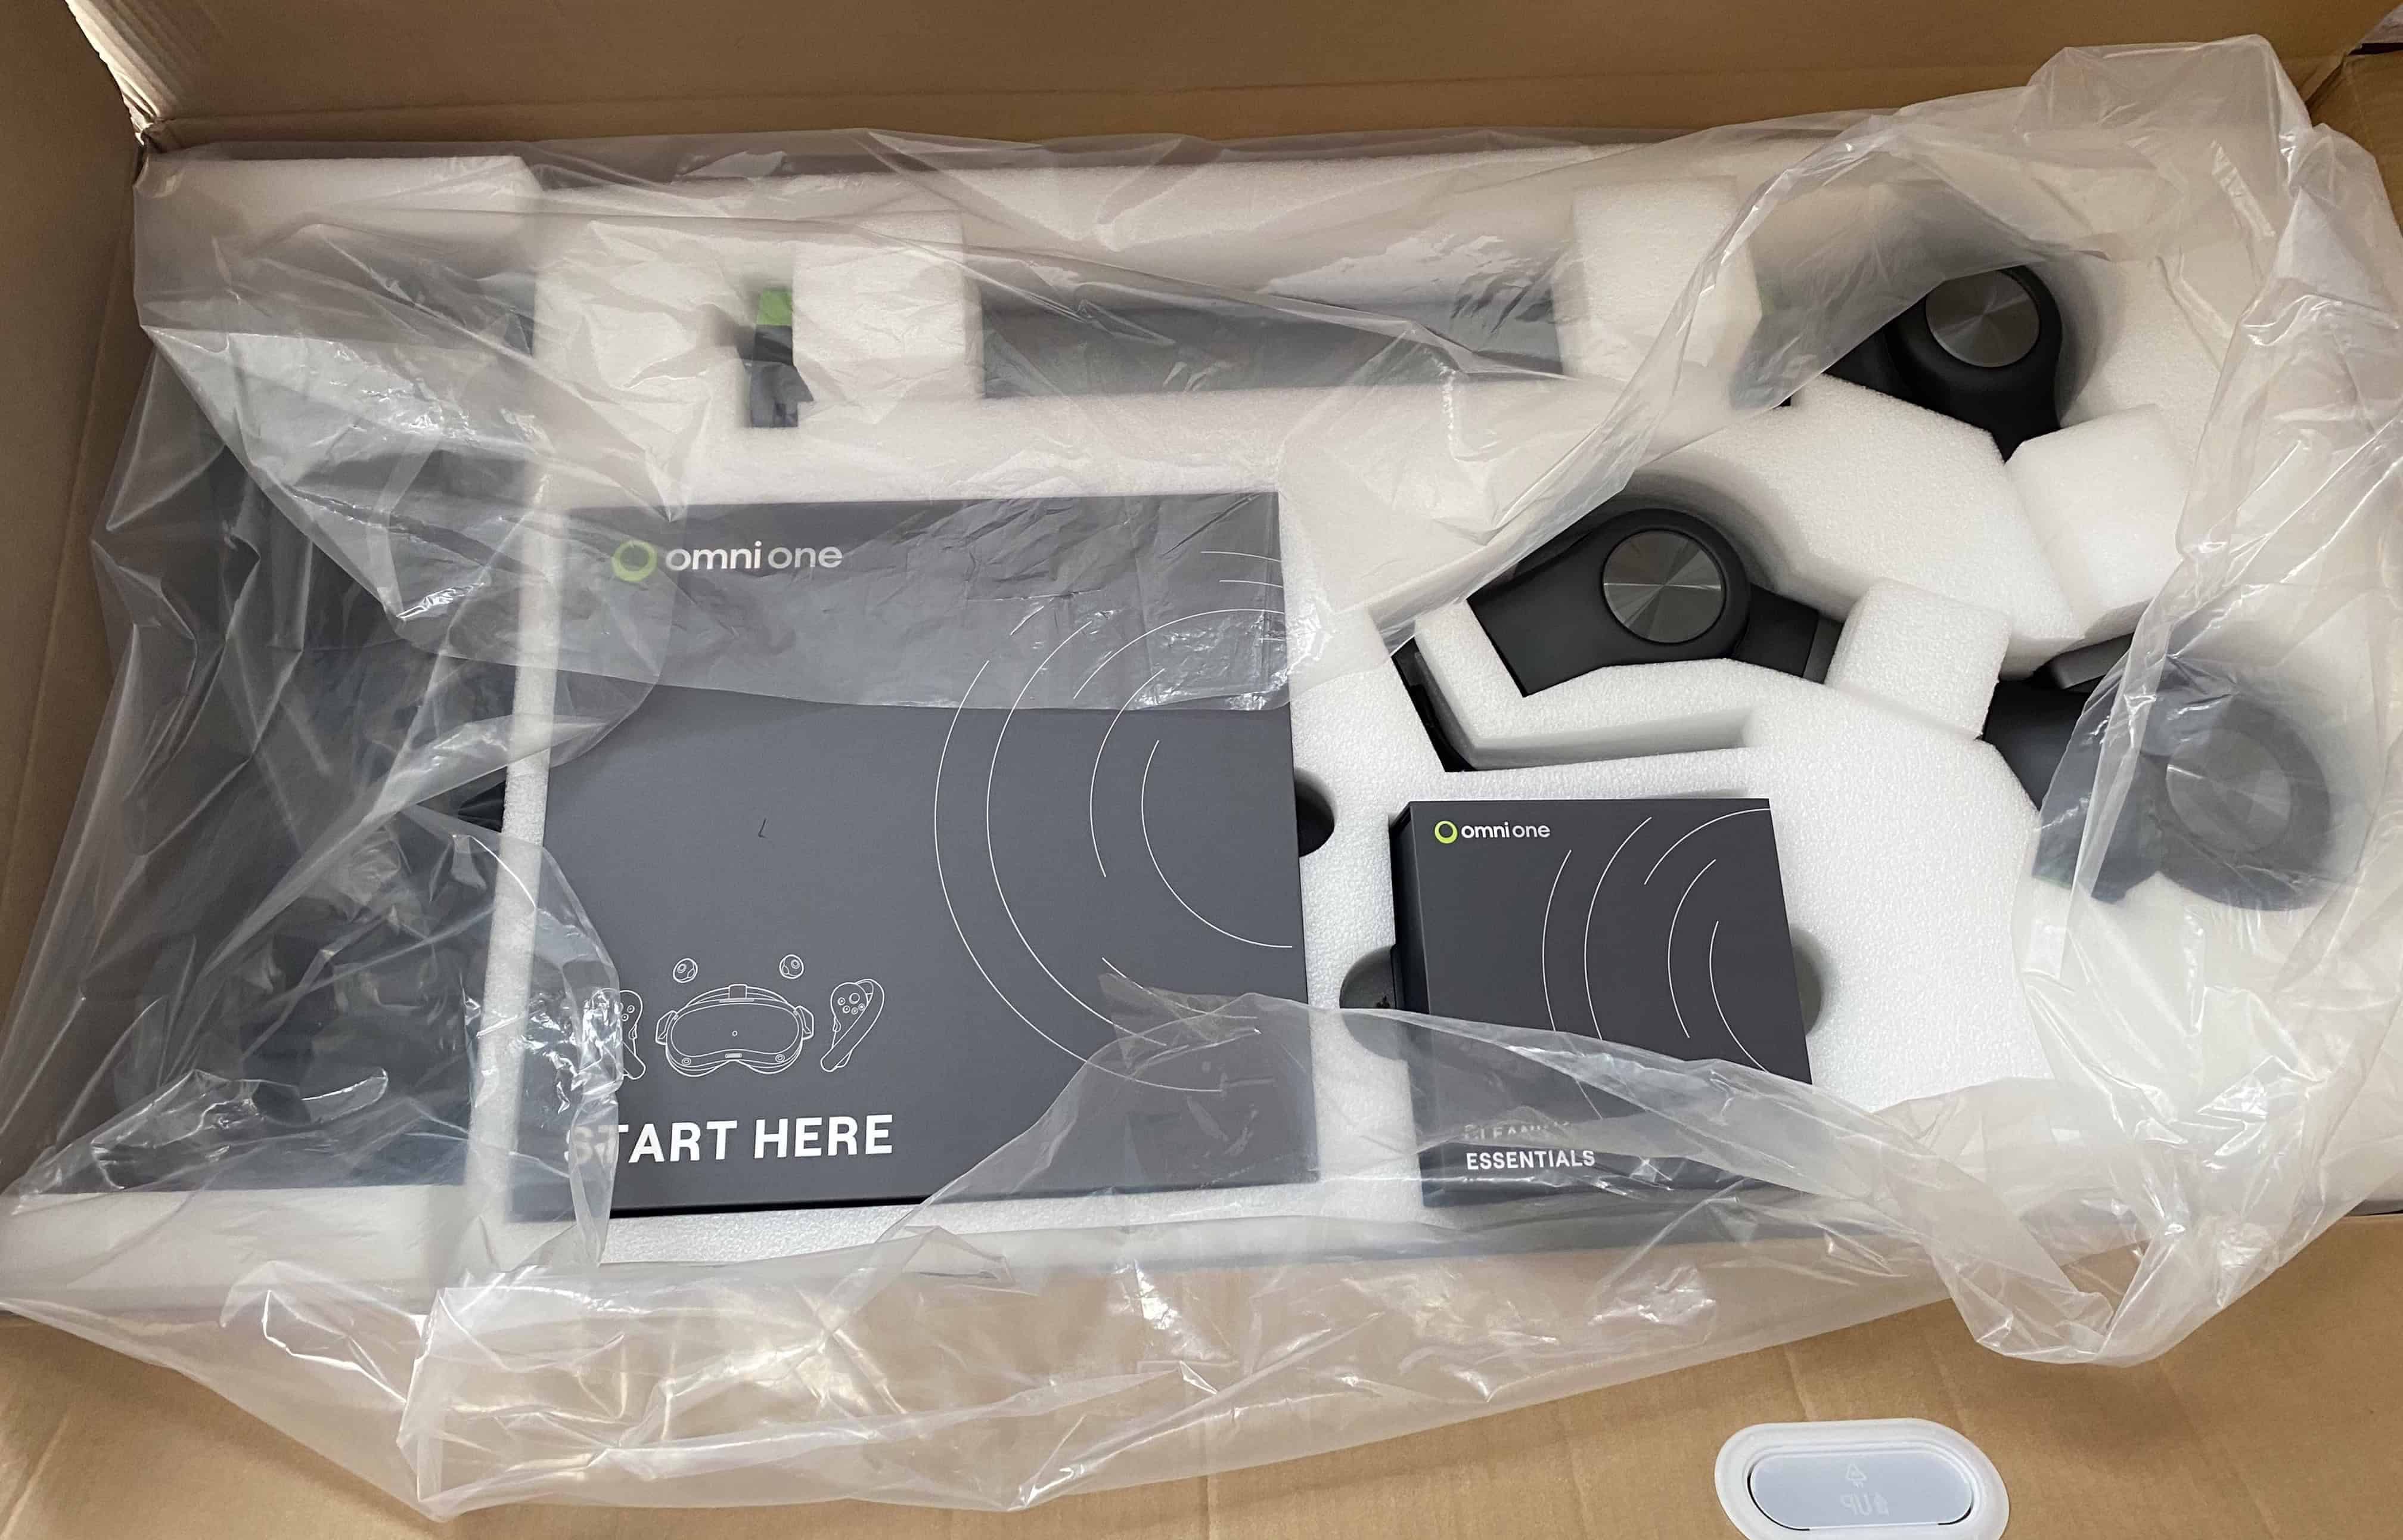
Middle layer
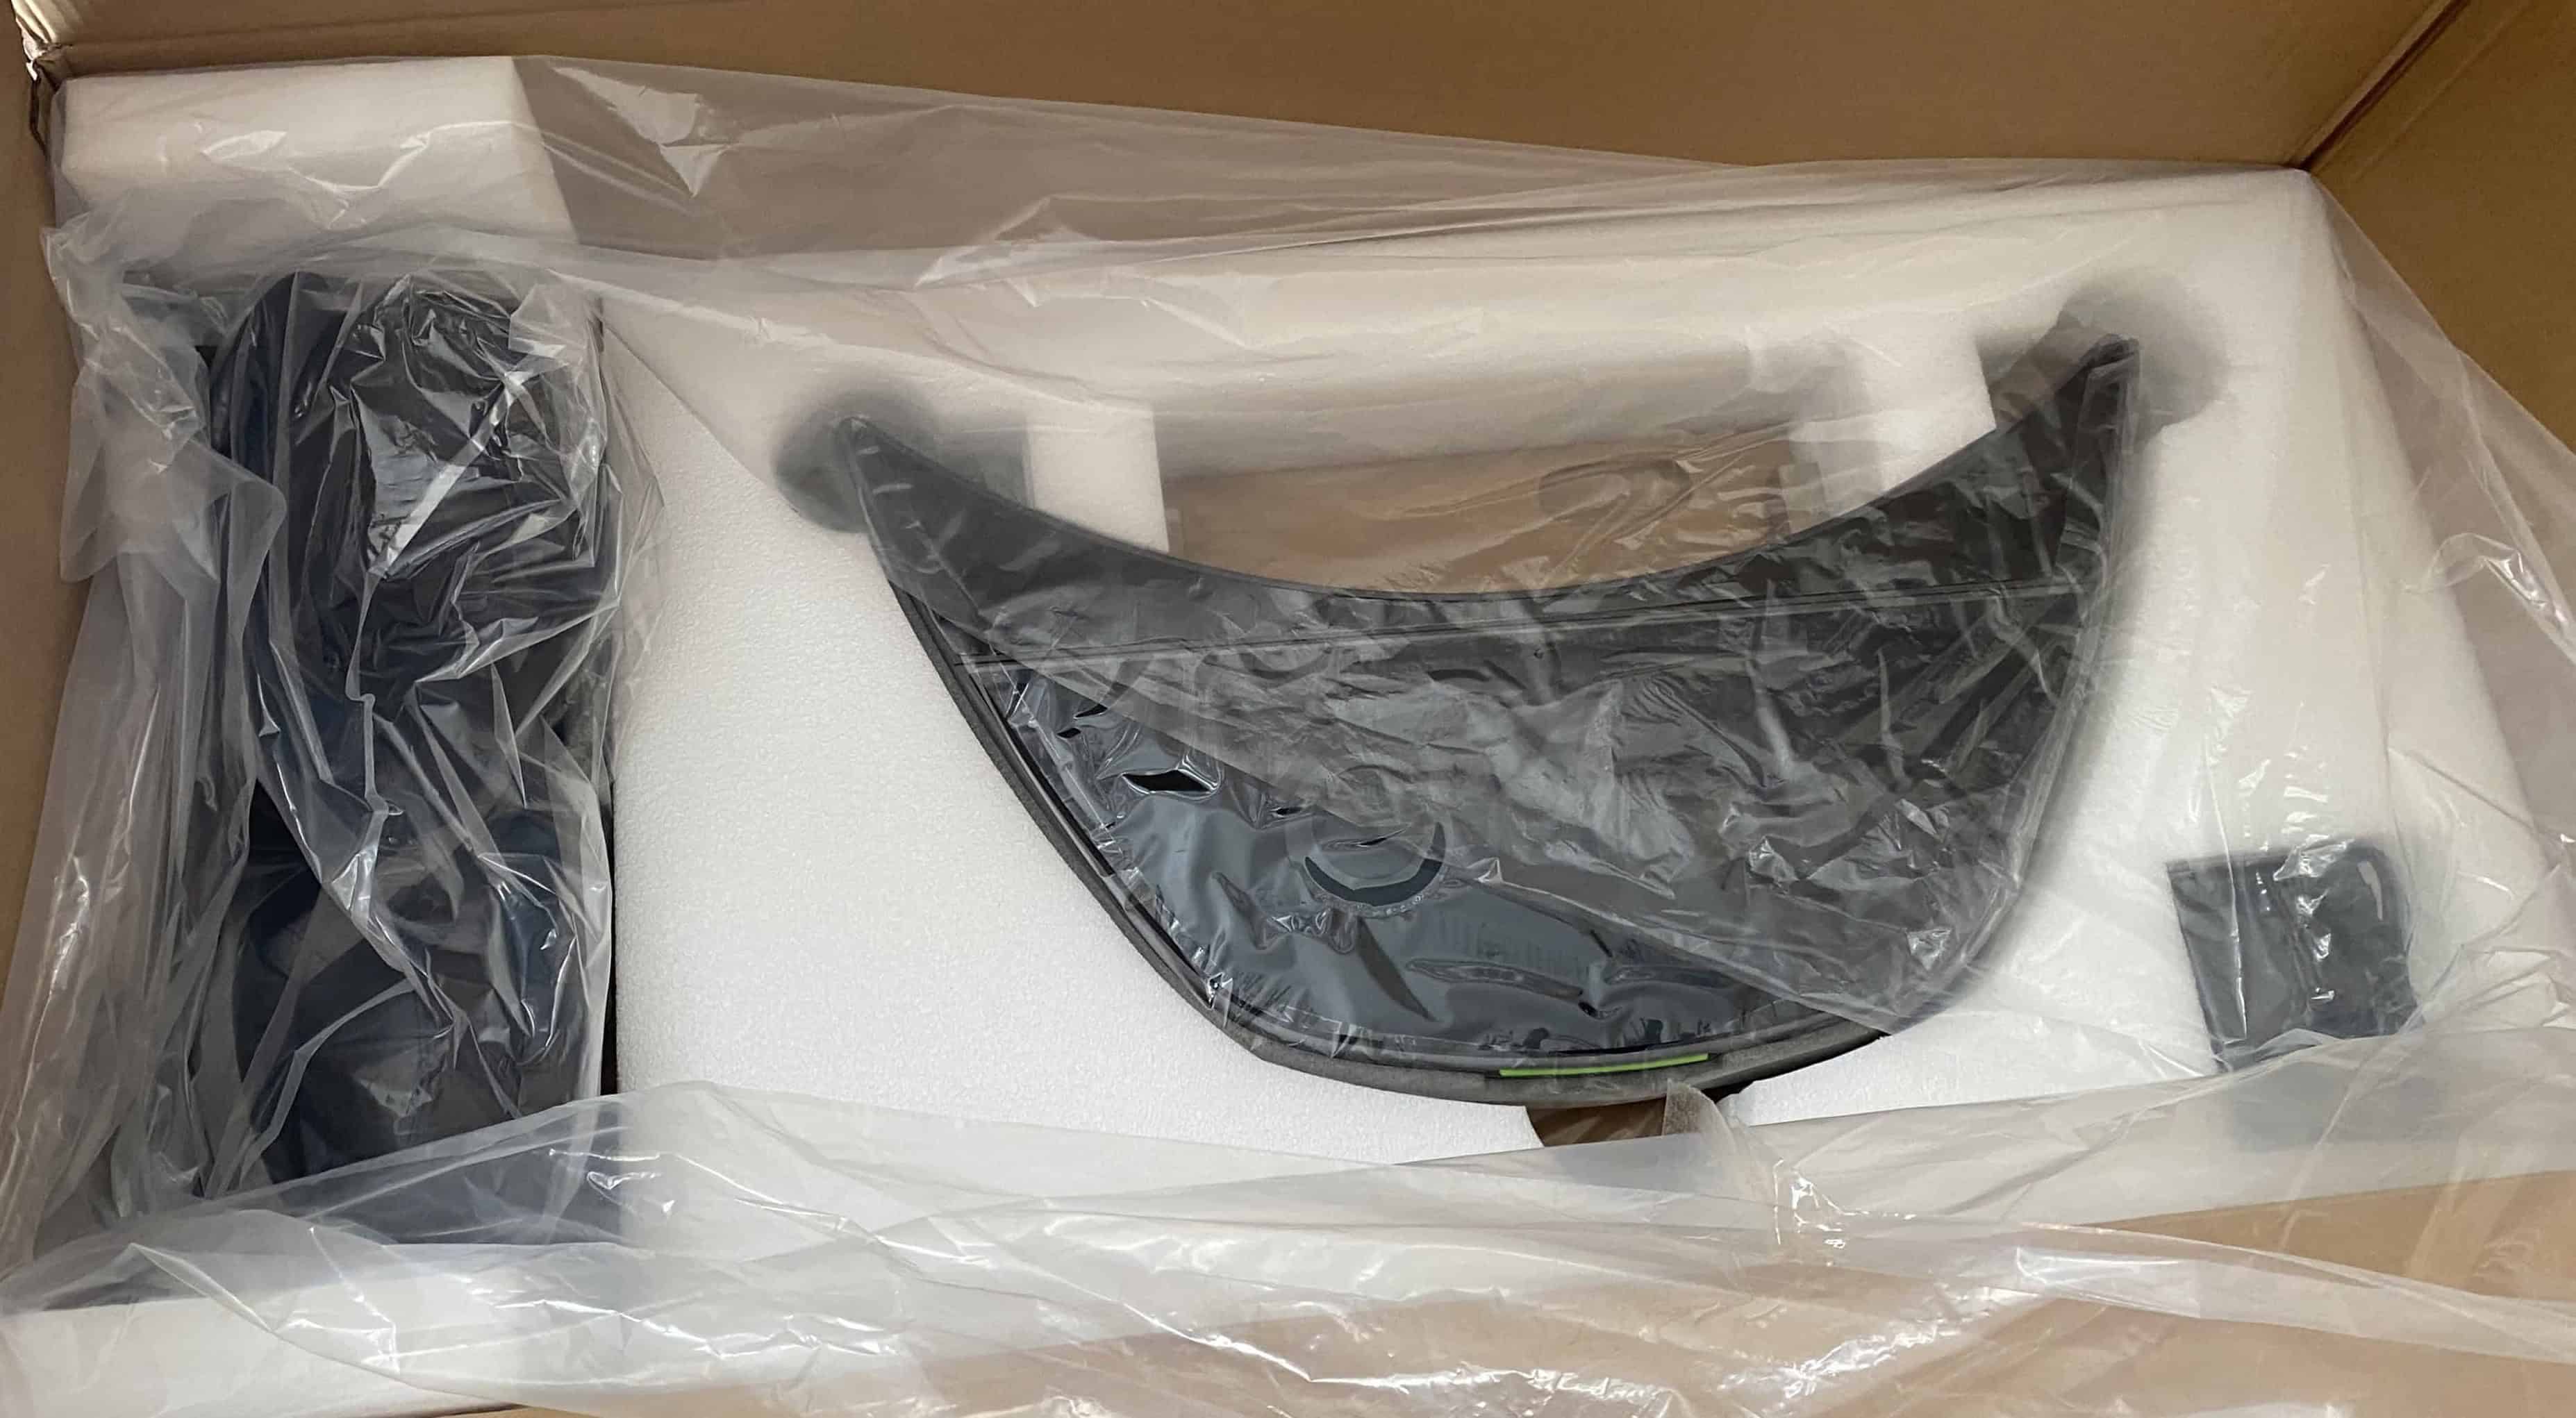
Bottom layer
Everything was exceptionally well packaged. (I saved some packing materials for craft projects.) This box contained everything except the base:
- Vest
- Arm
- Step
- Headset
- Glasses spacer
- Controllers
- Wrist straps
- Headset charging cable & charger
- Foot trackers
- Foot trackers charging cable & charger
- Omni One power cable & adaptor
- Cleaning Essentials box: easy-walk spray bottle, cleaning pad, dusting towel, lens cleaning cloth
This is classy packaging (on par with Apple products). The interior boxes are very sturdy with magnetic closures—if you've got room in your home, you'll likely want to save and repurpose them.
The ‘Start Here’ Box
A prominent interior box (see the middle layer above) has a big ‘Start Here’ on the front:
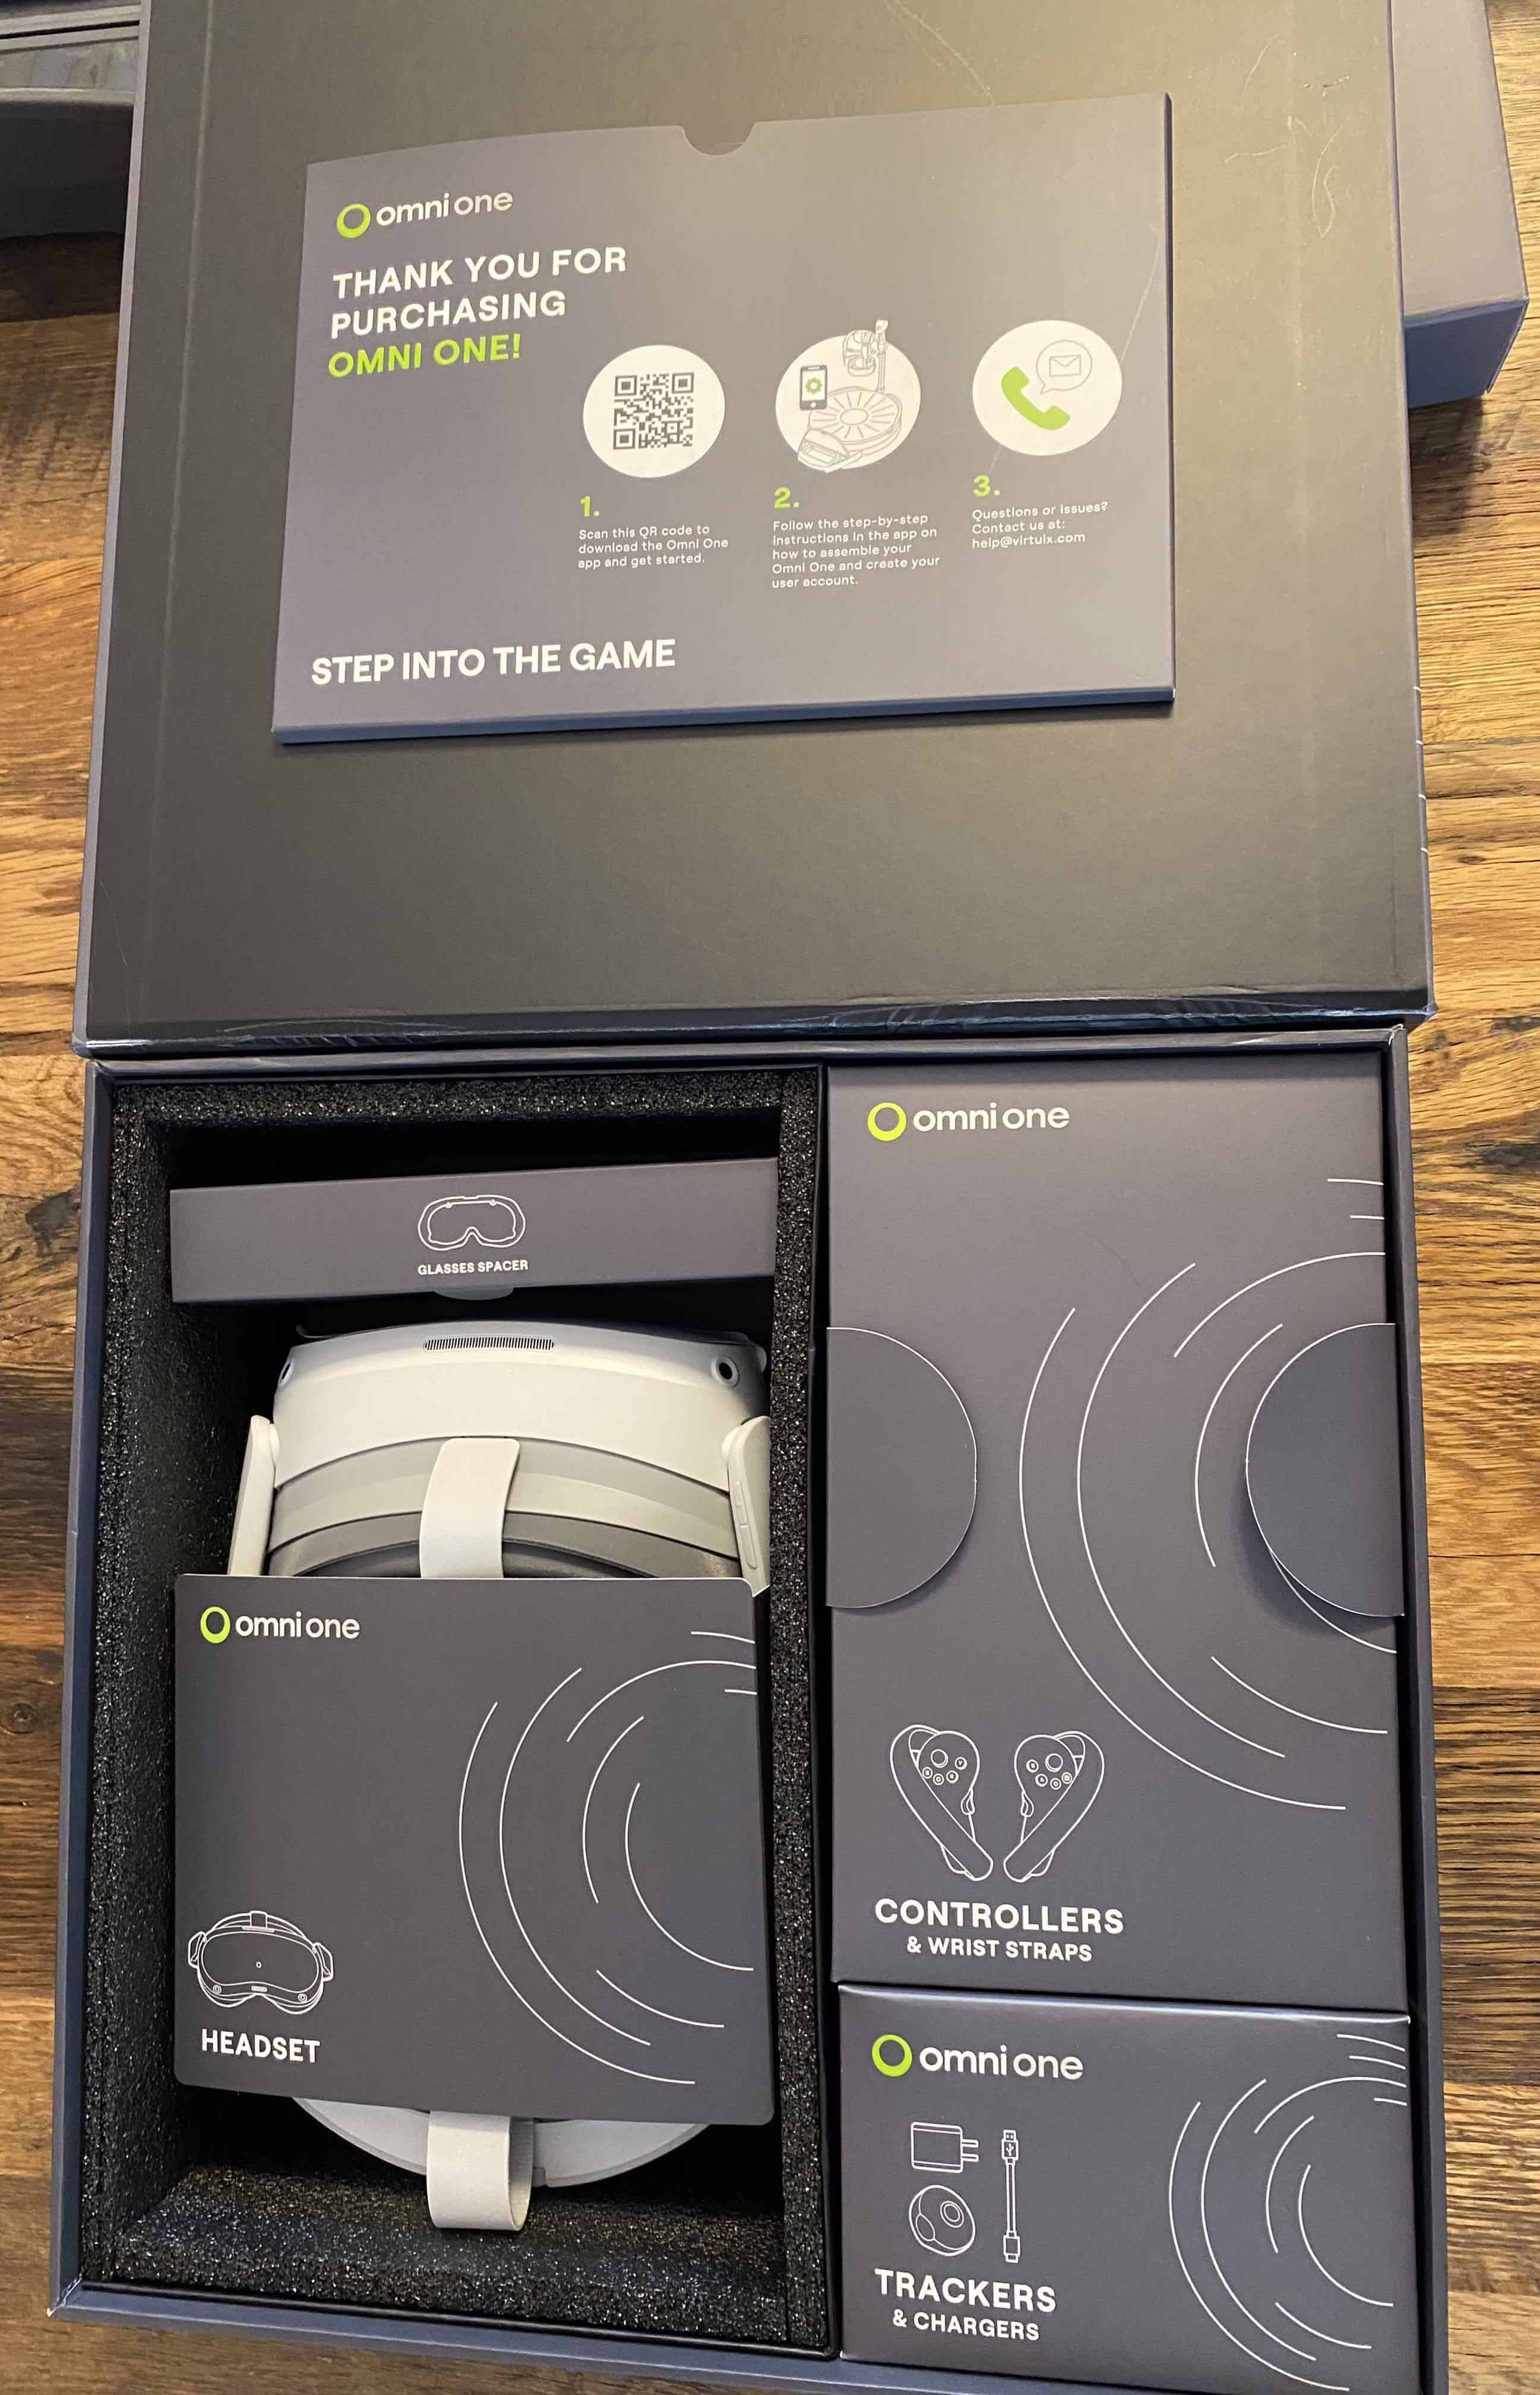
Contents of the ‘Start Here’ box: headset and charger, foot trackers and charger, controllers and wrist straps, glasses spacer
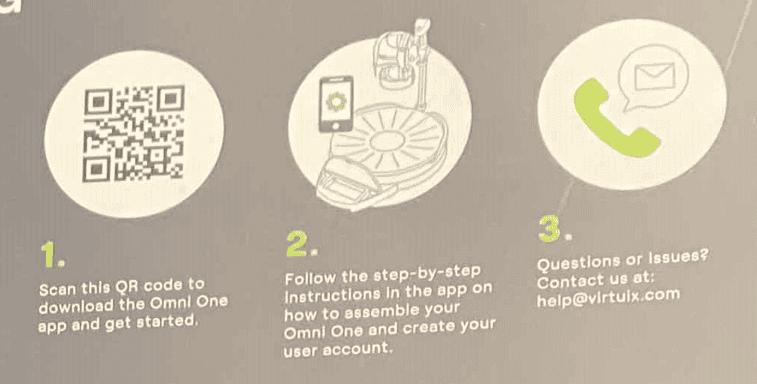
Close-up of the instructions on the inside lid of the ‘Start Here’ box
First, get both the headset and foot trackers charging:
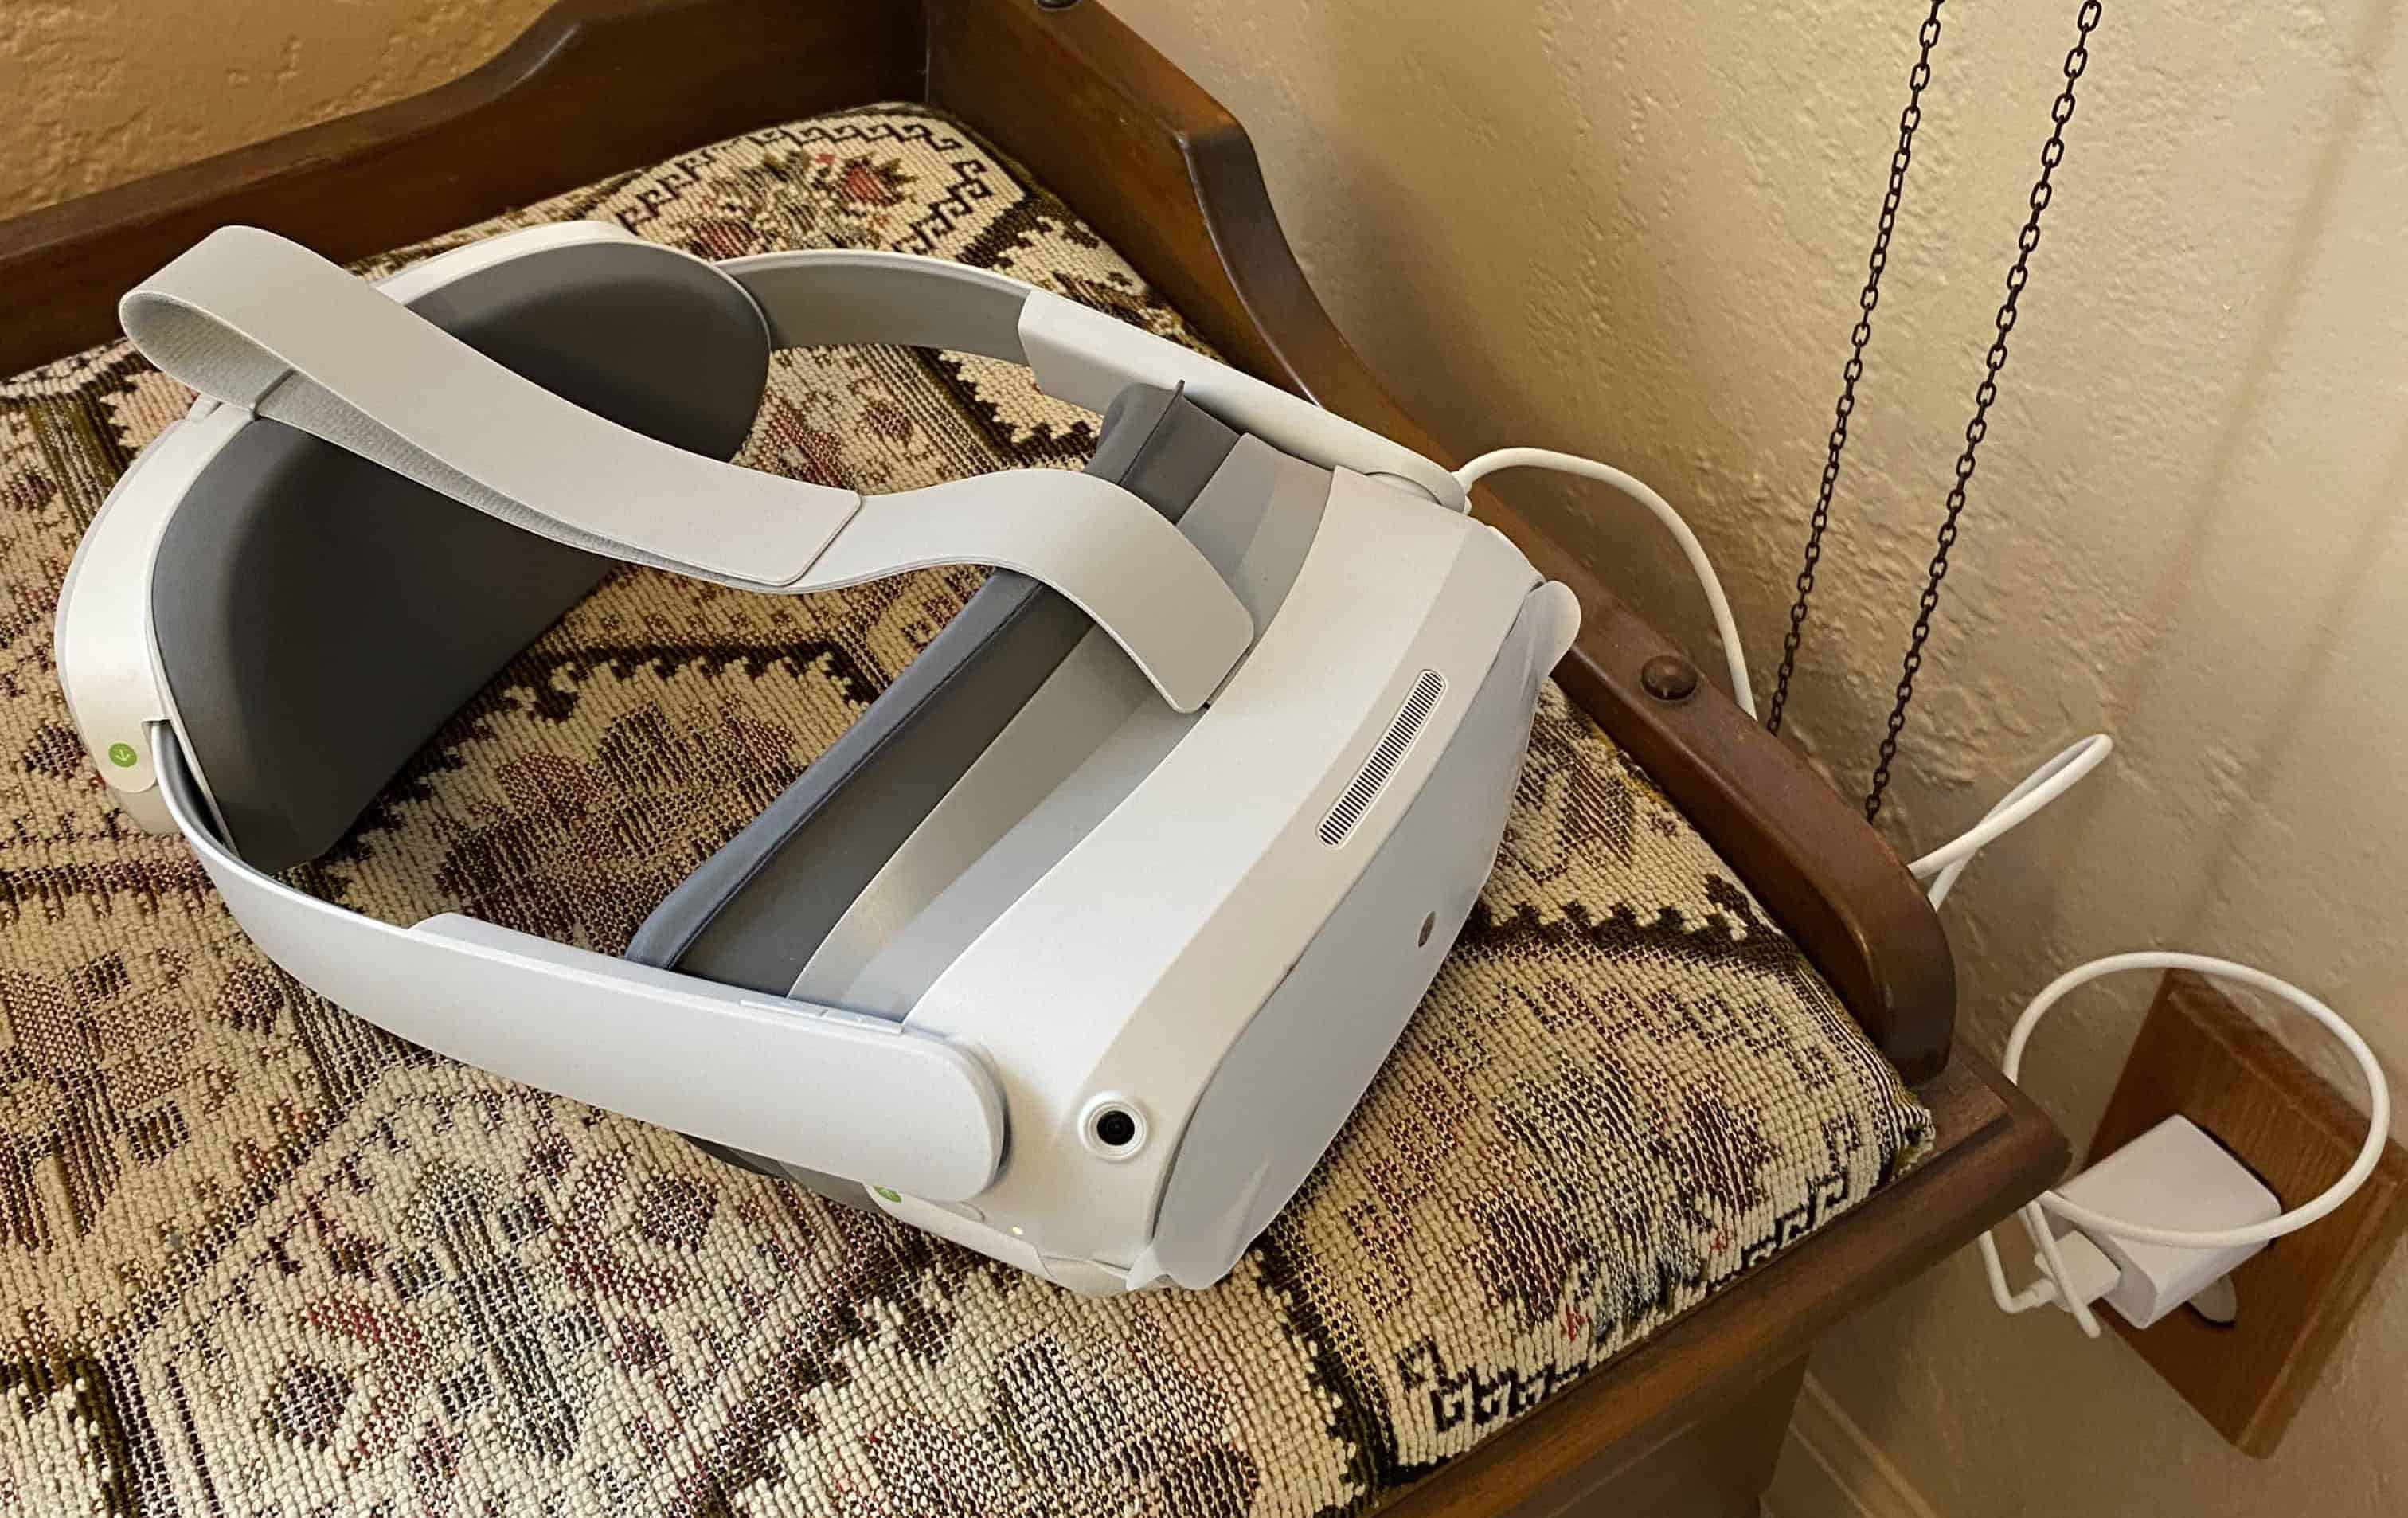
Get the headset charging before assembling the Omni One. A steady green light, while connected to charger, indicates a full charge.
Get the foot trackers charging before assembling the Omni One. A steady green light, while connected to charger, indicates a full charge.
Next, follow the instructions on the ‘Start Here’ box lid:
- Scan the QR code: I pointed my iPhone camera at the QR code; a link appeared. Click the link to download the Omni One app.
-
Step-by-step instructions: In the Omni One app on my iPhone, I clicked the three-vertical-dots in the upper right corner. On the resulting drop-down, select ‘Setup Instructions’.
These awesome setup instructions clearly walk you through assembly and user account creation.
- Questions? I love knowing there's customer service to contact if something goes wrong.
Big Box and Assembly
I couldn't actually set up my Omni until I had the big box inside. This happened about 5PM, when Marybelle and Joshua (two of my ‘bonus kids’) arrived to help.

My helpers: ‘bonus kids’ Marybelle and Joshua. The top was loose, so we removed it before moving the box.
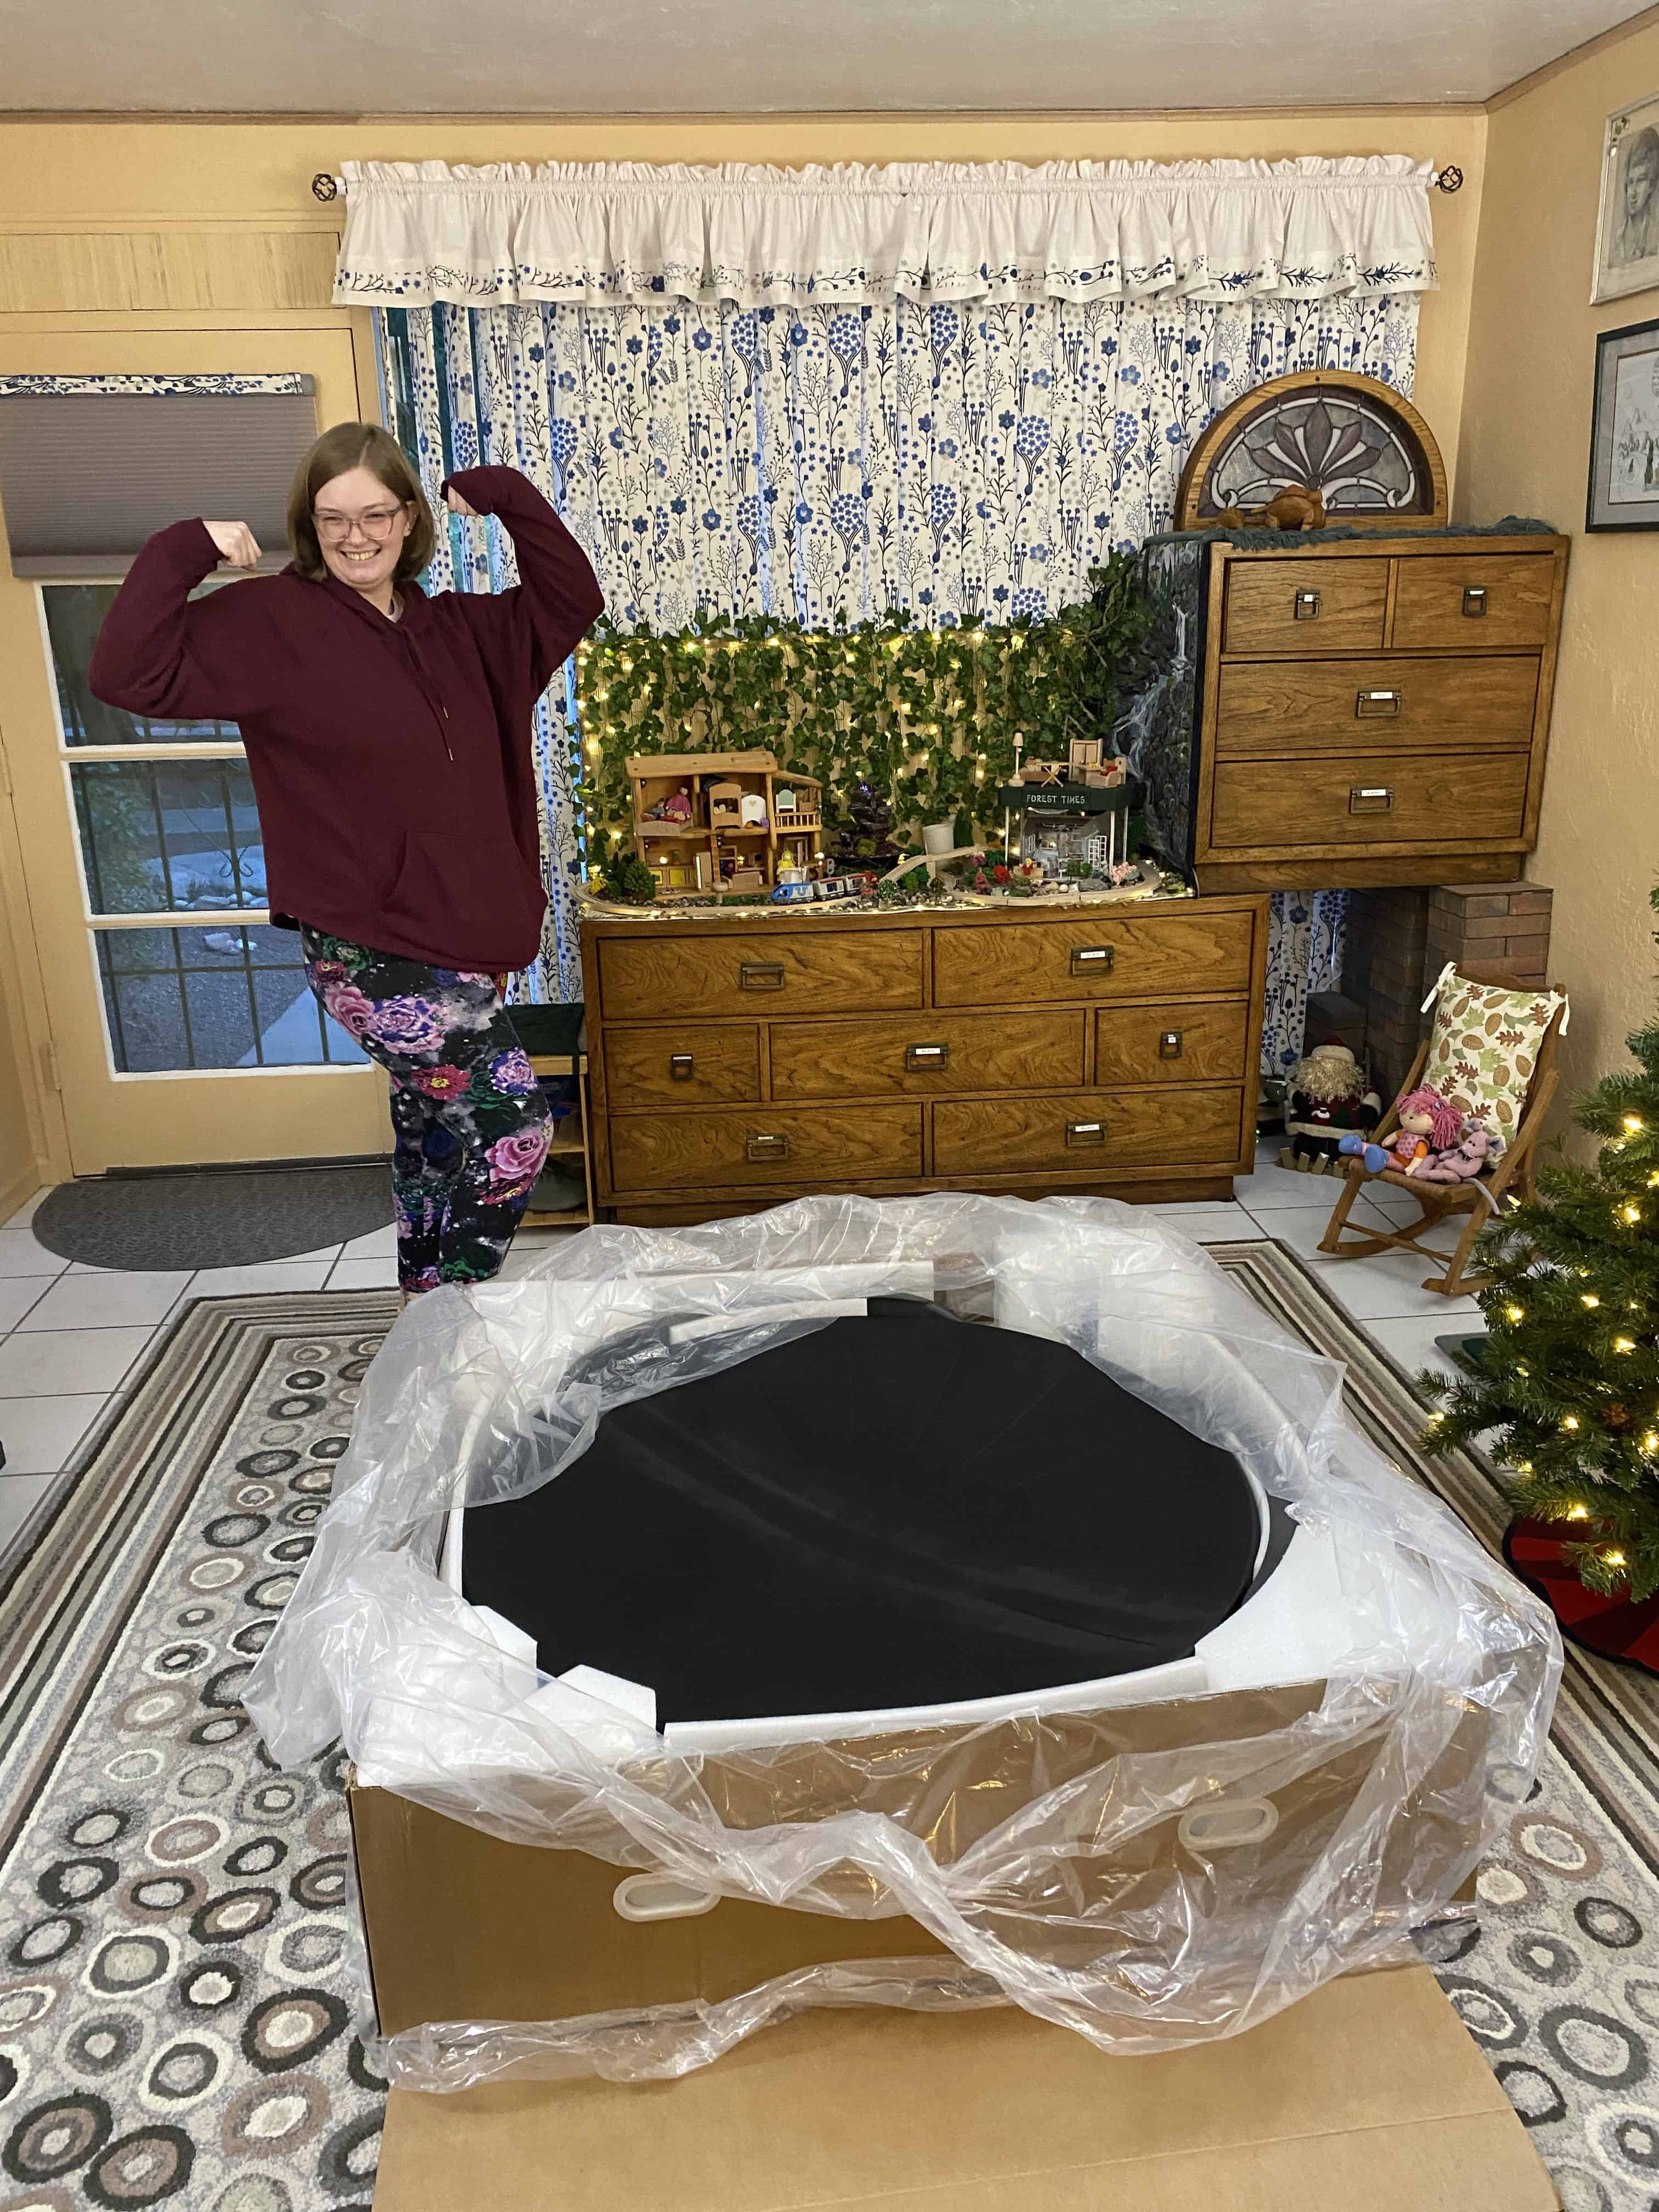
We brought in the box (but not the wood pallet)
by carefully ‘flipping’
it, end-over-end.
I think it would have been tricky with just two people.
It's really heavy.
Three people made it reasonable.
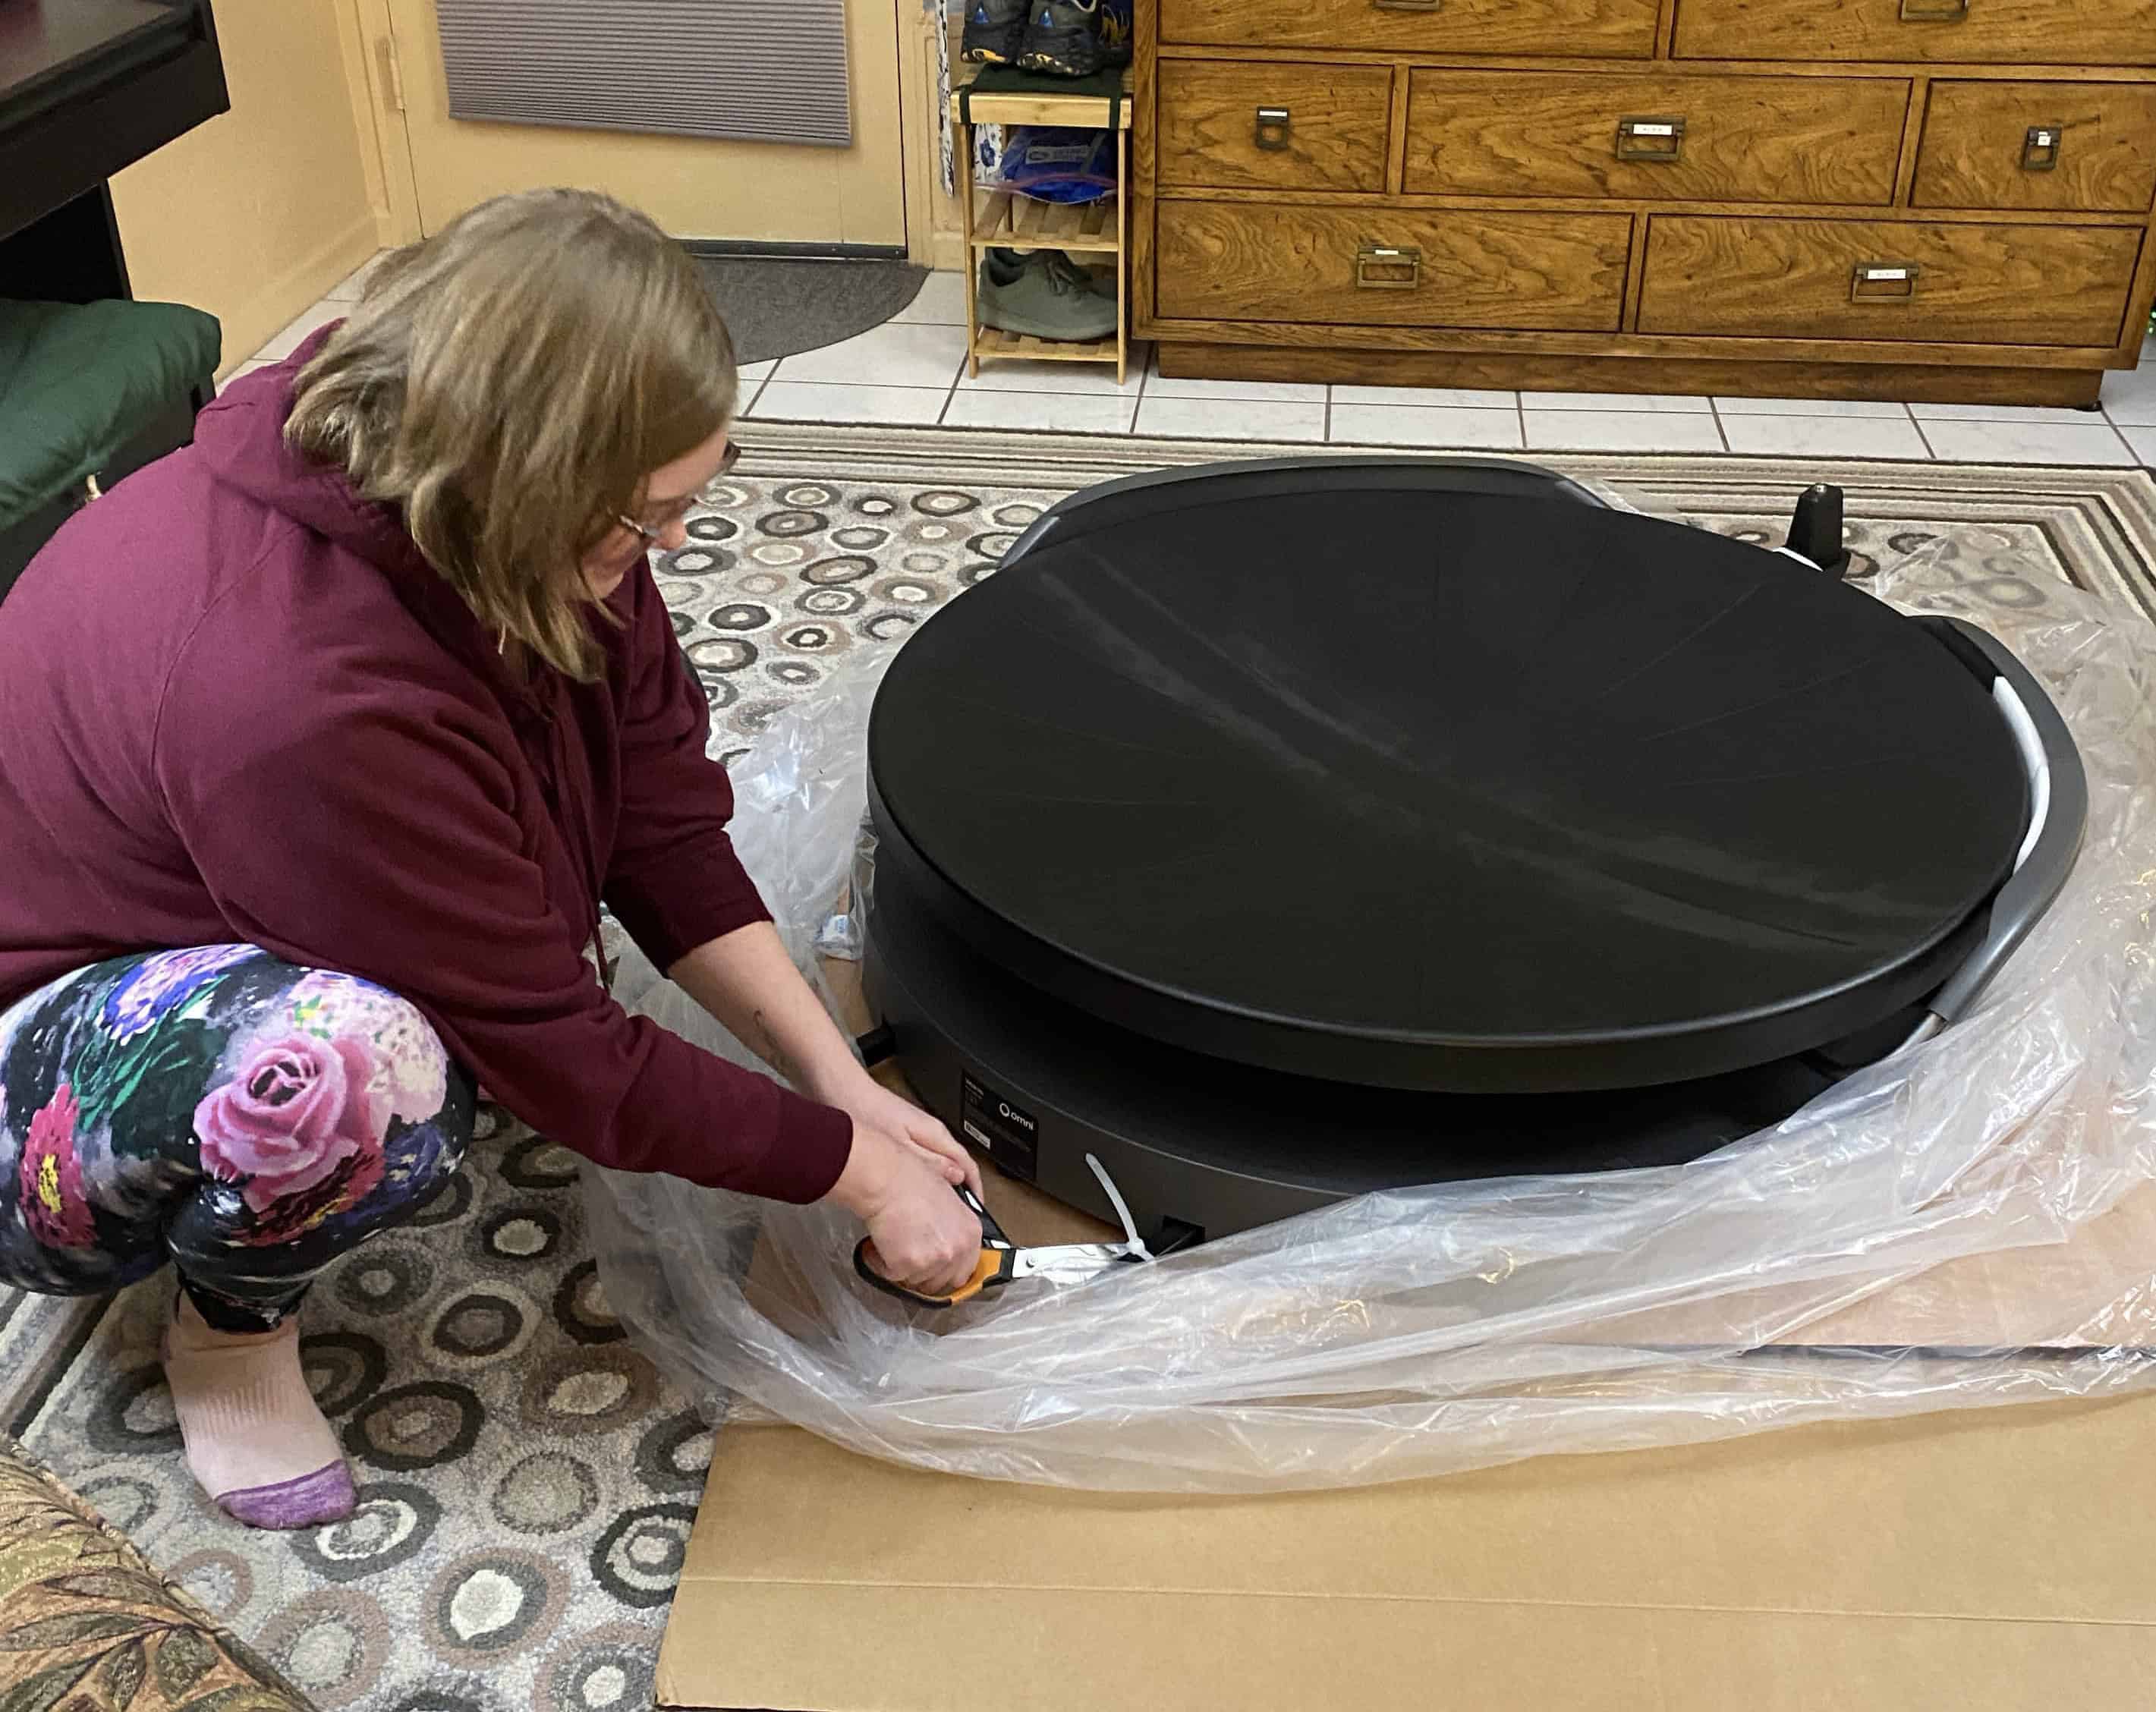
Remove base from box; remove all plastic and packing materials
Here are some highlights of the Omni One assembly. The app slowly and carefully walks you through all these steps!
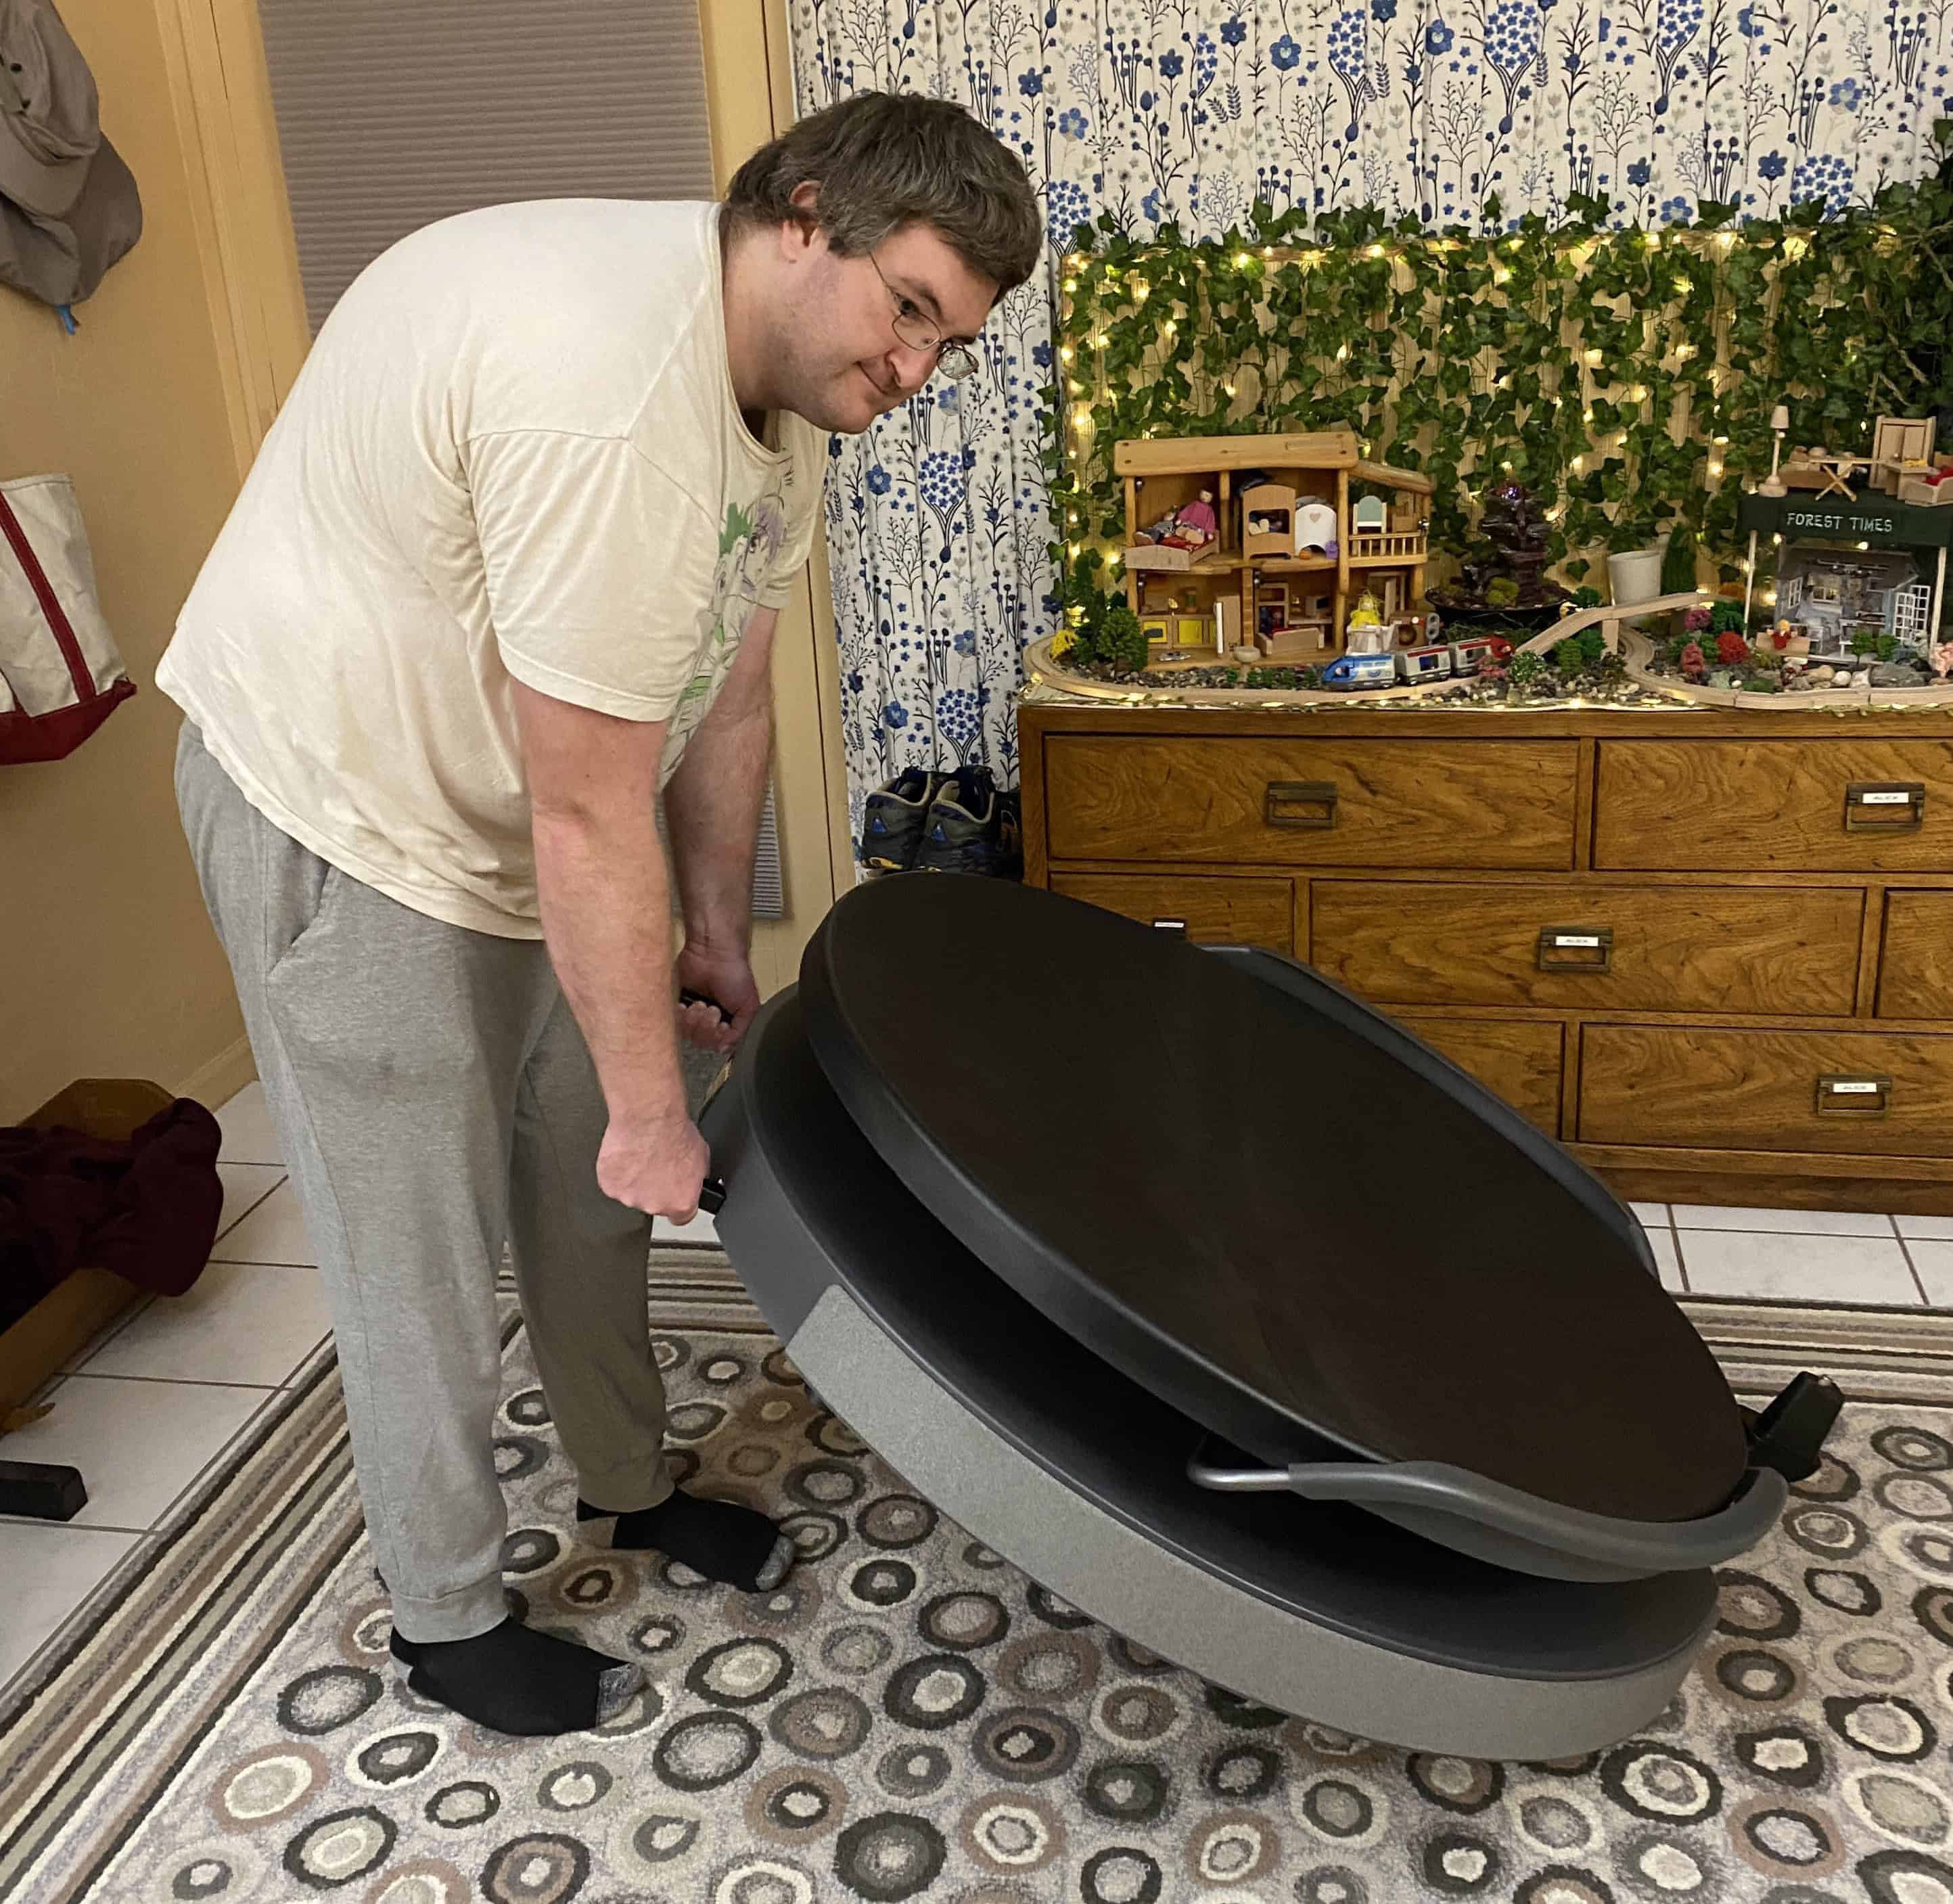
Lift handles and move to correct location
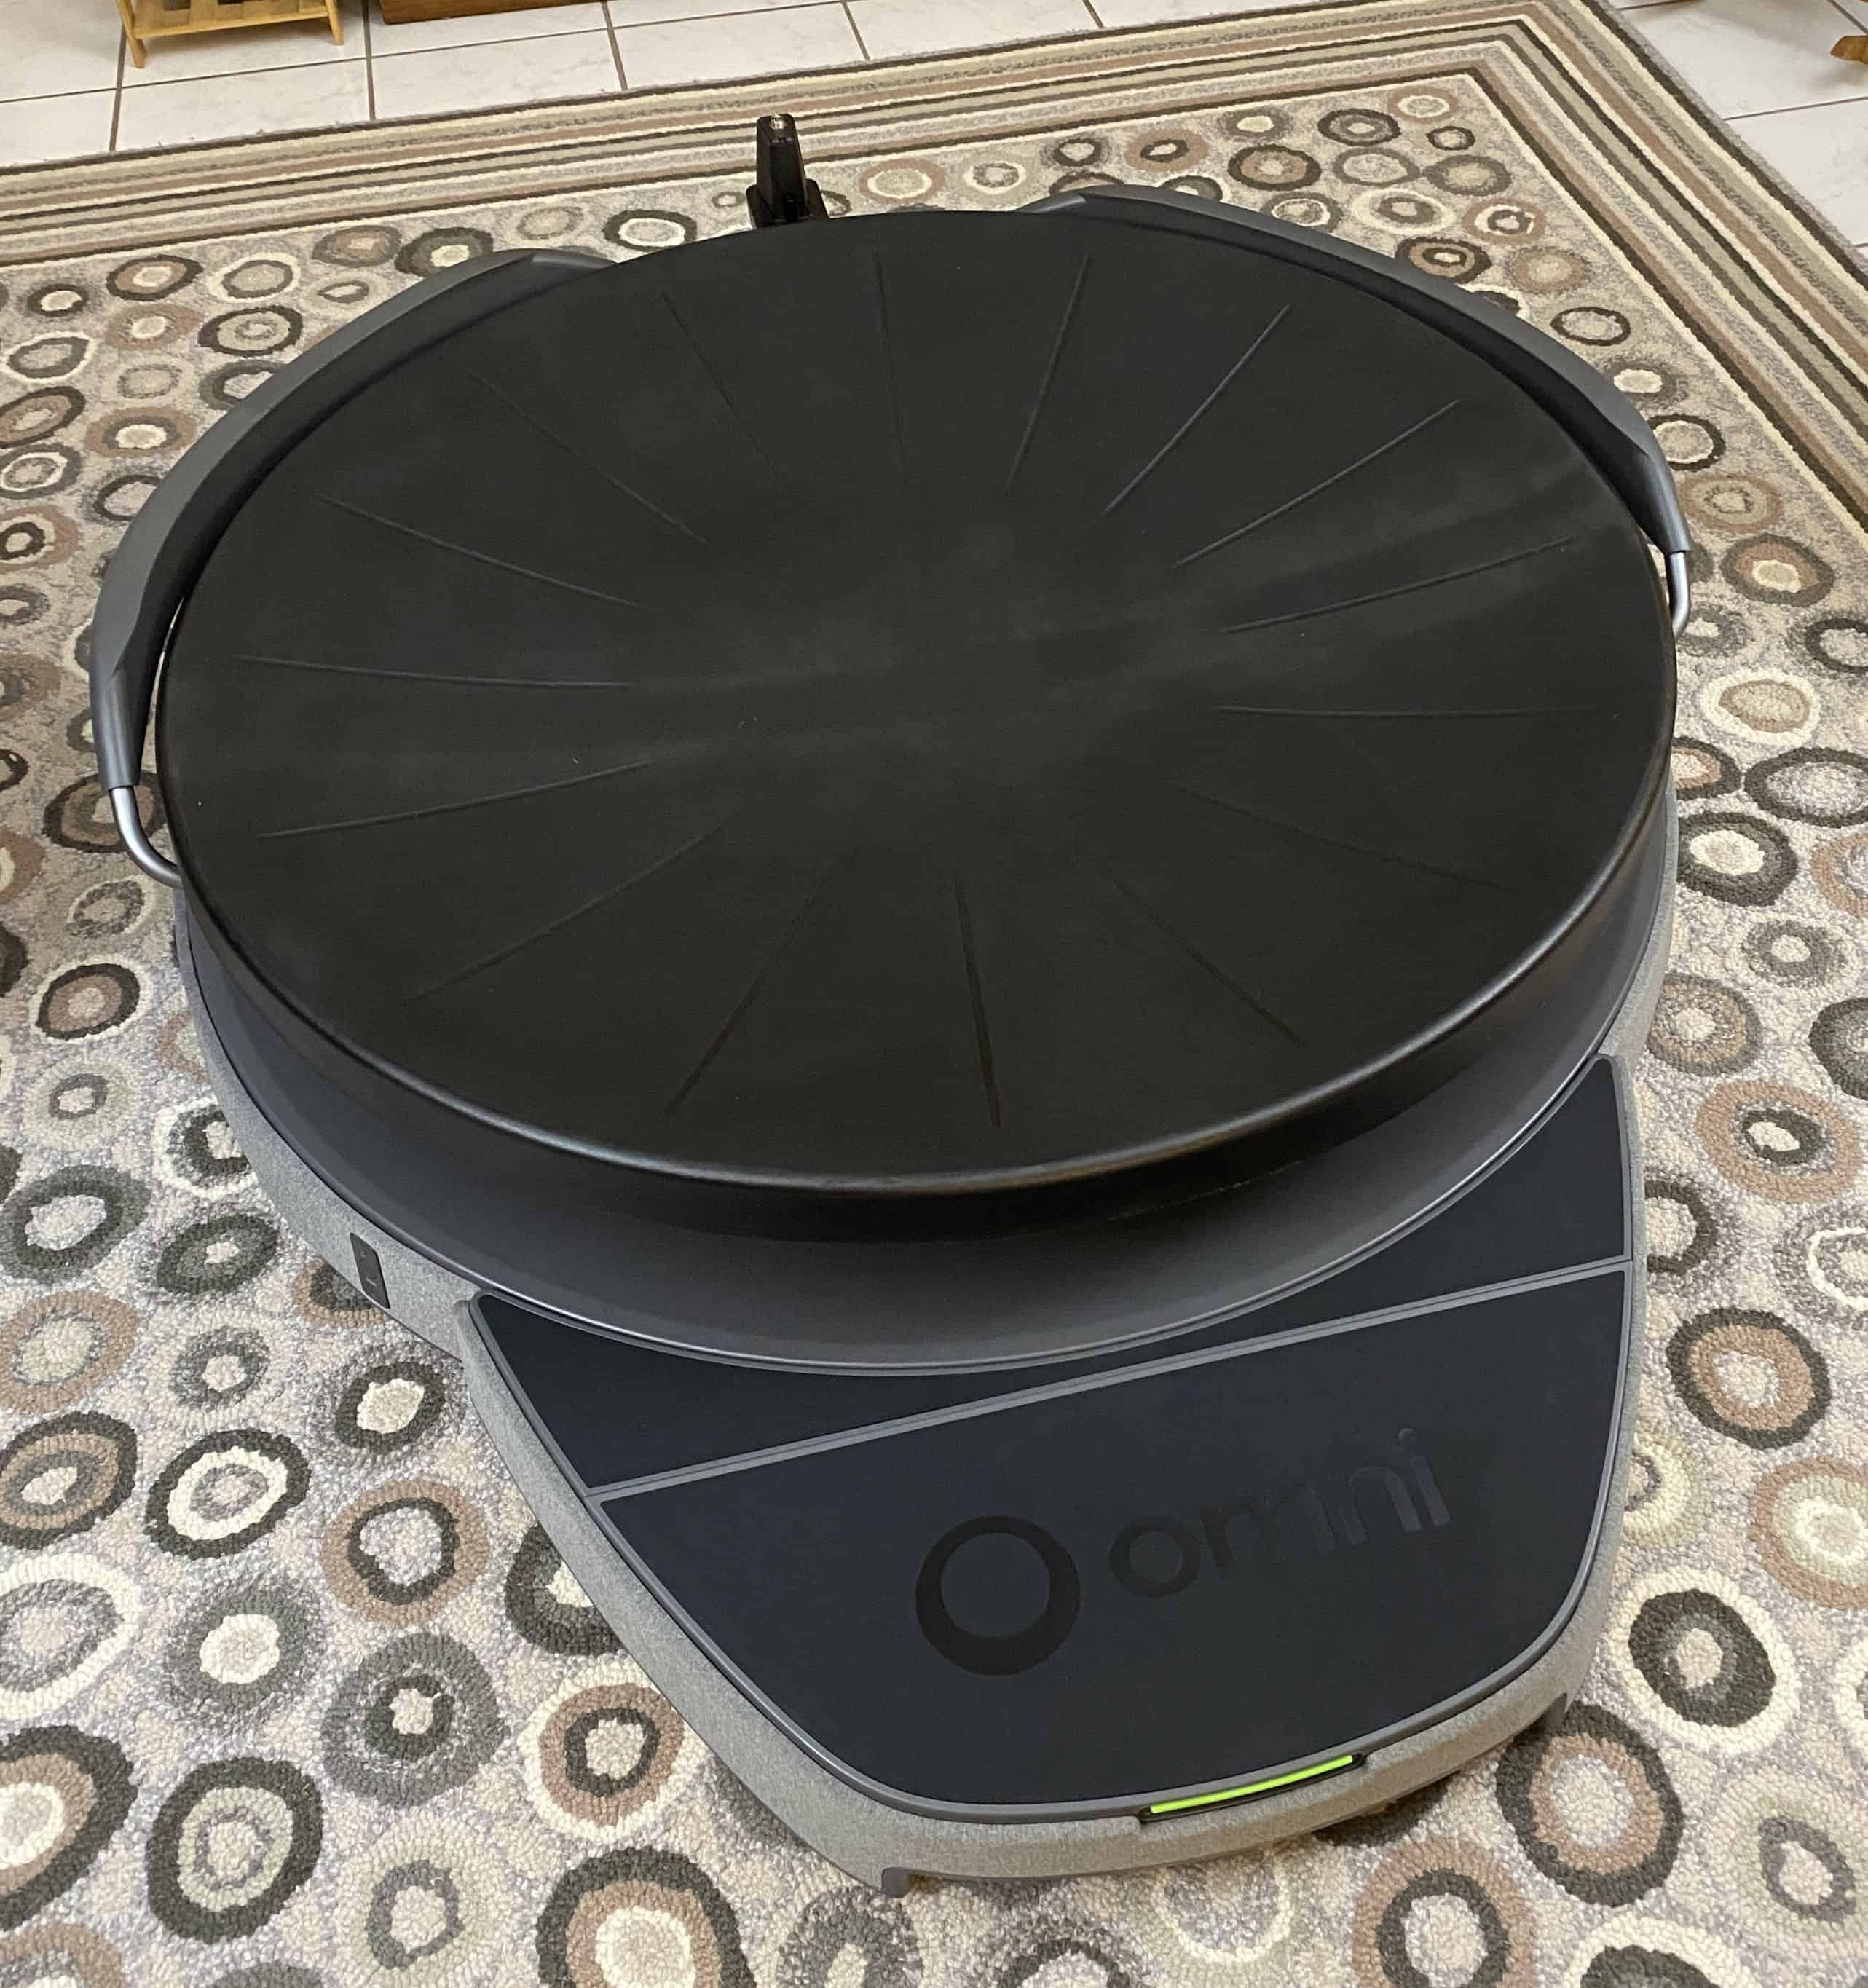
After removing all protective films, attach the step
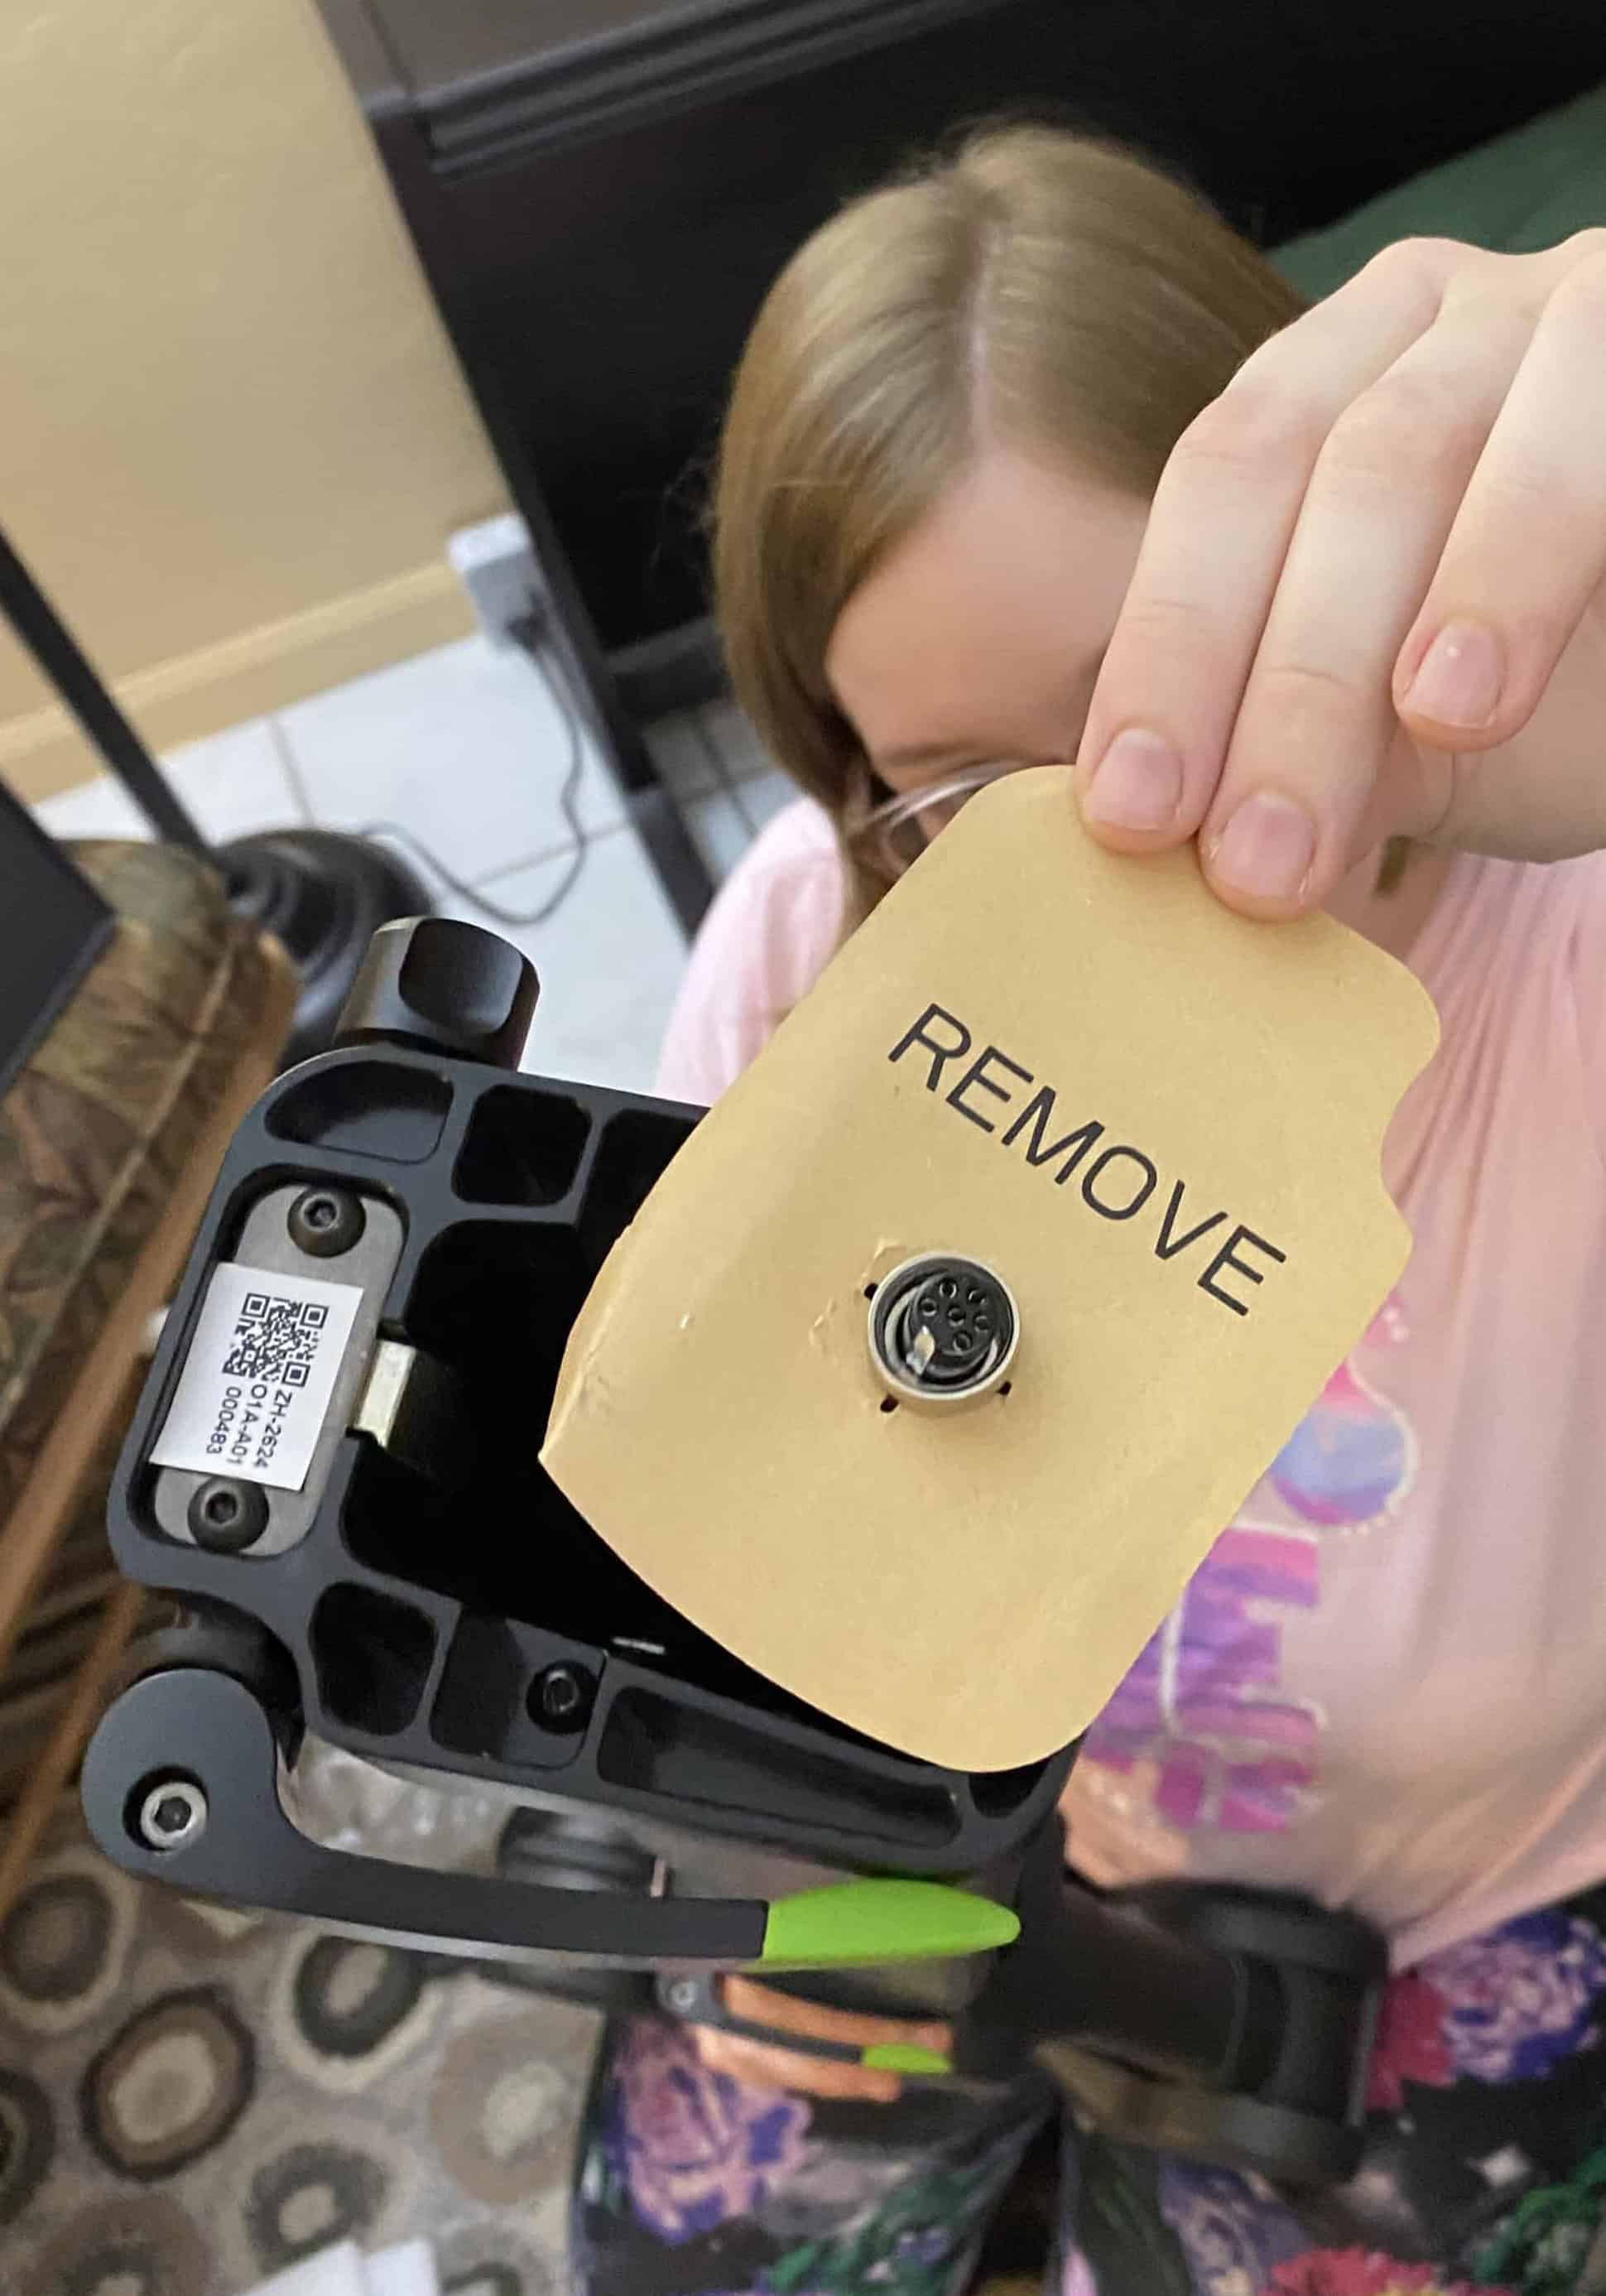
Remove the tag from the end of the arm, exposing the cable inside
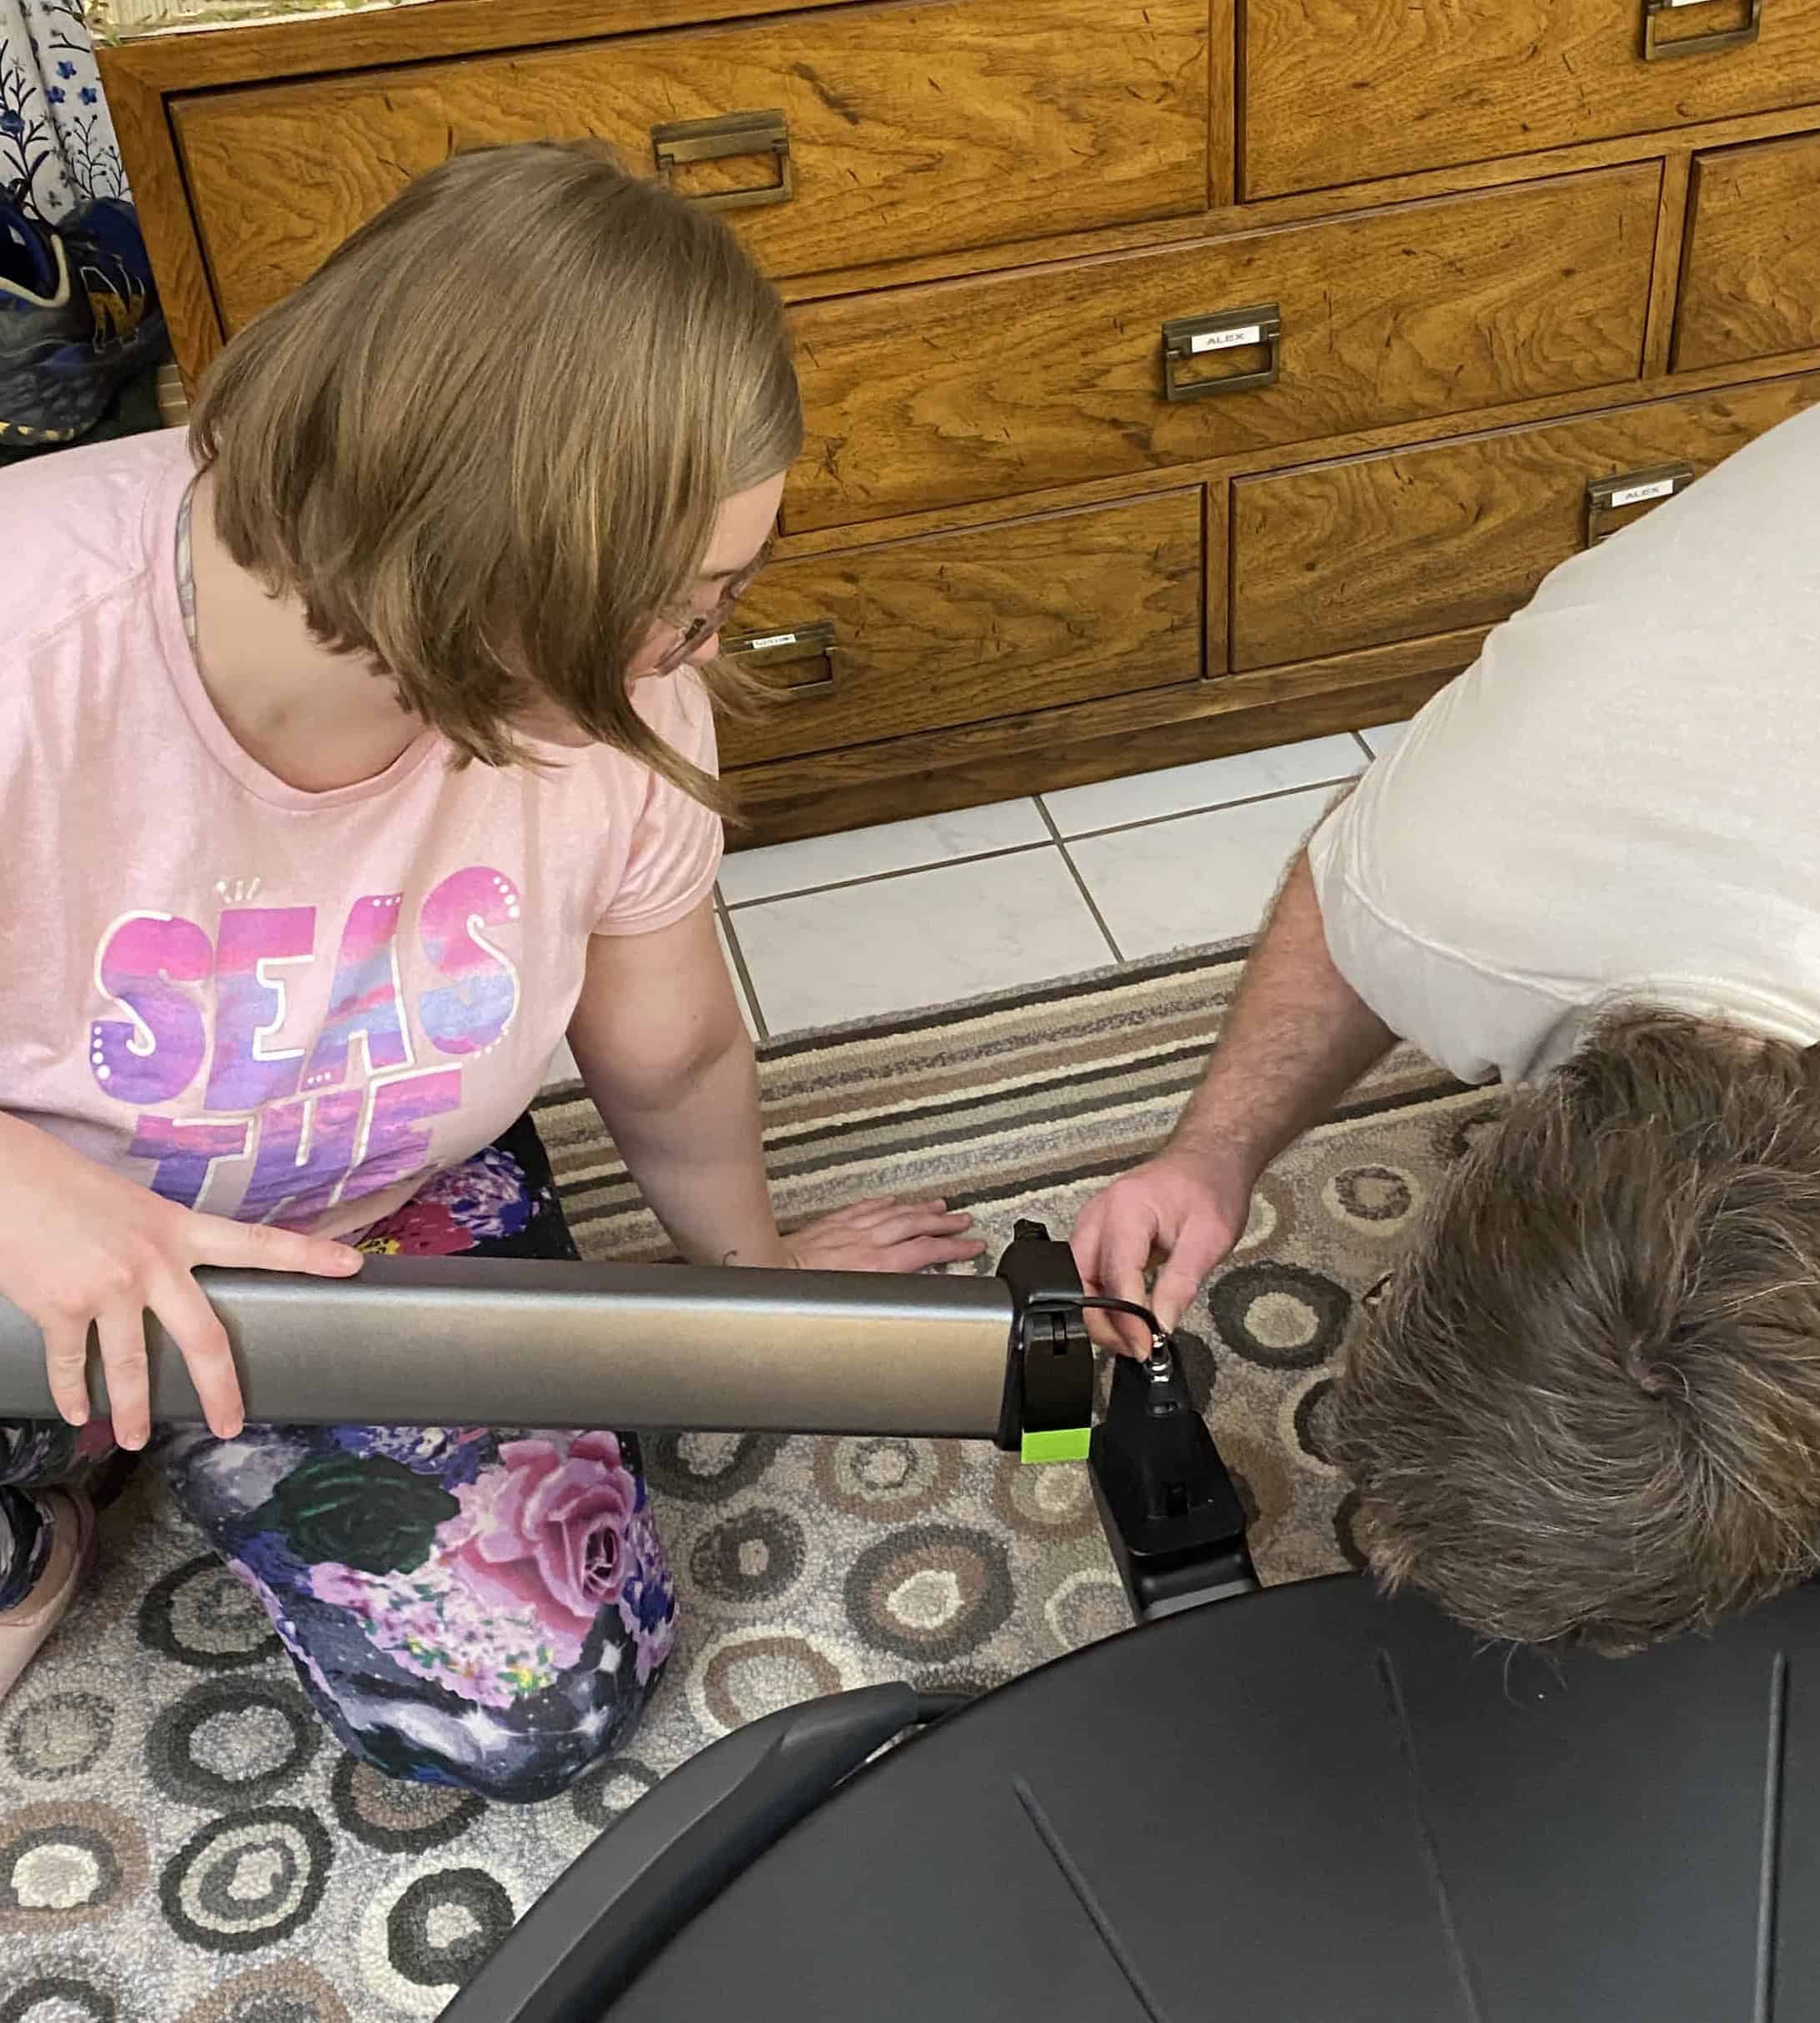
We used two people to connect the arm cable to the base. It could have been done with one person, but two made it easier. After connecting the cable, the arm is attached and tightened.
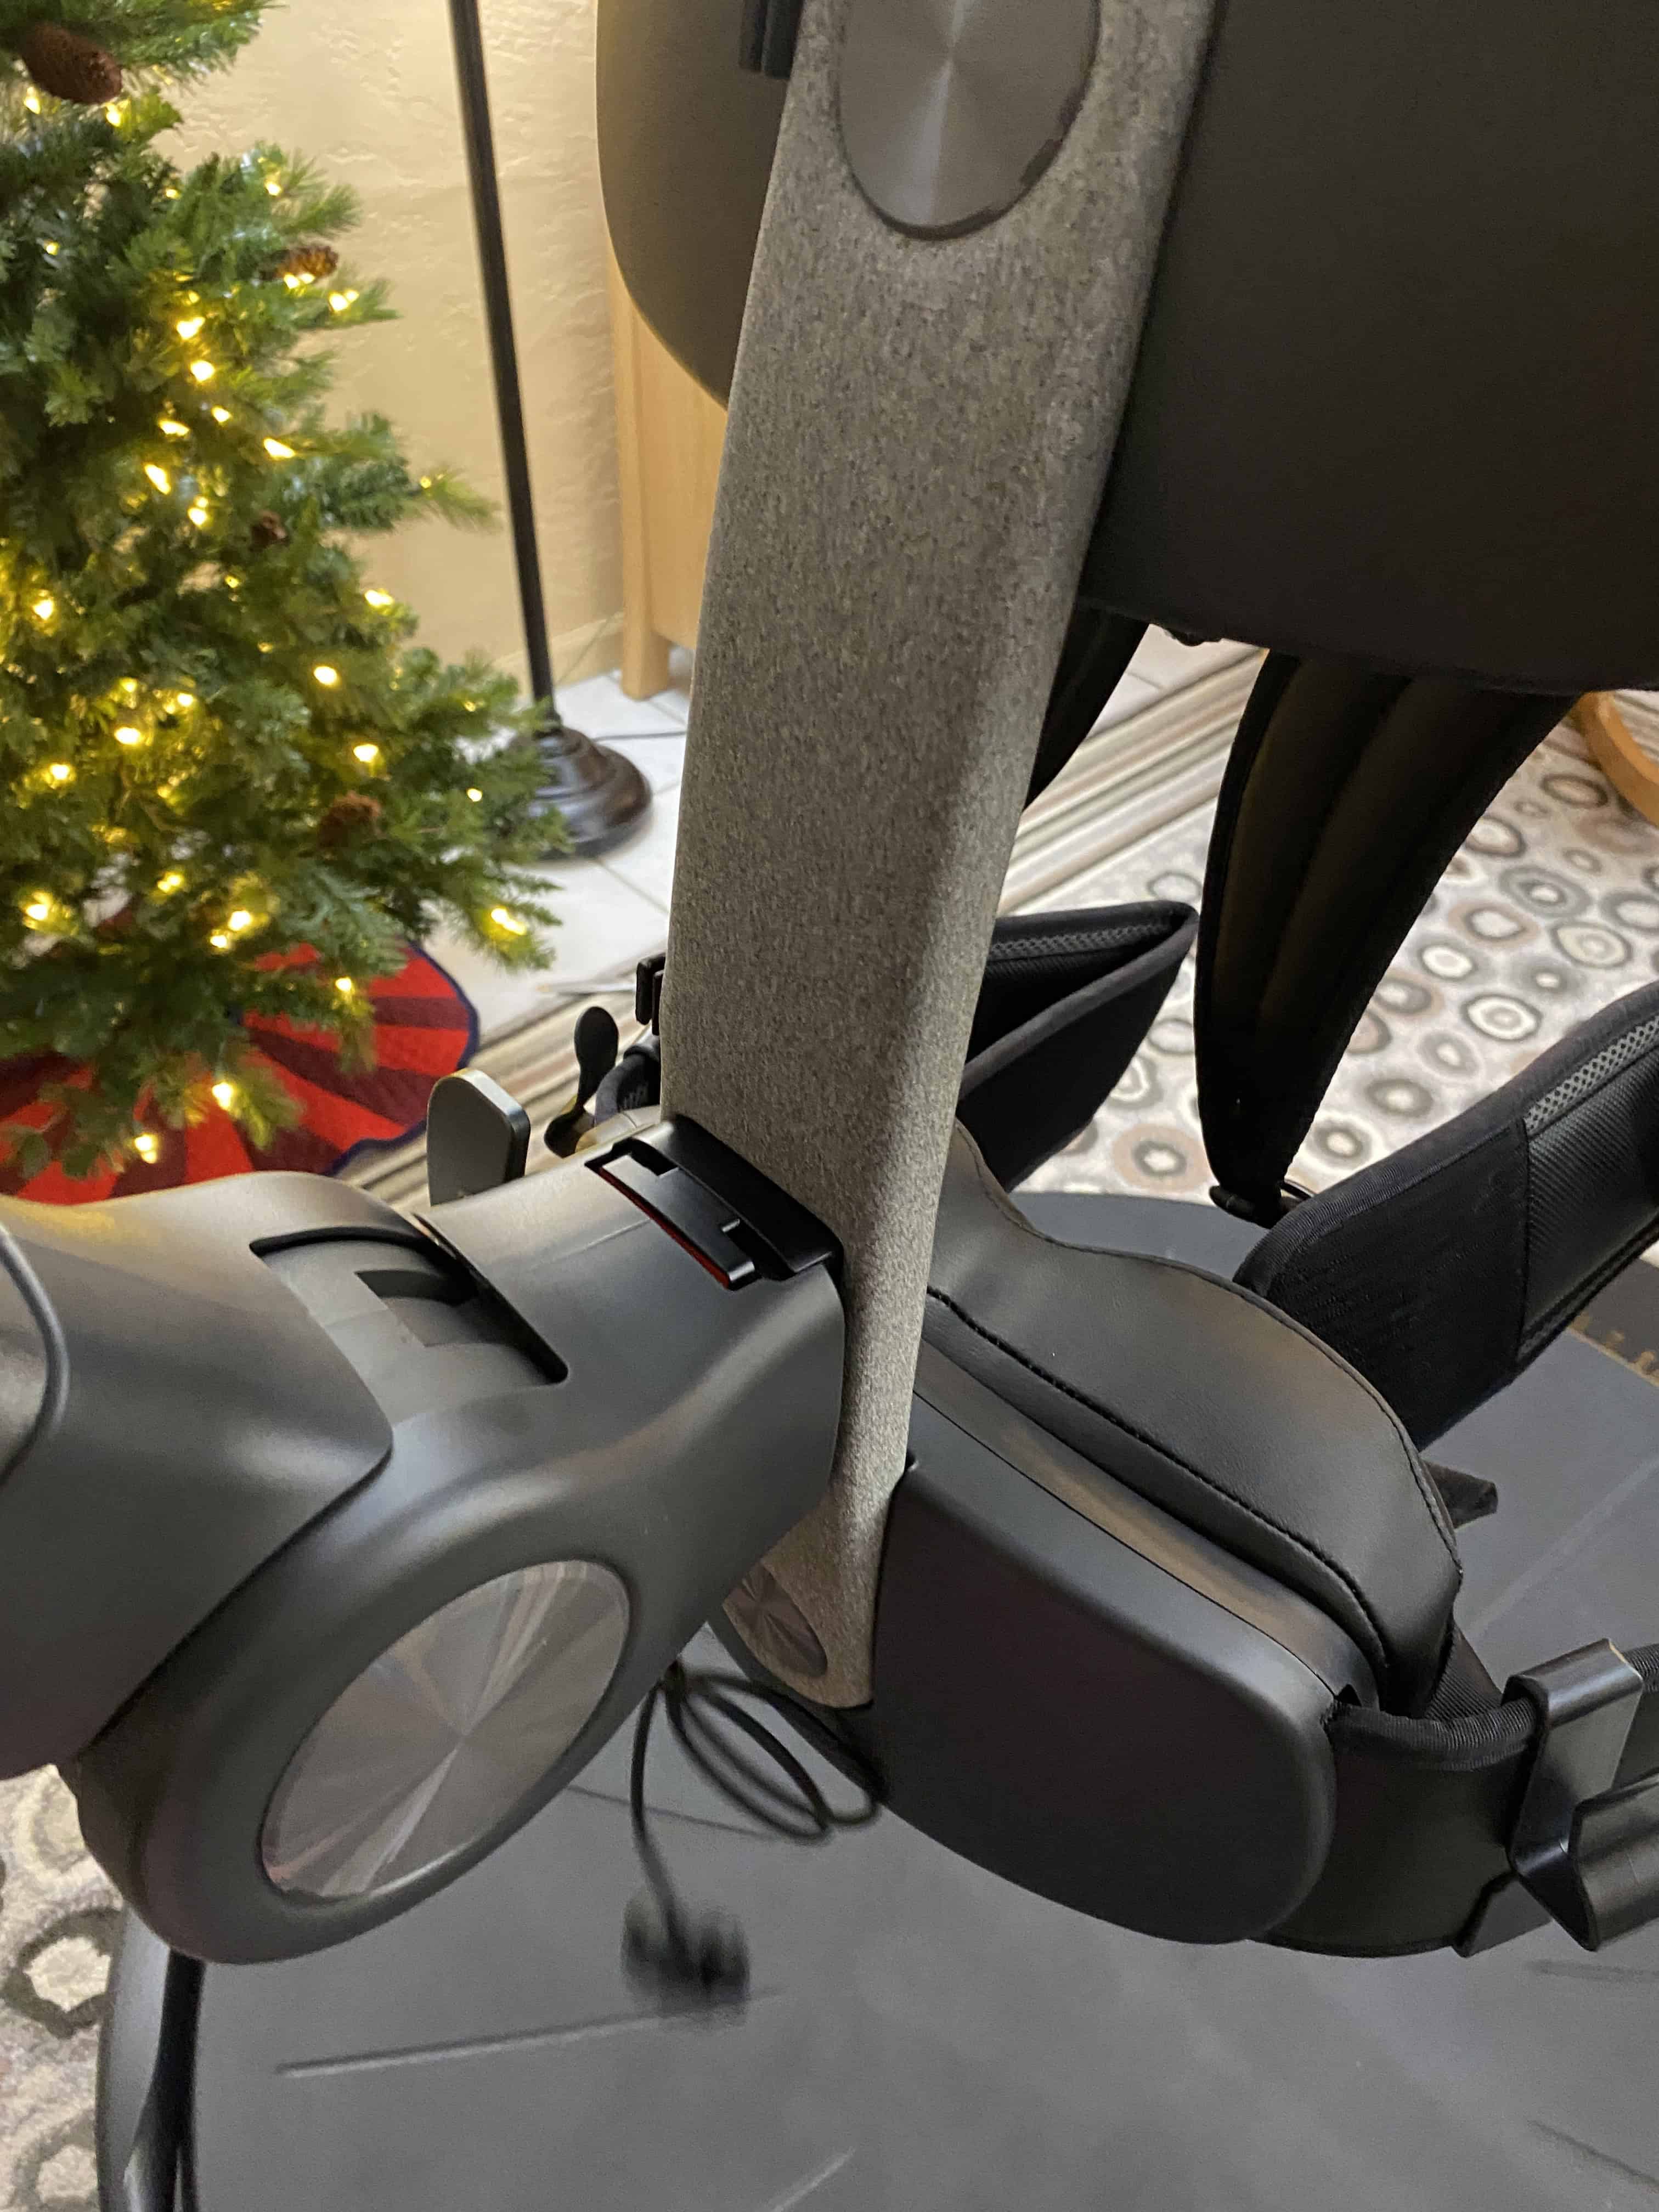
Attach vest to arm. Then, run cord through three clips on vest.
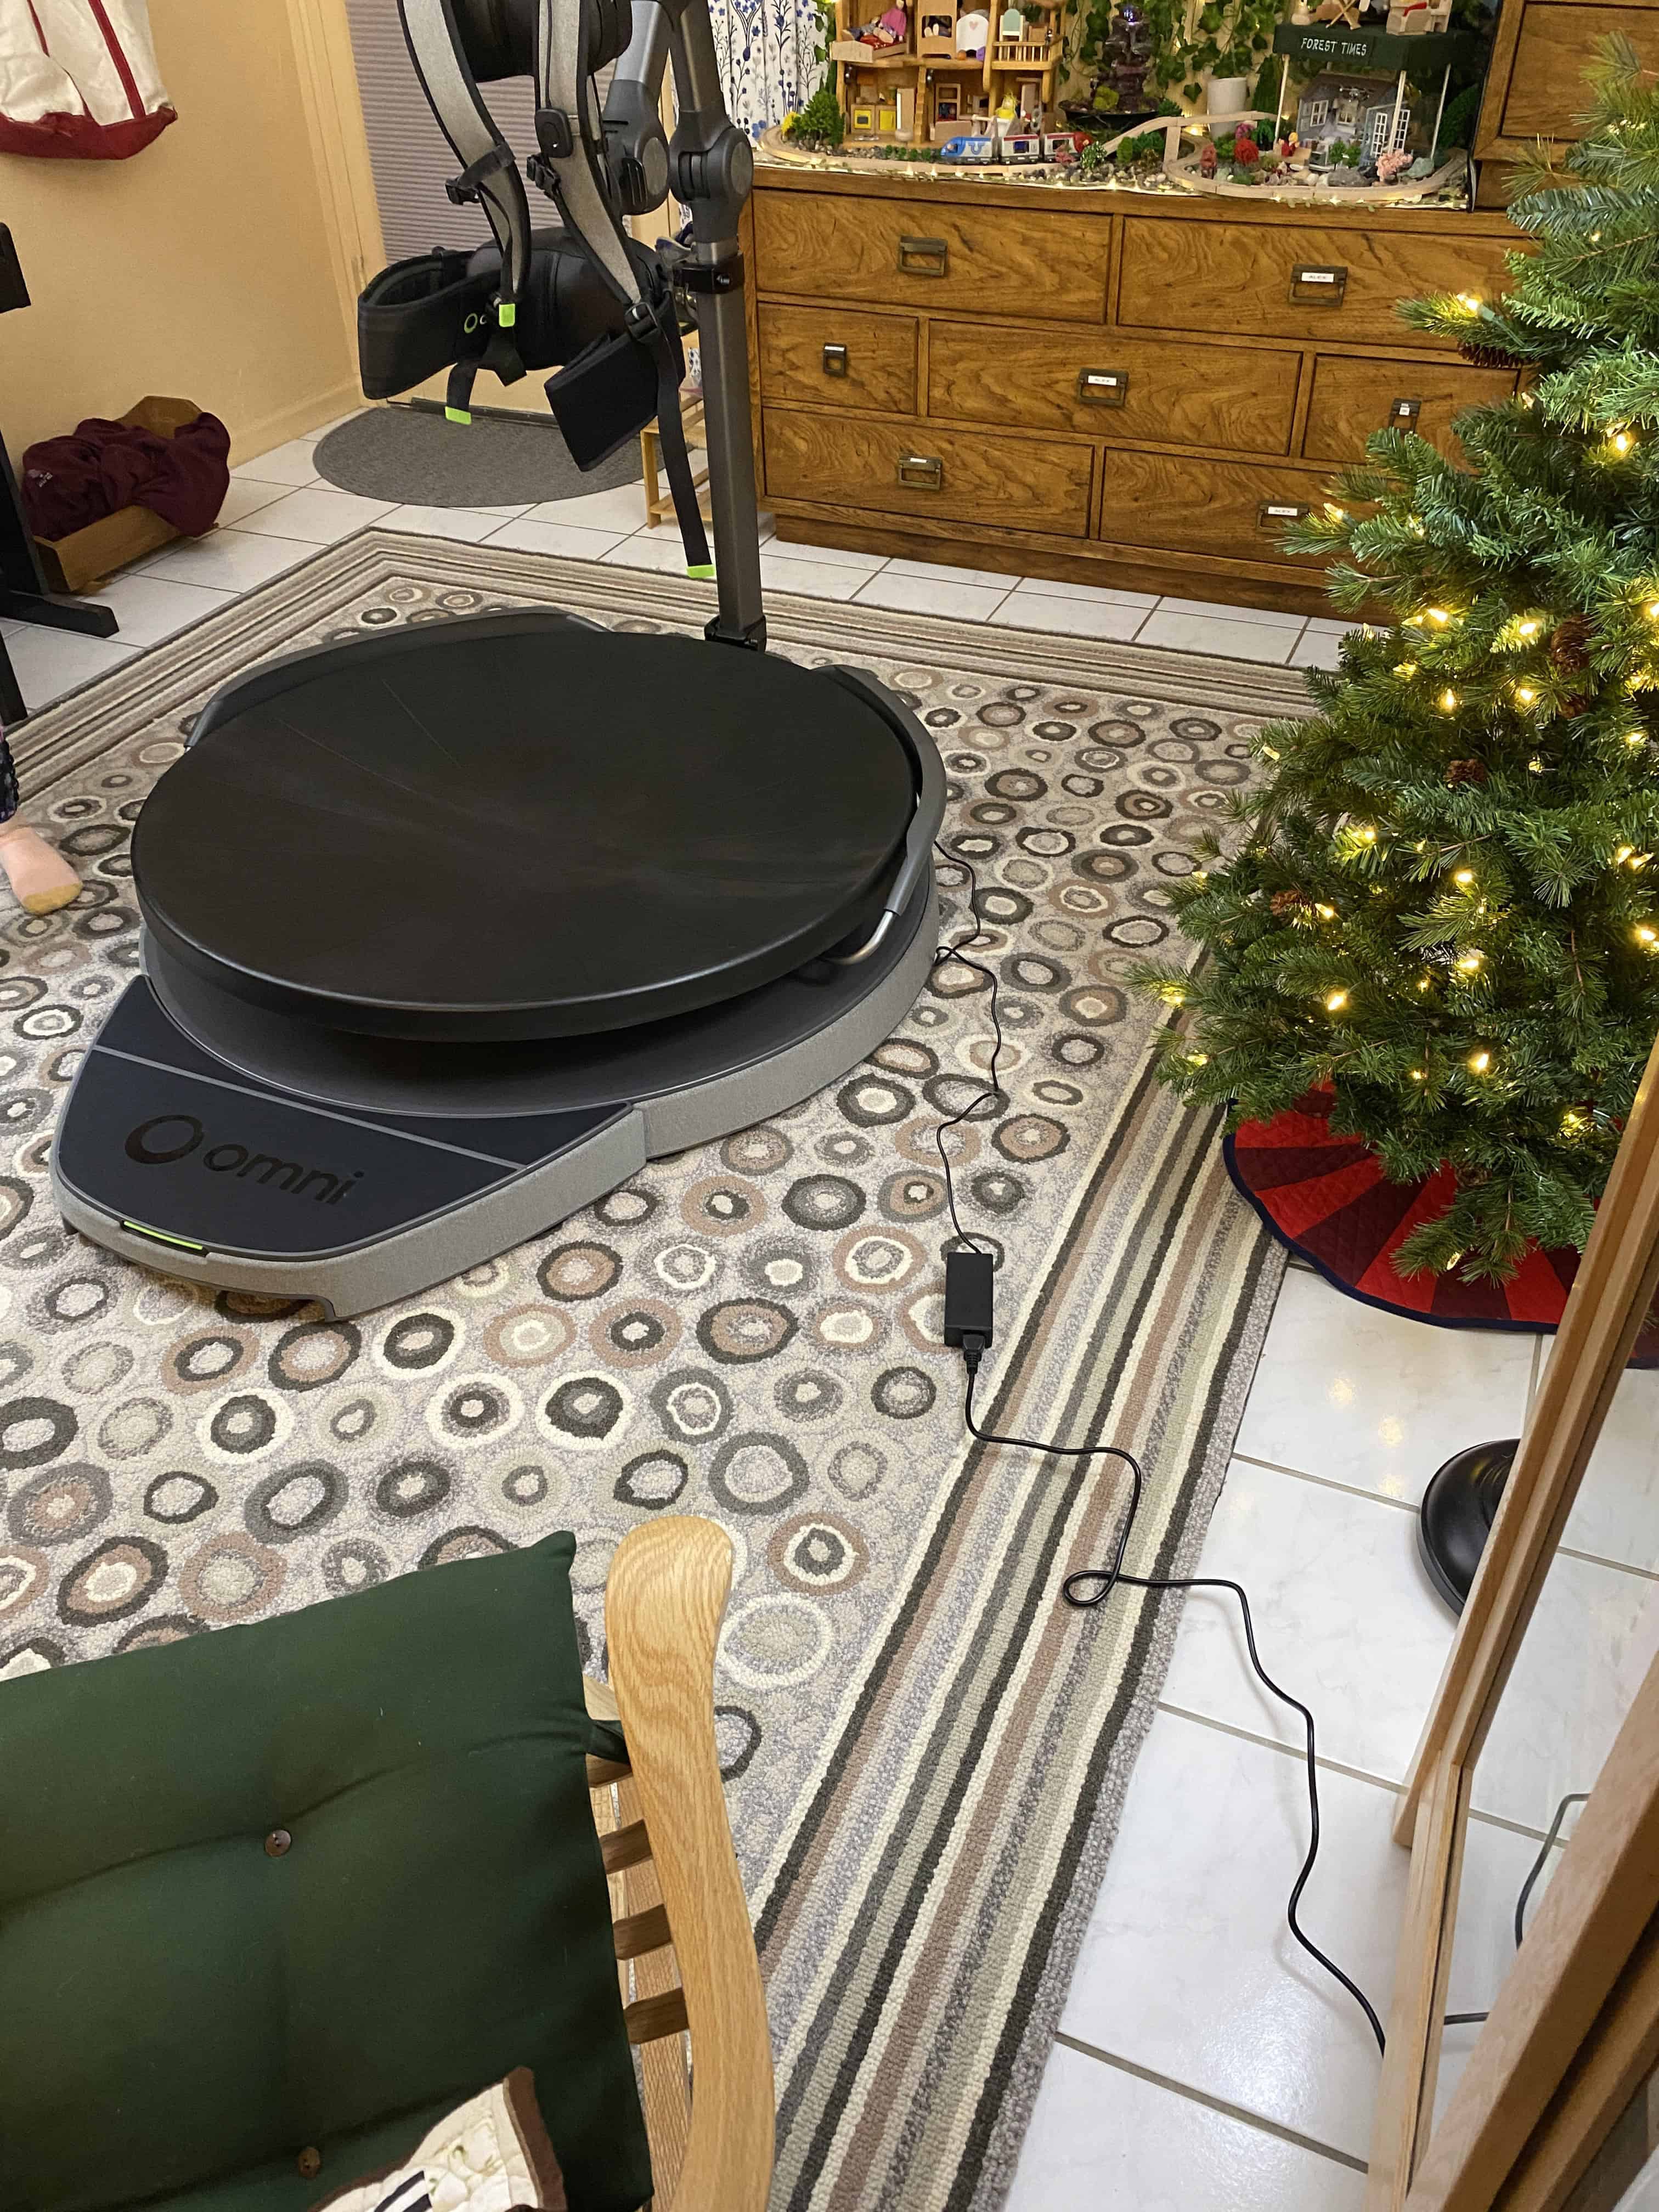
Plug in the Omni. As you can see, there's plenty of cord length (about 11 feet total).
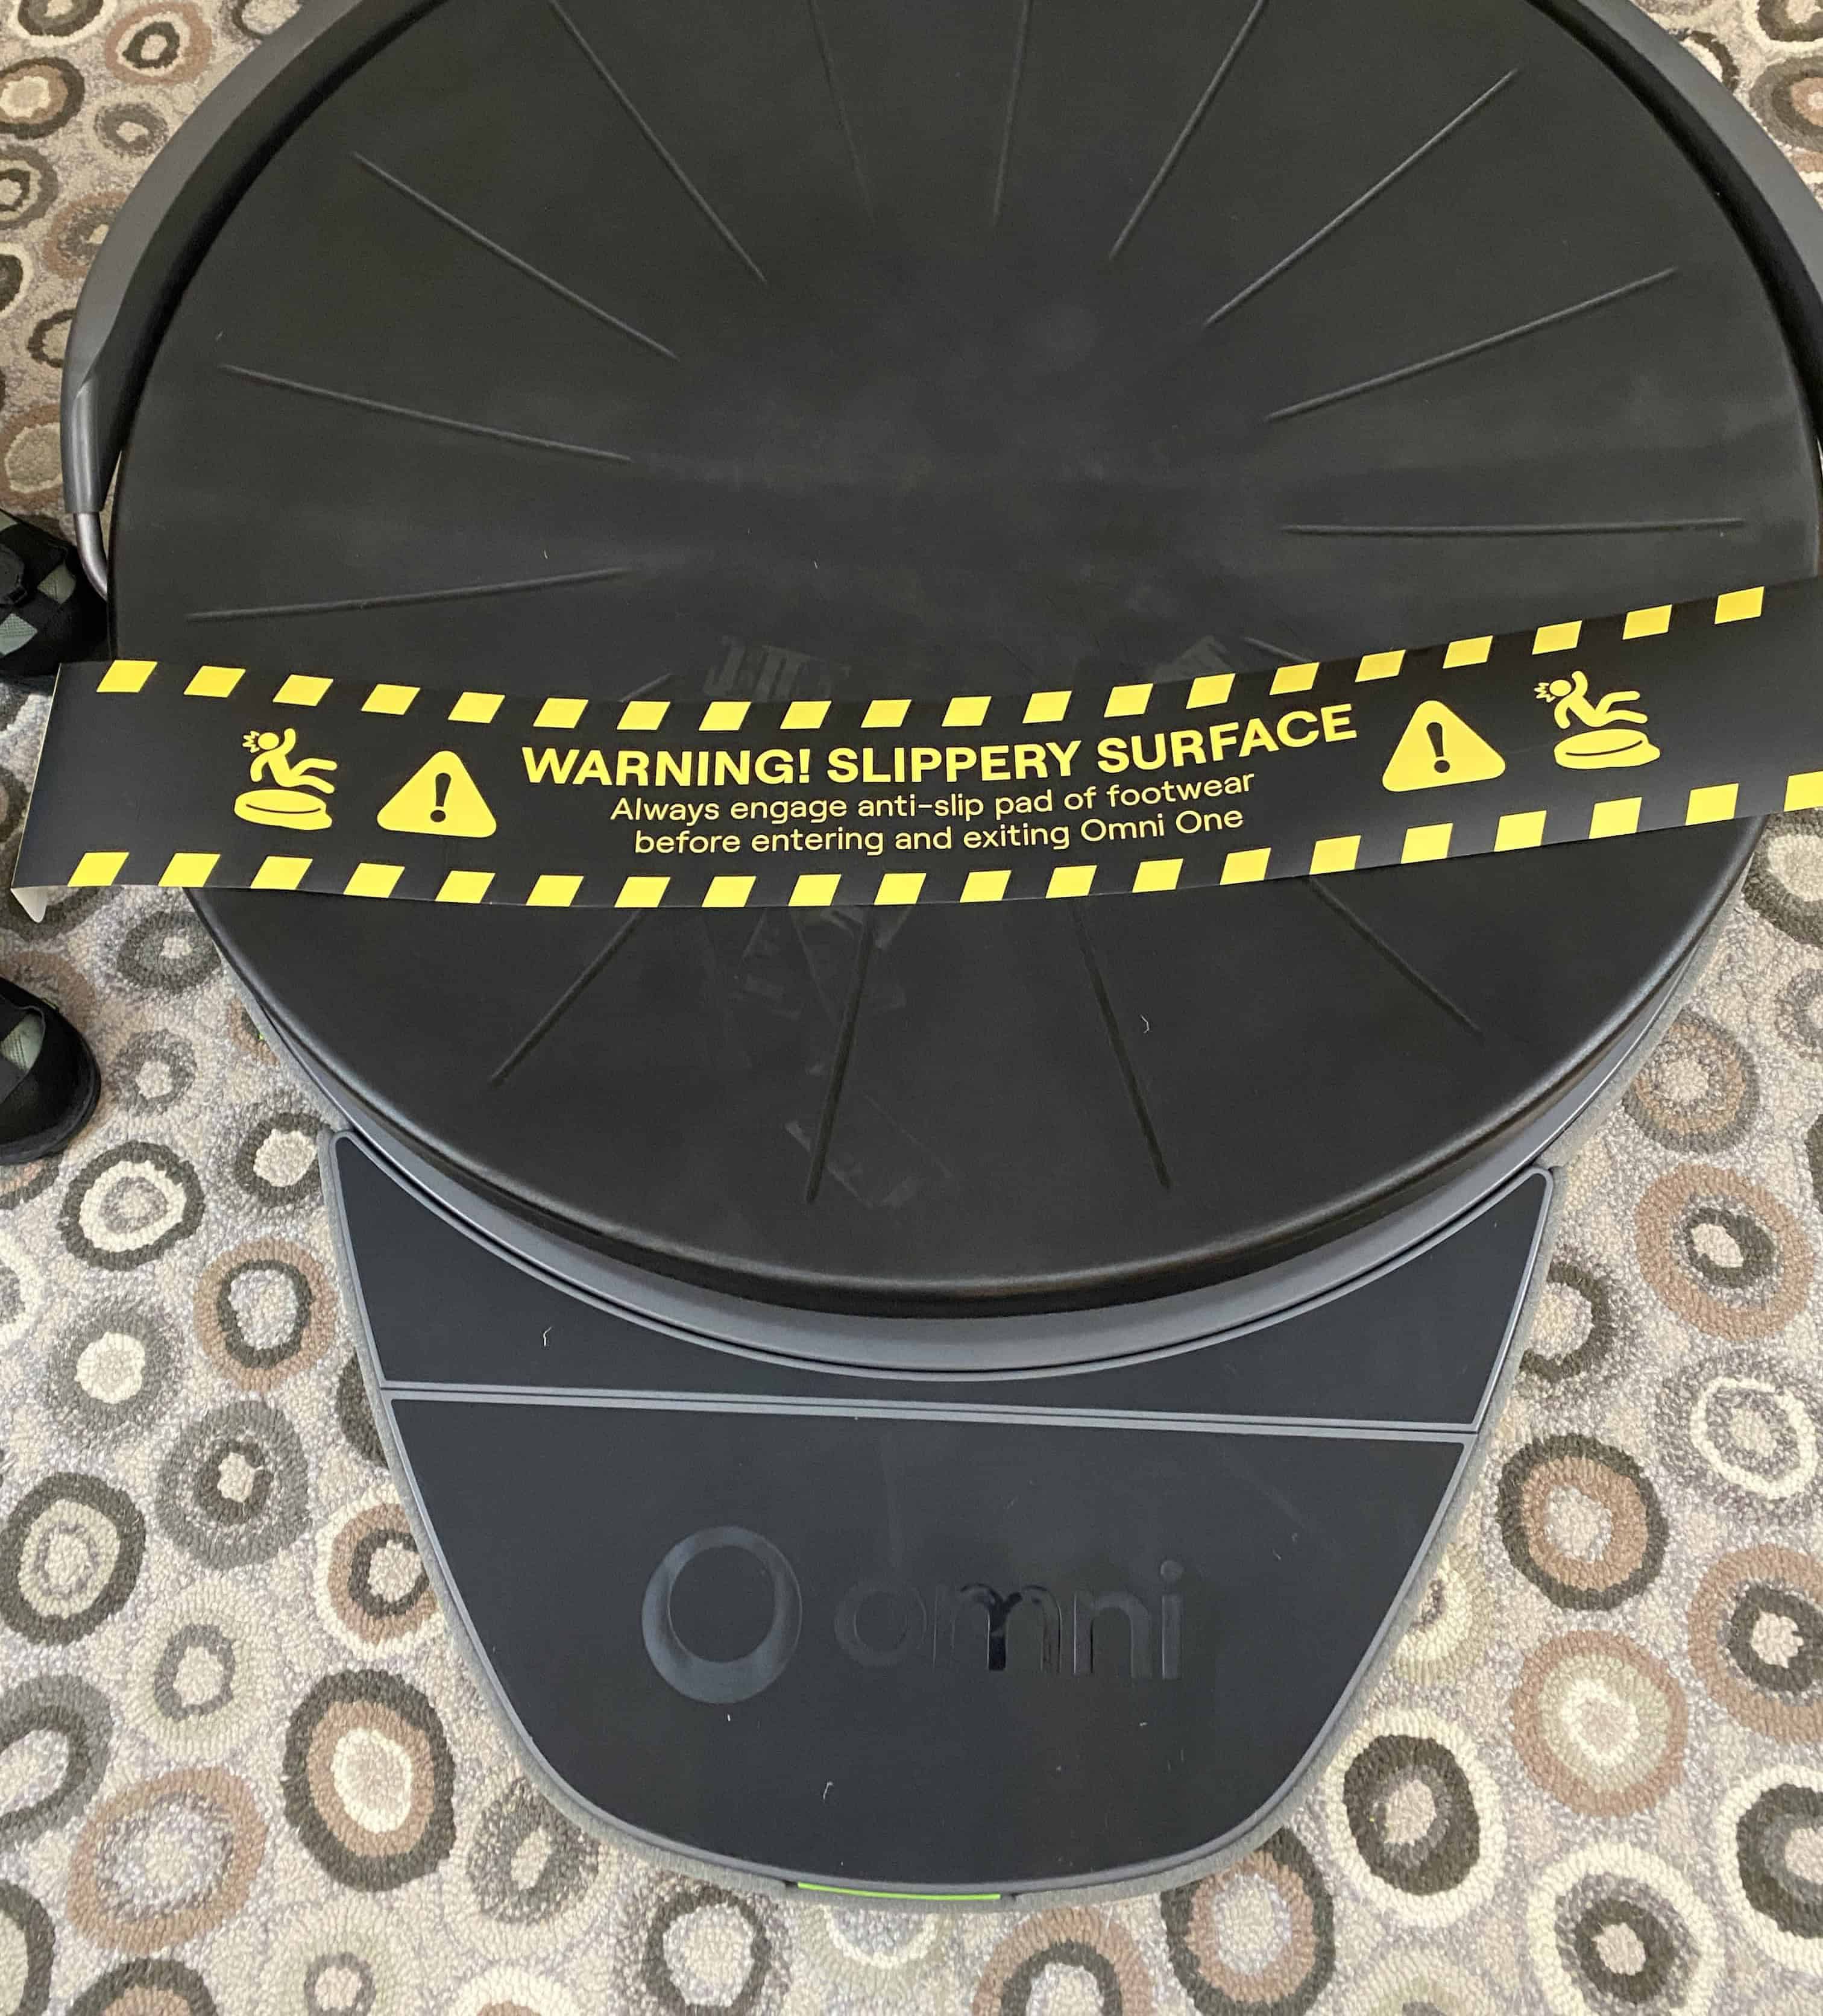
There's a big warning with the base: Slippery surface. They mean it!
With all the pieces now together, you might be tempted to step onto the base. Stop! Take a breath! Be careful!
Definitely don't (say) step onto the base with just socks, or you're likely to ‘slip on the ice’! That's definitely not the start you want to your Omni journey.
I've got a granddaughter who—guaranteed—would slip on the base. To prevent this, I made a fabric cover to eliminate the slipping hazard (and keep the Omni clean):
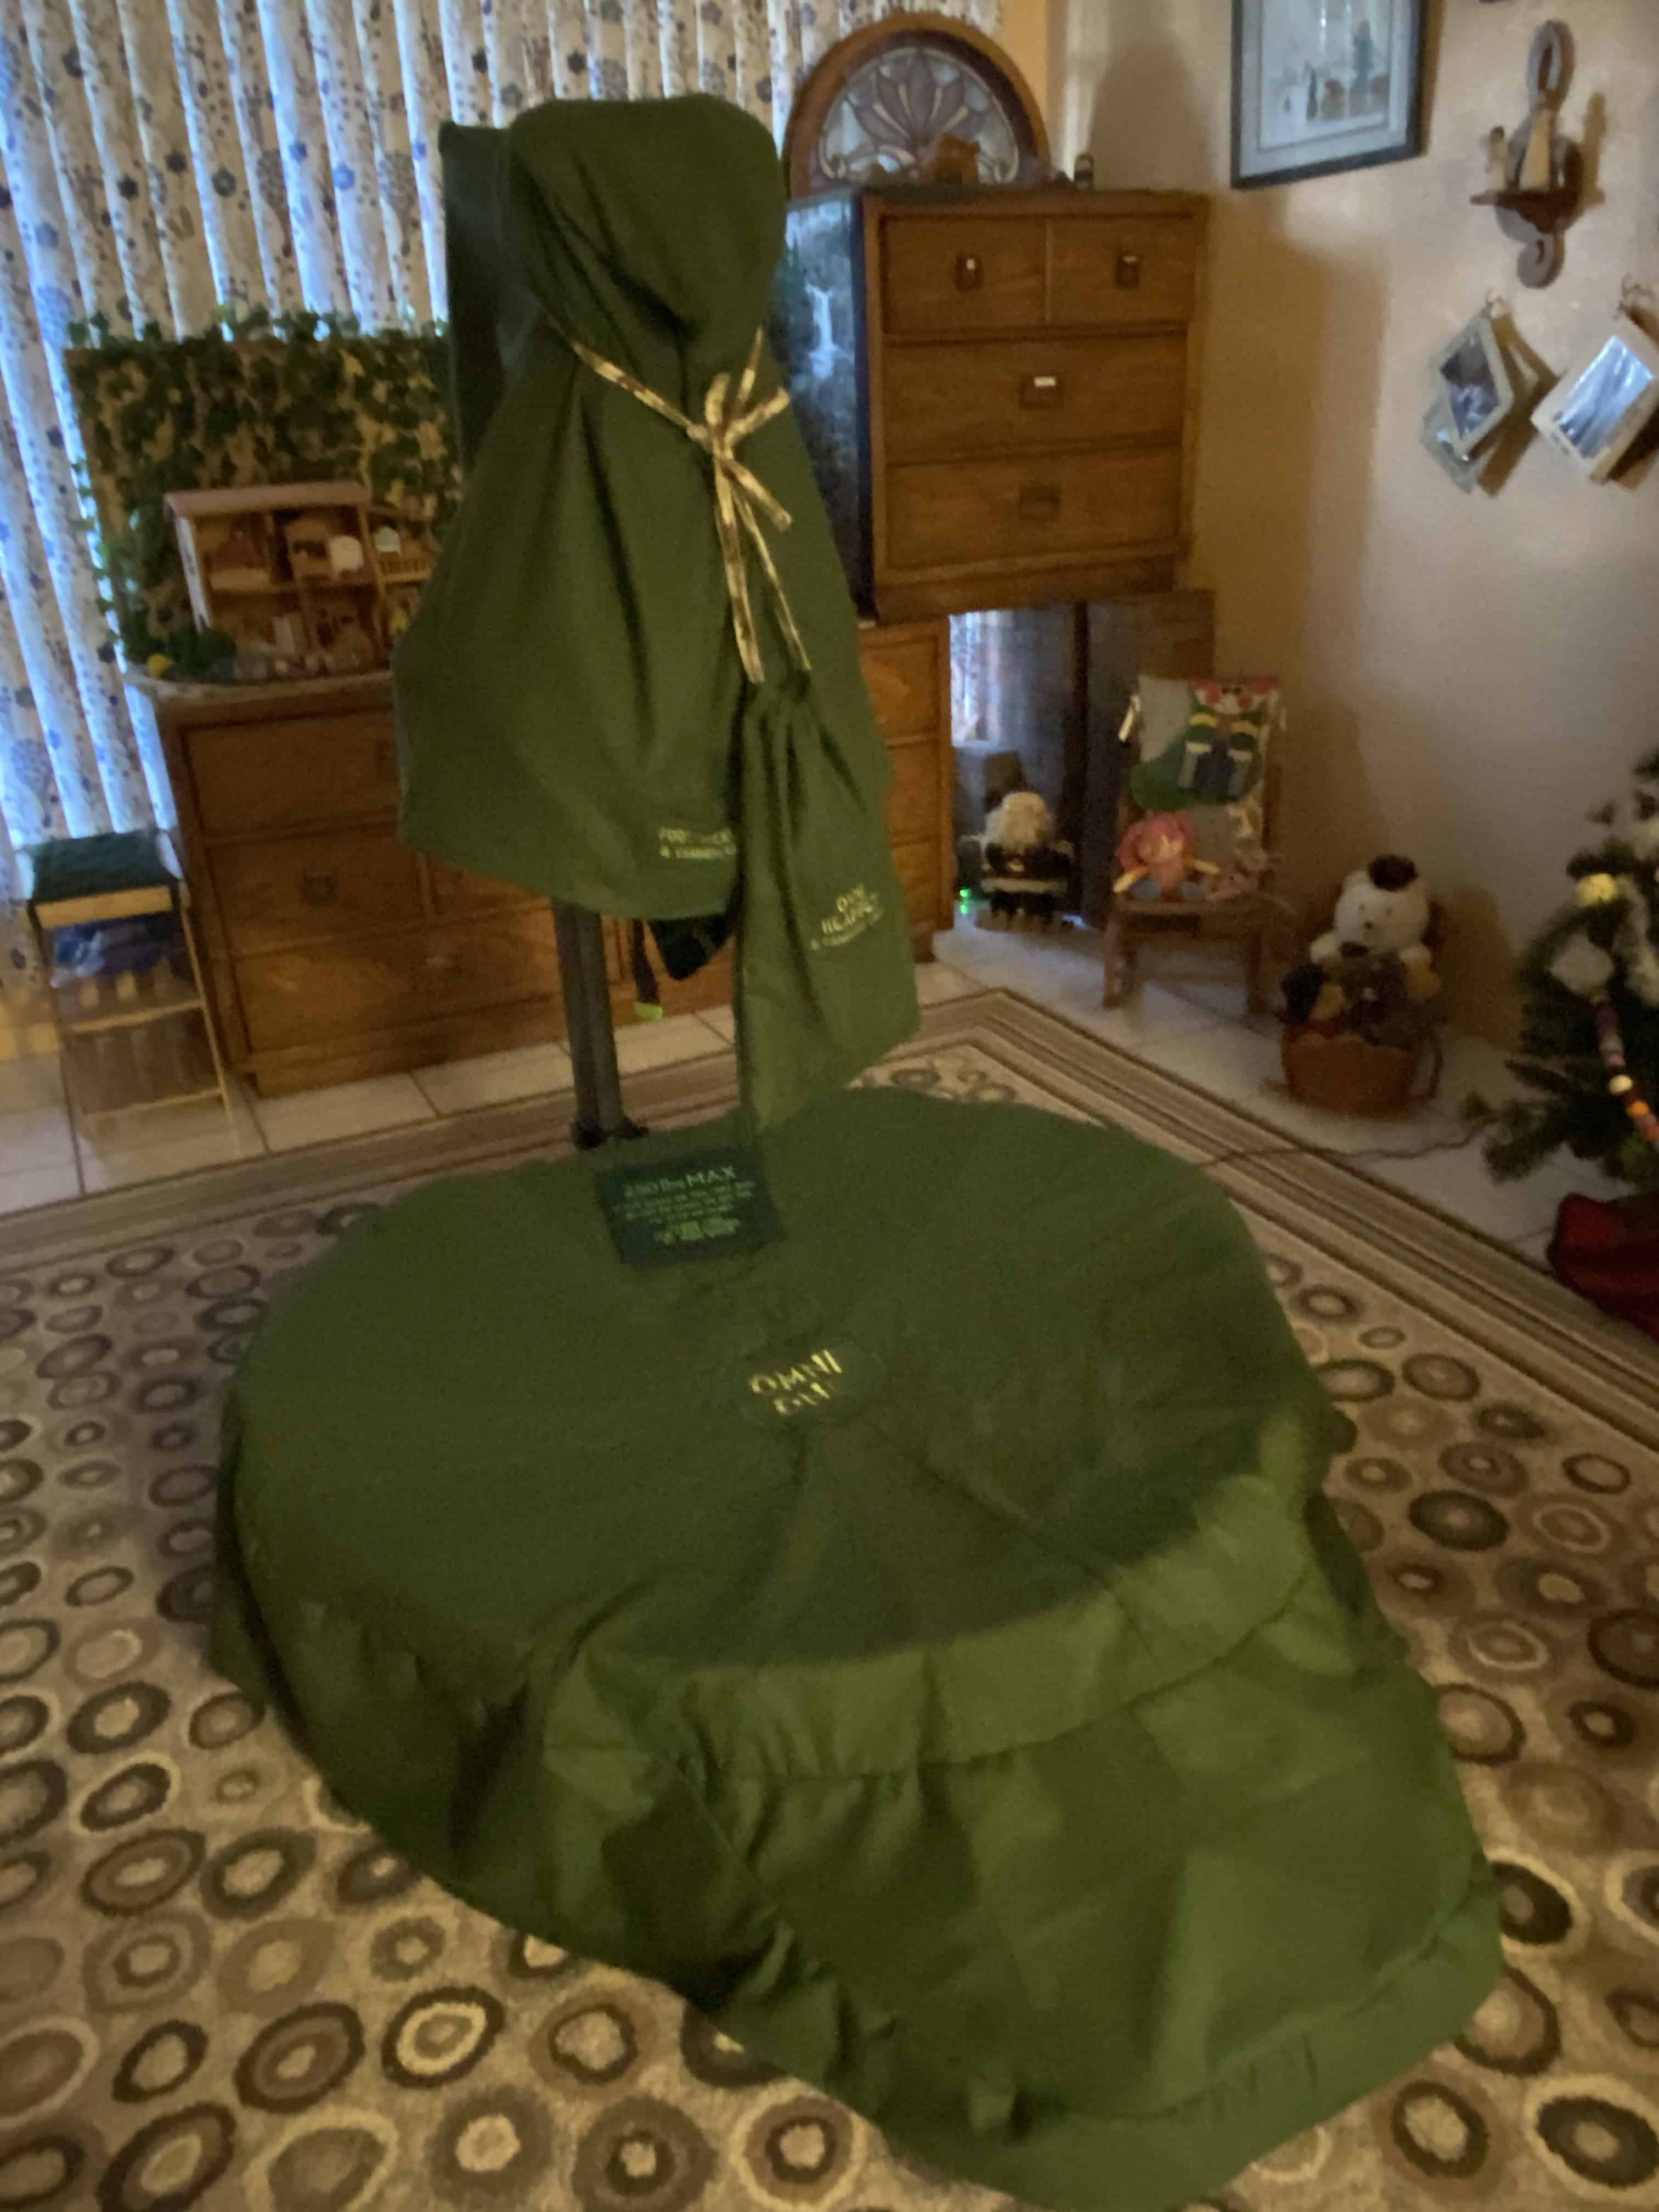
Custom Omni One cover; separate headset drawstring bag; pocket on vest/arm cover for foot trackers
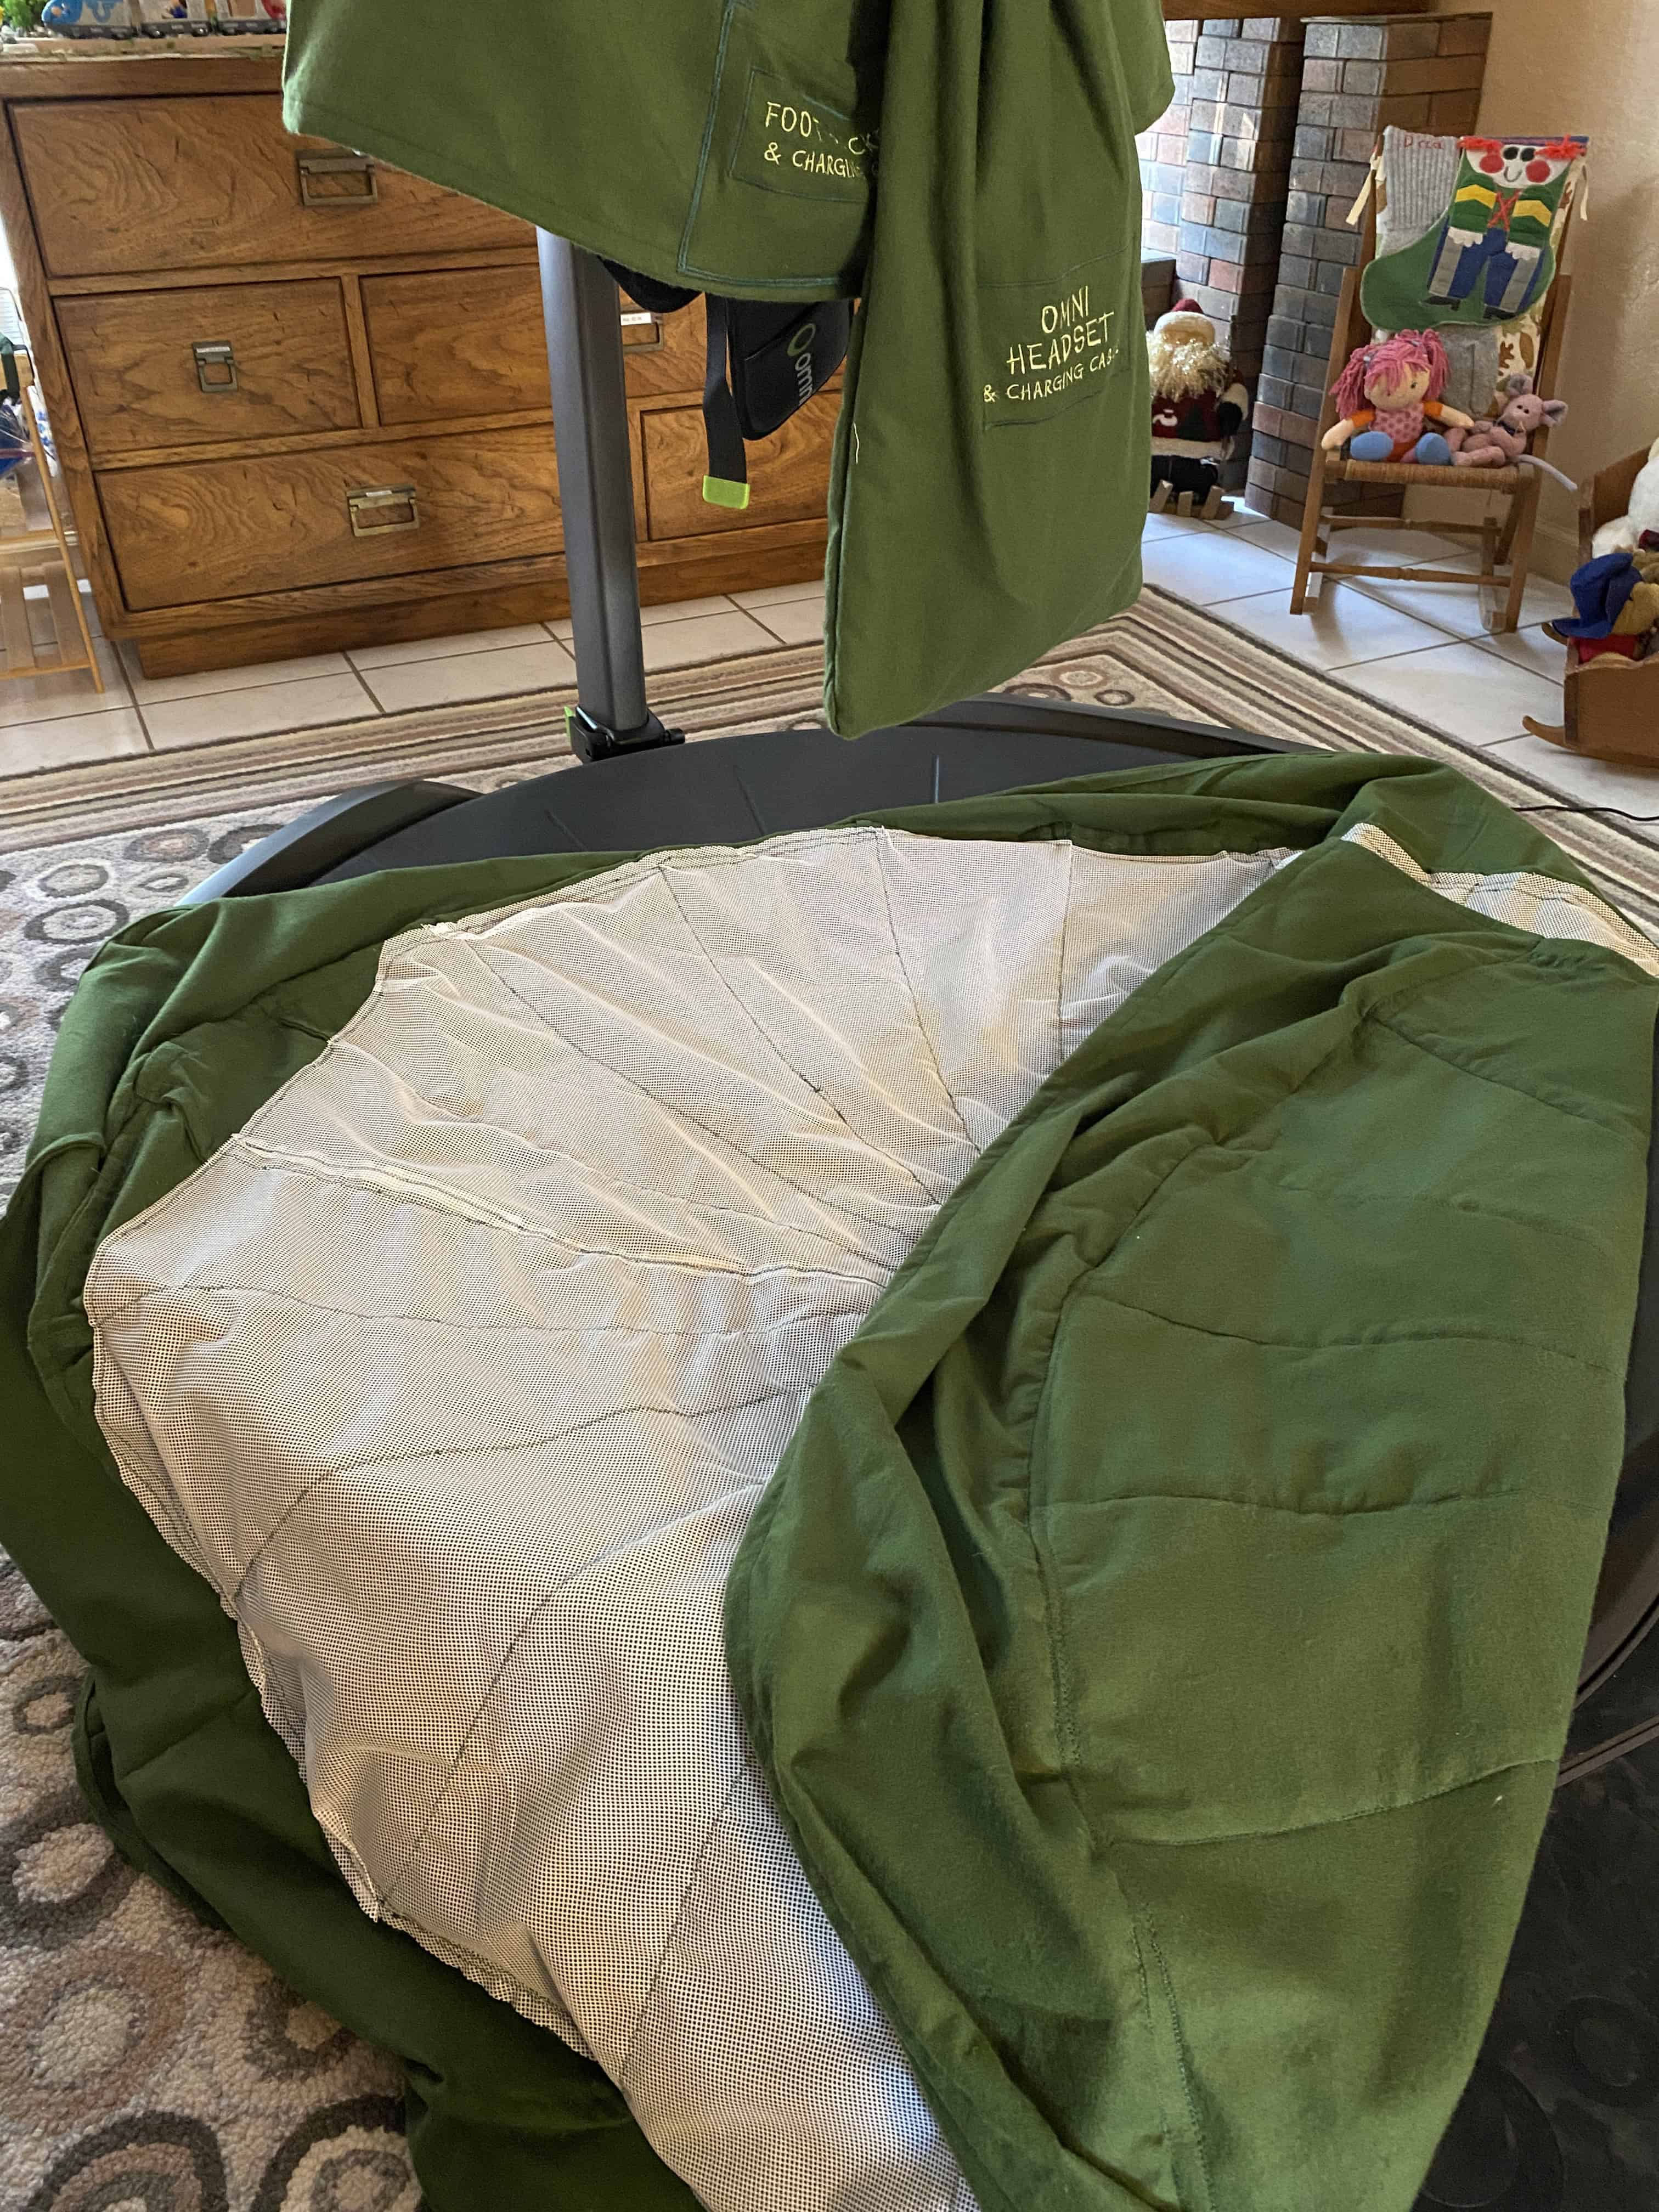
The cover was still slipping on the base, so I sewed a silicone non-slip grip rug pad to the wrong side of the base cover.
It was not easy to machine-sew it on. I used an even-feed foot, but still had to help move the fabric along by pulling back gently from behind the presser foot.
It was worth the effort—solved the problem completely. You can now walk across the base (with the cover on) and it doesn't slip at all. Hooray!

I bought all three sizes of overshoes to accommodate guests. I made custom drawstring bags and hung them on these wooden mushroom hooks.
Preparing to Play
Lots of the following steps only need to be done the first time you
play, or when you have a new user with a different
height/
Set Your Height
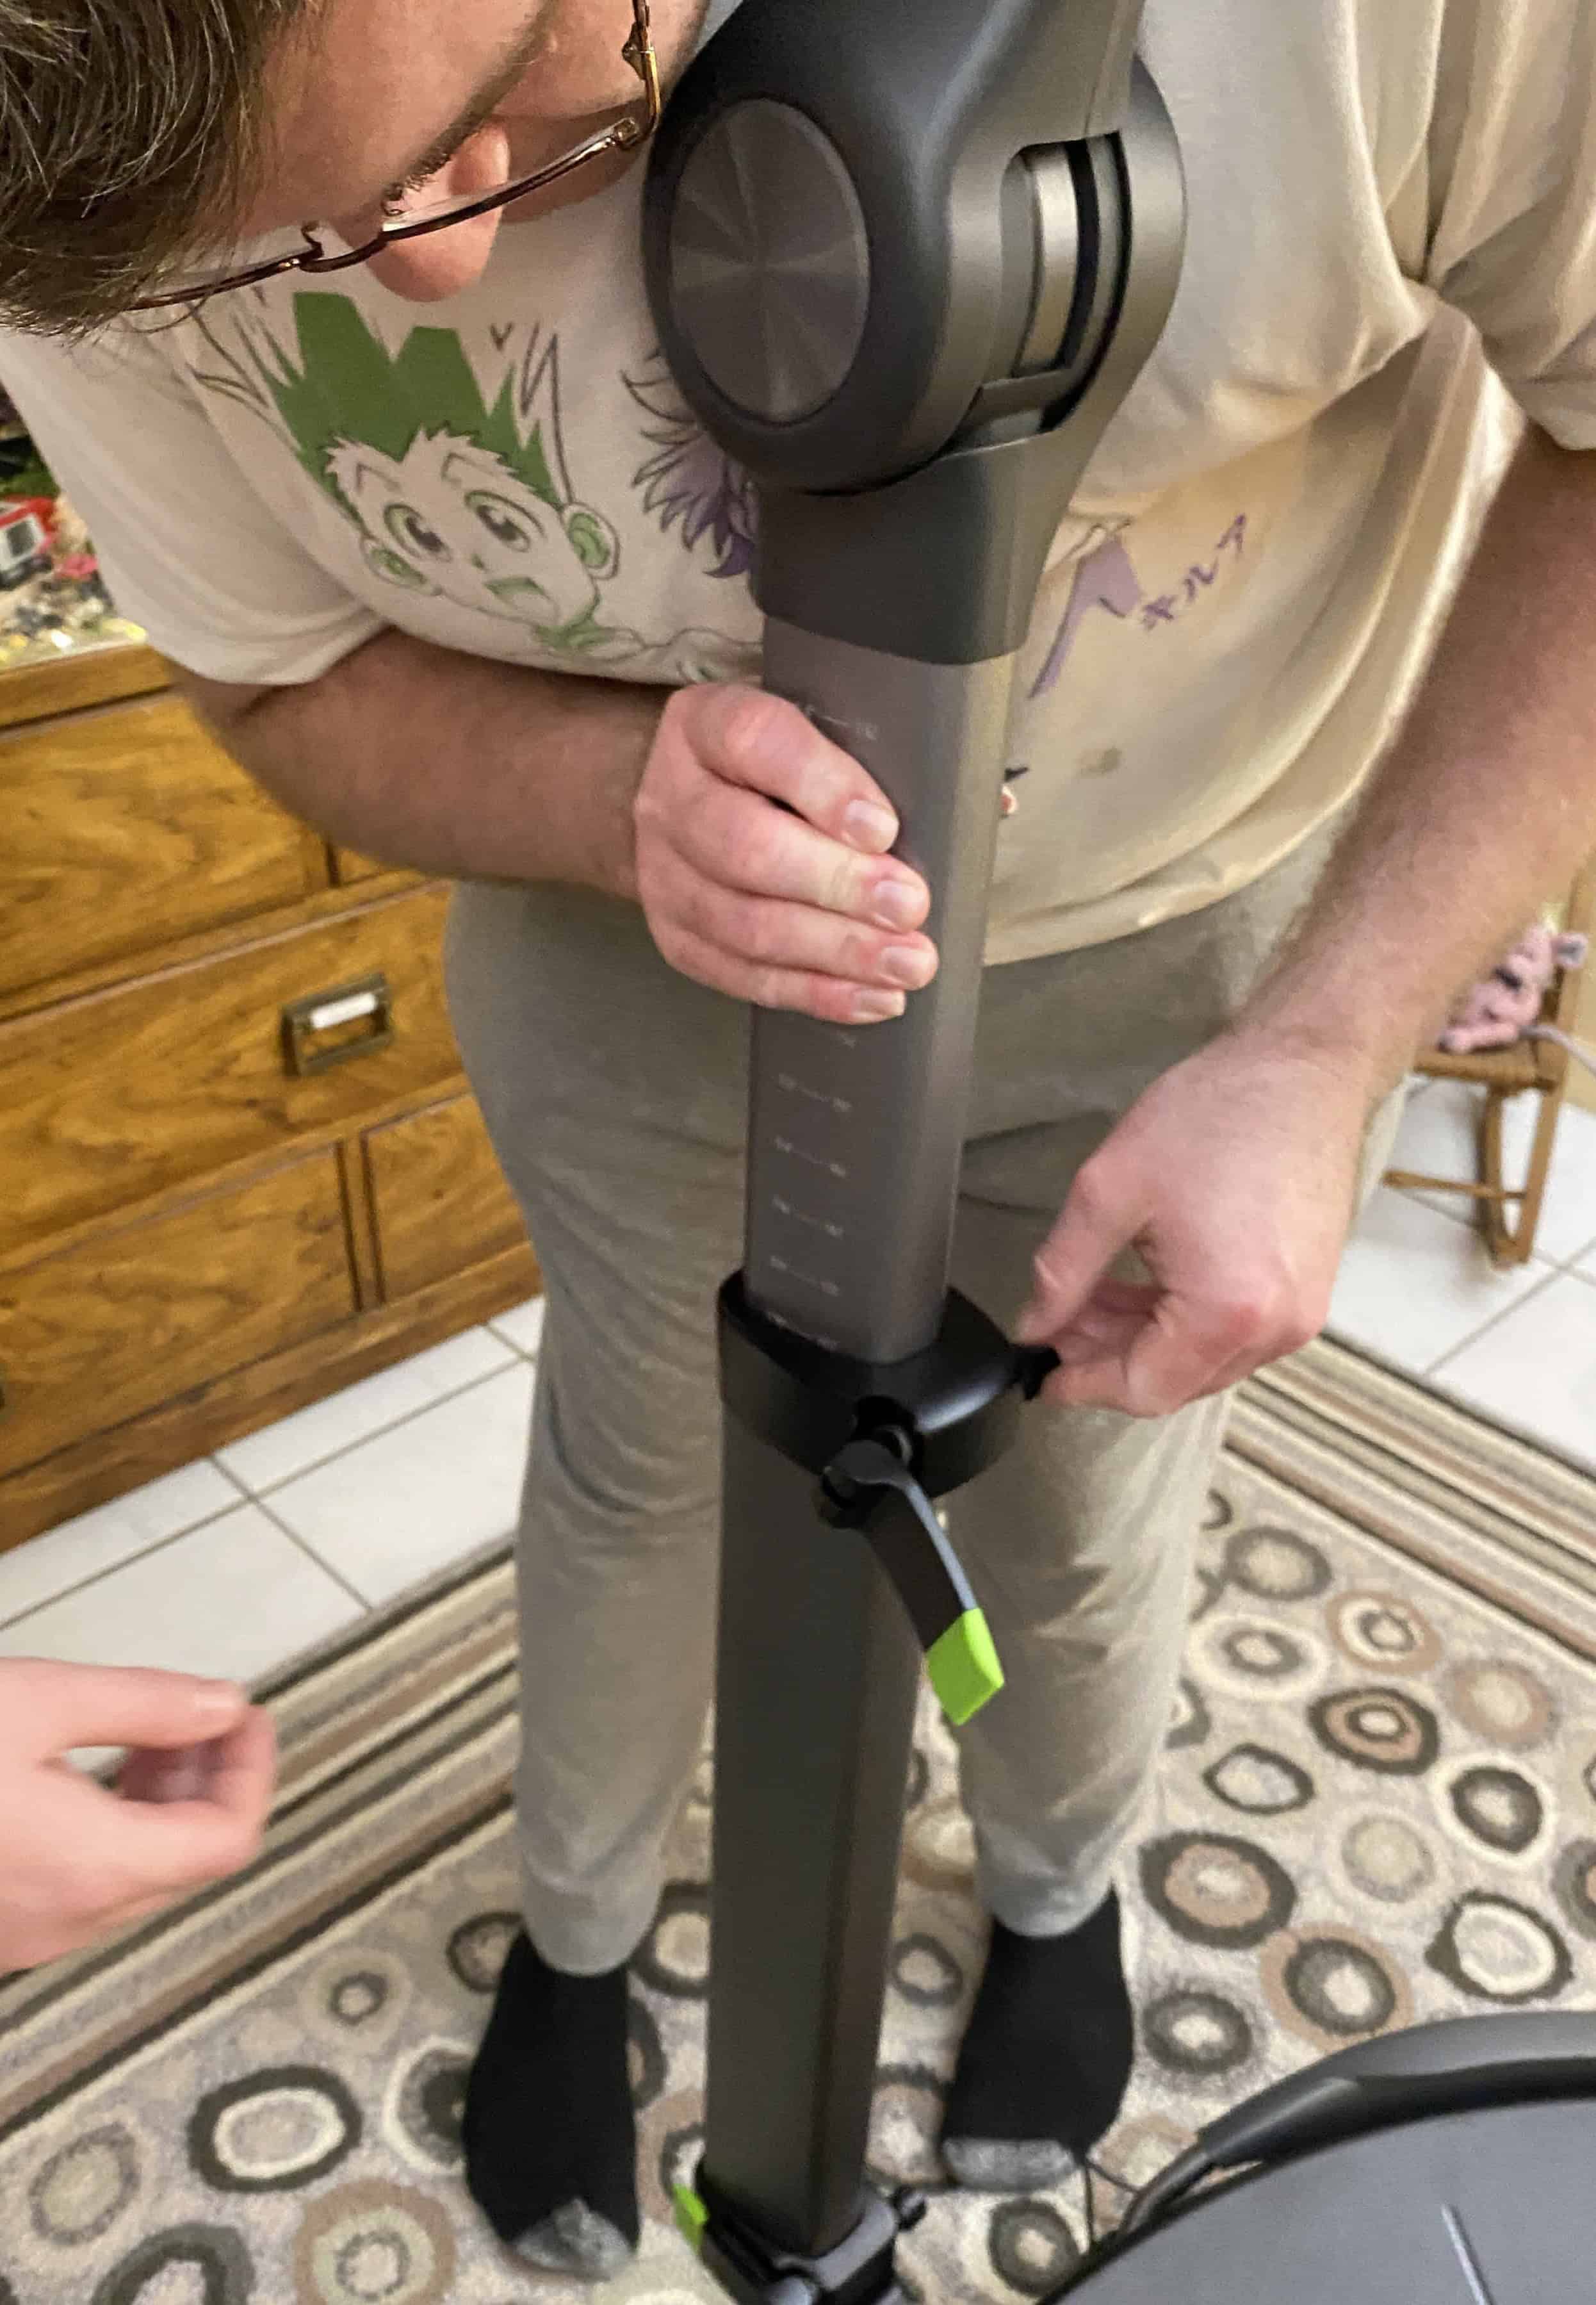
Adjust arm to height of player
Set the arm to the marking that matches the height of the person playing, as follows:
- Open the clamp (green tip).
- I found it easiest to use both hands to move the arm up/down to the desired mark.
- If the arm won't move easily, loosen the cam nut.
- After reaching the desired height marking, close the clamp (green tip).
- Tighten the cam nut.
After you start playing (we're getting close!) if you don't feel sufficiently supported, then you can lower the arm a bit.
Set Support Level
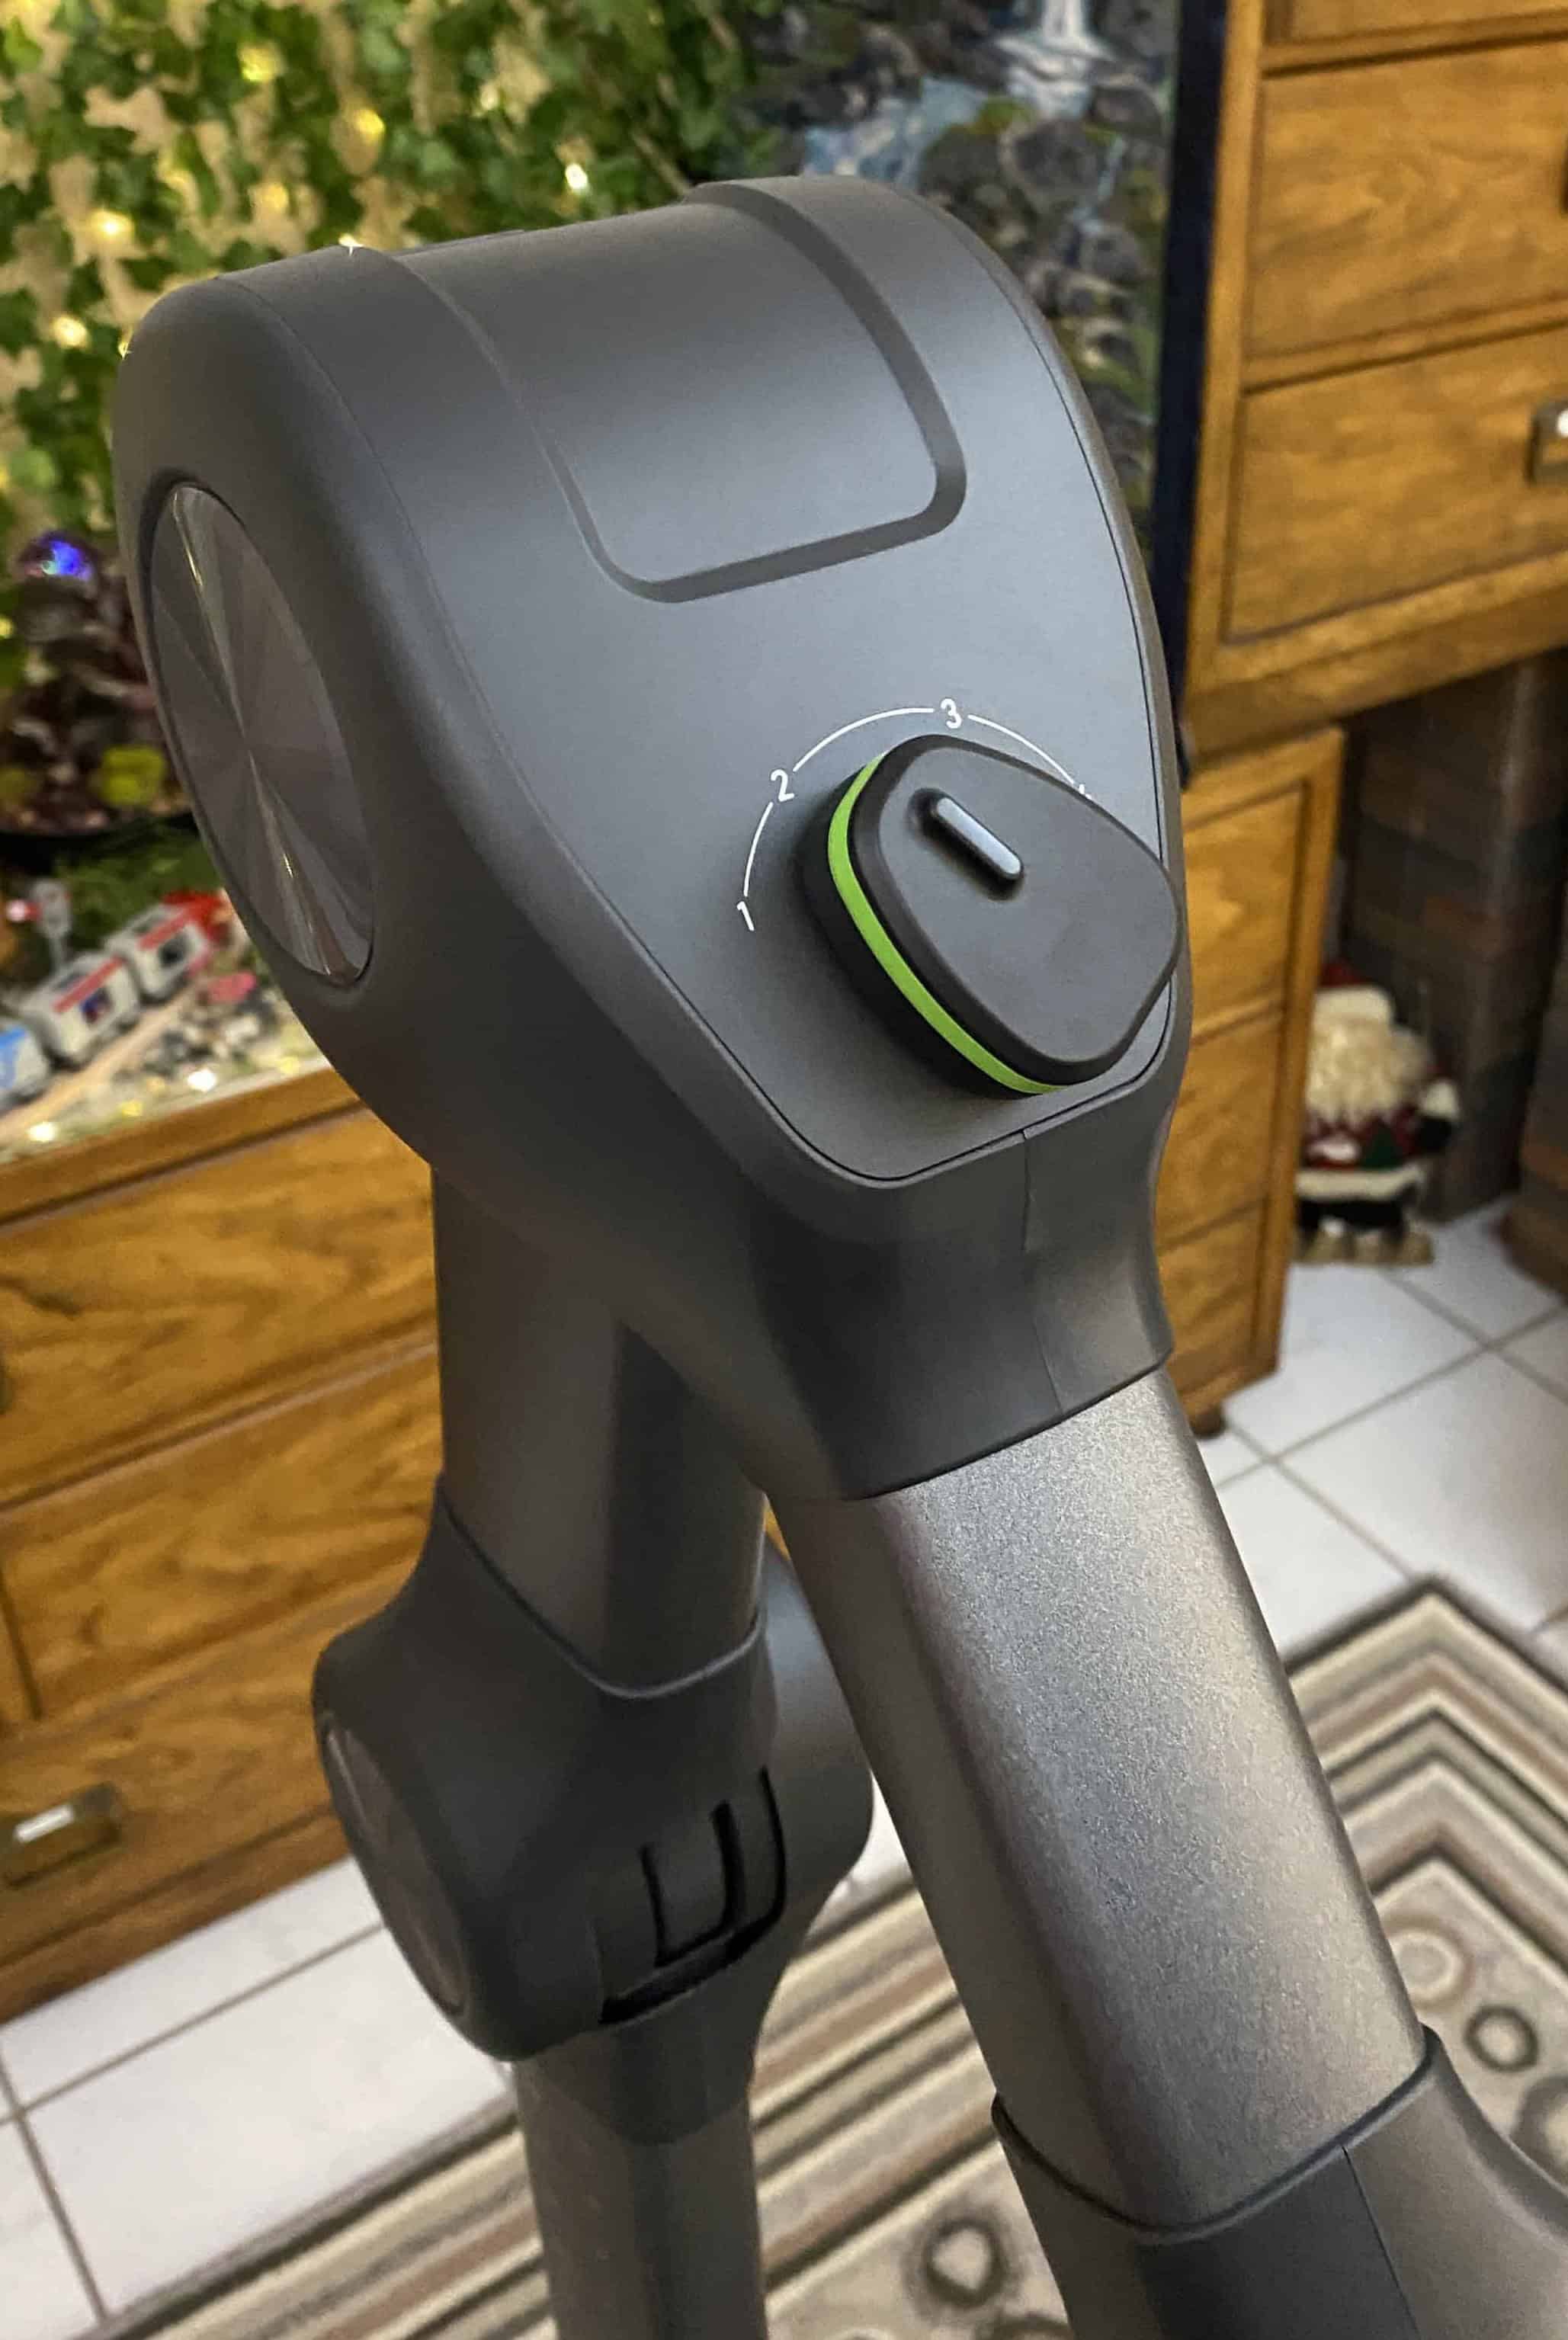
Set support level
Here, ‘support level’ refers to how much resistance the Omni One arm offers to your movements. Setting 1 offers the least resistance; setting 4 offers the most resistance.
Initially, set the support level according to player weight:
- less than 150 pounds: level 1
- 150–180 pounds: level 2
- 180–210 pounds: level 3
- 210–250 pounds: level 4
The Omni One has a maximum weight of 250 pounds.
After you're strapped in and walking around, if you fall forward too easily, then increase the support level.
As you get used to walking on the Omni One, you may want to decrease the support level.
If you're on the Omni One and want to change the support level, then you must stand at the center of the base and lean back slightly.
Activate the Controller Batteries
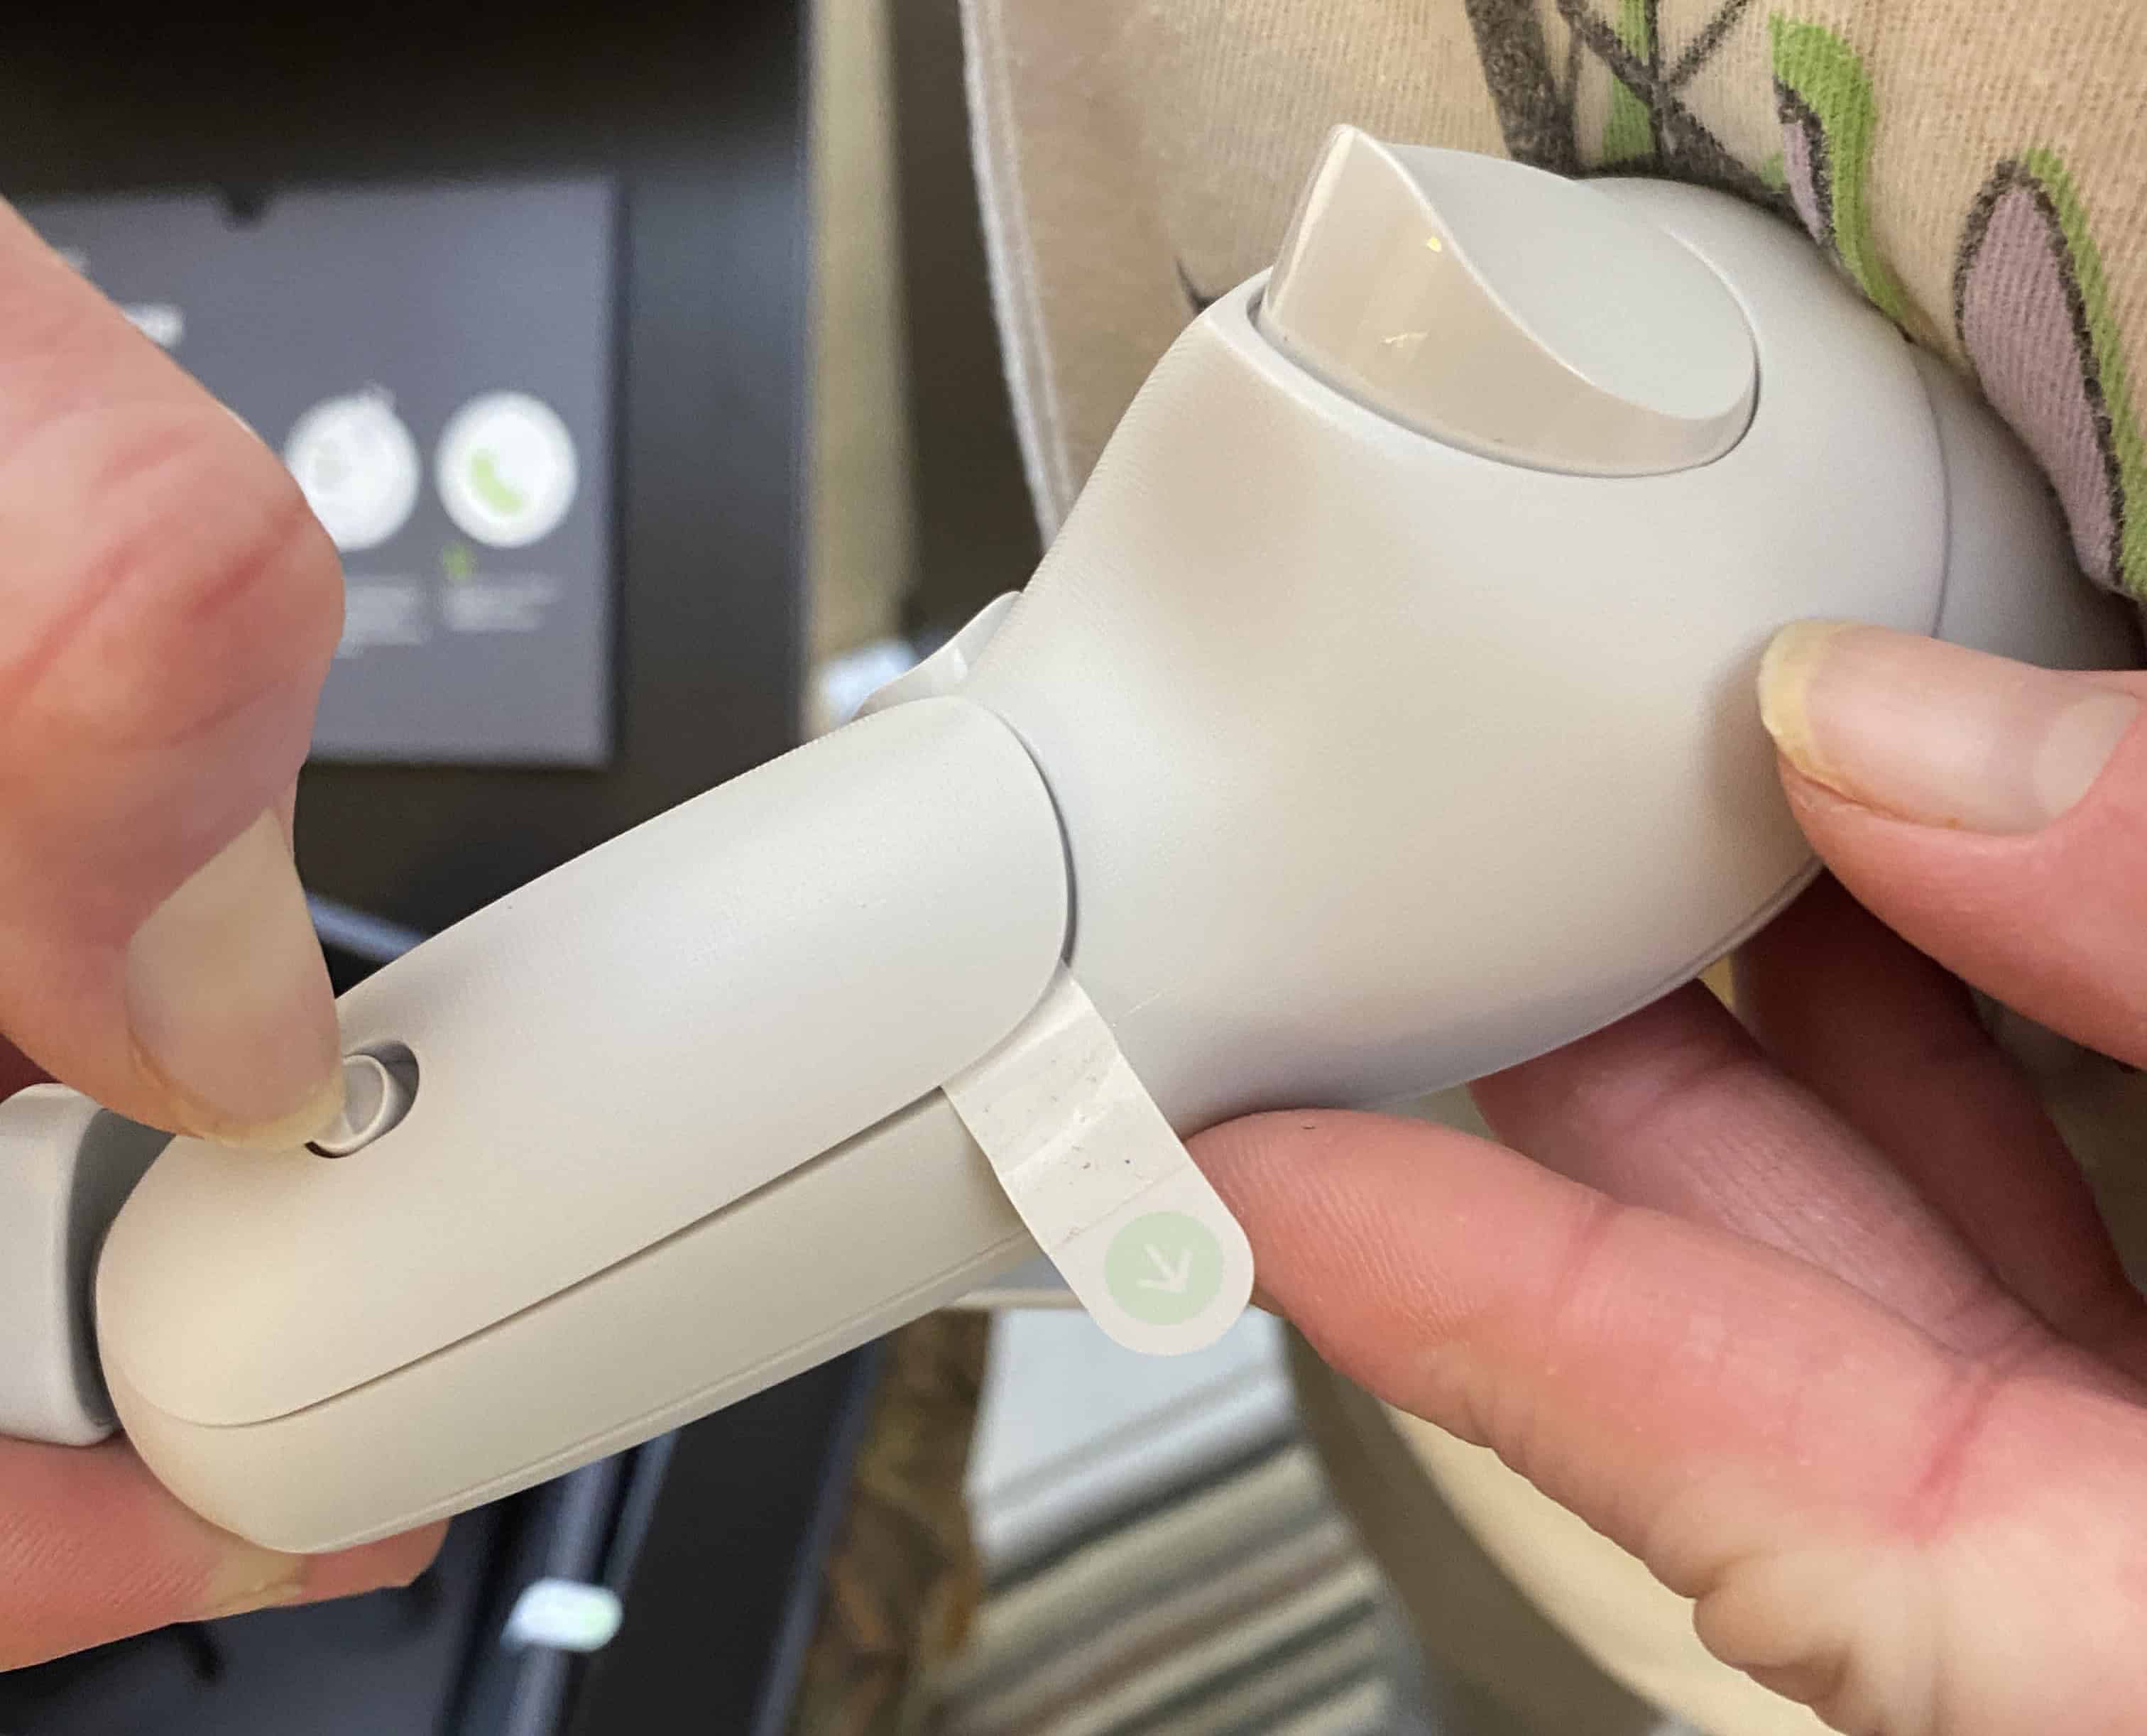
Activate the controller batteries: slide the button; remove the insulating paper. It's a tiny button; you'll probably have to use your fingernail.
Activate the batteries on both controllers. Be sure to close the battery compartments when done. There's a nice solid ‘click’ when the battery compartment snaps shut.
Each controller uses two AA batteries.
Get to Know the Controllers
Familiarize yourself with the controllers. You'll be using them a lot.
The controllers are not interchangeable. One is the right, one is the left. AB goes in your right hand; XY goes in your left hand. I put an ‘R’ label on the right one to more readily distinguish them.
Hold each controller with the front buttons facing you:
- Thumb controls the joystick and front buttons
-
Index finger rests on the trigger.
The trigger is used for menu selection, shooting, more.
-
Middle finger rests on the side button. Virtuix calls this the grip button.
The grip button is used for pressing buttons, picking up objects, more.
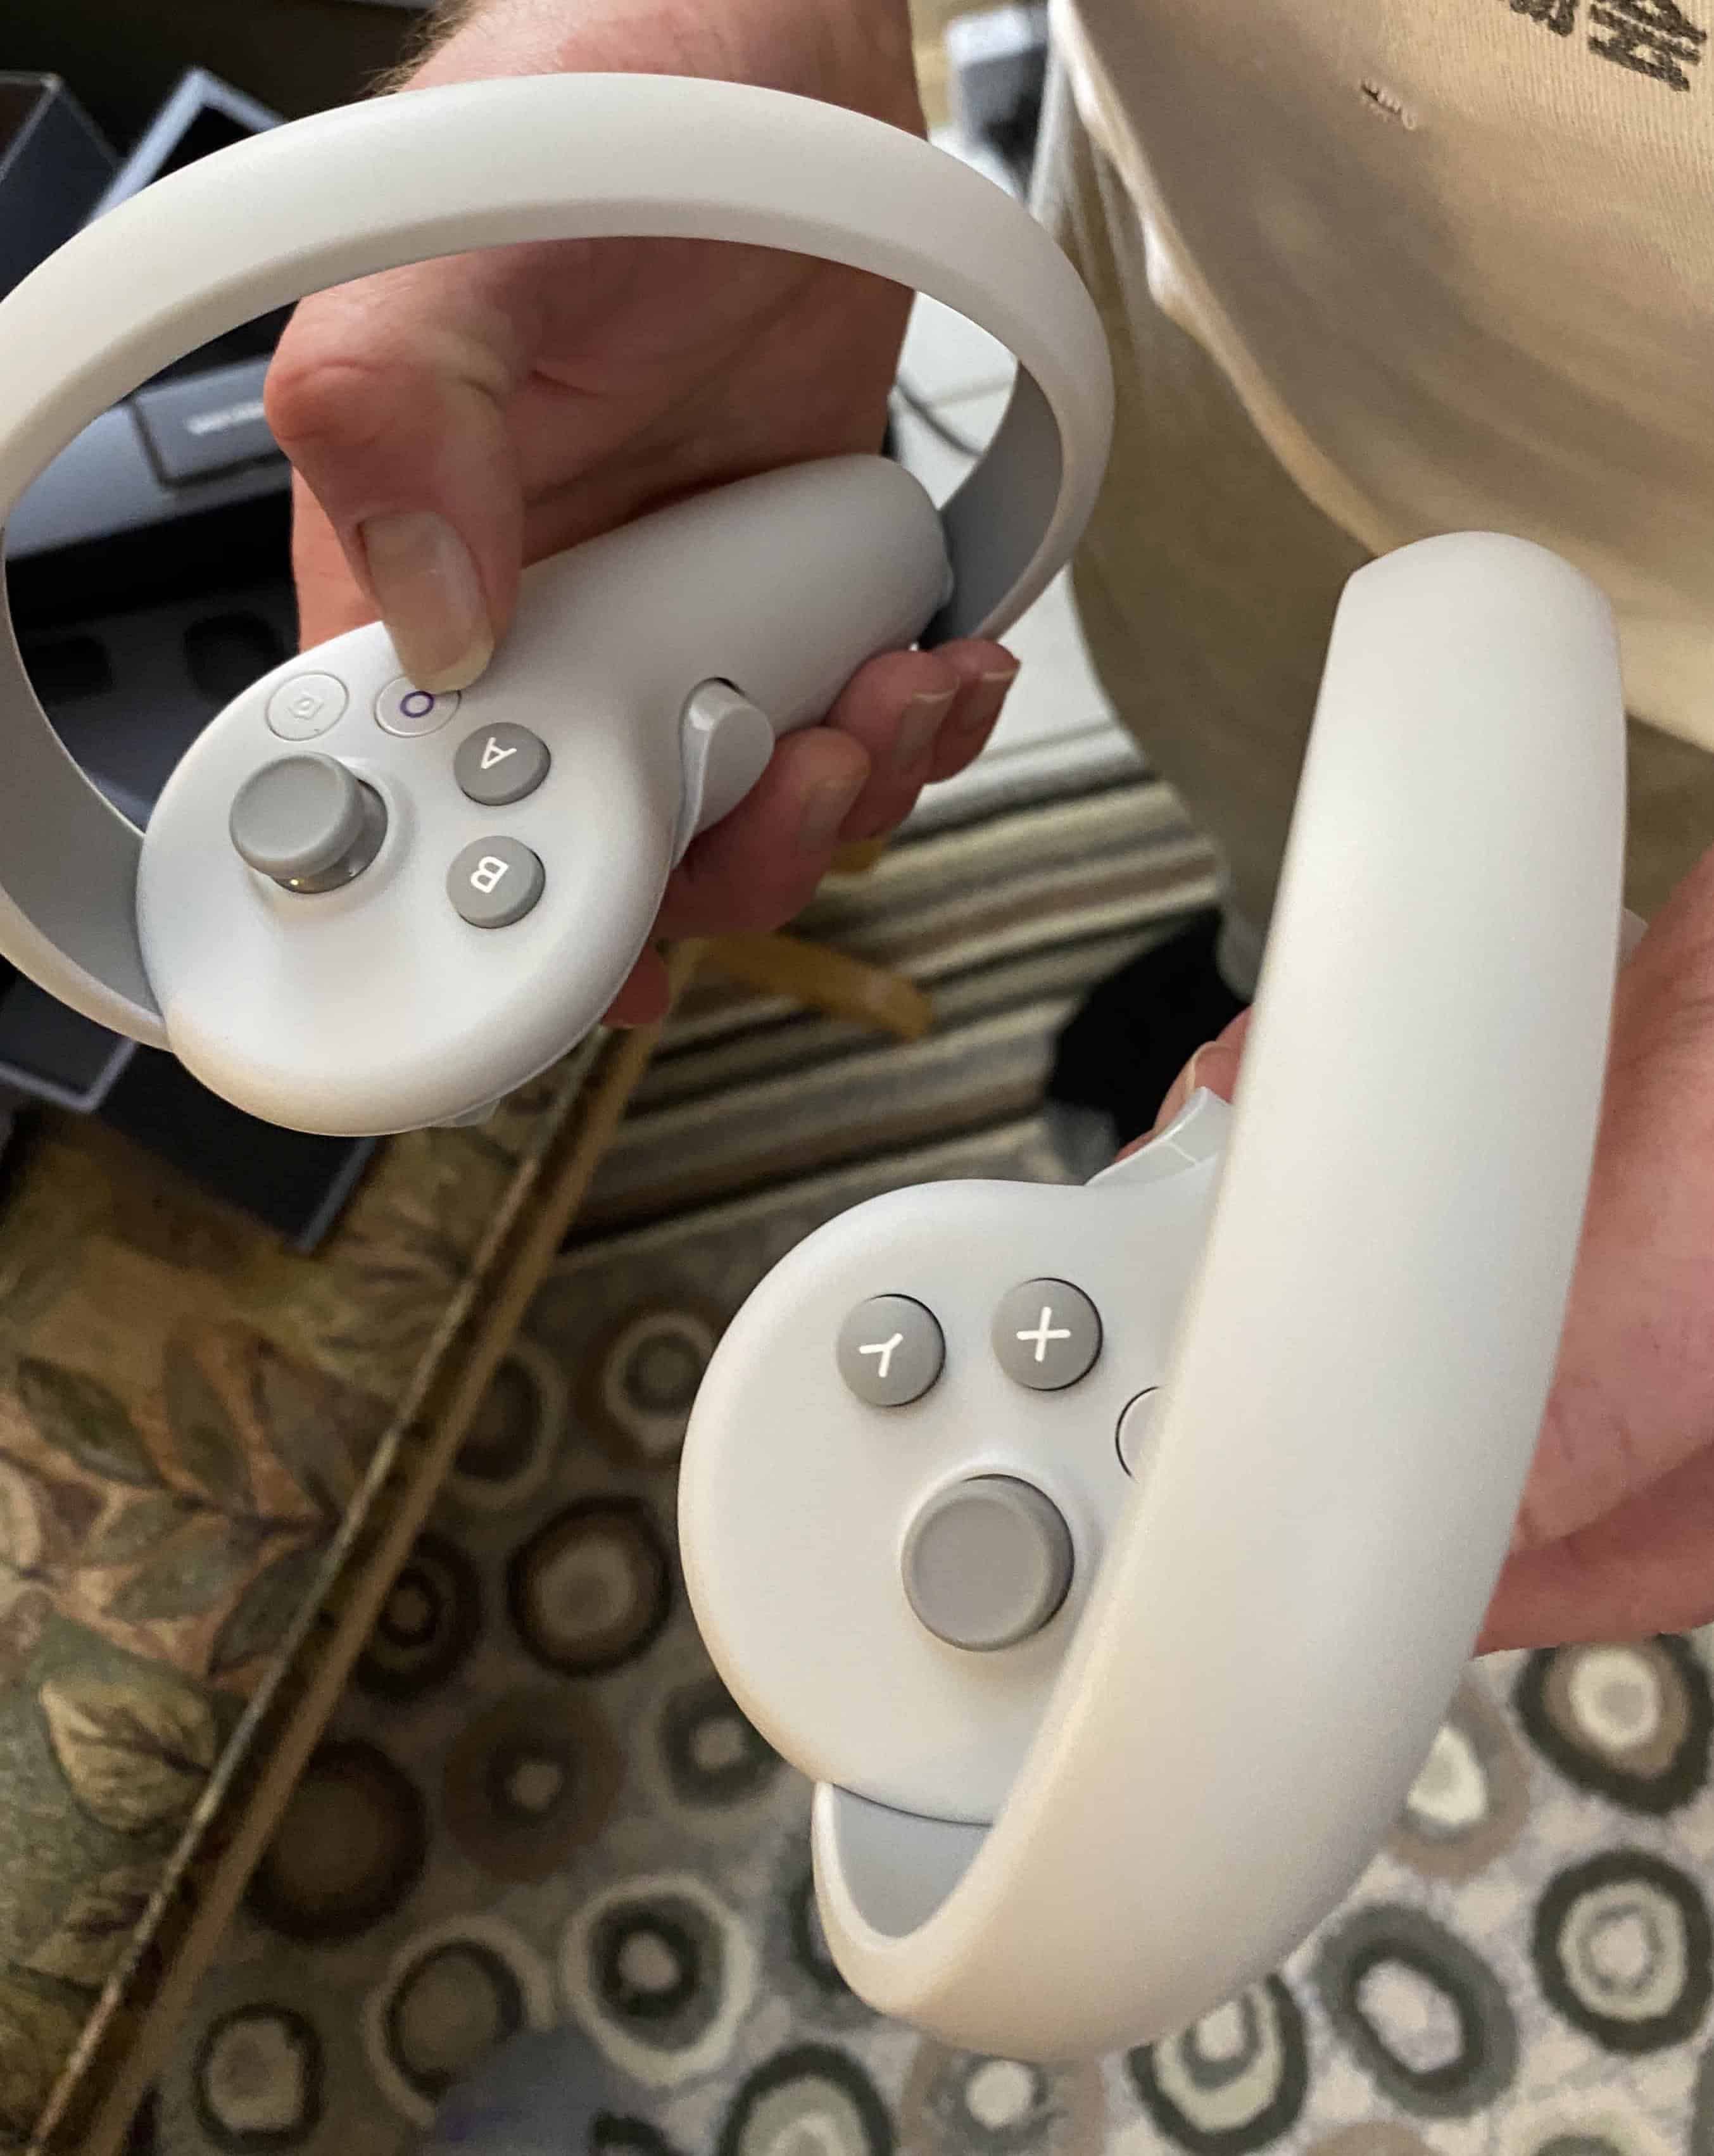
There's a right controller and a left controller. They're not interchangeable!
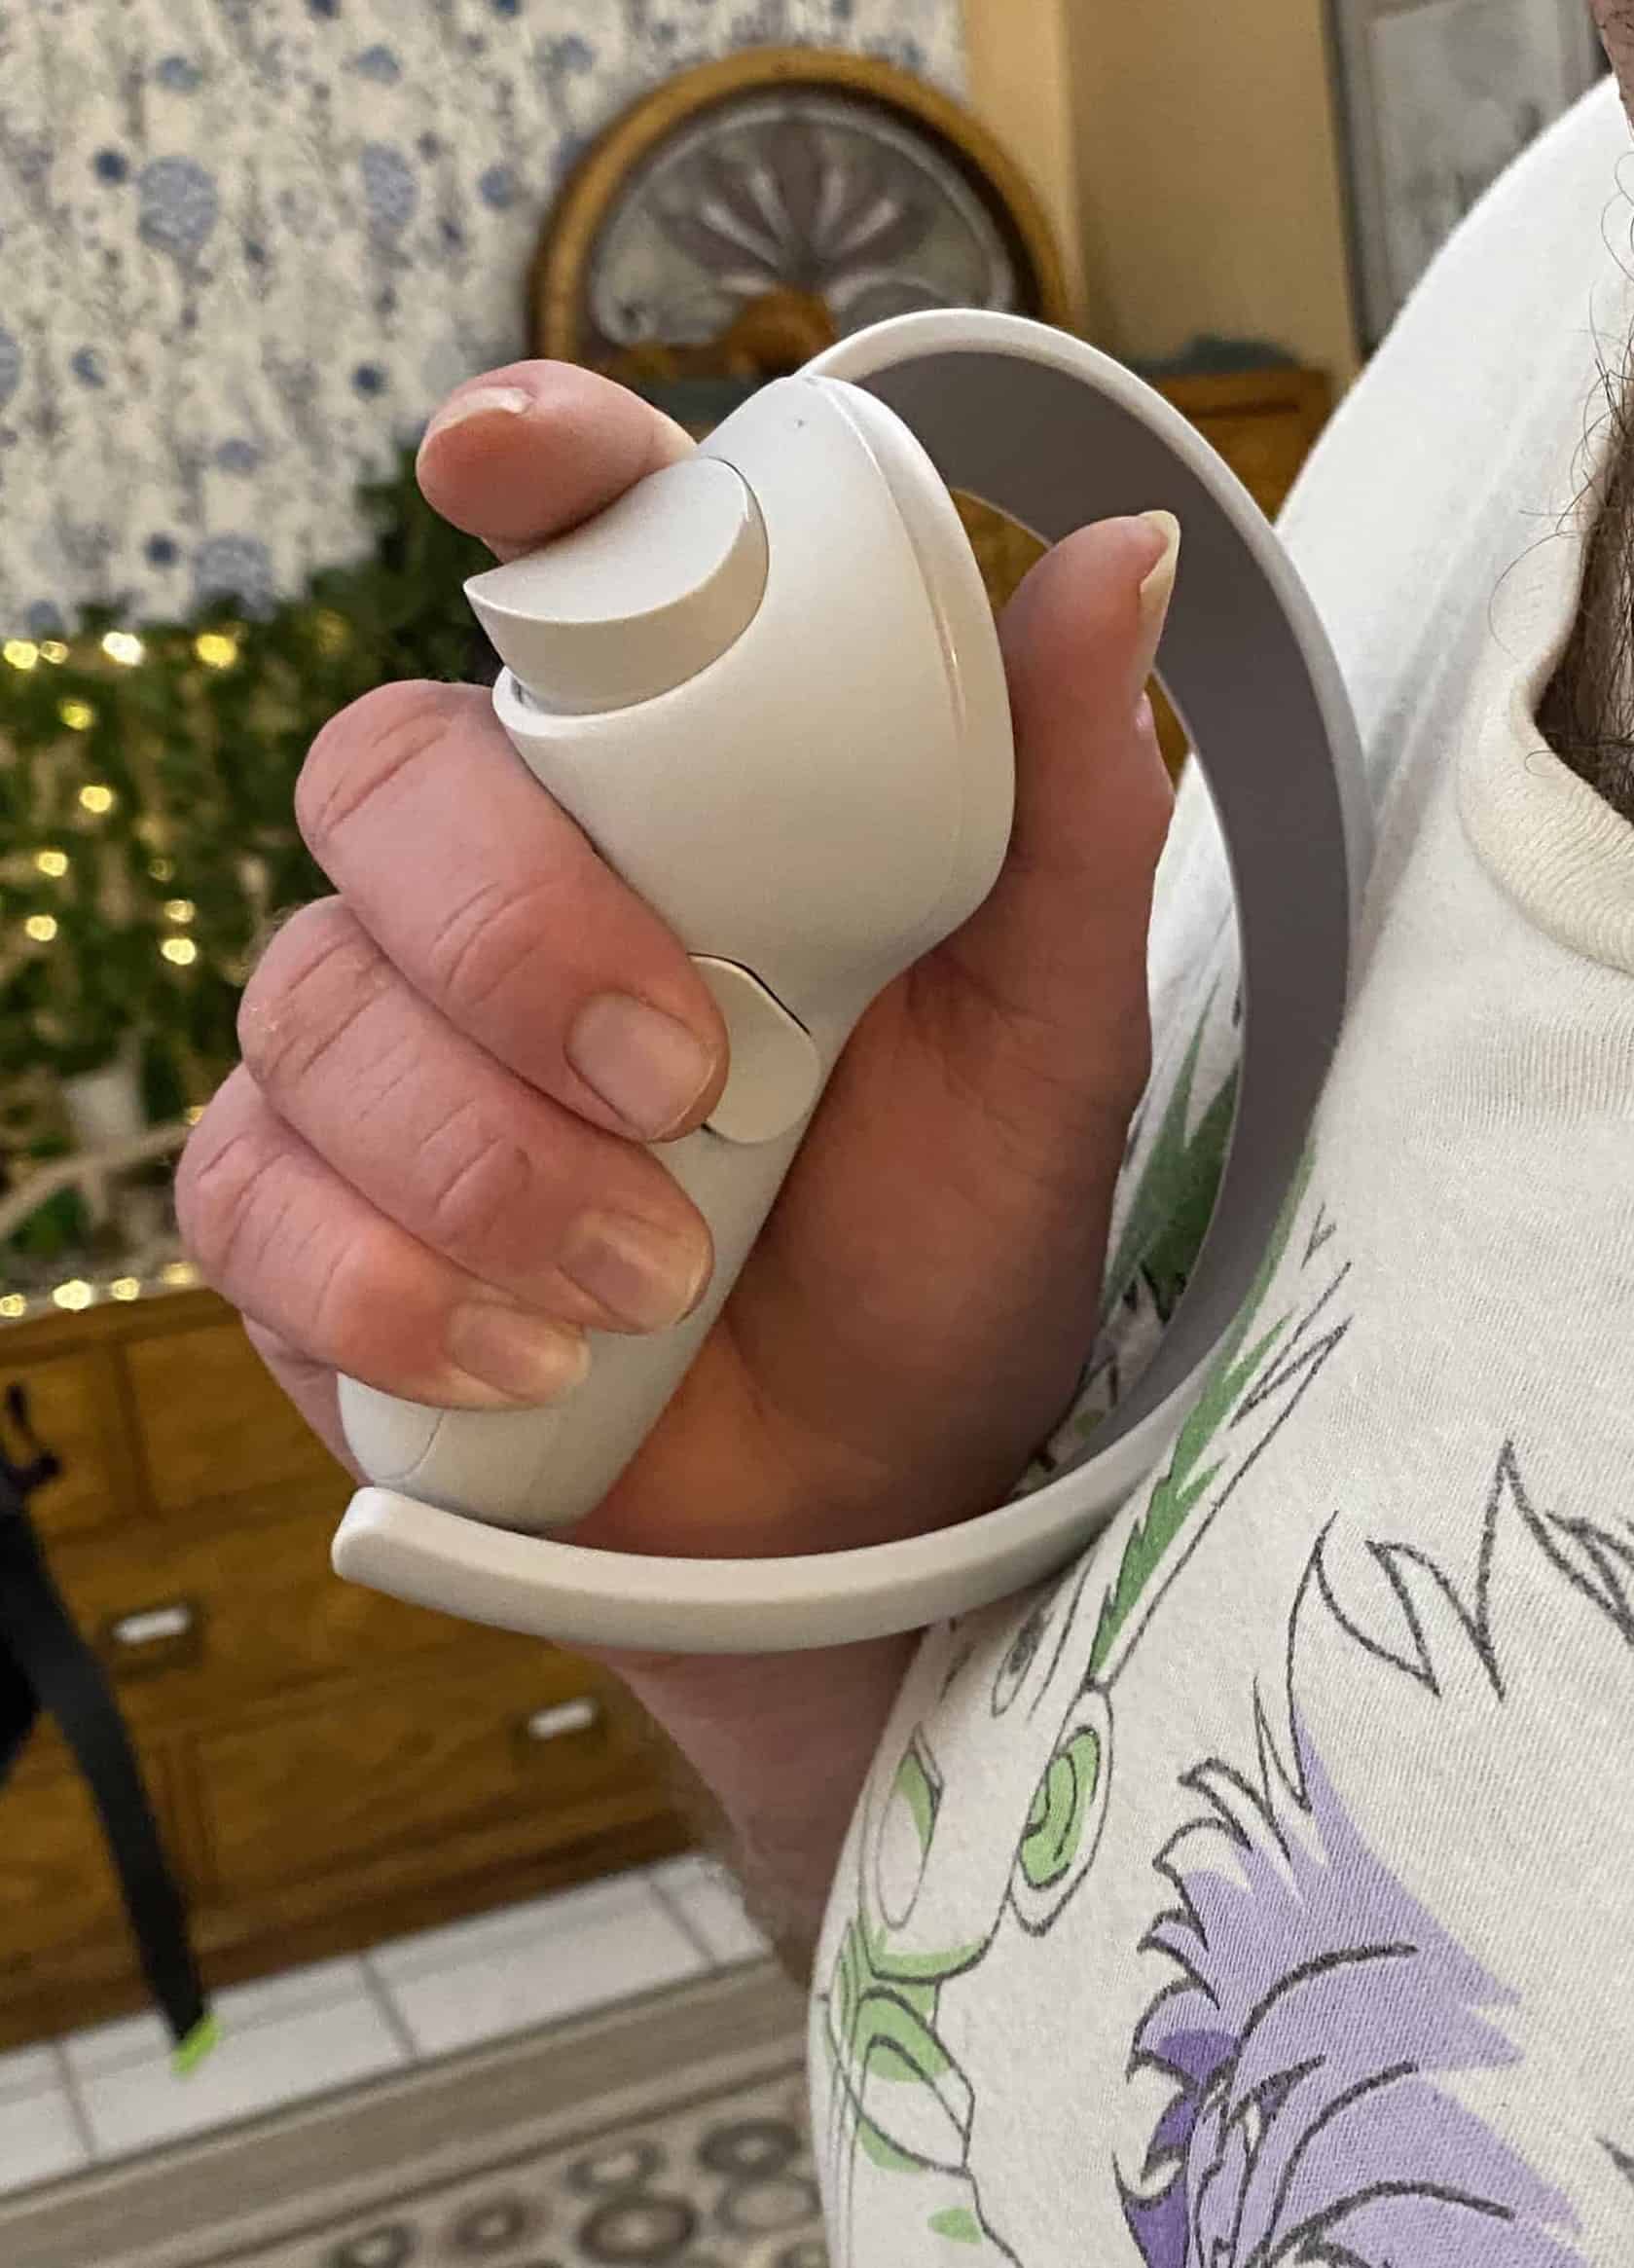
We suspect the controller ‘loops’ (called the ‘tracking rings’) provide protection: without them, during active play, the controllers might hit your body and accidentally press buttons
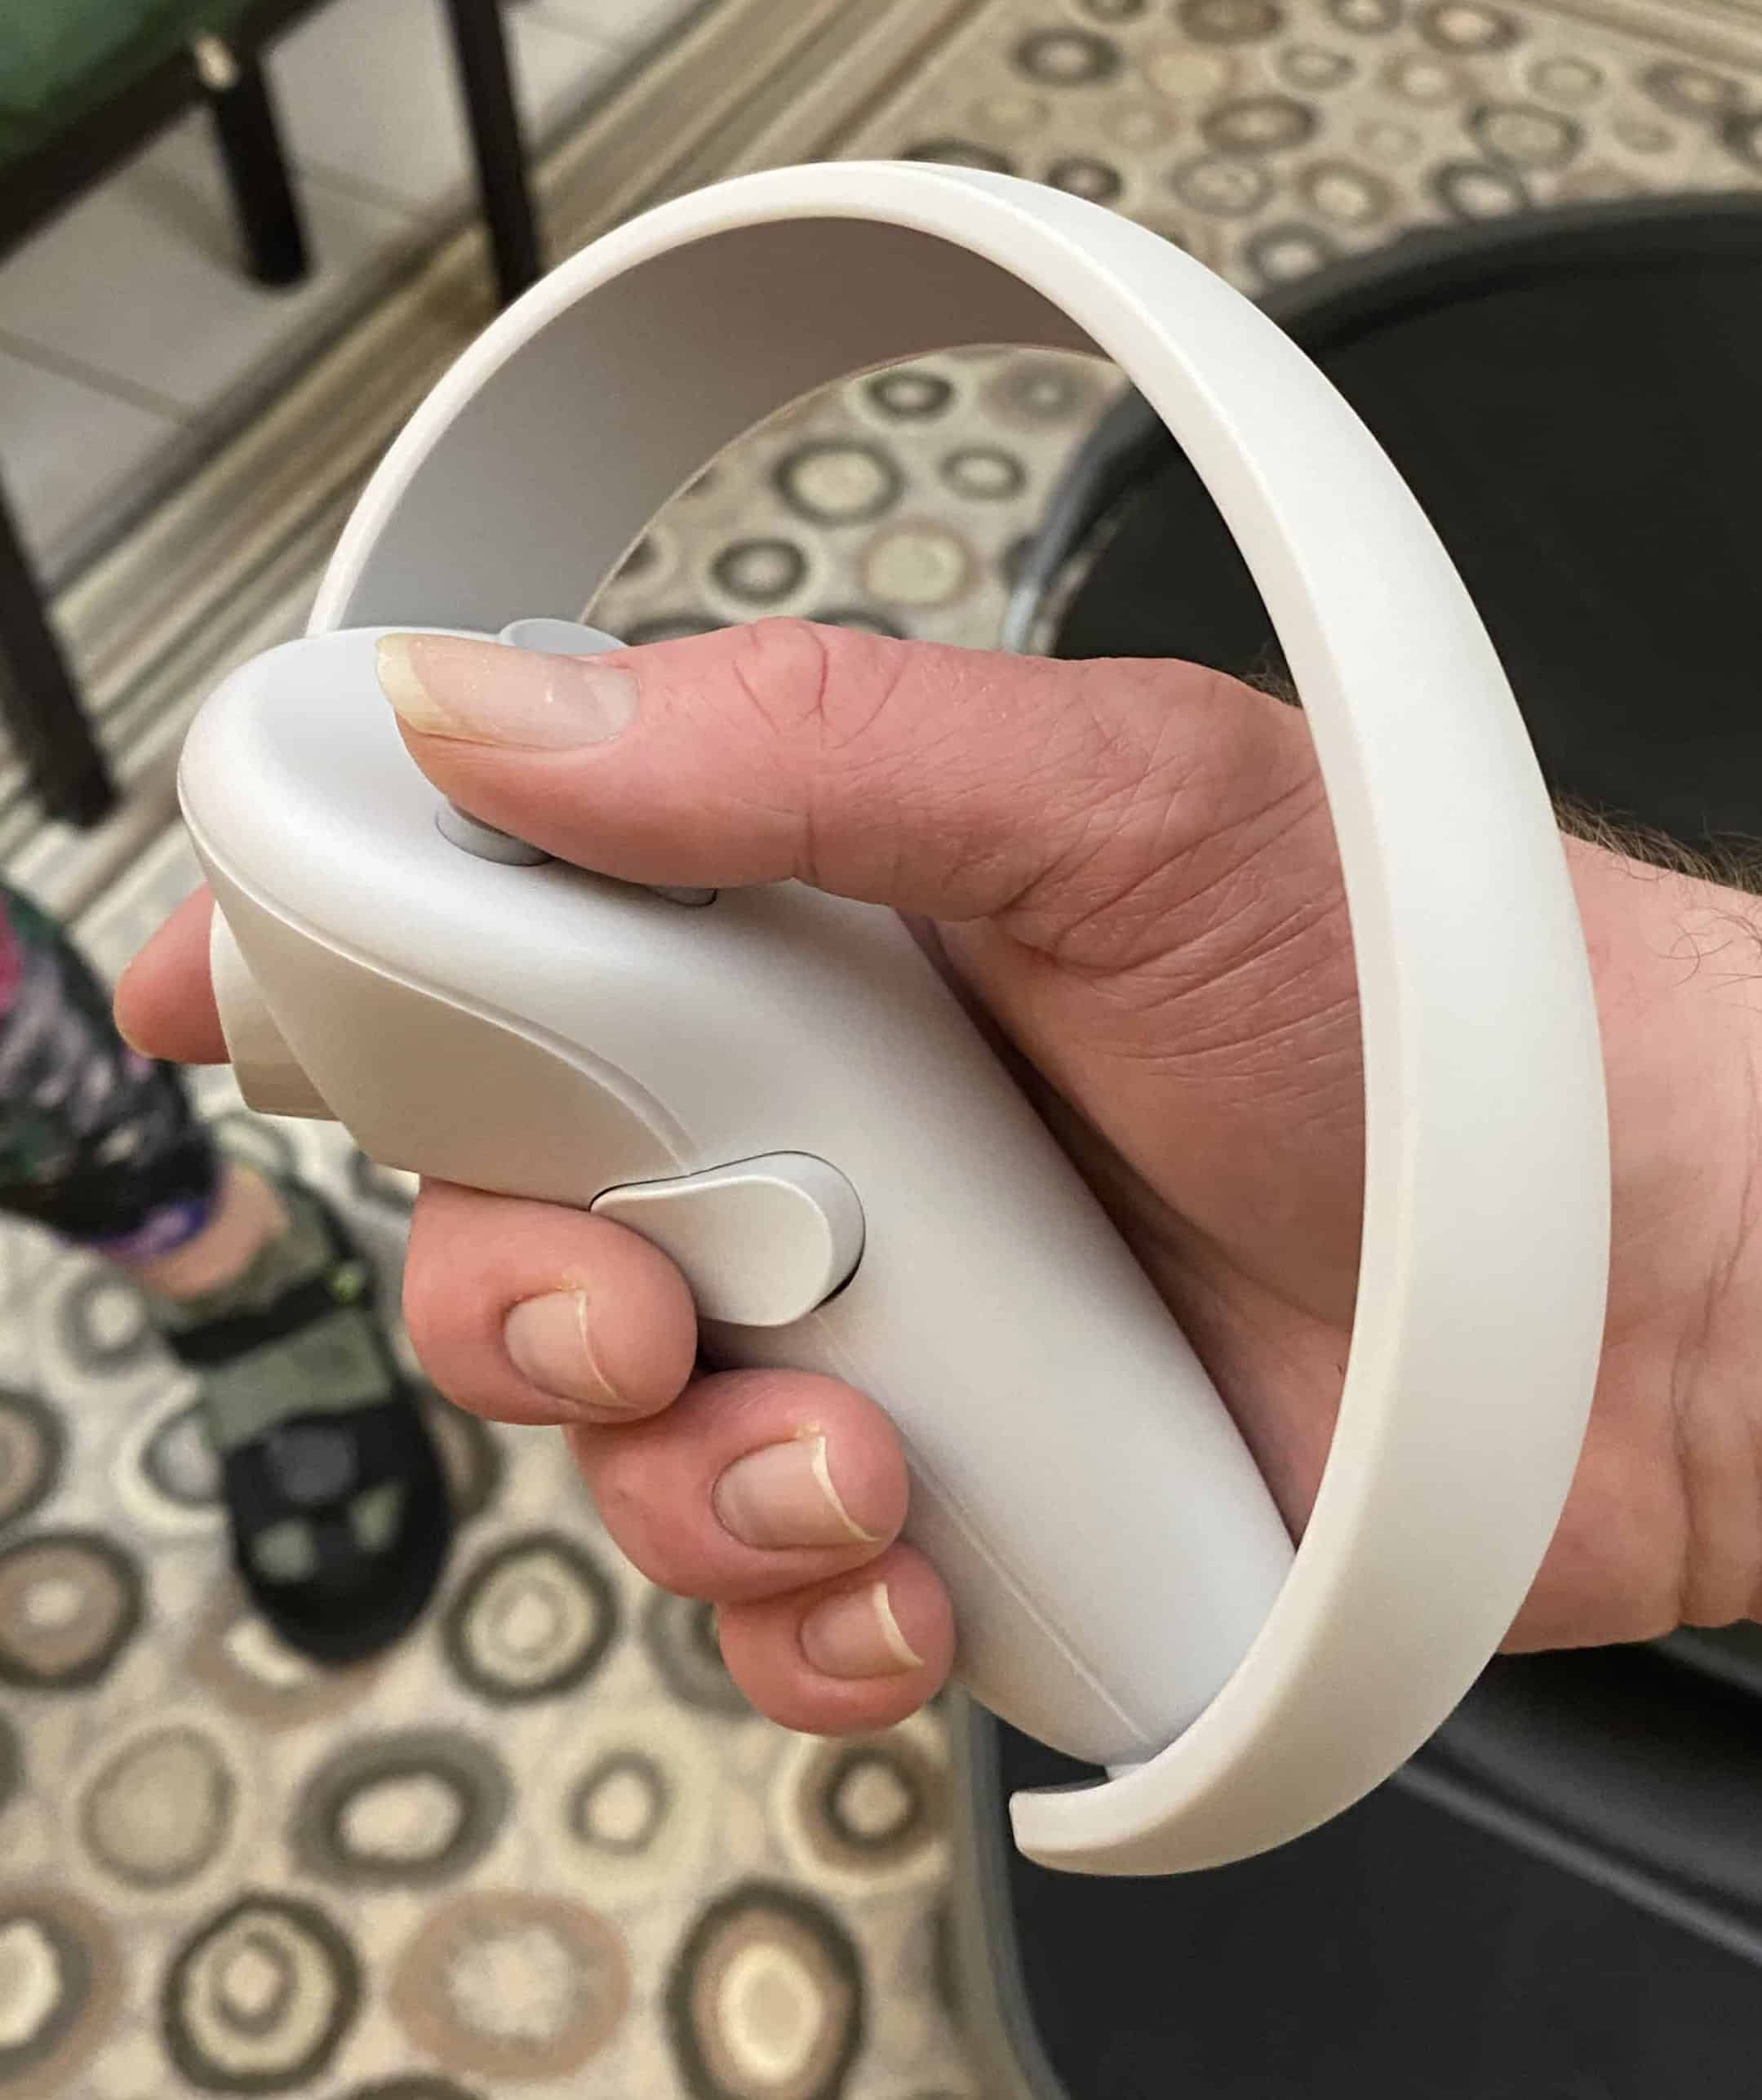
In both hands: thumb controls joystick and front buttons; index finger rests on trigger; middle finger rests on side button
Attach Controller Wrist Straps
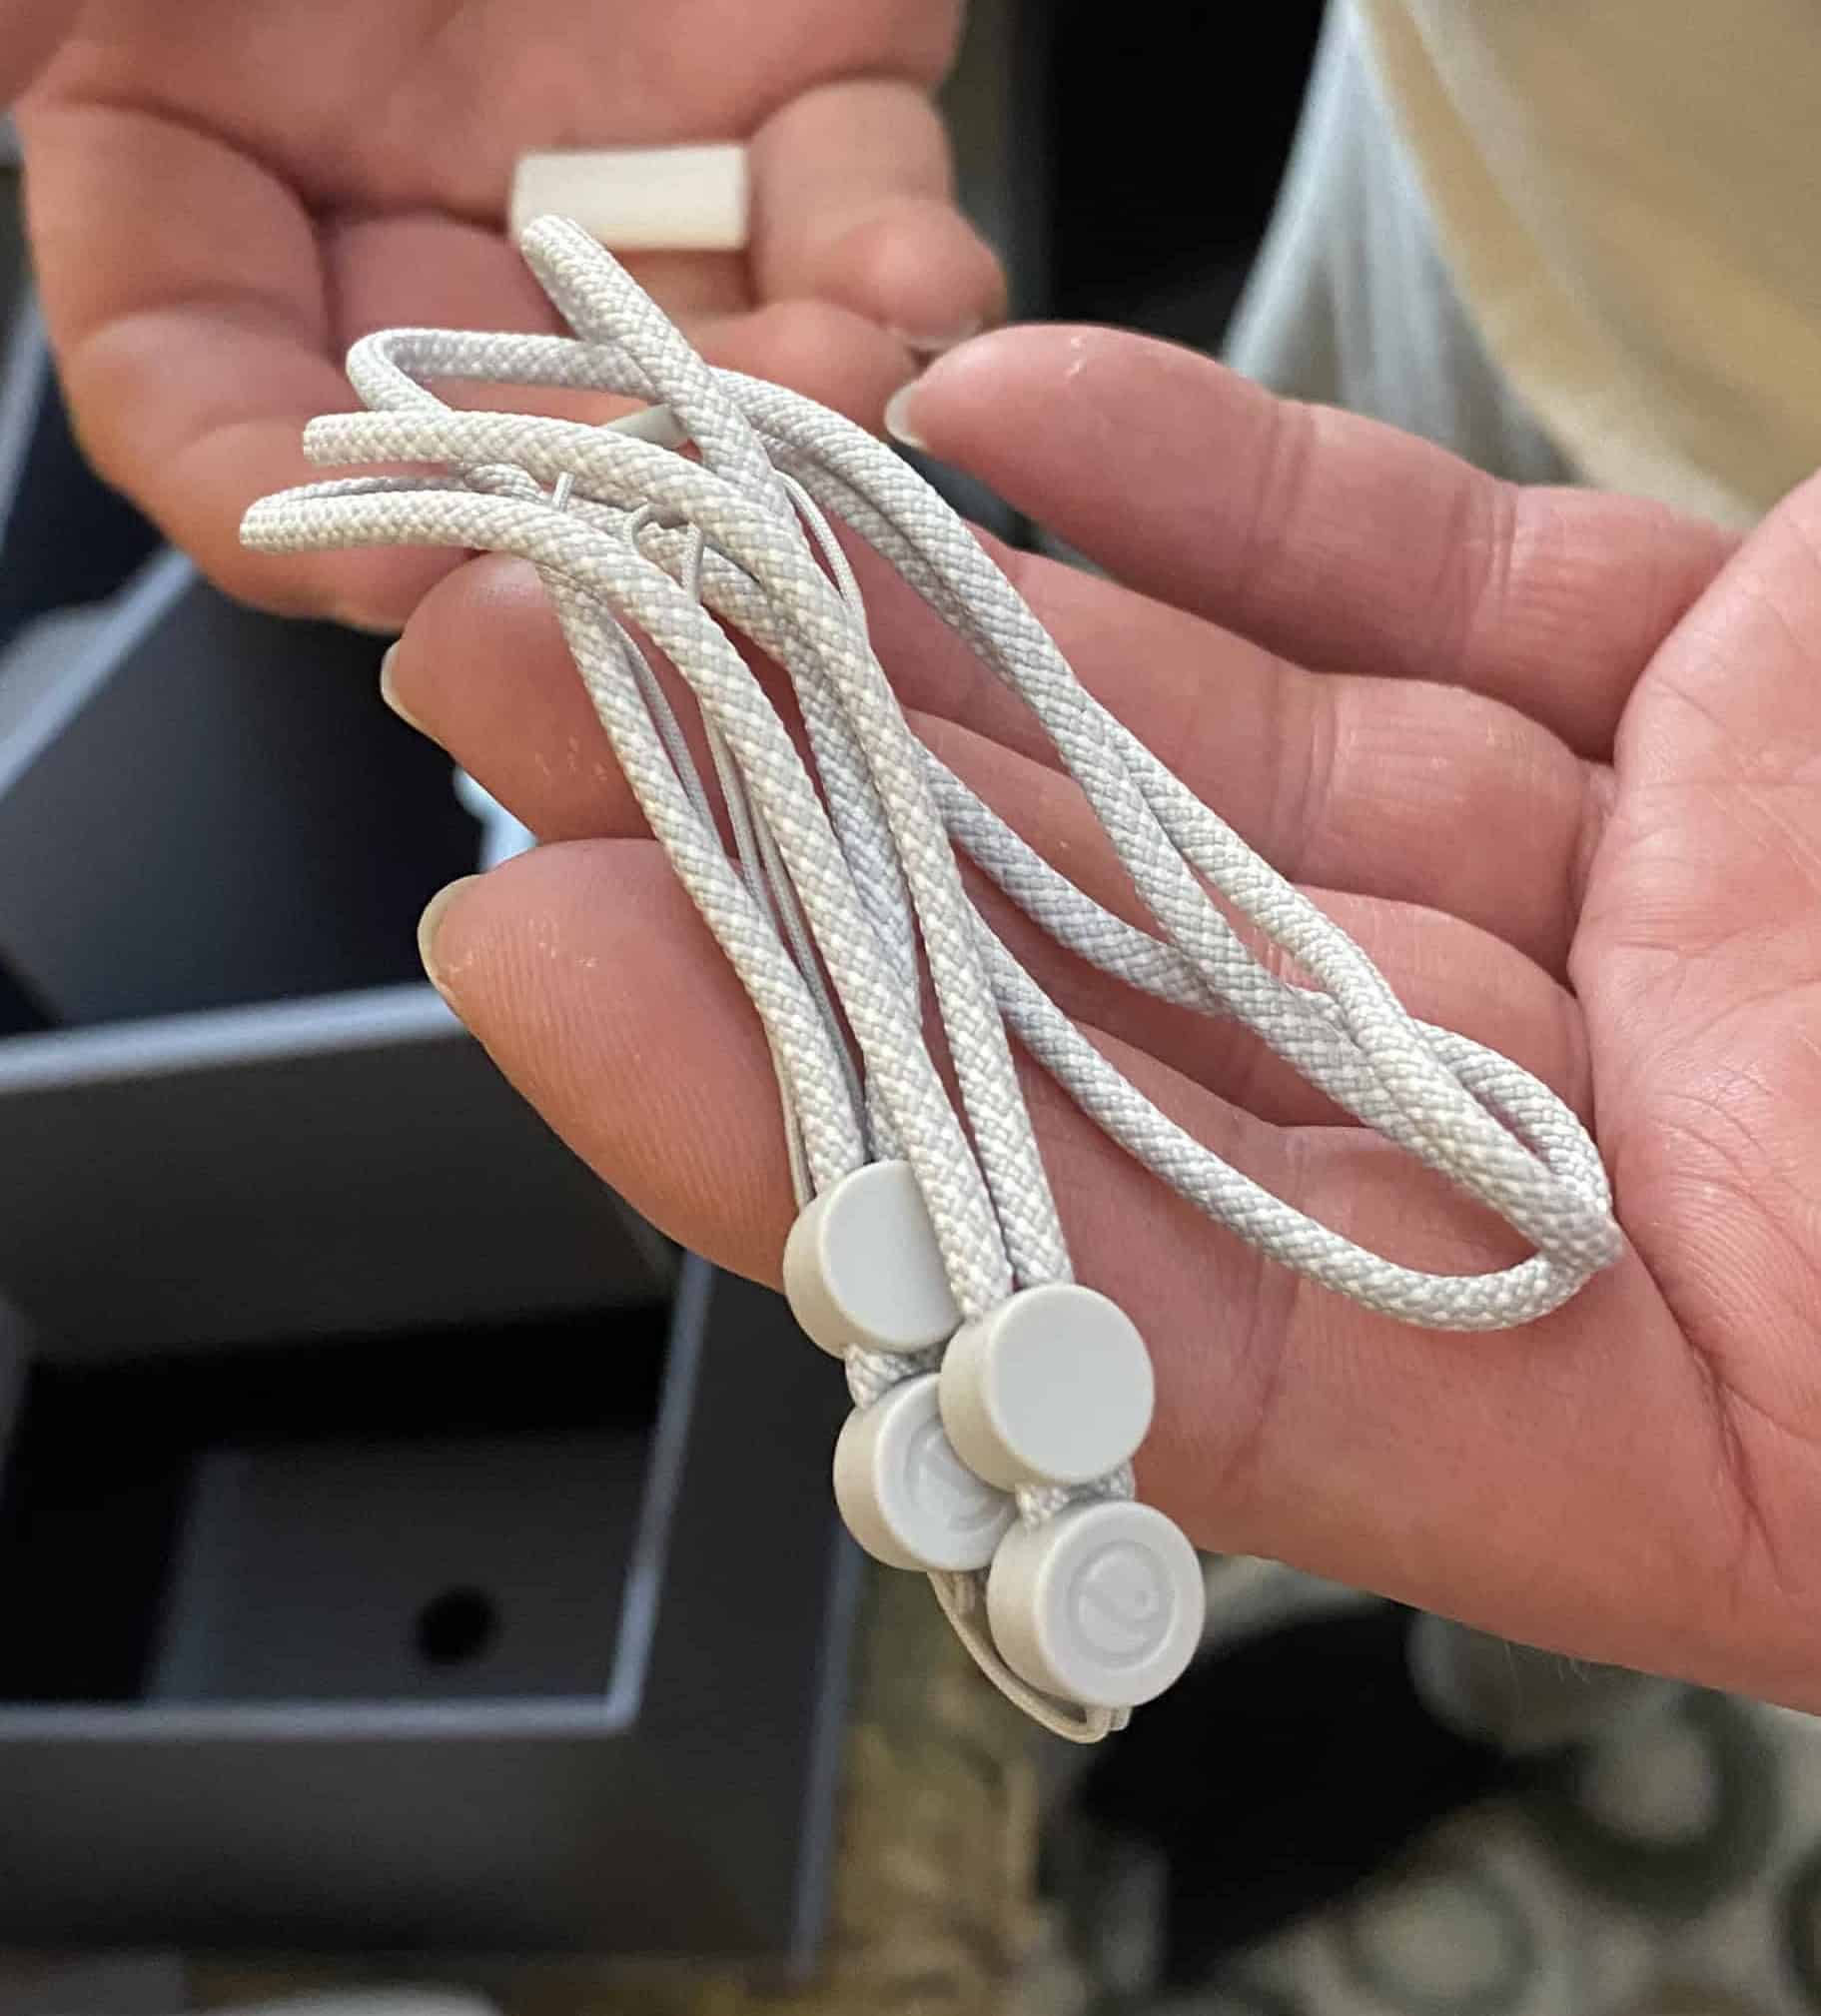
Wrist straps are for extra safety
The controller wrist straps are for extra safety. If you accidentally let go of a controller during active play, you don't want it (say) flying off and hitting someone!
There are two loops on each wrist strap: a thick loop (which will go around your wrist), and a thin loop (which will be secured to the controller).

Thick loop (left) and thin loop (right) on wrist strap
To attach wrist strap to controller:
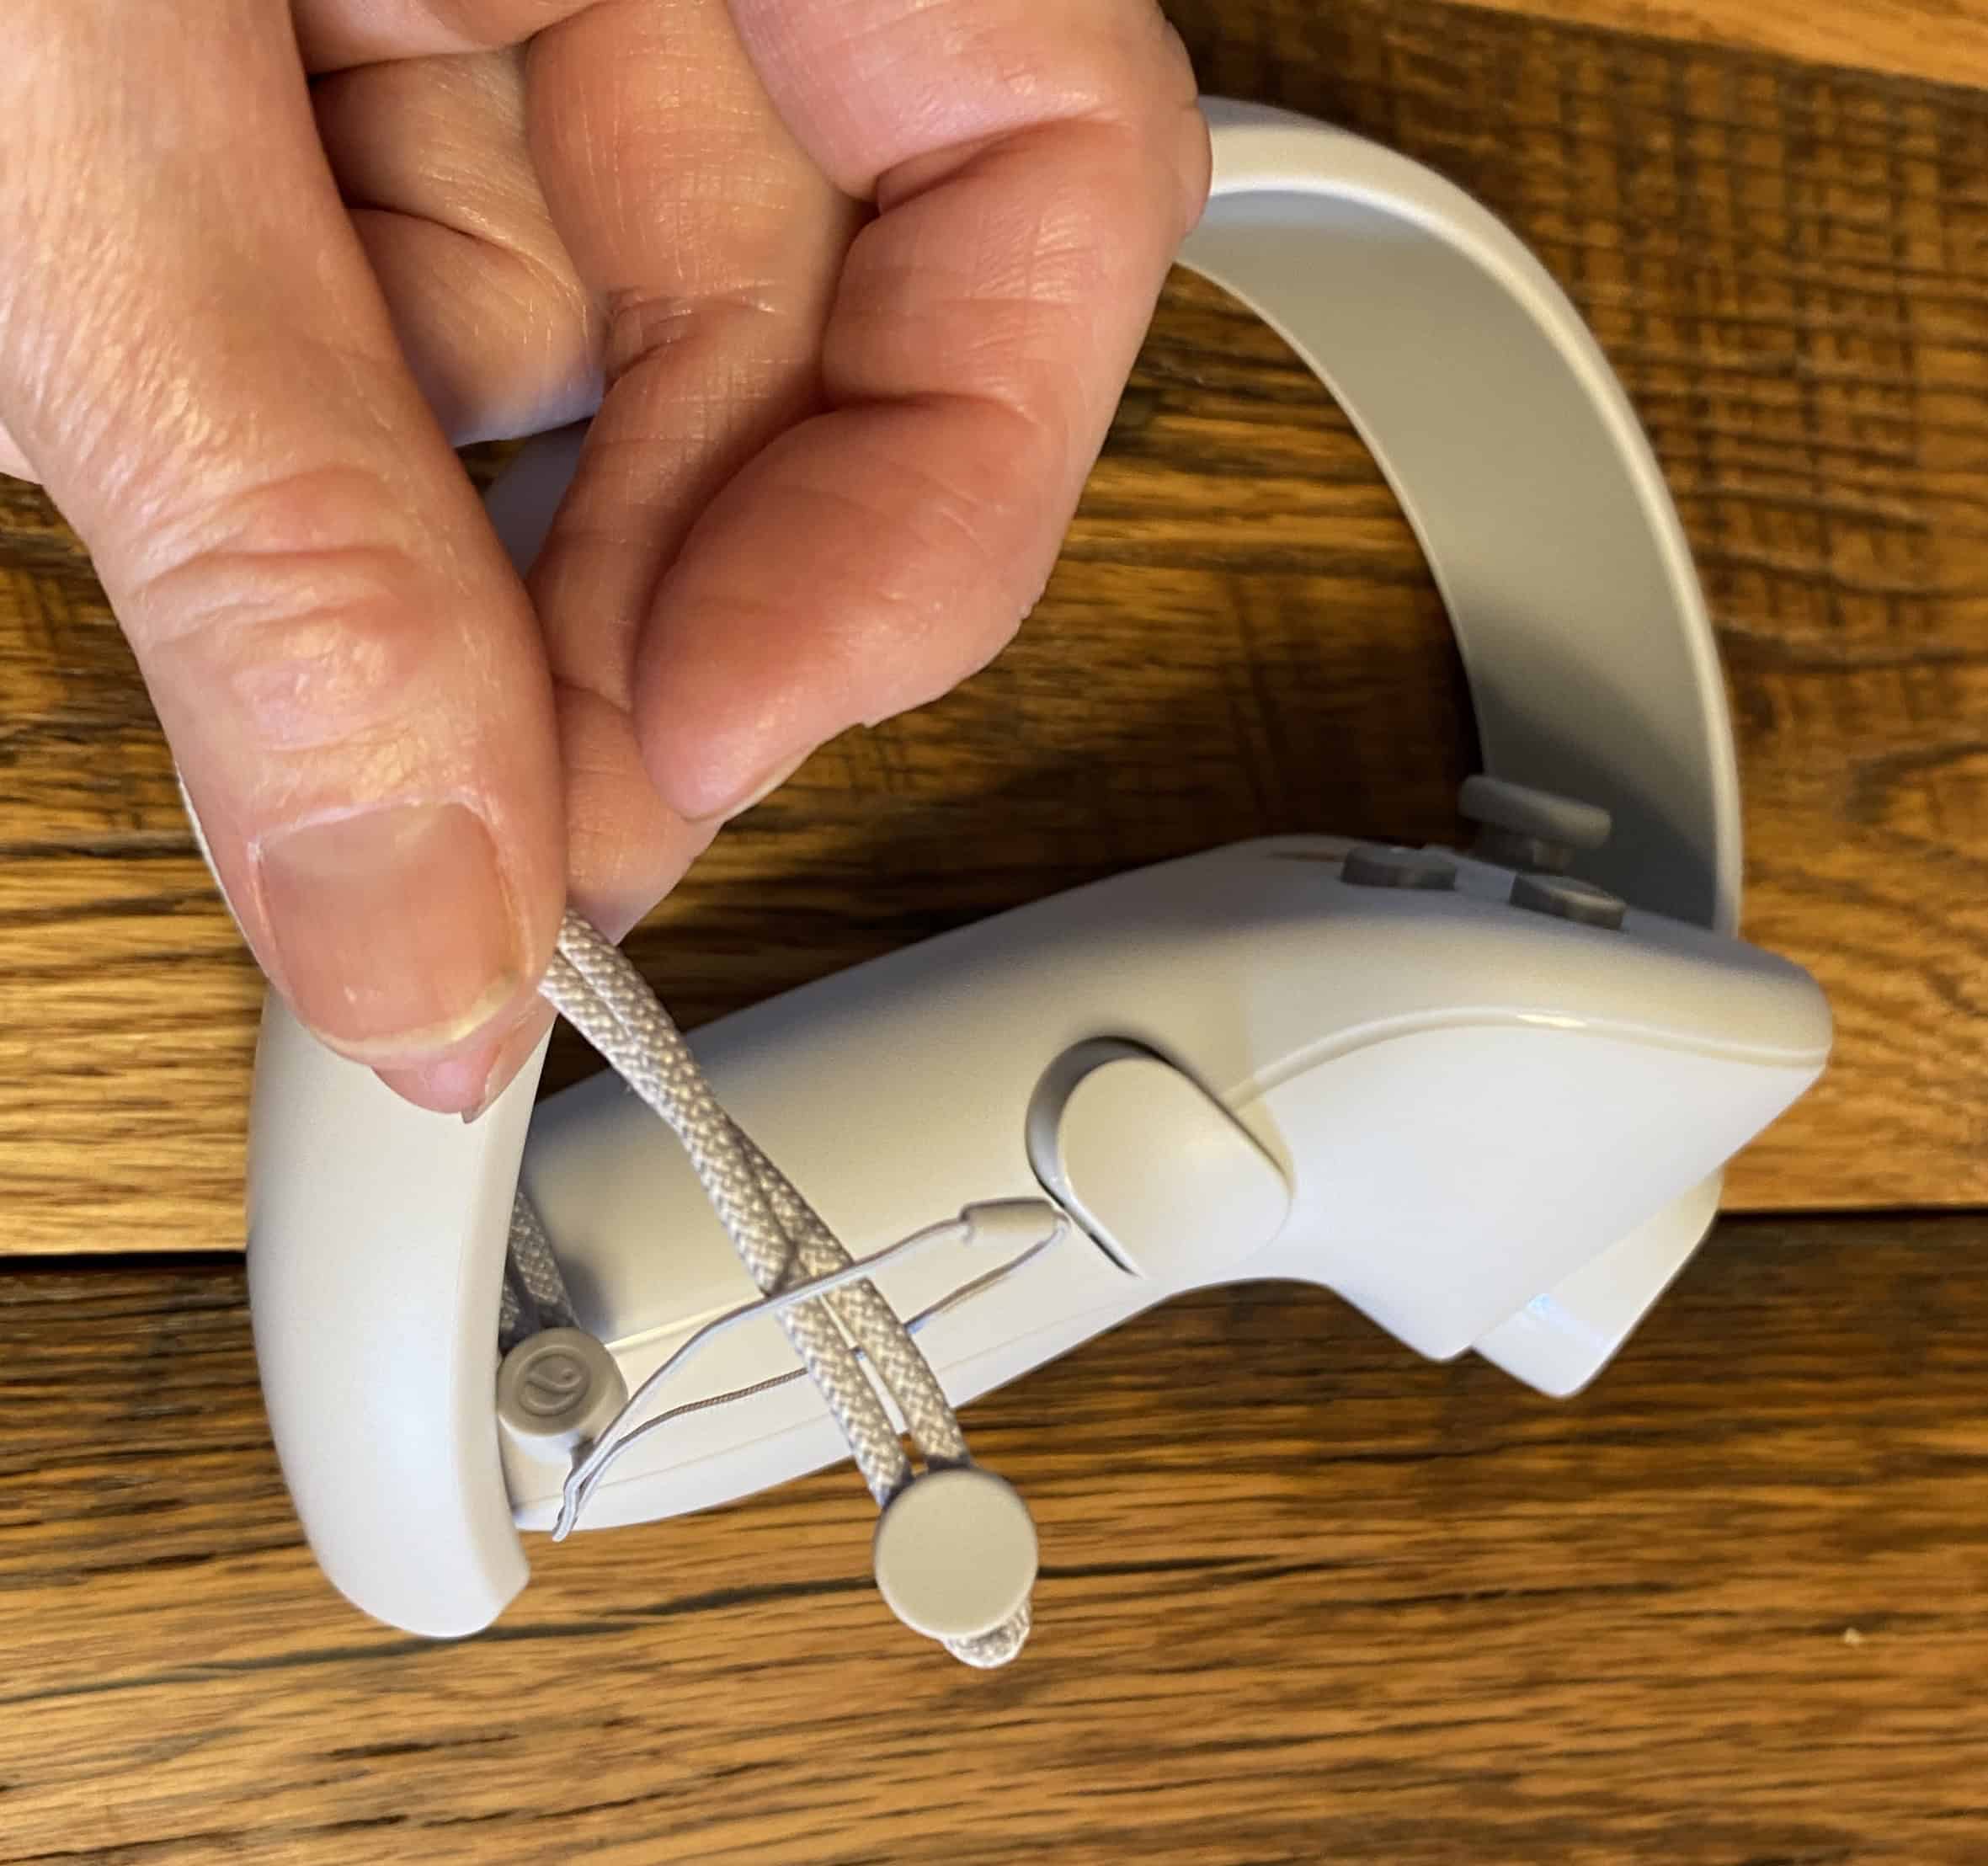
(1) Put wrist strap thru controller tracking ring. Then, put thick loop thru thin loop as shown.
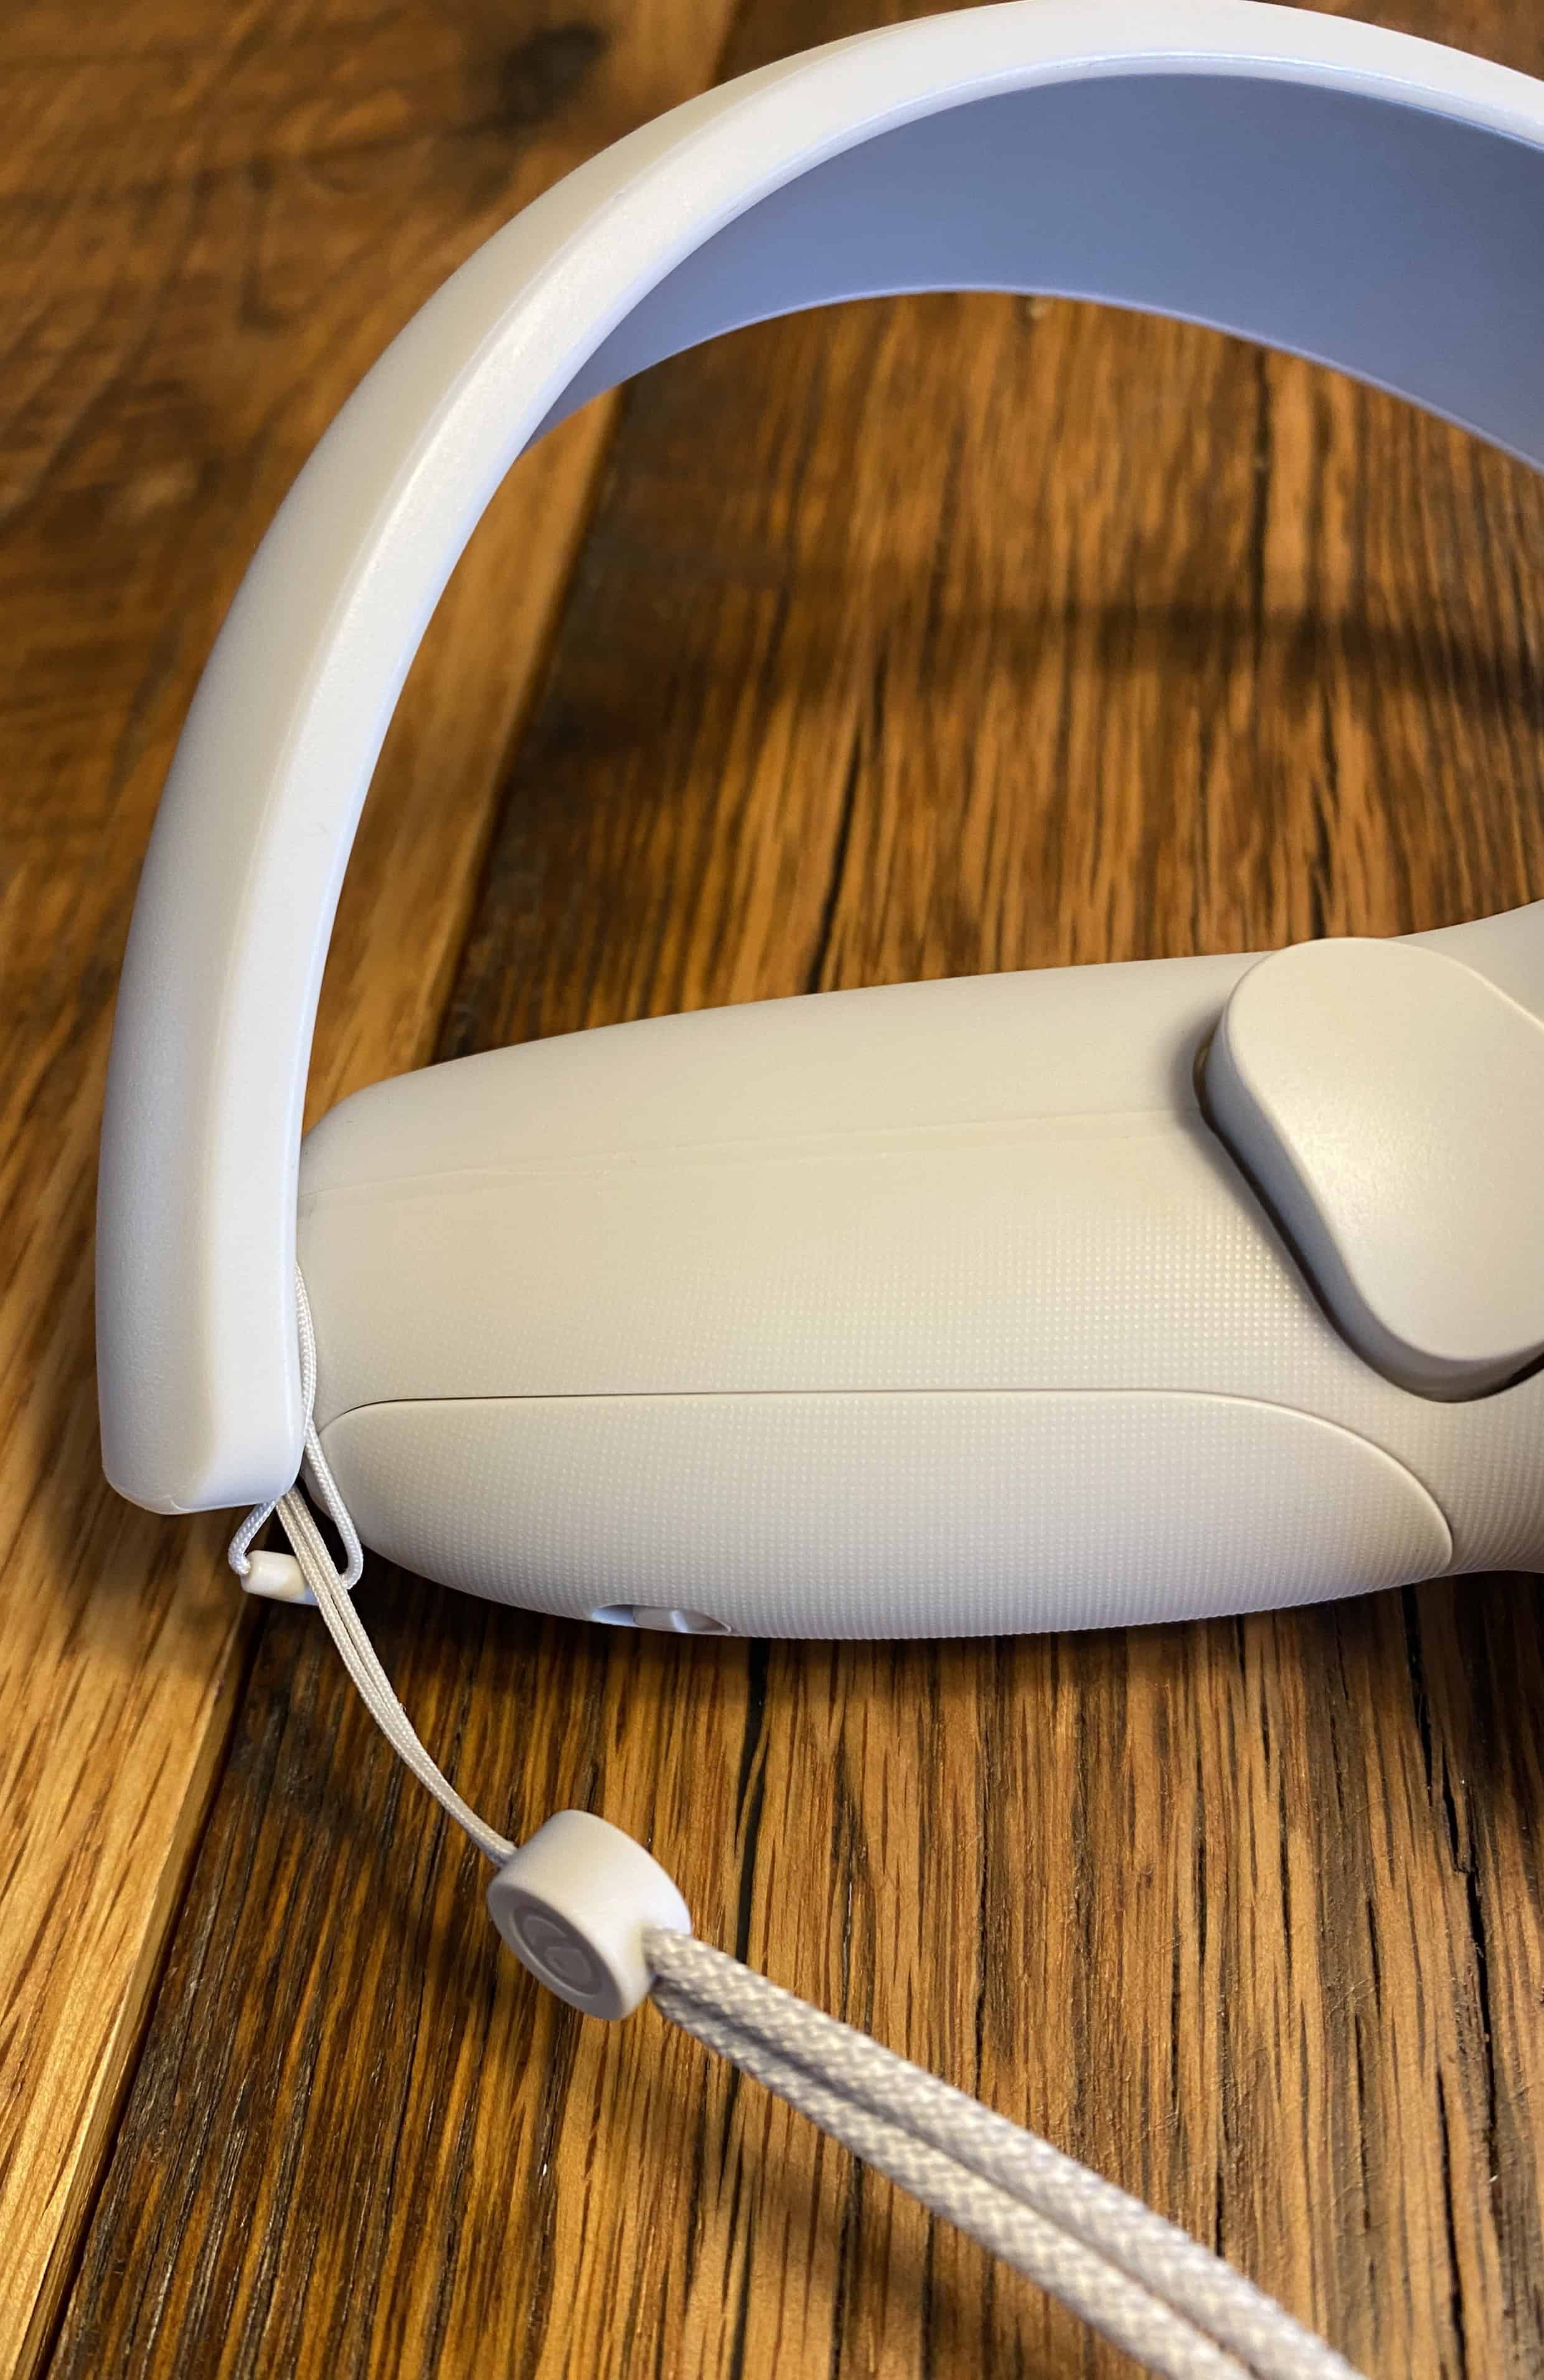
(2) Pull thick loop tight to secure
To put wrist strap on your wrist:
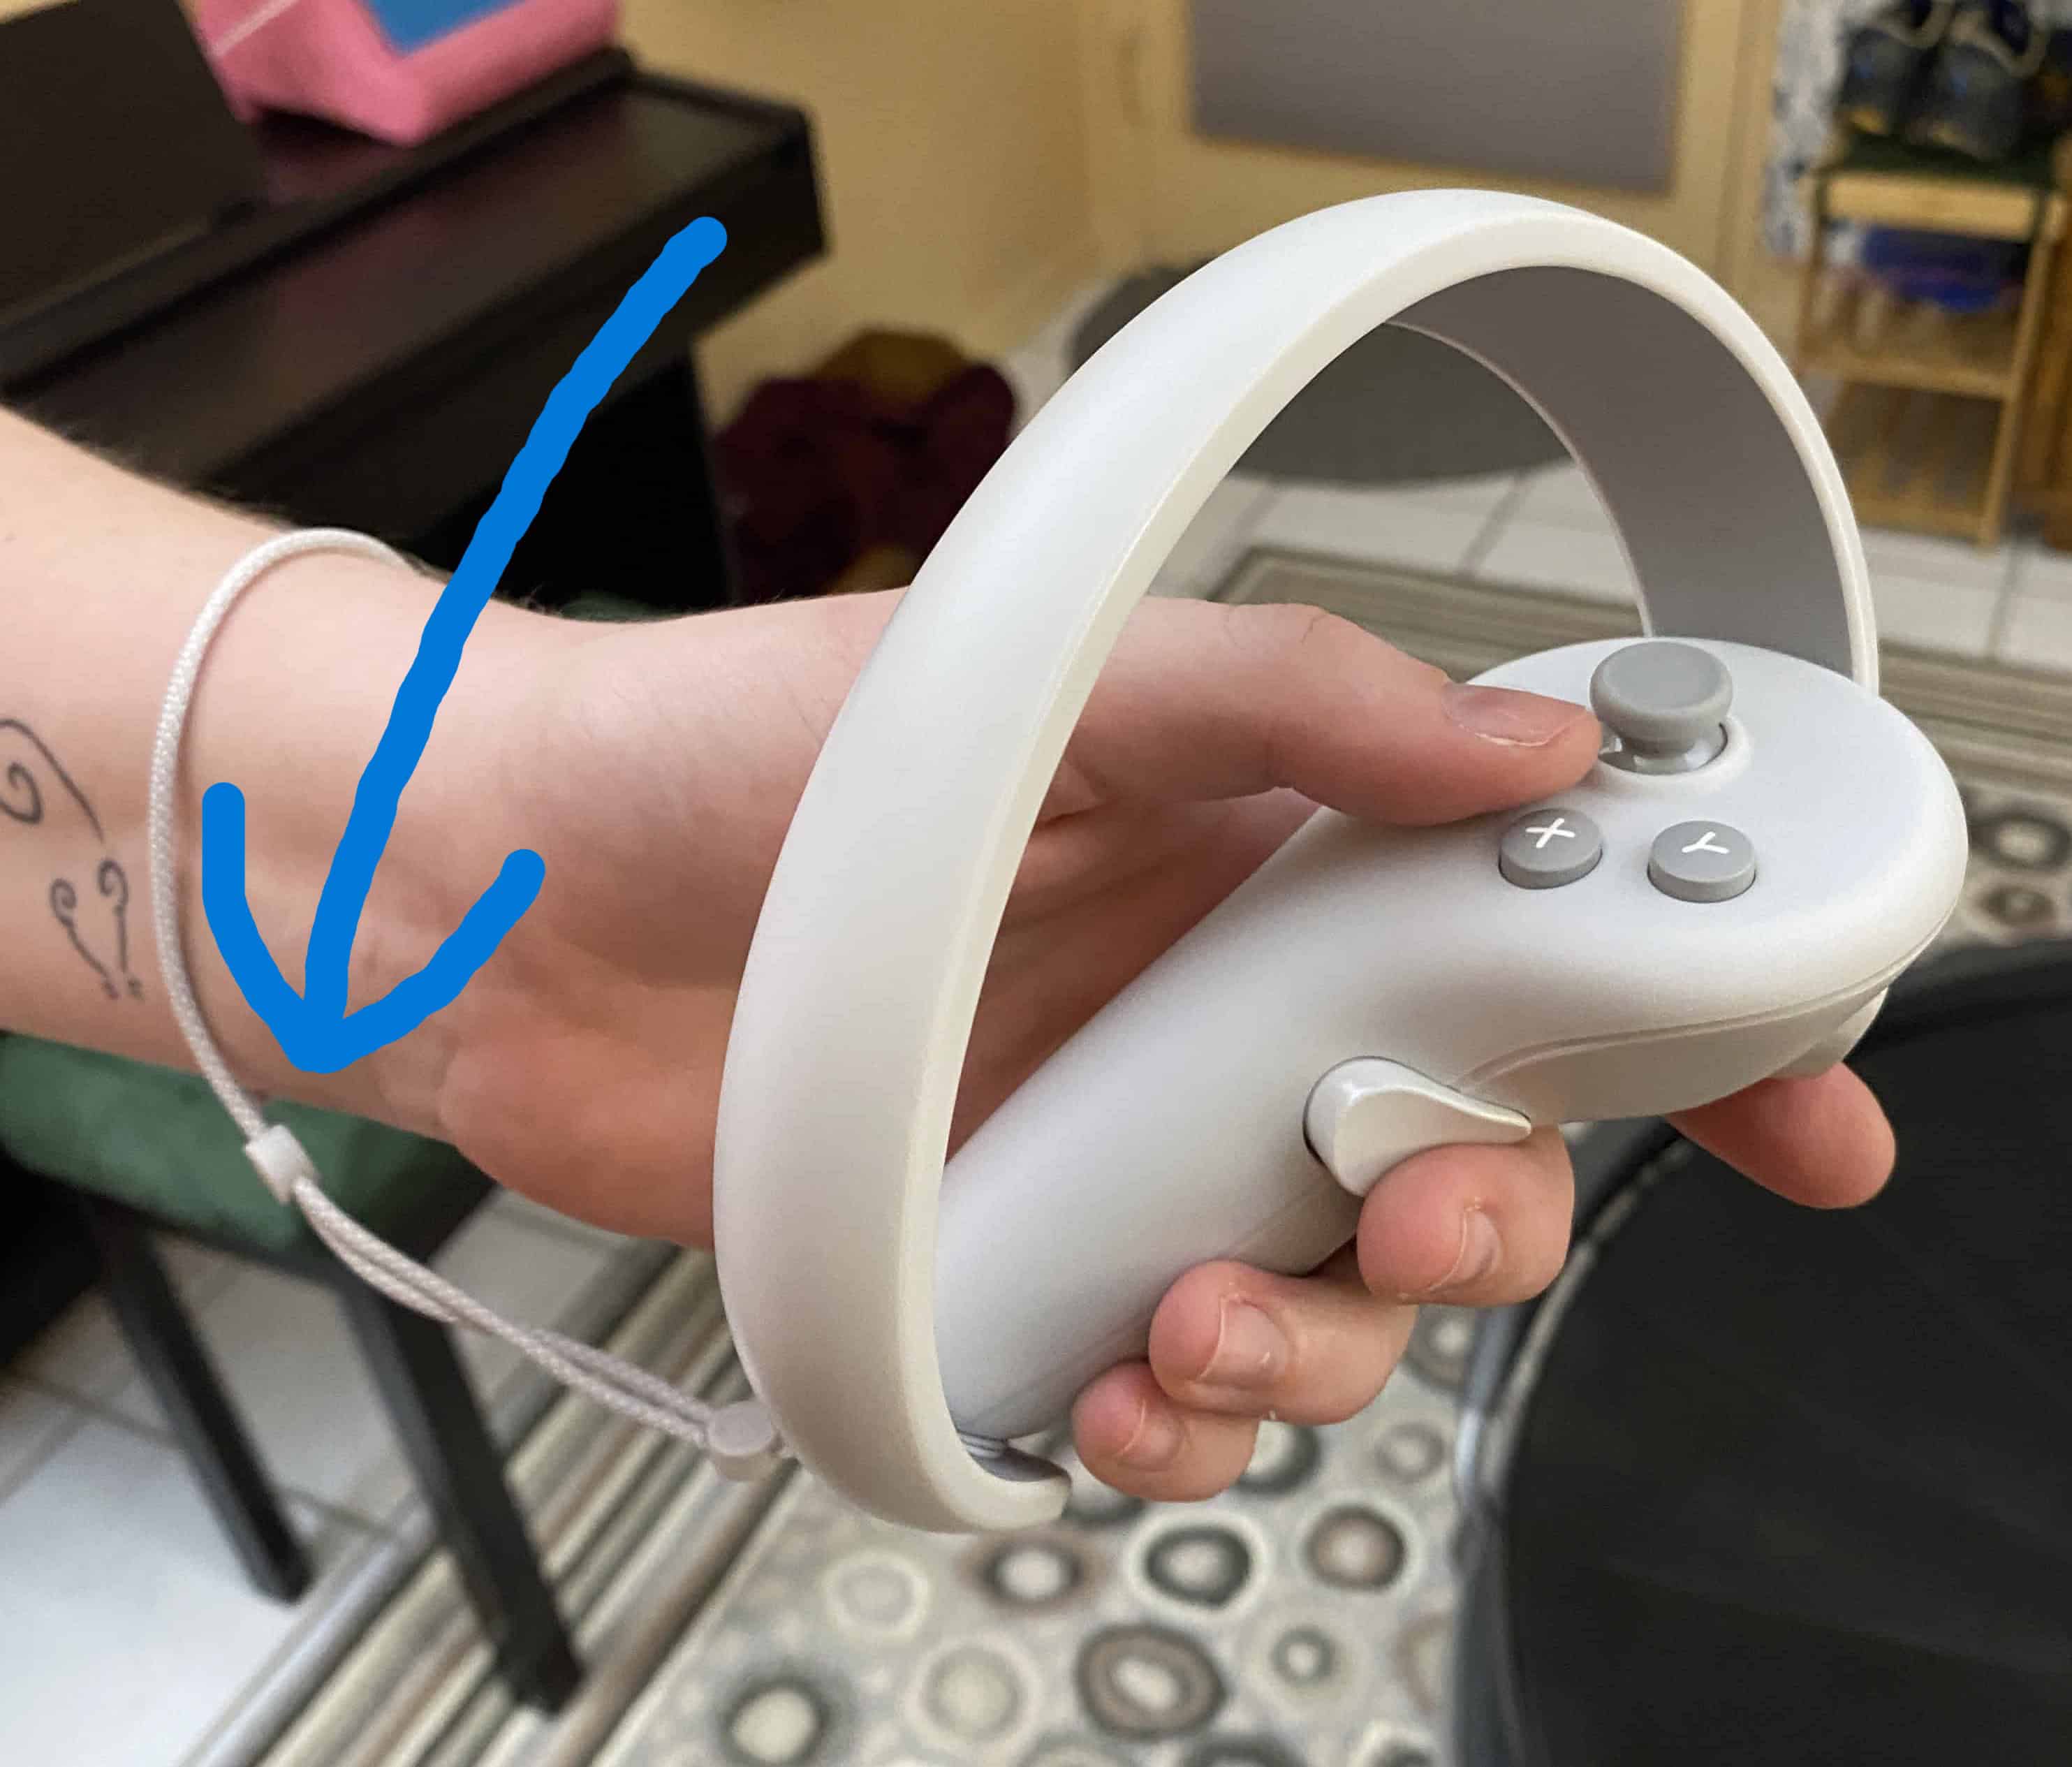
Put wrist through thick loop. Secure by moving the small plastic circle (see blue arrow) close to your wrist.
Power On the Controllers
The front ‘O’ button on each controller is HOME.
On my left controller, the HOME button is red. On my right controller, the HOME button is purple.
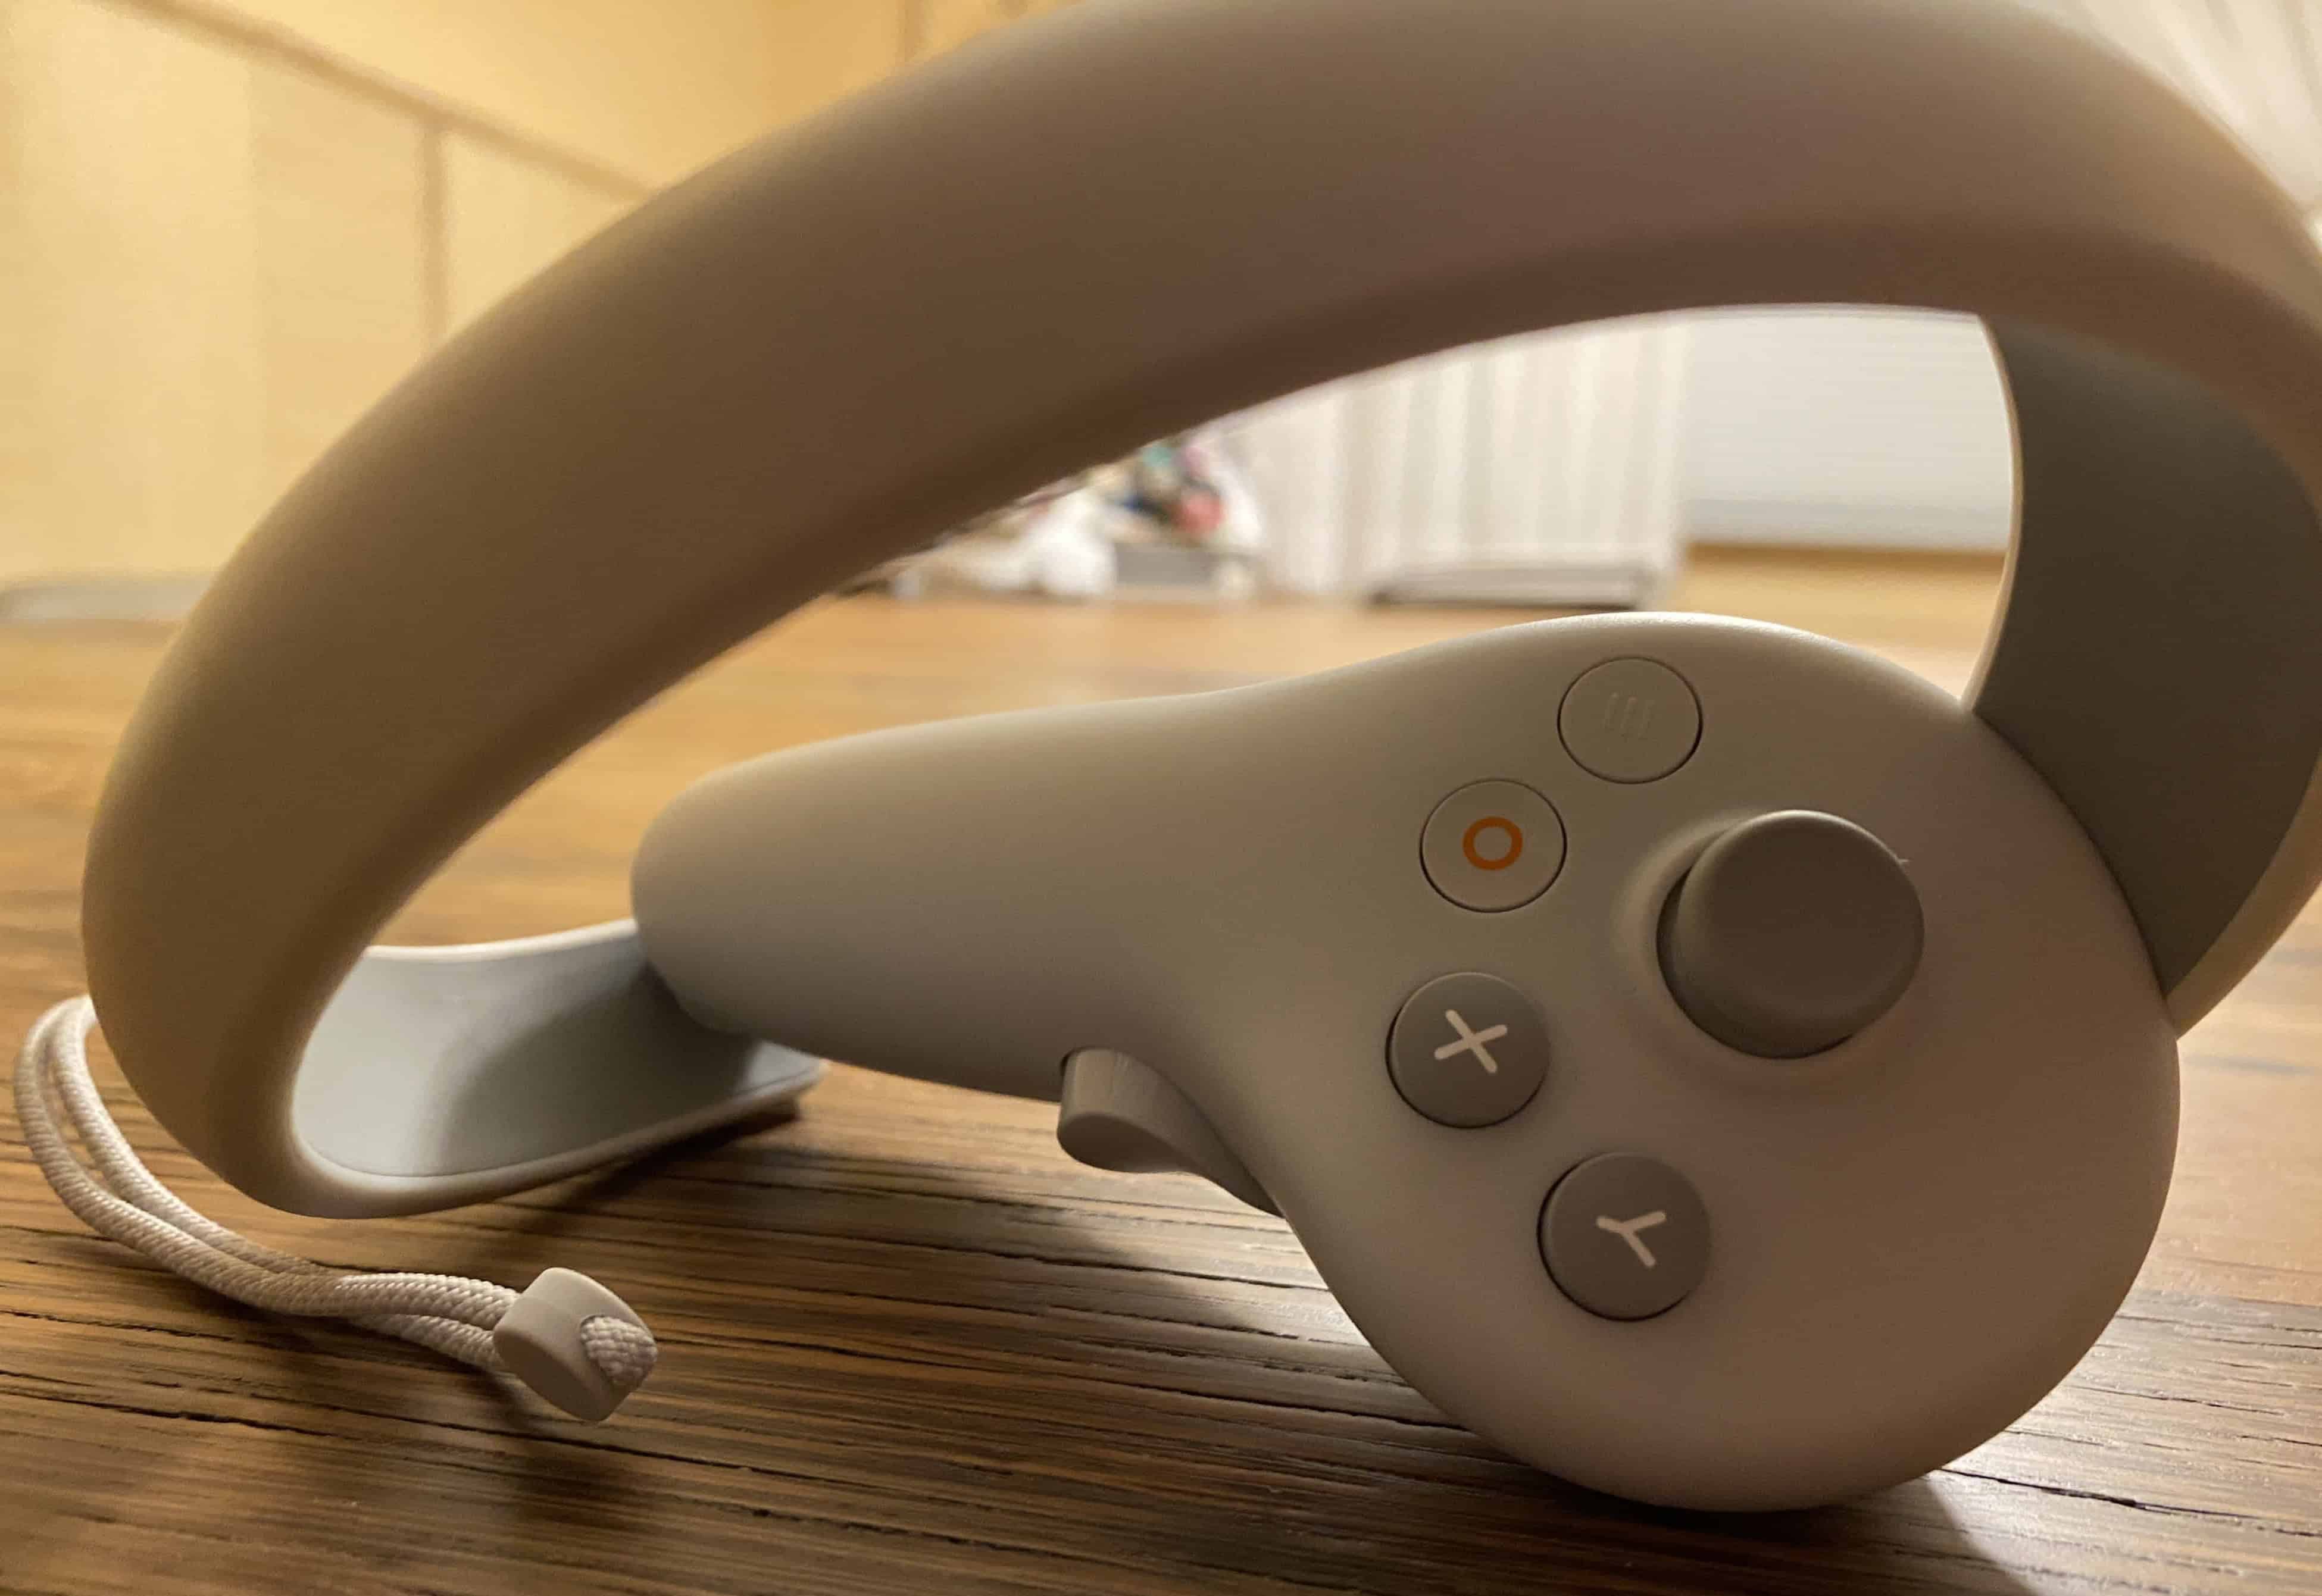
Left controller
HOME (‘O’ button) is red
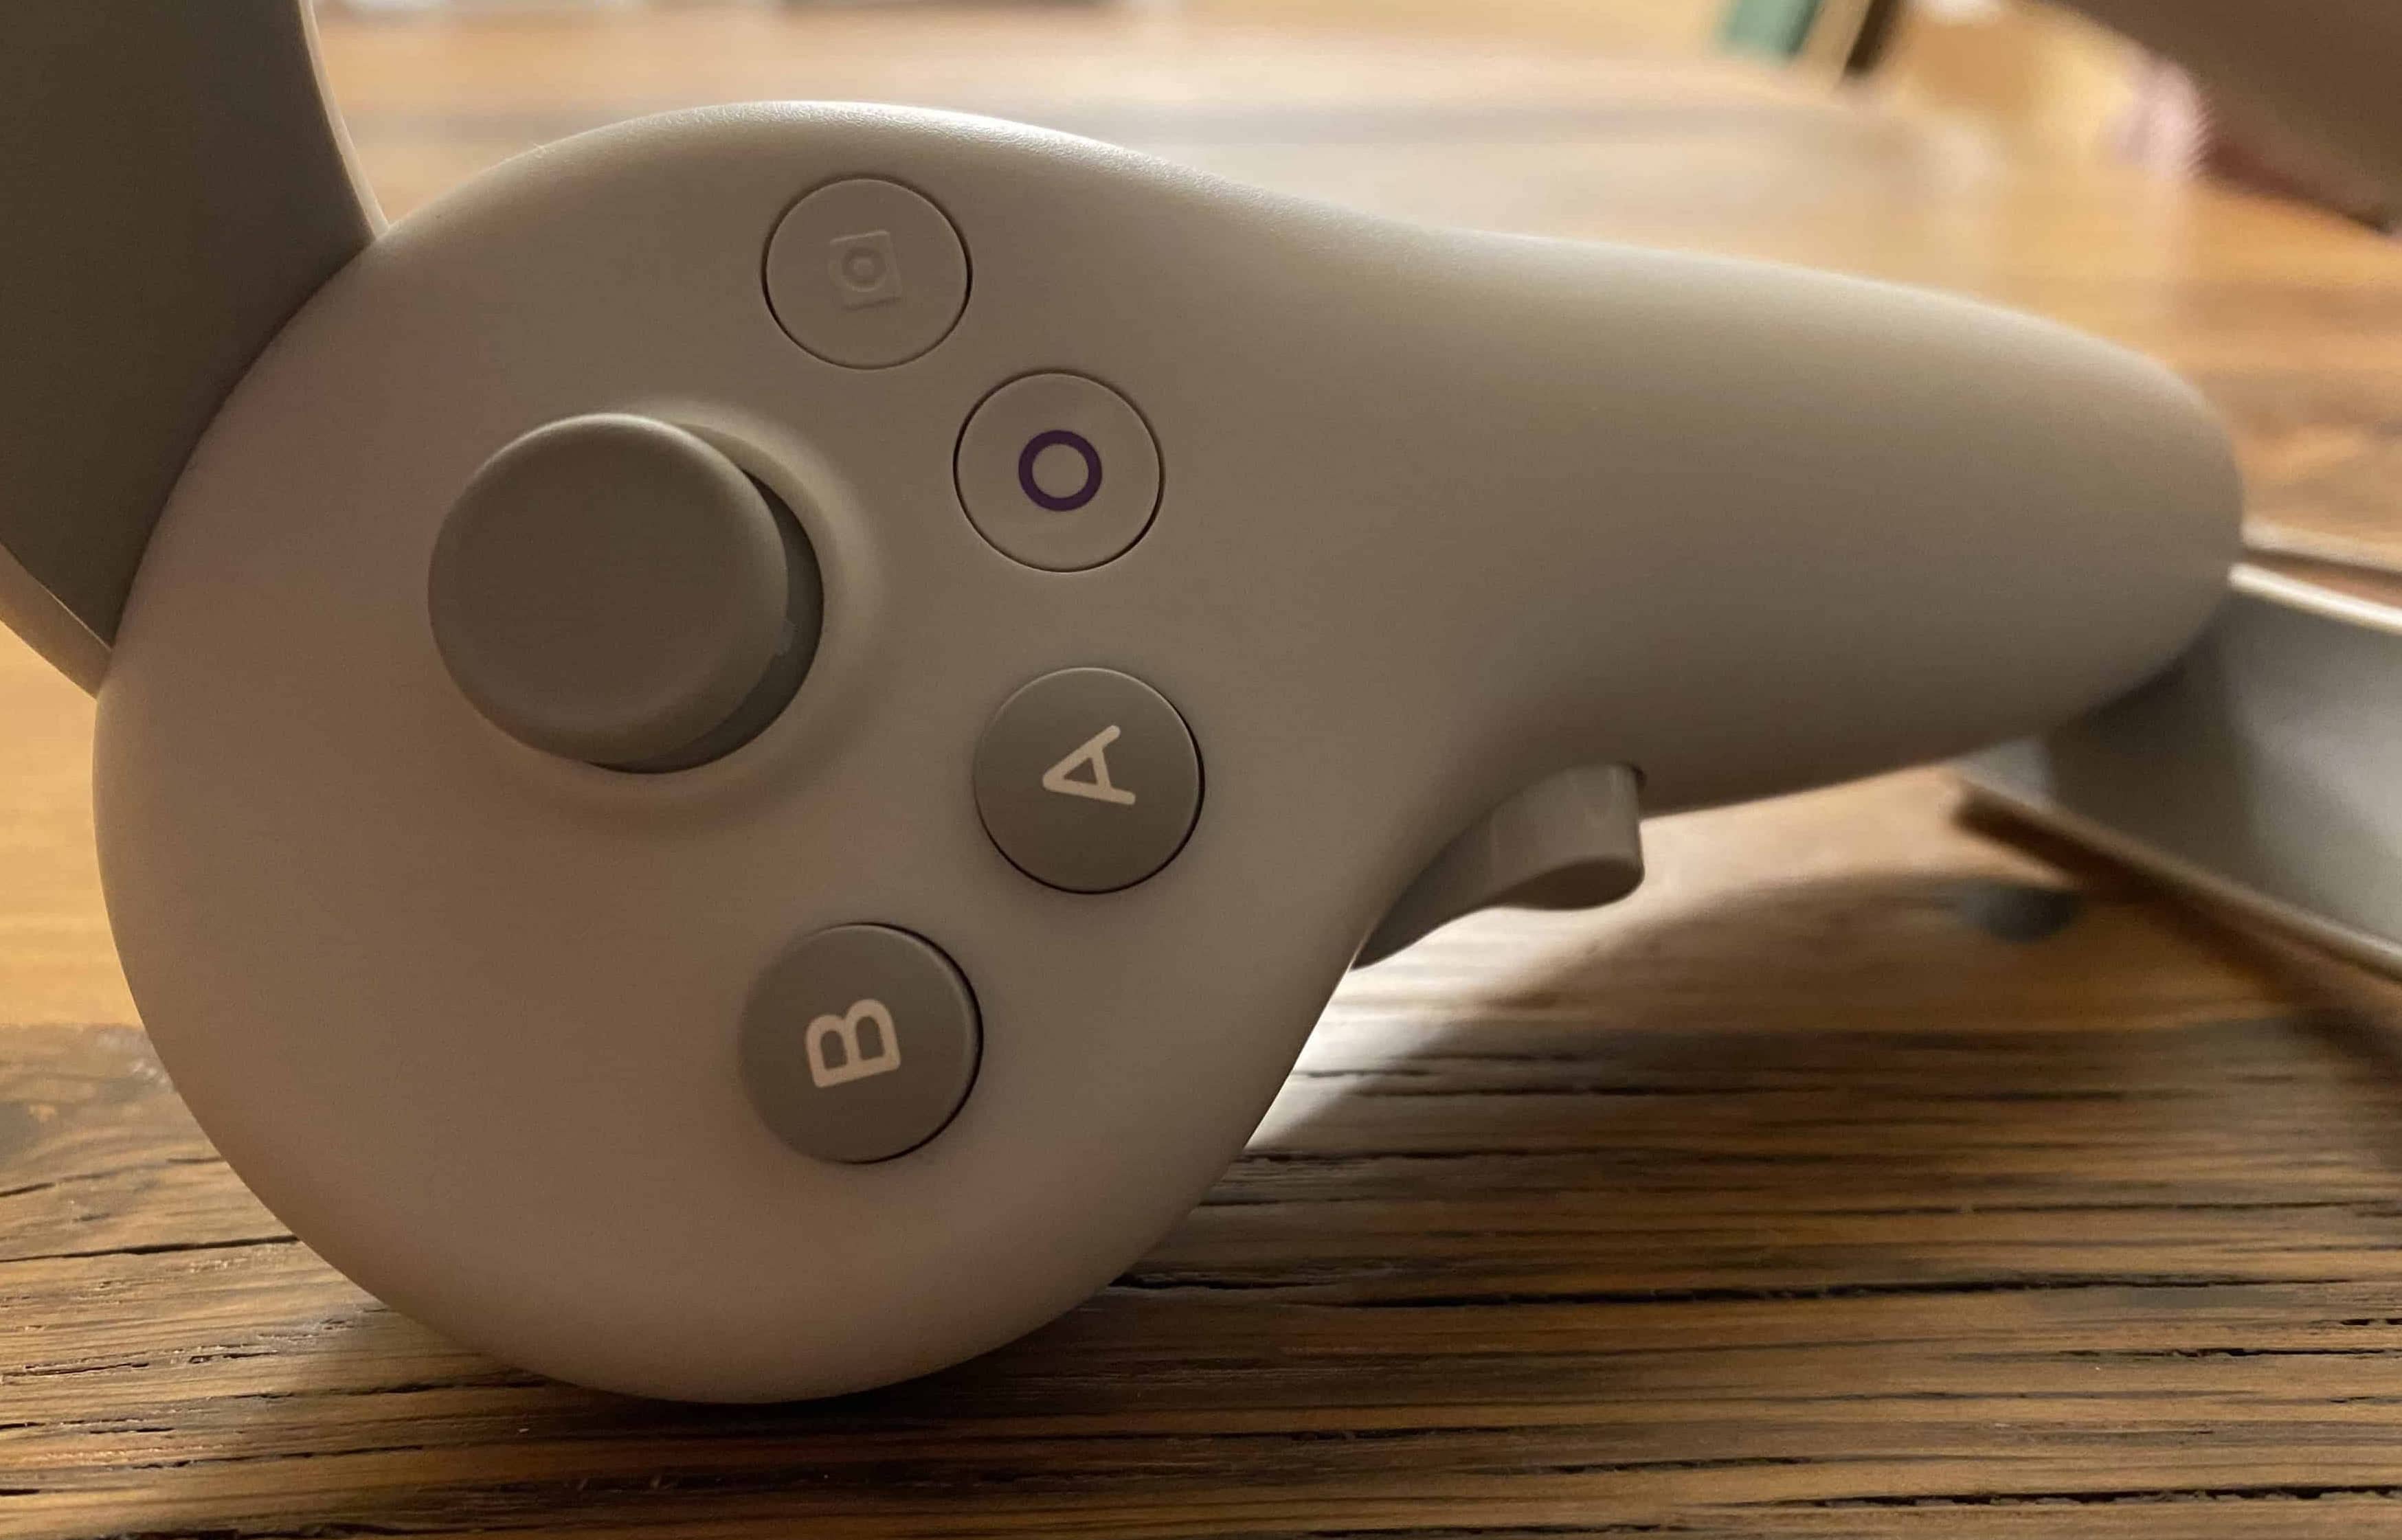
Right controller
HOME (‘O’ button) is purple
- A short-press on HOME turns the controller ON (‘Power on’). The blue light starts flashing. Each controller is turned on separately.
- A long-press (about 5 seconds) on HOME turns the controller OFF. Keep it down until you hear a satisfying confirmation sound. The light turns off.
Practice locating the HOME buttons by touch only (no visual). When you're in Virtual Reality, you'll ‘see’ your controllers, but not any fingers on them. For me, it was really hard to locate the HOME button sight unseen.
A tiny raised plastic bump (say) in the middle of the HOME button would provide tactile feedback—maybe a future controller design improvement?
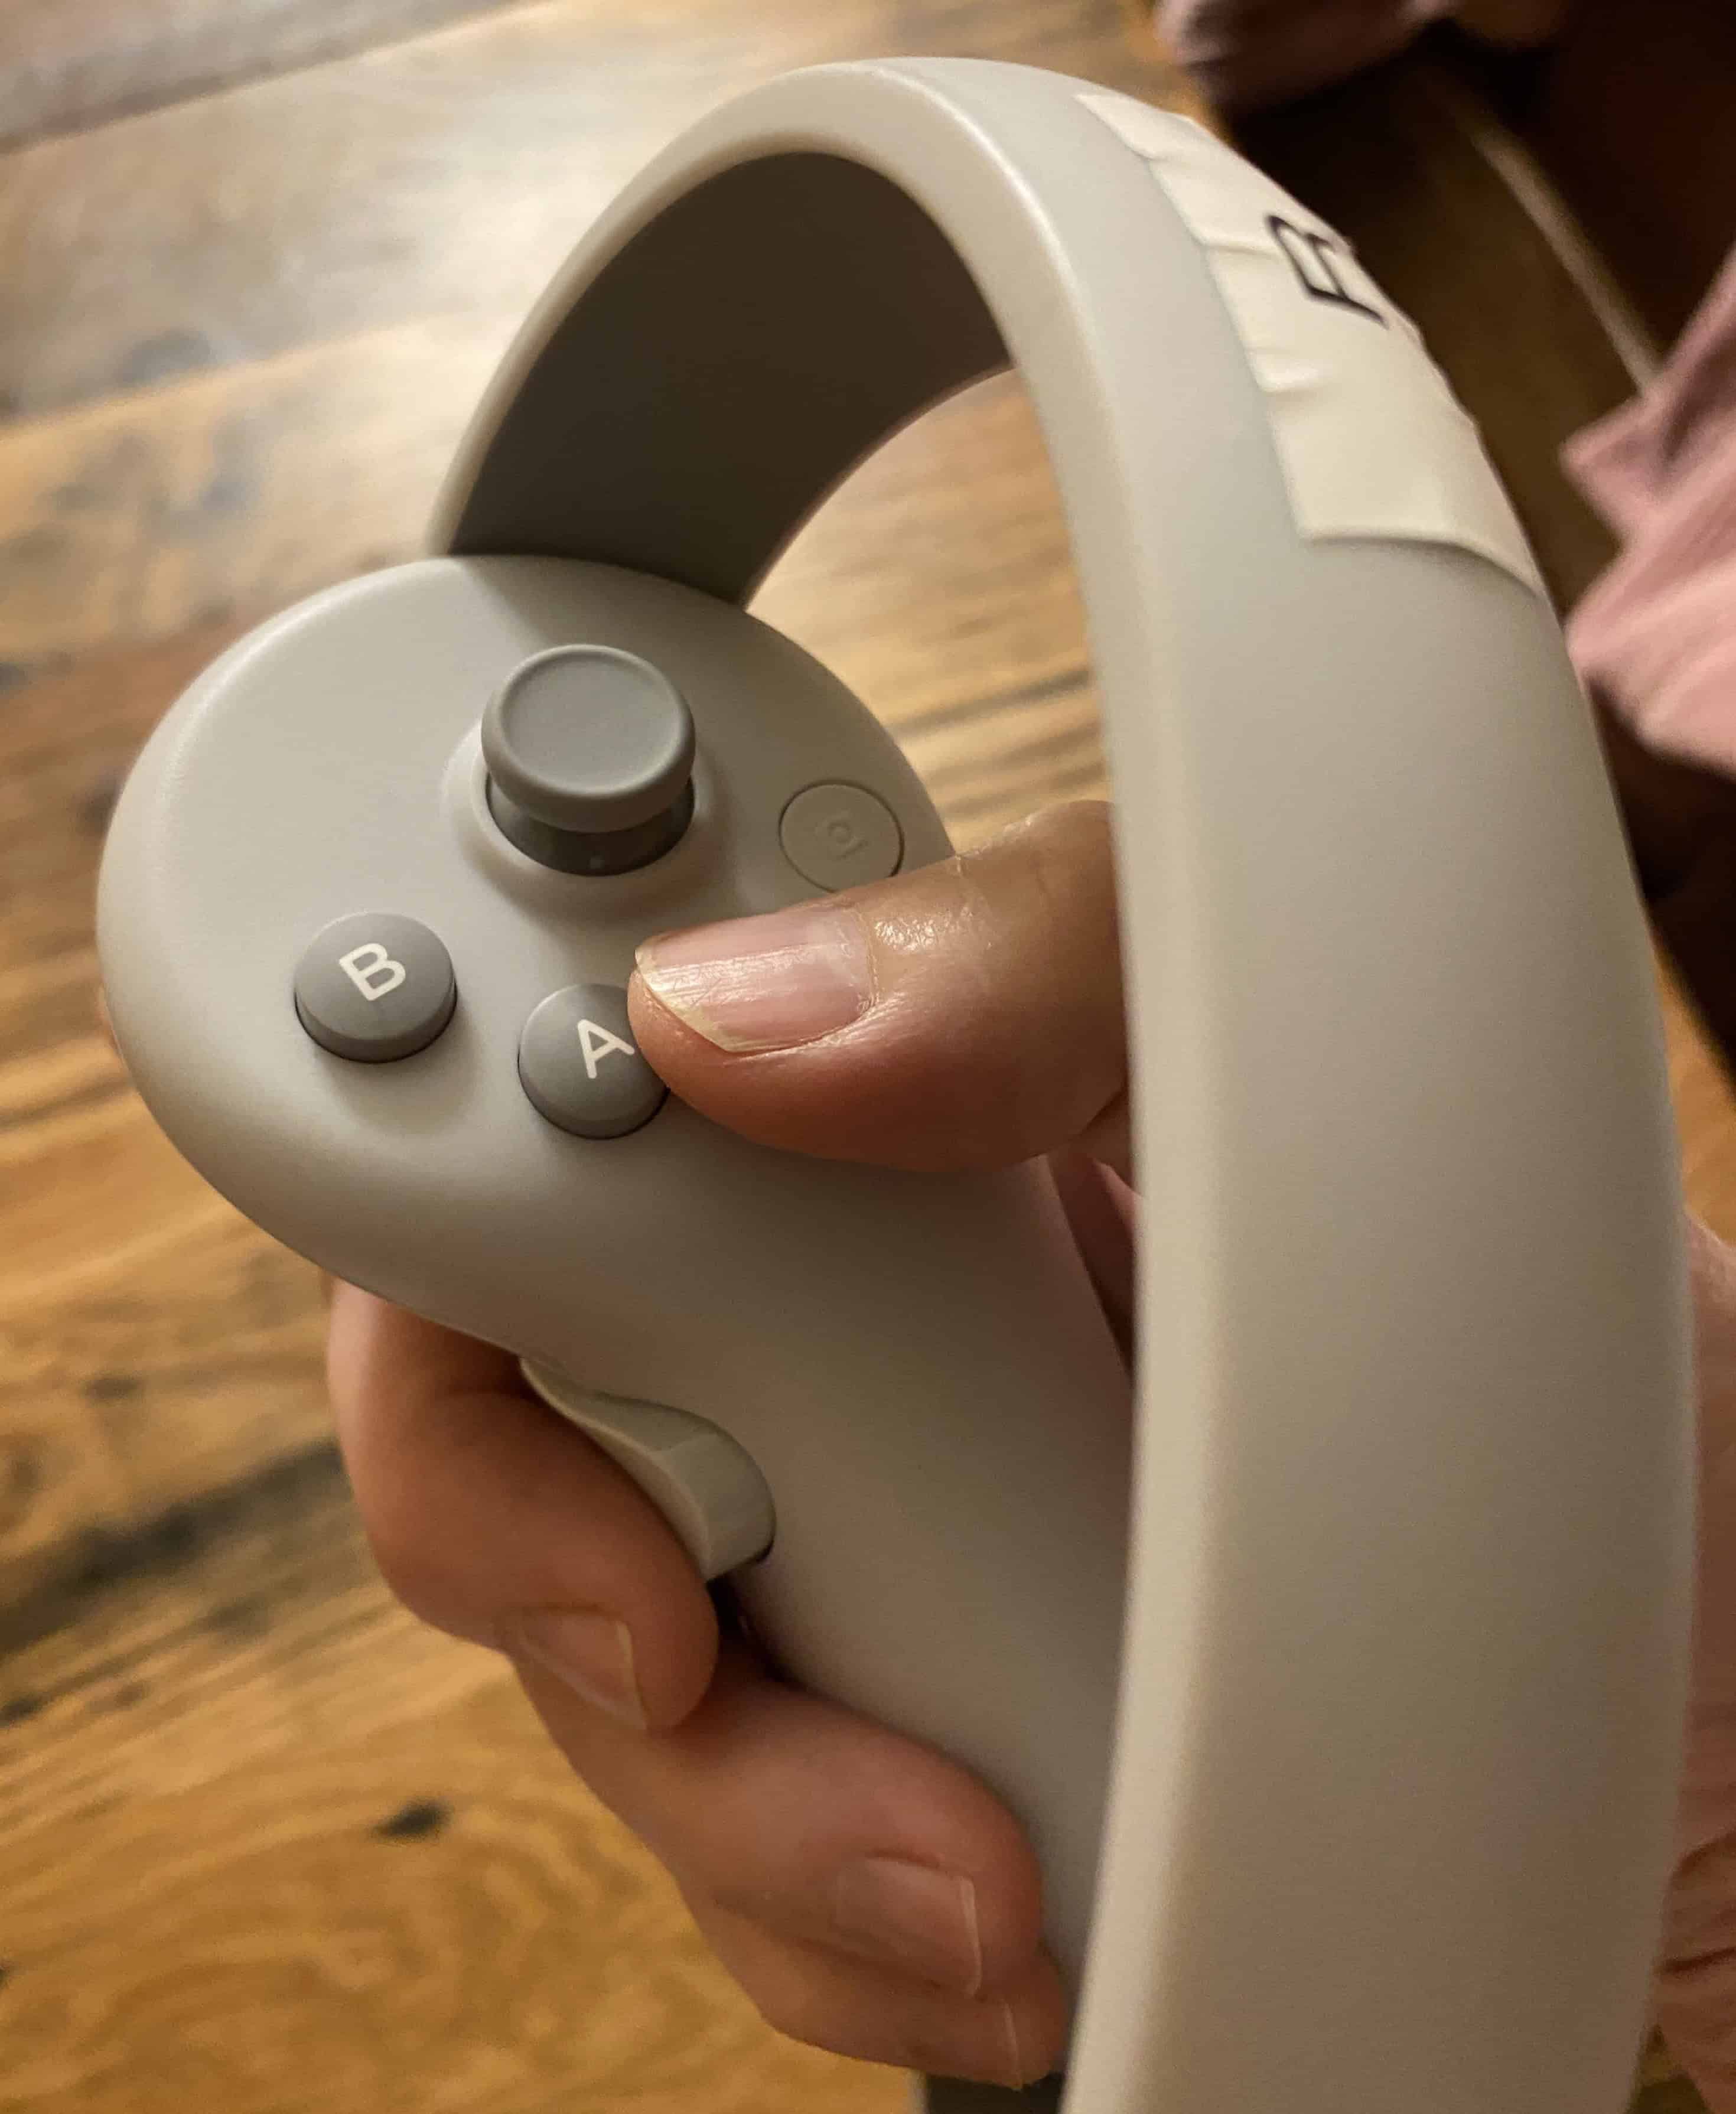
Practice locating the HOME buttons with touch only (no visual)!
When you're ready to start playing, power on both controllers (short-press on HOME).
Place Controllers in Holsters
You won't actually hold the controllers until you're harnessed in on the Omni One. However, you want them close by after you're harnessed in!
So, place the controllers in the holsters on each side of the vest (see blue arrows below). Be sure to put them on the correct sides, with the top of the controller towards the front—this makes them easier to grab.
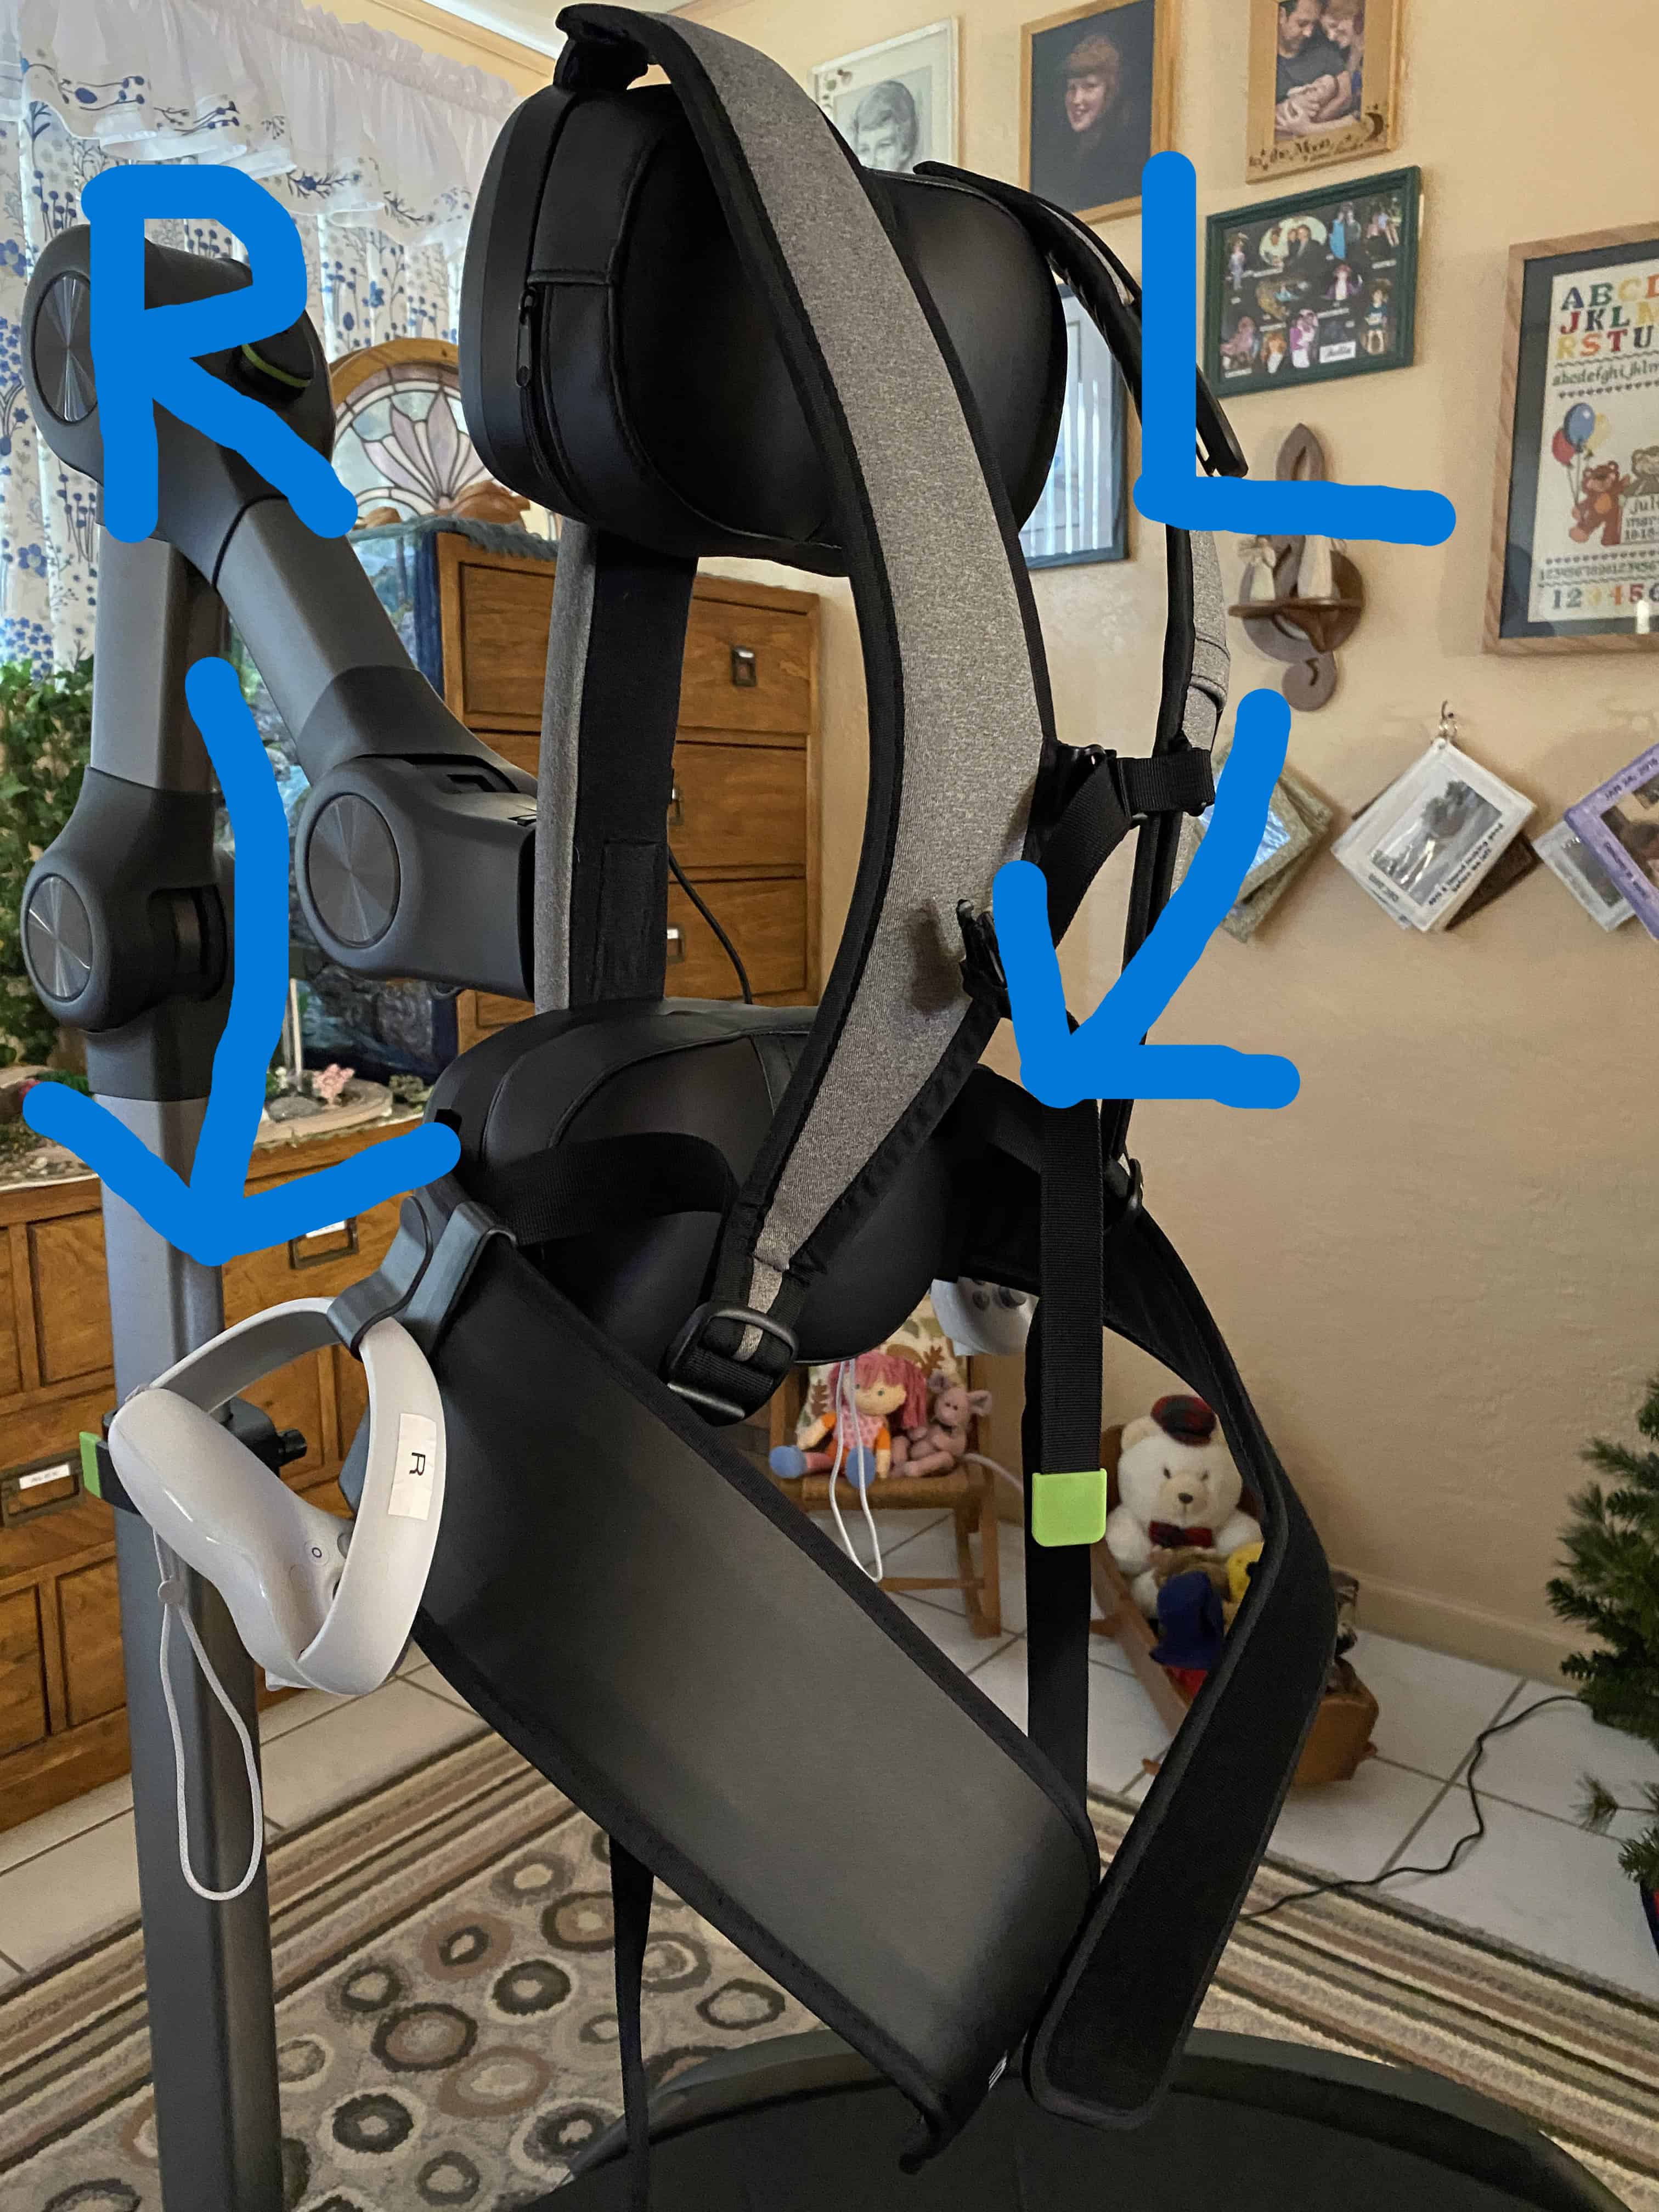
Place controllers in holsters on sides of vest
Optional Headset Spacer for Glasses
If you're going to wear glasses while using the headset, then you should install the glasses spacer. It increases the space between the lenses and your eyes to accommodate the glasses.
Note: Marybelle wears glasses. First, she tried the headset without her glasses. Everything was blurry. After putting the spacer in, and wearing her glasses inside the headset, everything was good!
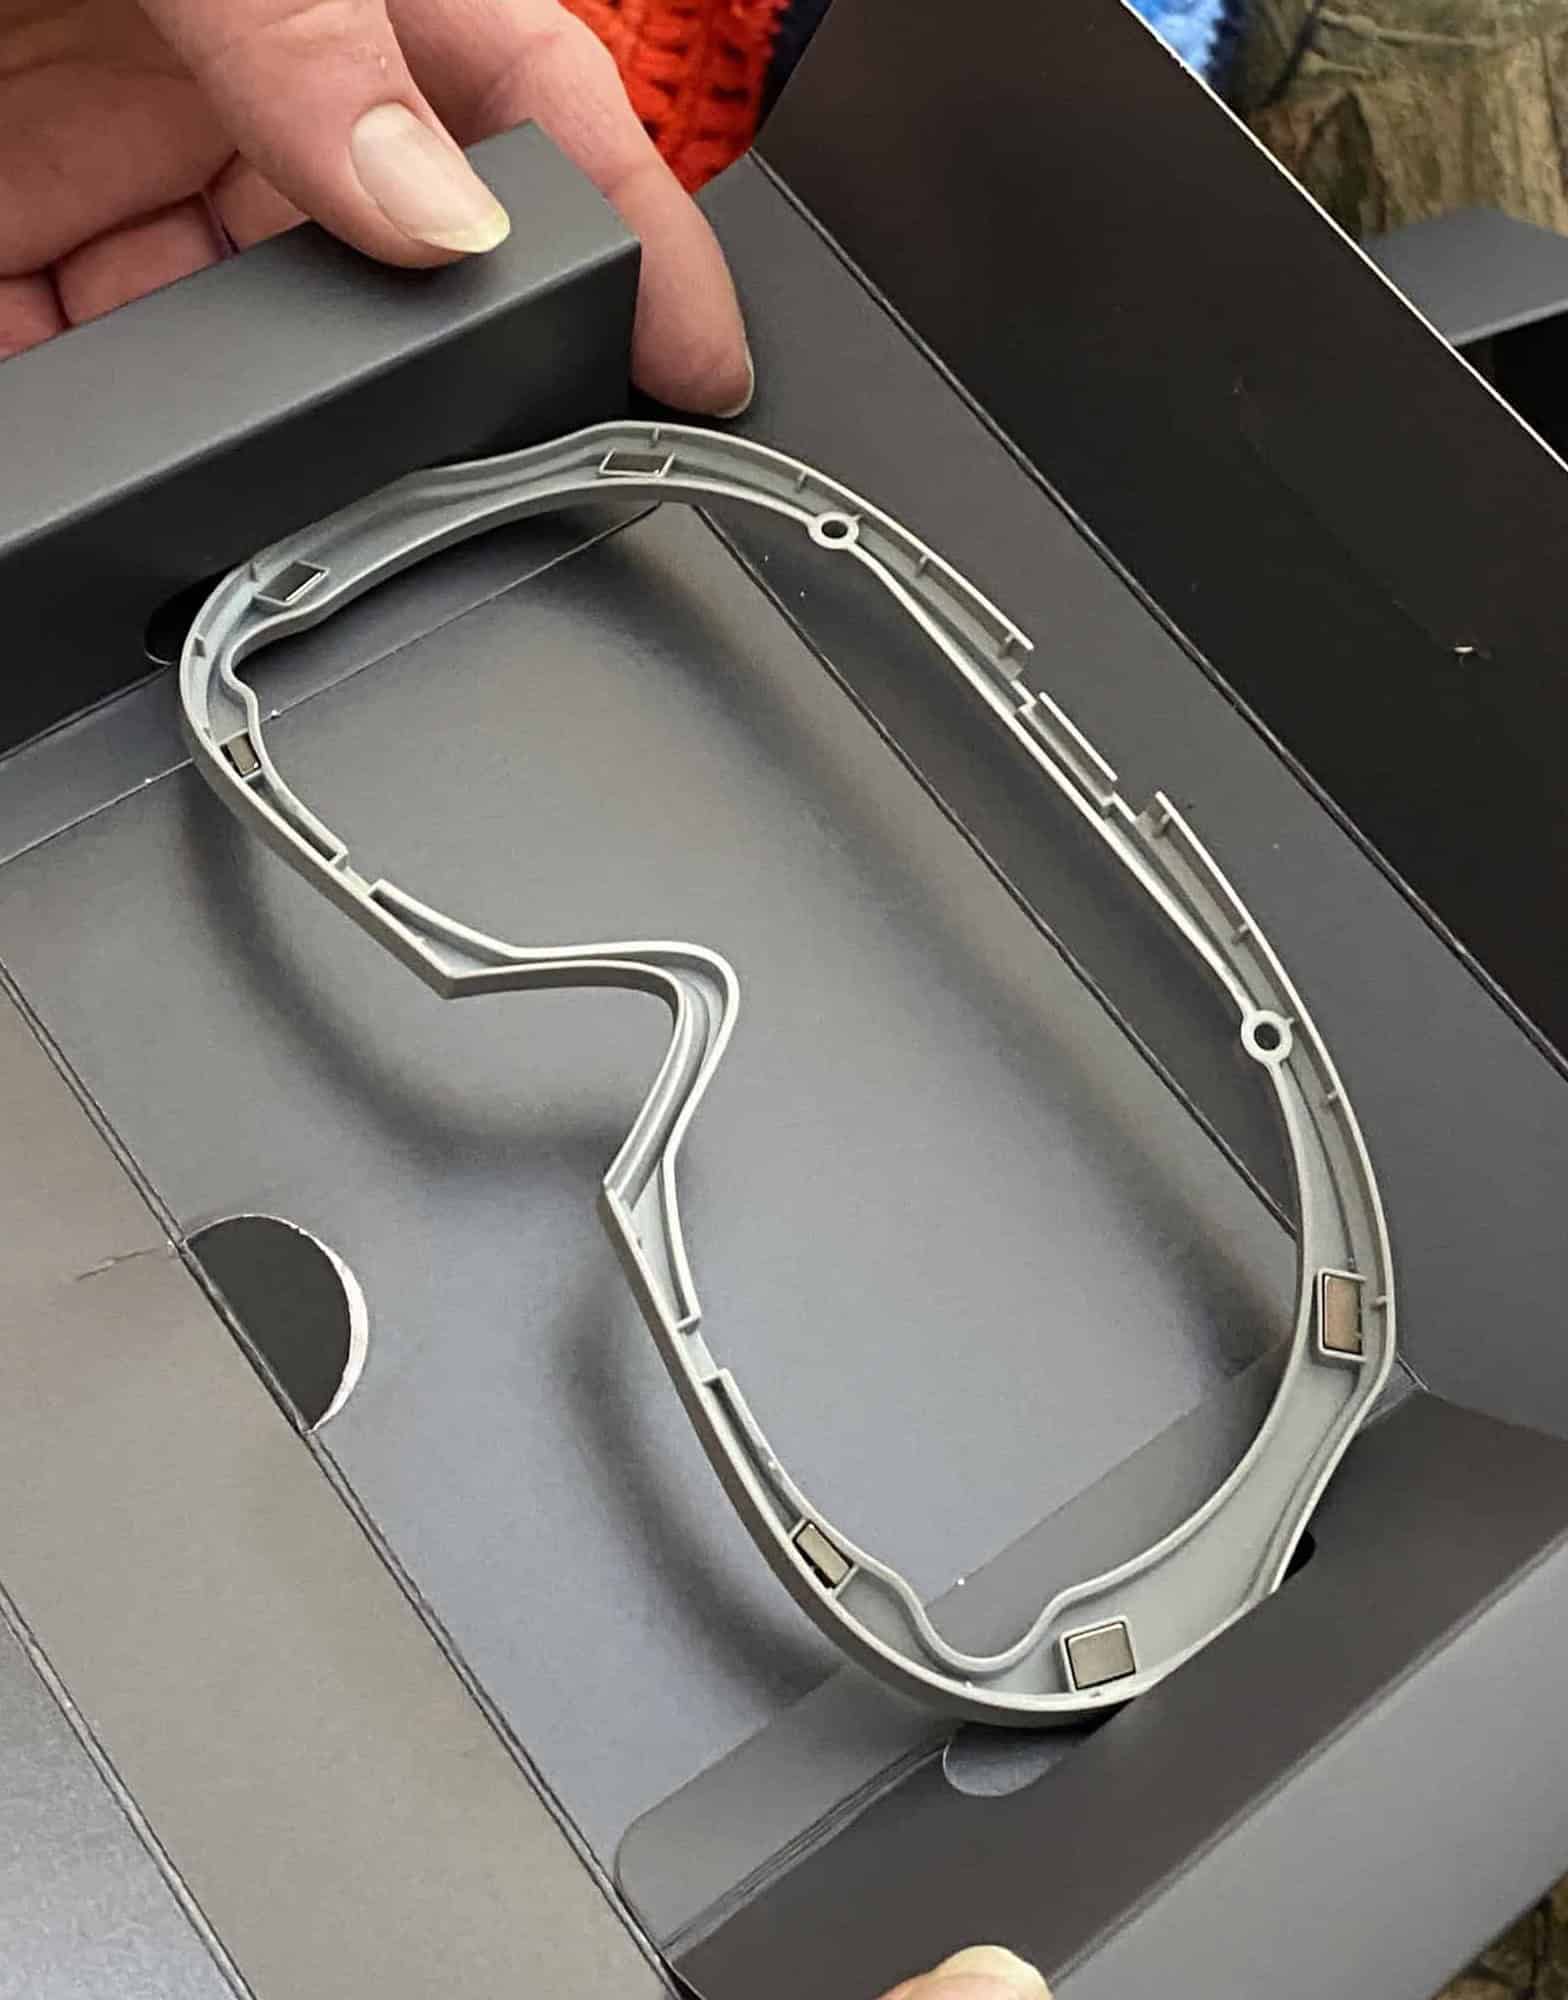
Optional spacer for glasses
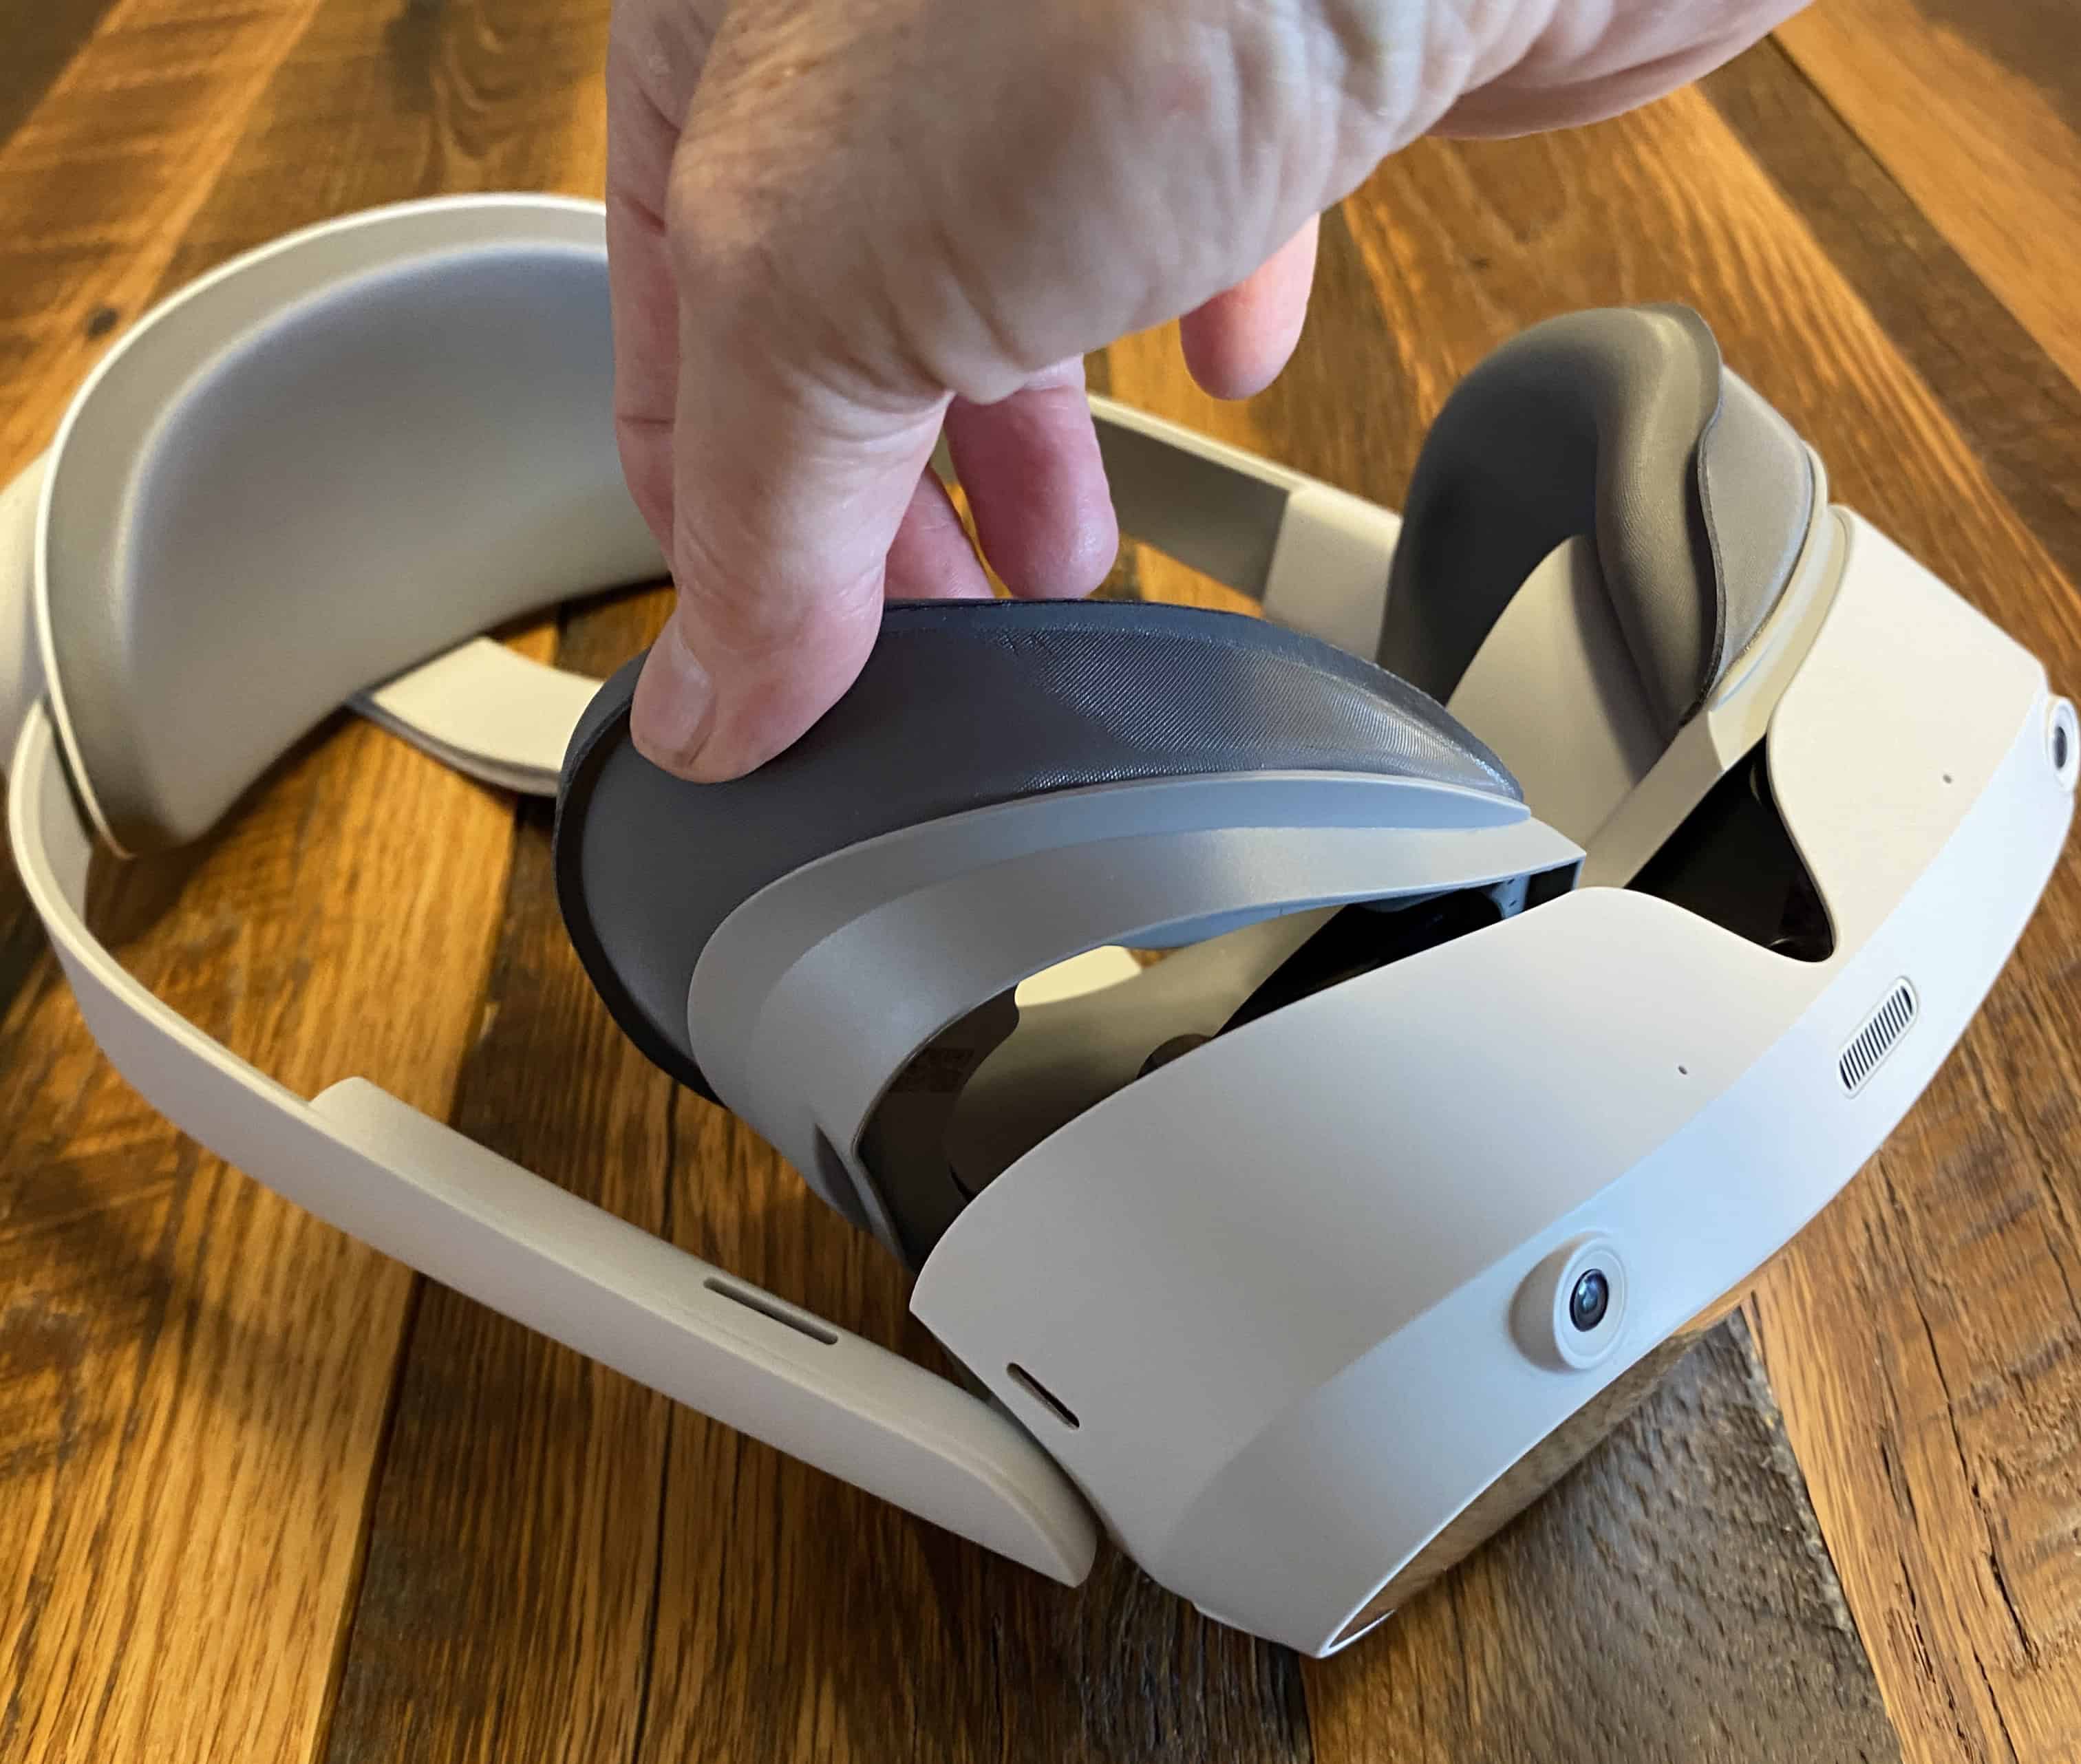
Remove padded eye guard
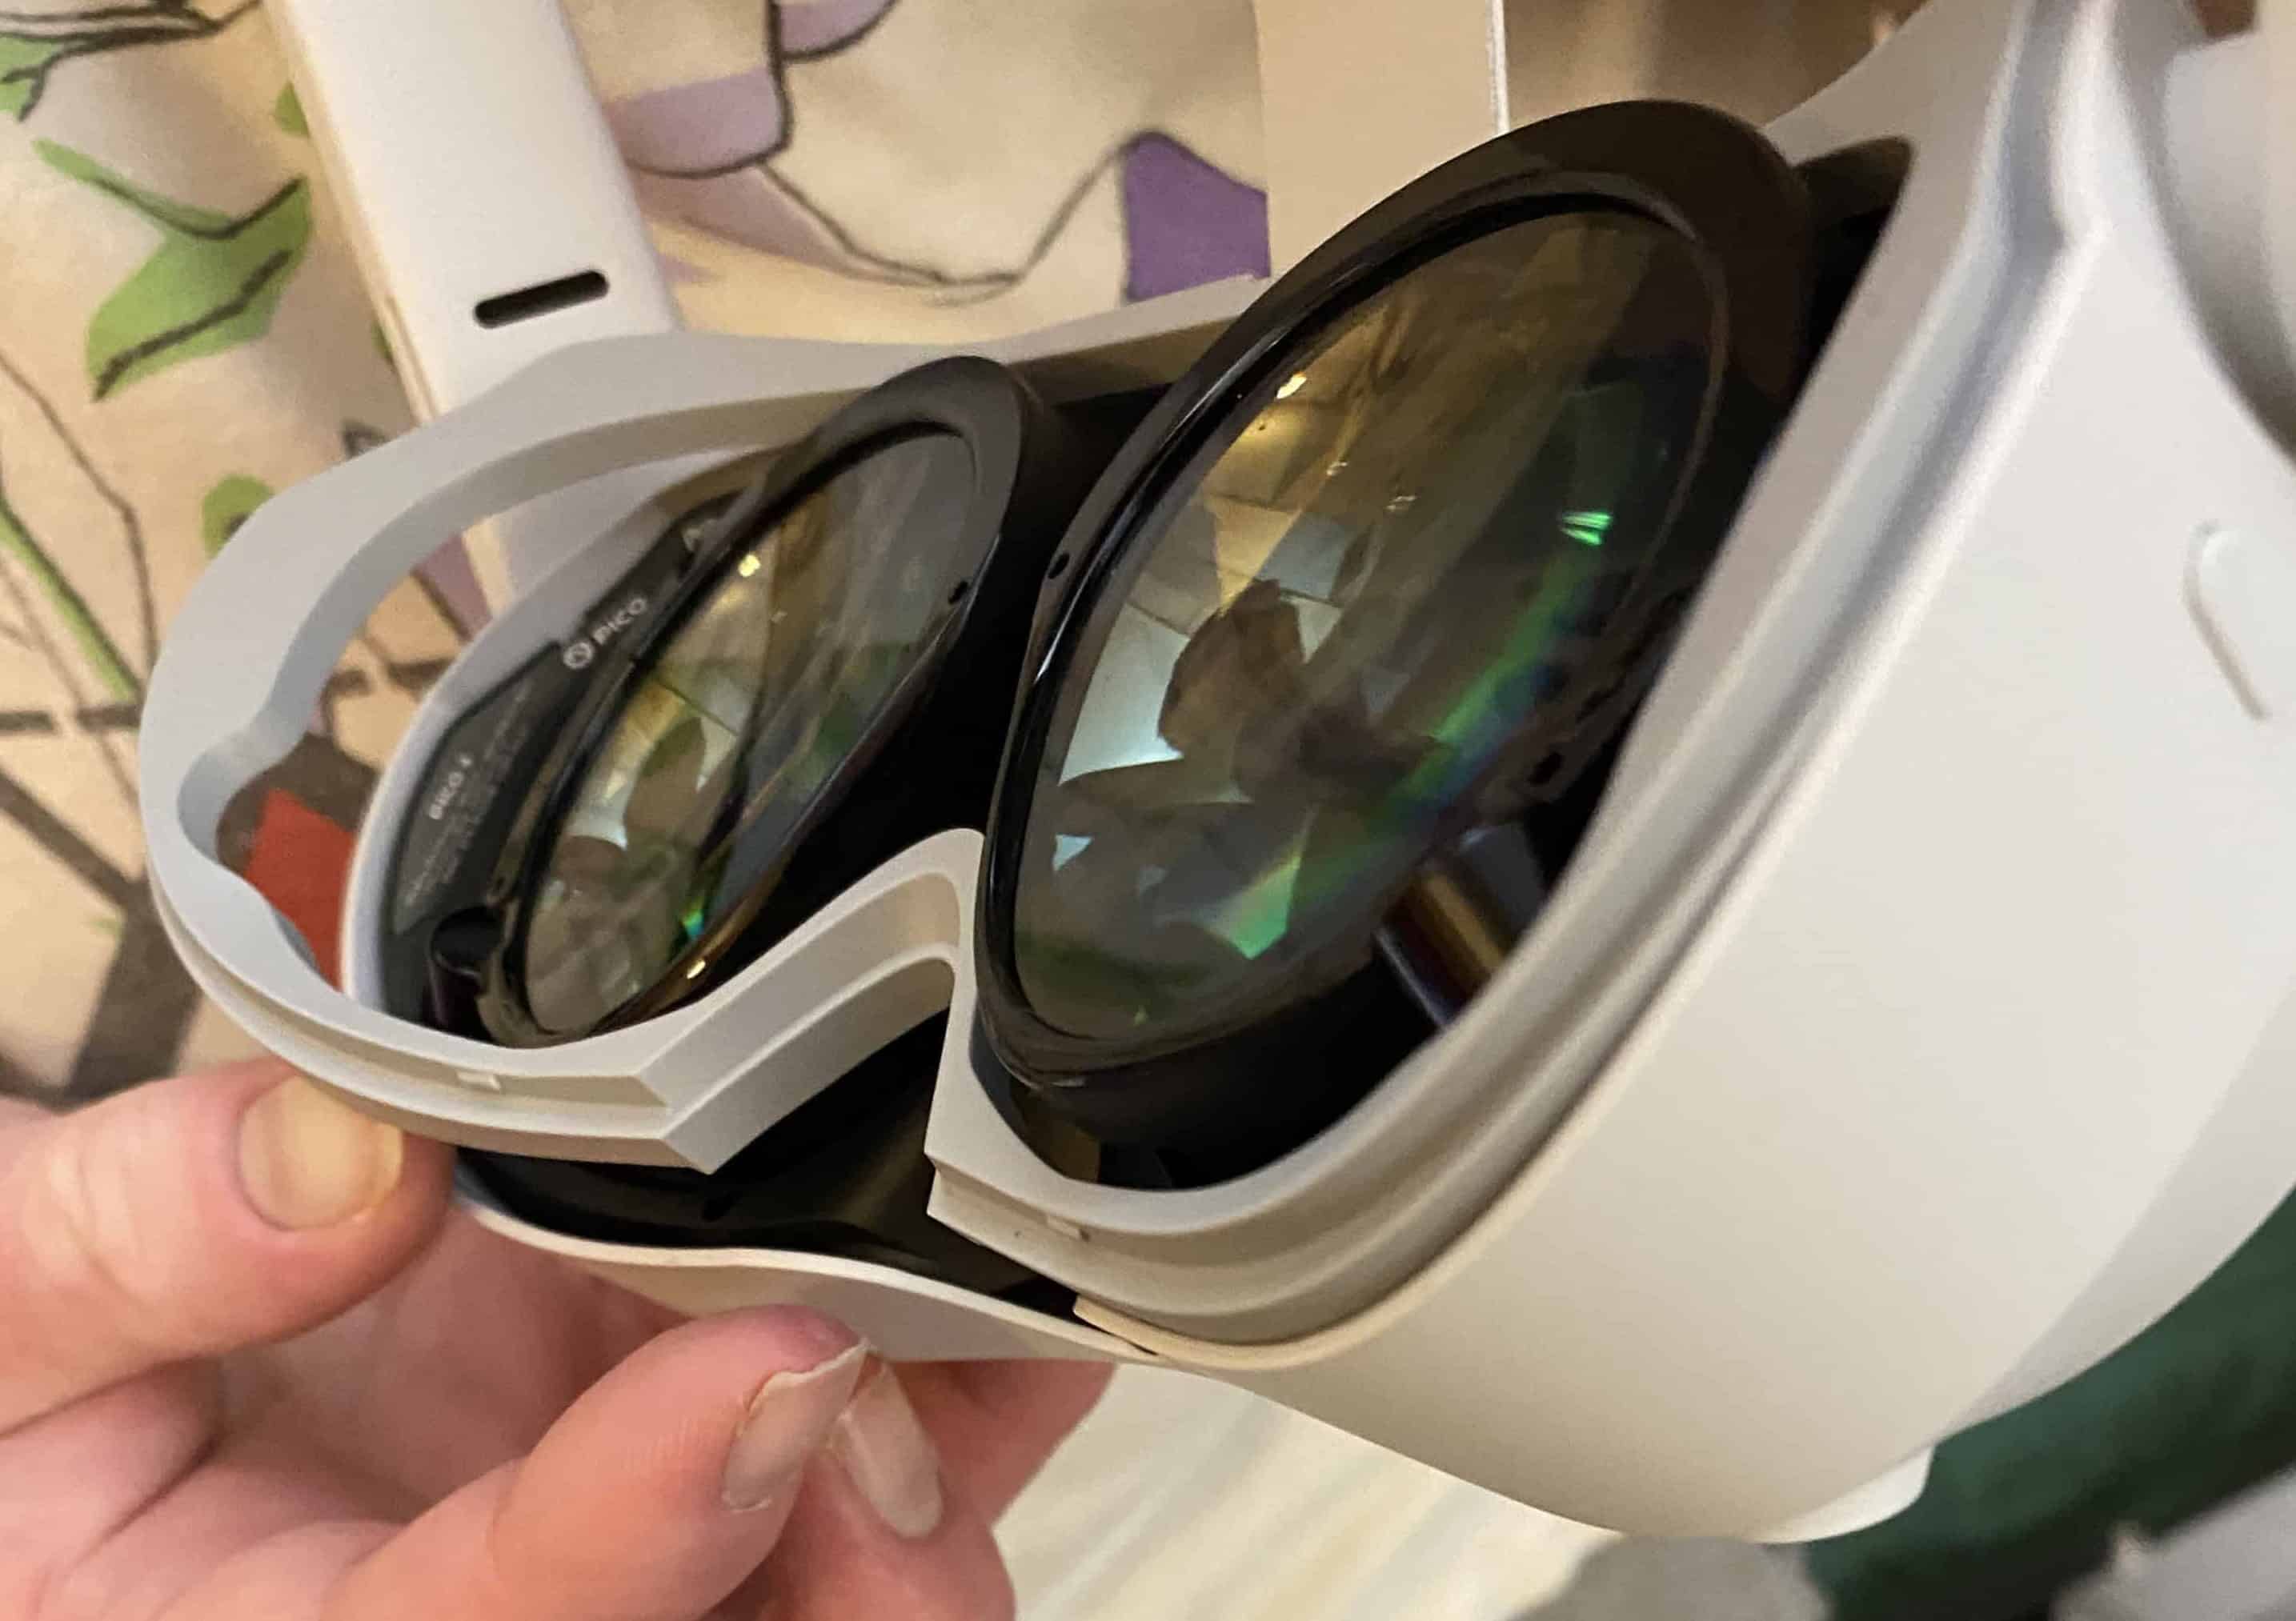
Attach spacer to headset and then replace padded eye guard
The spacer and padded eye guard are both magnetic. Once you get them close to their proper positions, they will lock right in.
Pair the Foot Trackers
‘Pairing’ means to establish an initial connection between devices, enabling them to communicate with each other securely.
You should only have to do the pairing described next when first setting up your Omni One. The devices should remain paired, even when equipment is turned off and on.
However, if you ever ‘lose connection with your feet’ while playing, then repeat the steps indicated here.
(1) Turn both foot trackers ON. The button reveals green when ON and red when OFF.
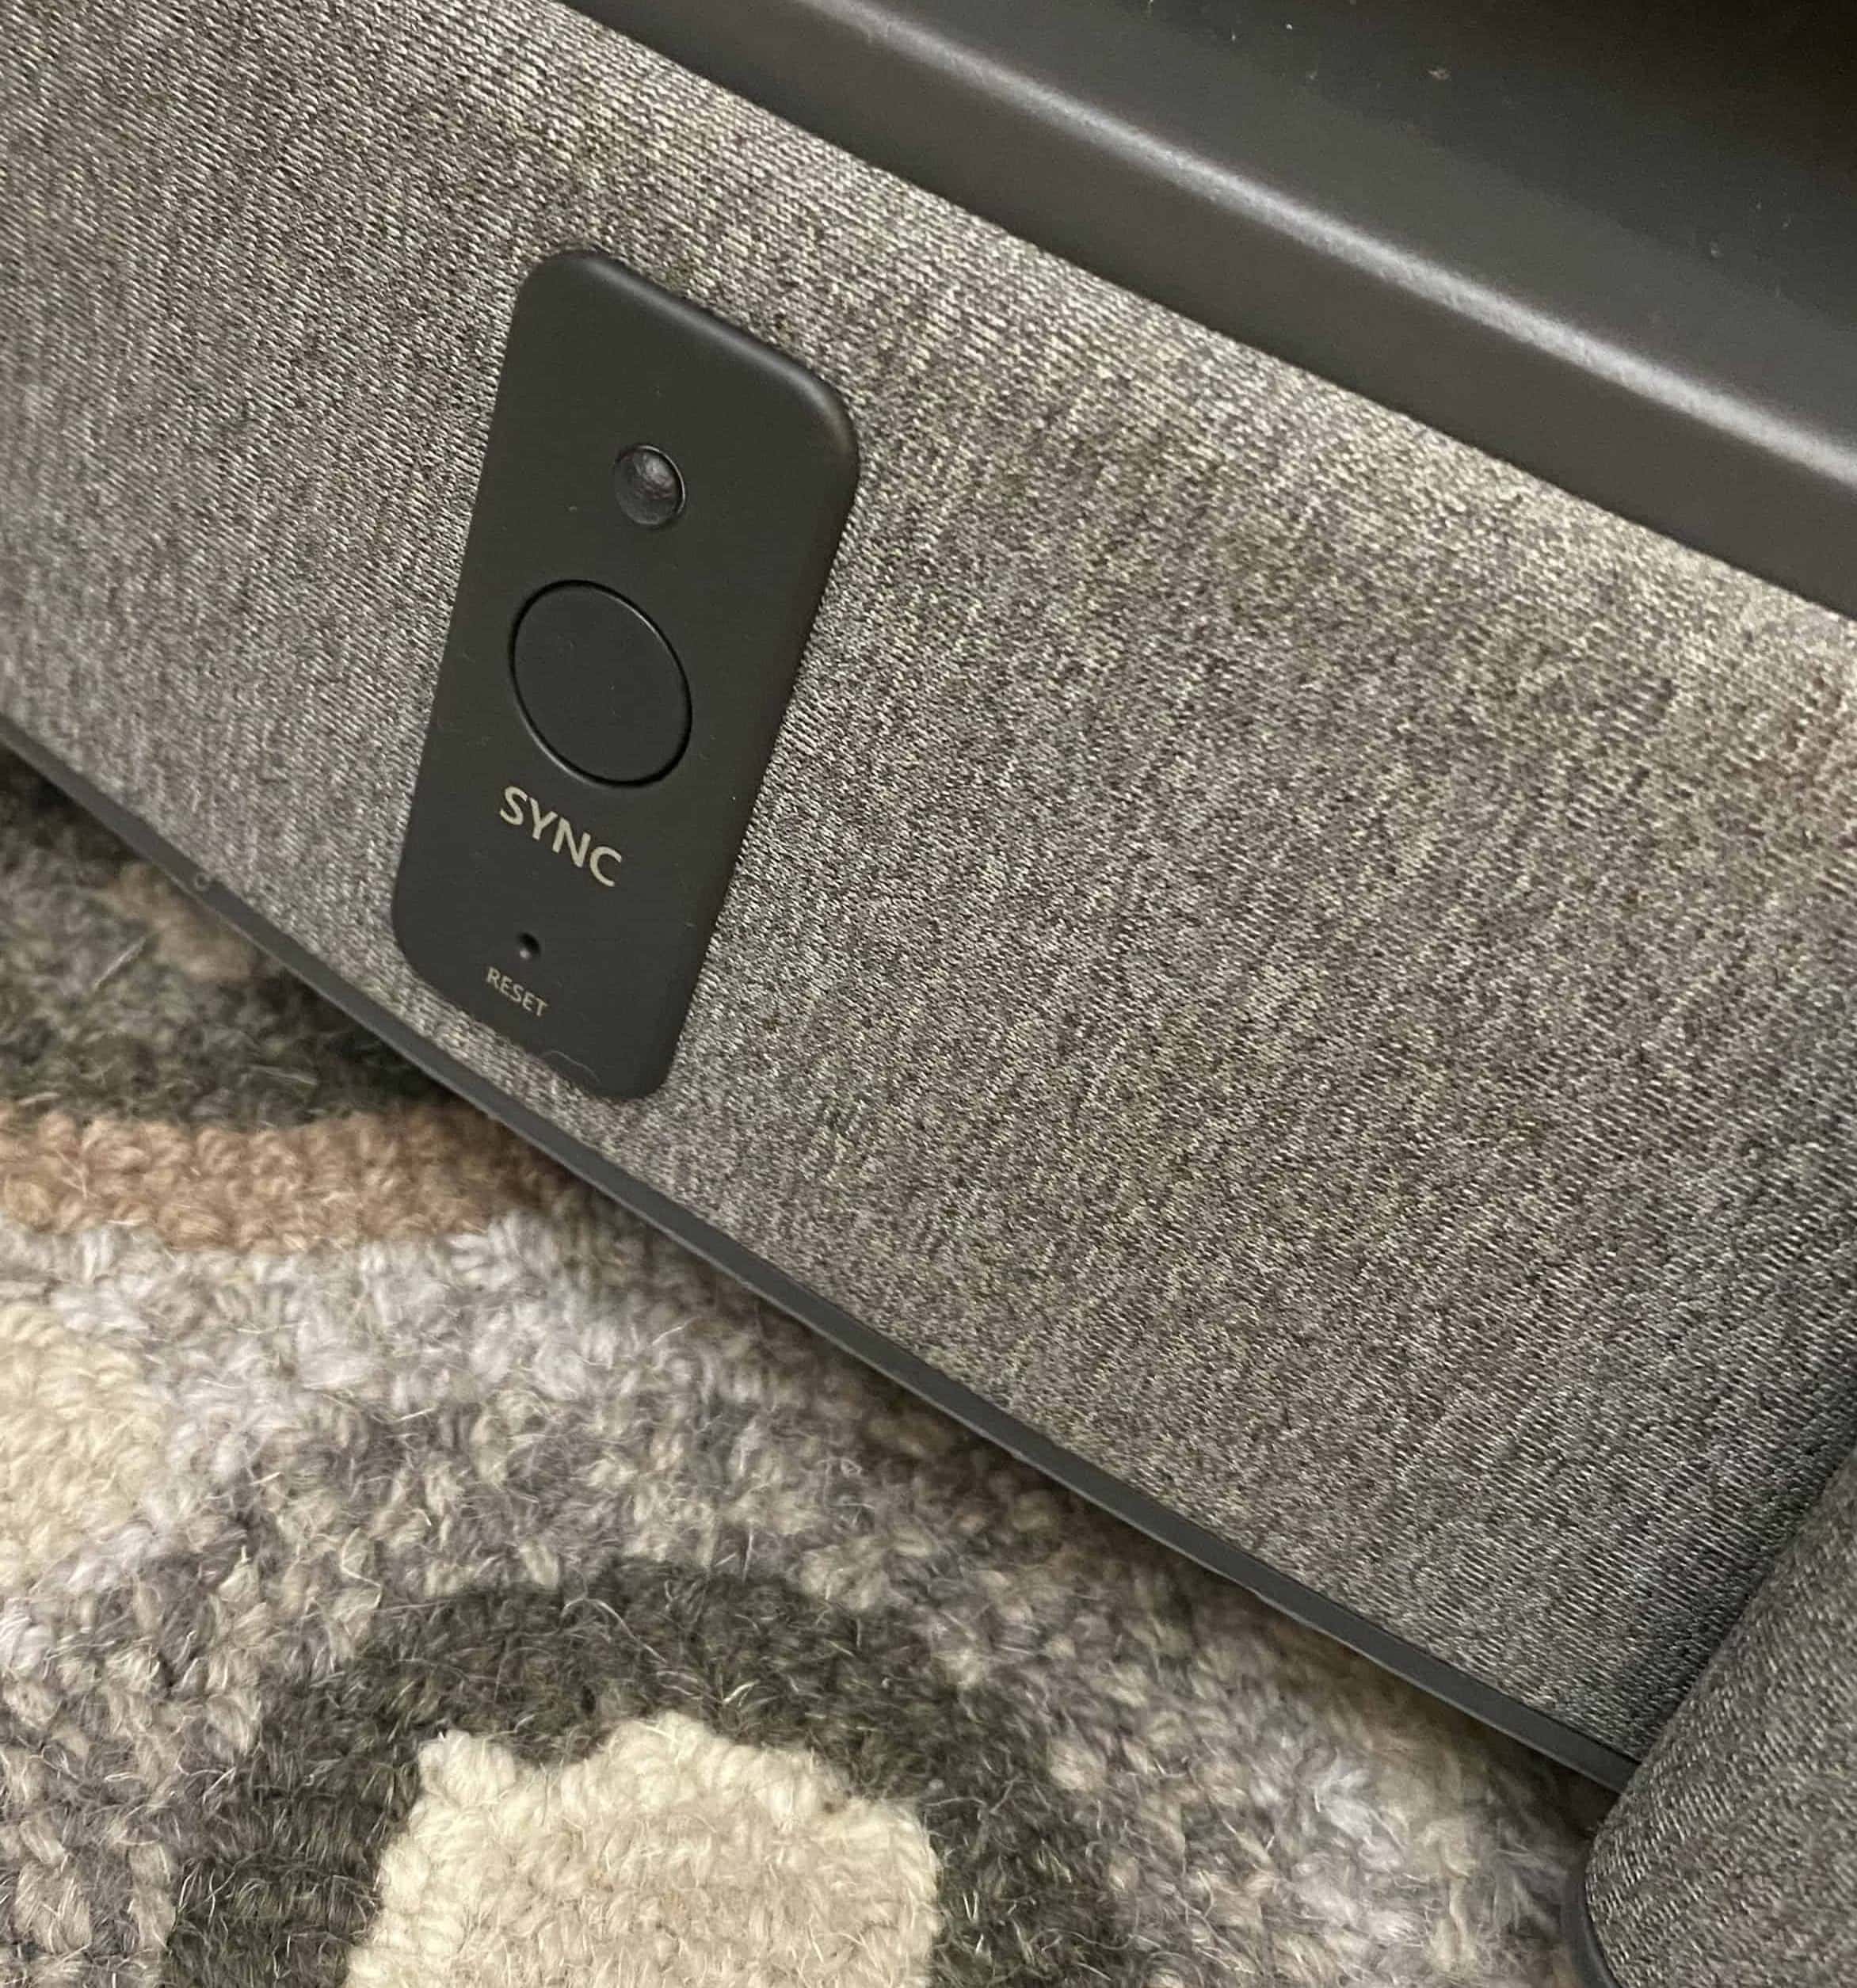
(2) The SYNC button is located on the side of the Omni One base. Press and hold this SYNC button for more than one second—until a fast-flash green light indicates that the Omni One is in pairing mode.
(3) Press and hold both foot tracker SYNC buttons (see blue arrows) for more than one second—until a fast-flash green light indicates they are in pairing mode. (You can do one, and then the other.)
A steady green light on the foot trackers will indicate that they are paired to the Omni One.
Insert Foot Trackers into Overshoes
Make sure both foot trackers are turned ON before inserting them in the overshoes.
Locate arrow on foot tracker
Foot tracker cradle on overshoe: closed padlock on left; open padlock on right
The foot trackers are identical, and can go on either overshoe.
Put each foot tracker into the cradle on the overshoes, with the arrow pointing to the open padlock. Rotate clockwise to the closed padlock. You should hear it click into place.
Put On the Overshoes
The Omni One overshoes go over your shoes.
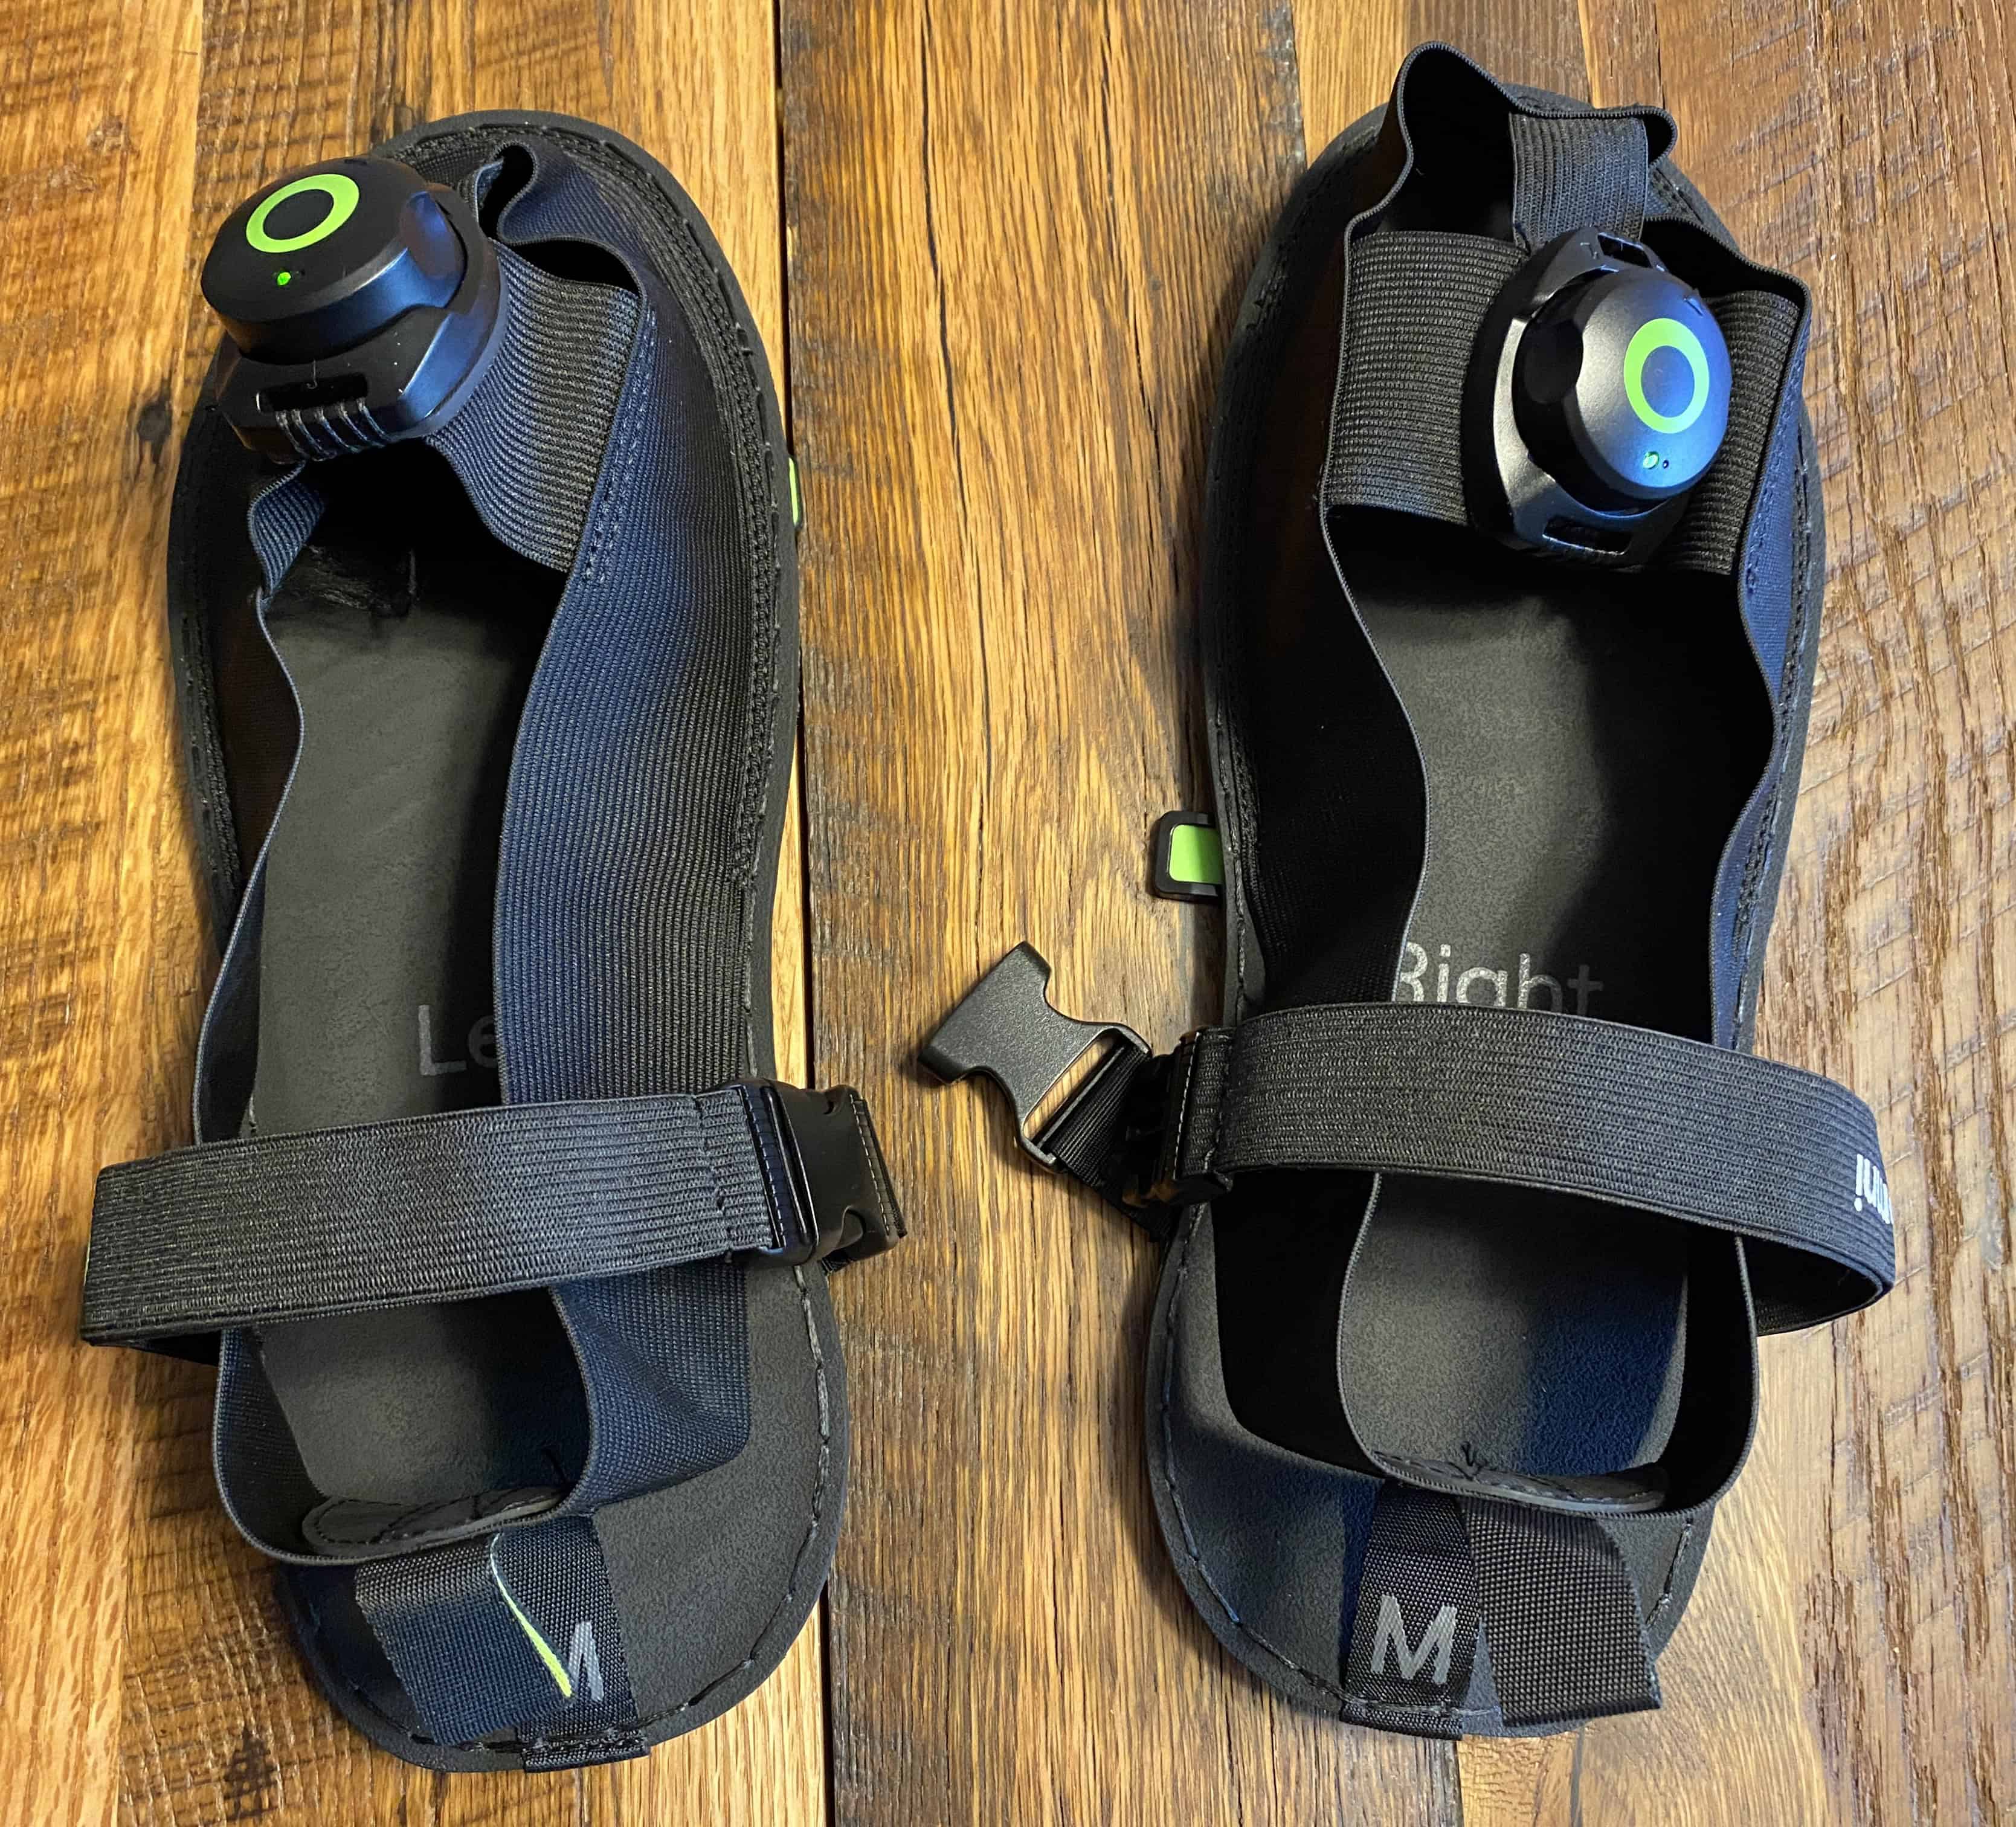
Omni One overshoes, left and right (clearly marked)
I wear US Women's size 8.5, so I was between small and medium on the Virtuix Overshoe Sizing Chart:
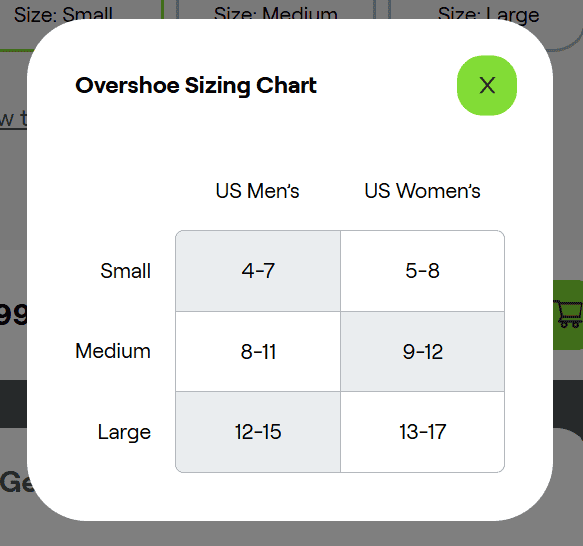
Virtuix Overshoe Sizing Chart (November 2024)
I got medium, and they fit perfectly over sneakers. My bonus son Joshua wears US Men's 12.5 and he needs large.
The overshoes should only be used on the Omni One base. Try to minimize any other use. Sit close to the Omni One when you put them on, so you don't walk far before stepping onto the base. If the bottoms get dirty, they may not perform well in game play.
My Omni One is on a wool area rug. Even a few steps get wool hairs on the felt pads on the bottom of the overshoes. I may need to get a plastic floor protector to enable me to walk from where I put on my shoes to where I step onto the Omni.
The Omni One overshoes have two configurations:
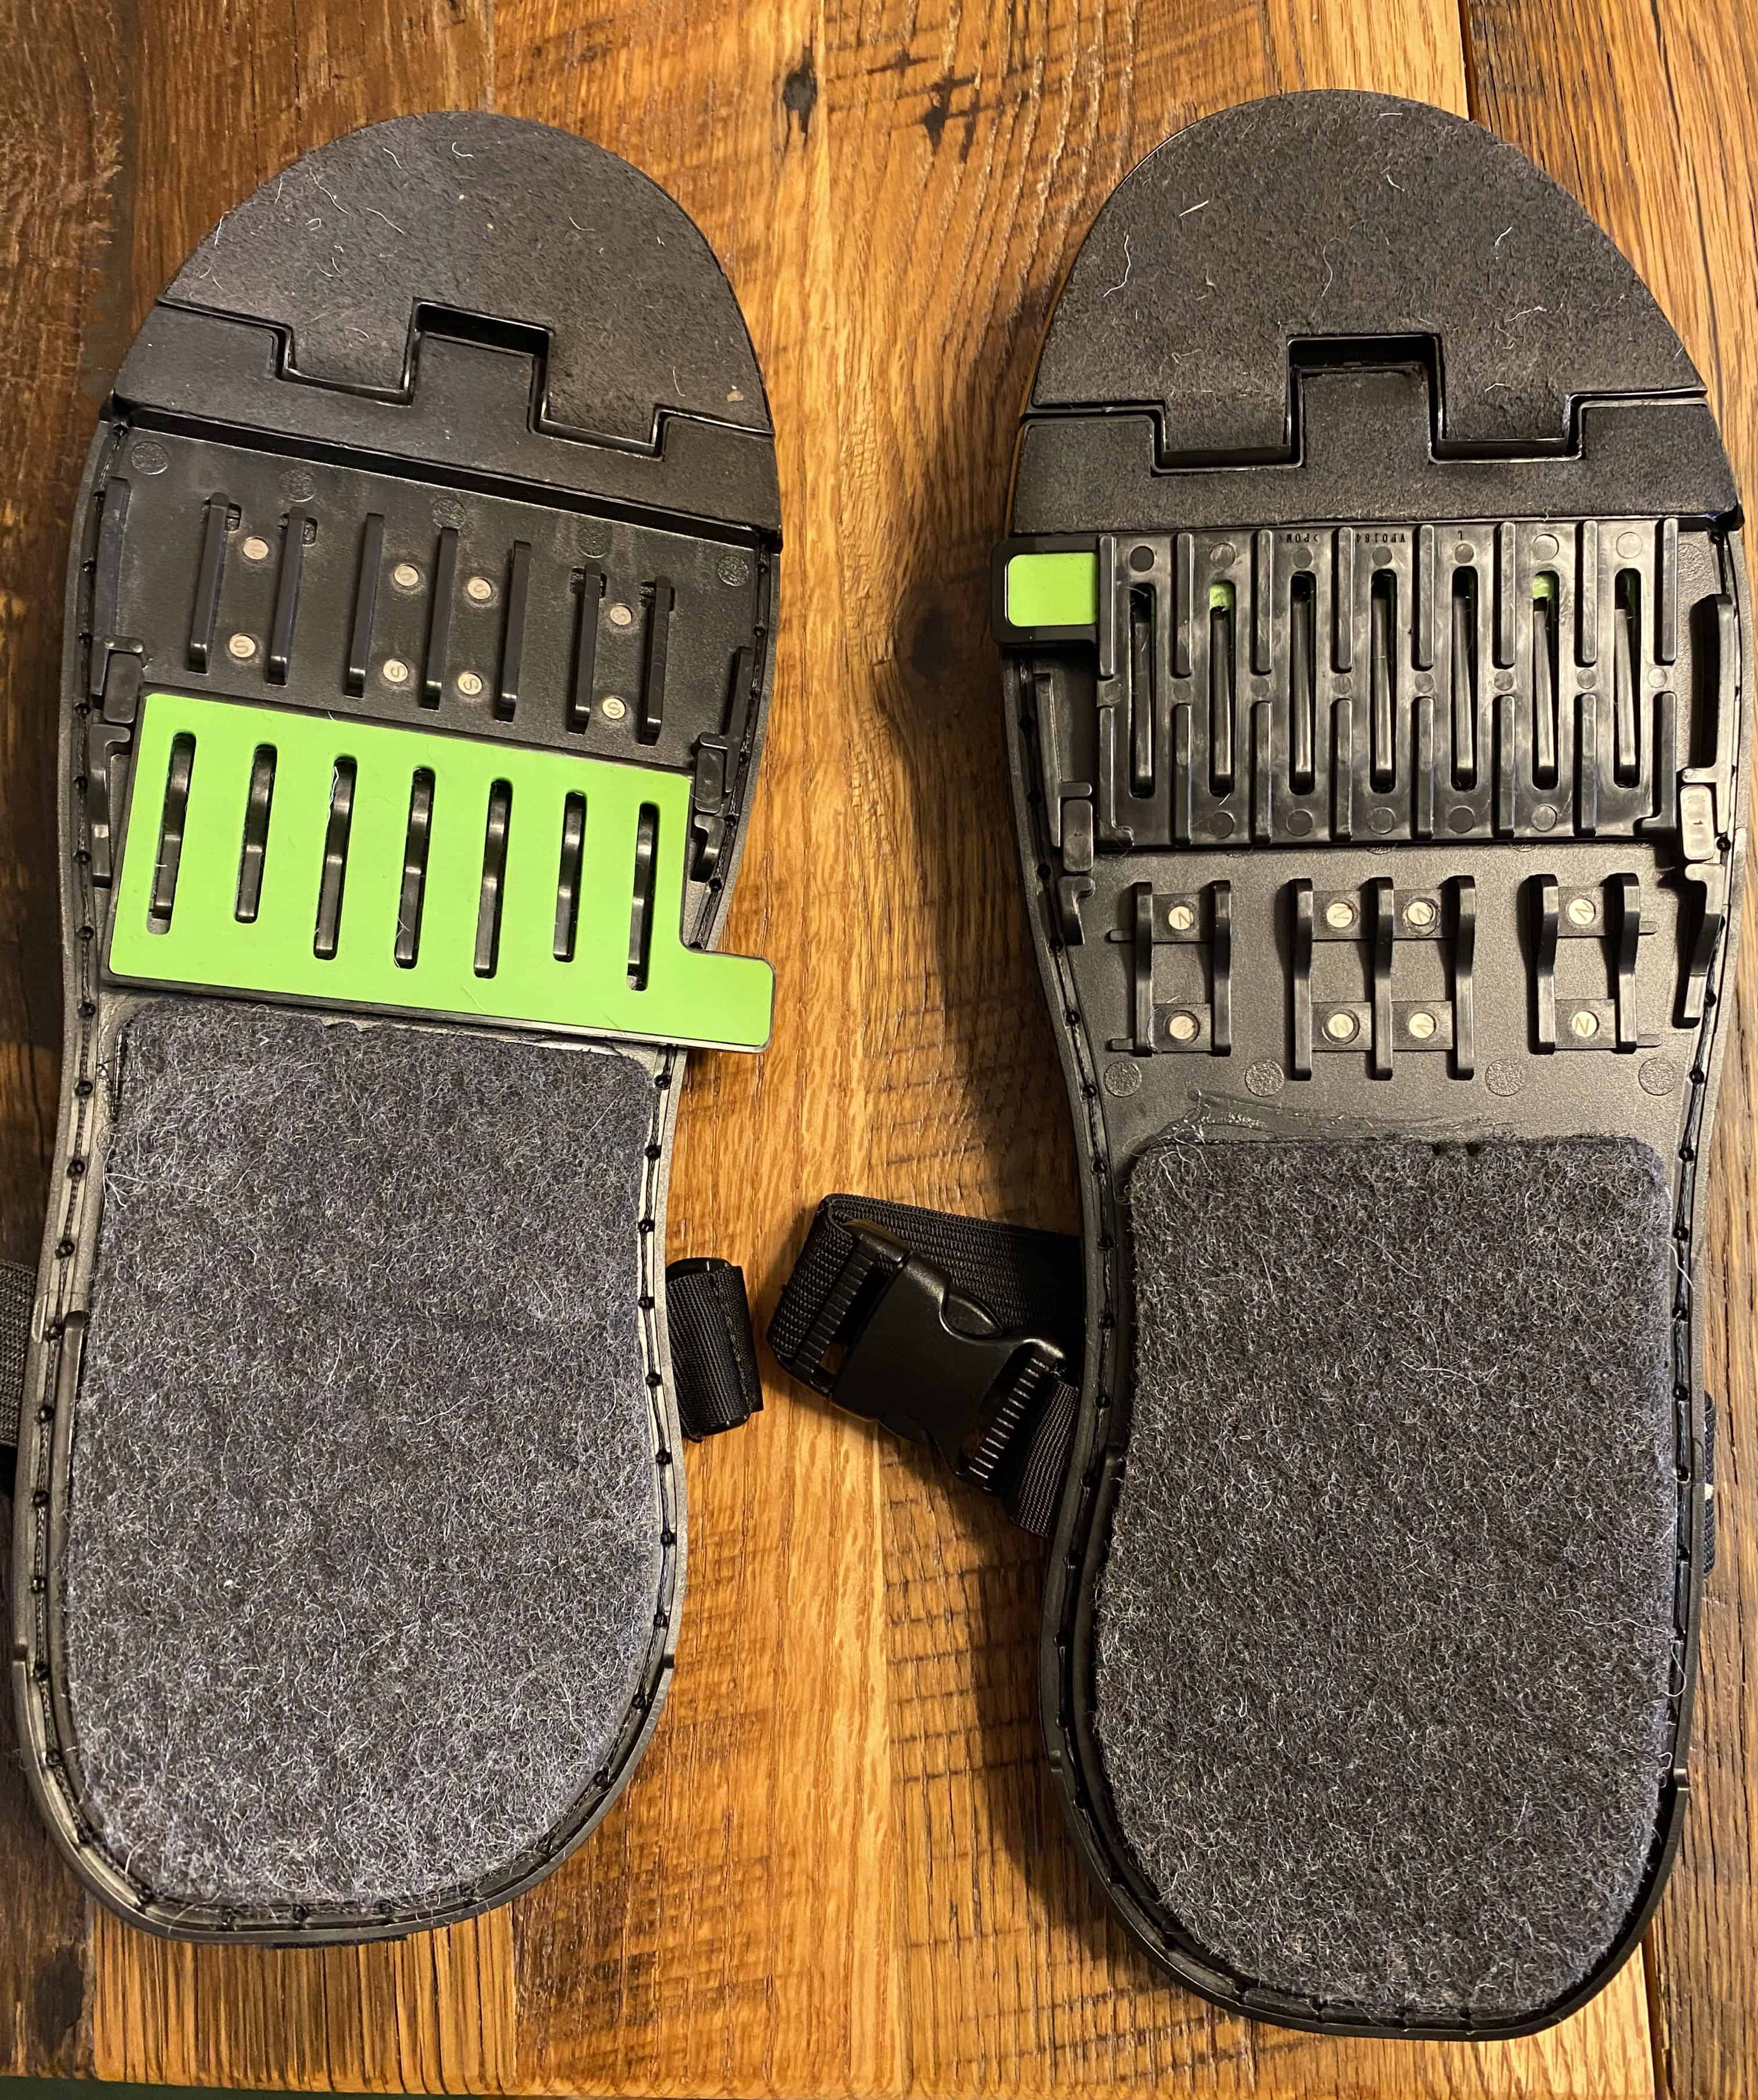
Two configurations: green for anti-slip; black (slippery) for Omni One play while secured in vest
When you enter or exit the Omni One (and aren't secured in the vest), then you need to use the green anti-slip configuration. Otherwise, you'll be dangerously ‘walking on ice’.
You'll flip to the black (slippery) configuration after you're secured in the vest.
So, here are the steps to follow to put on the Omni One overshoes:
- Make sure the foot trackers are ON and inserted in the overshoes.
- Sit close to the Omni One.
- Flip to the green anti-slip configuration.
- Insert toes first, then pull rear strap around heel.
- Stretch top strap over foot and buckle in.
Enter Omni One
- Make sure the overshoes are in the green anti-slip configuration.
- Place the headset on your head, but not yet over your eyes. This frees up both hands for entering the Omni One.
- For stability, grasp the green rubber grip on top of the Omni One vest. Then, step carefully onto the Omni base.
- Turn around, so the vest is at your back.
- Put on the vest, by placing both arms through the shoulder straps (we needed to lower ourselves slightly to do this). Adjust them comfortably on your shoulders. At this point, the Omni One arm is locked, so you can't (say) lean forward easily.
- To unlock the joints of the Omni One arm, tilt back slightly. You should hear a ‘click’.
- Pull the vest belt tightly across your waist and fasten the velcro.
- Fasten the vest upper chest strap with the buckle, and tighten.
- When you're ready to play, press the left shoulder button. This button unlocks the Omni base and enables full movement of the Omni arm.
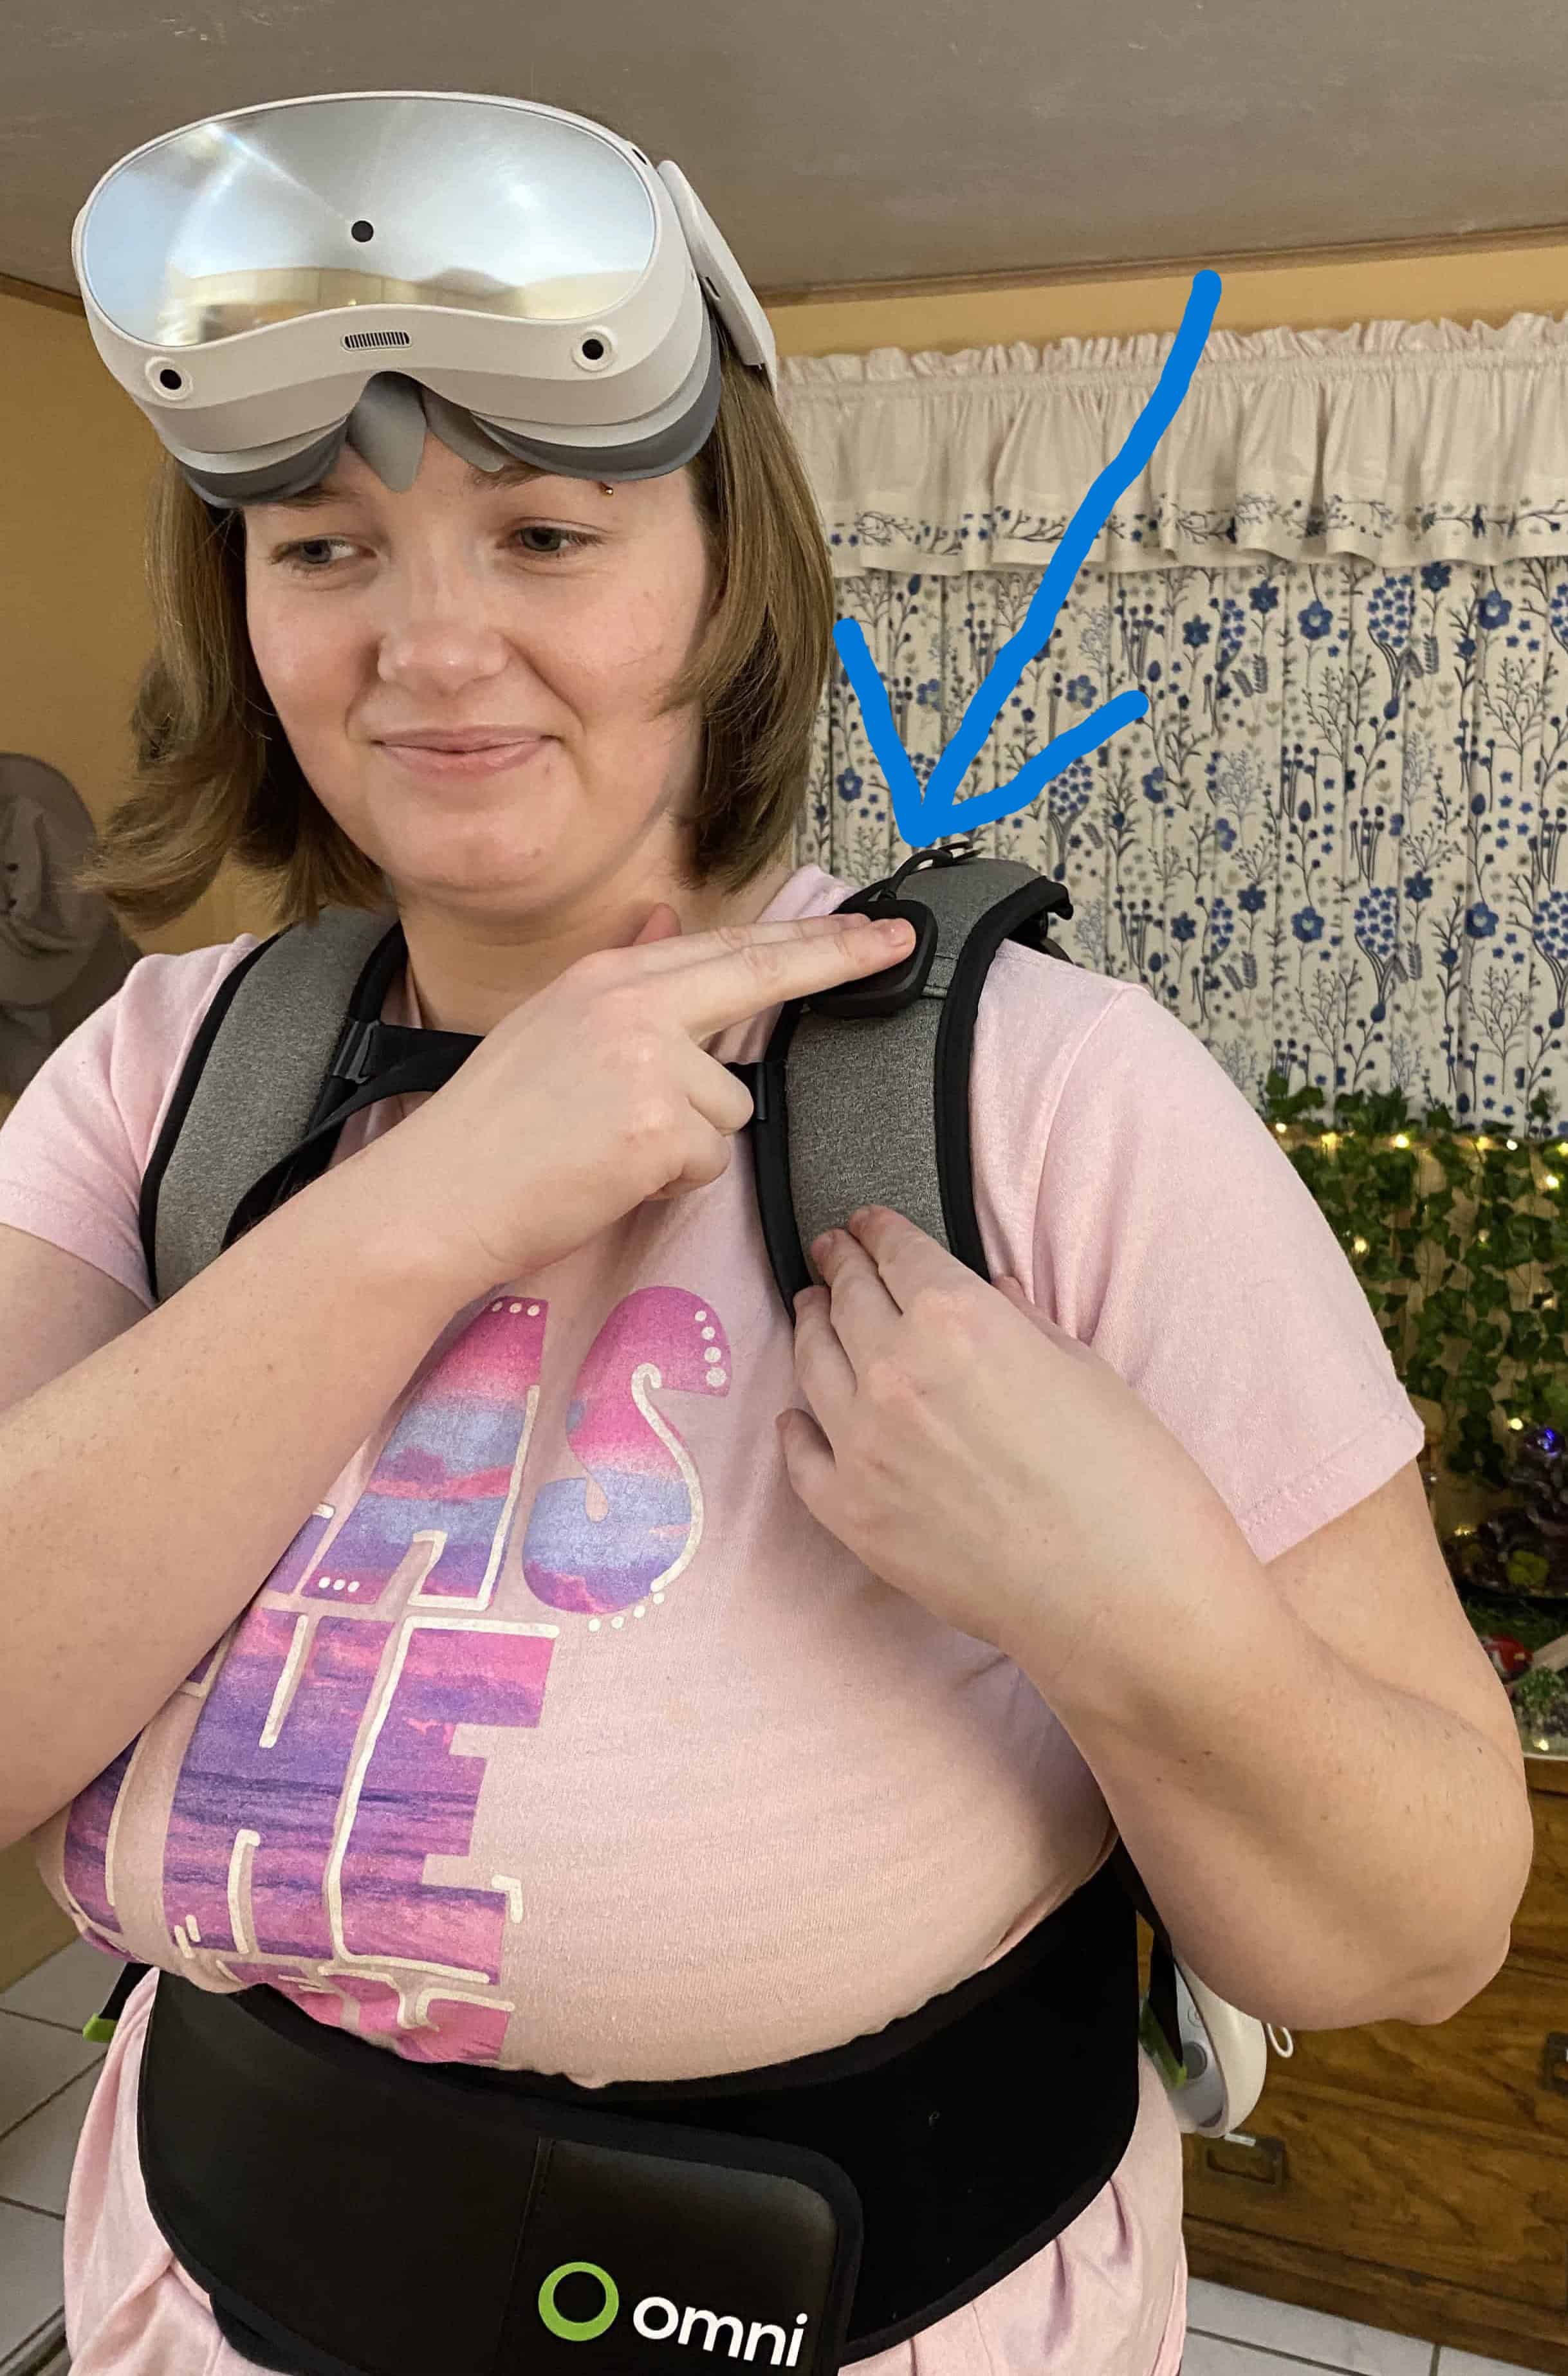
Left shoulder button
- Carefully reach down and flip both overshoes to the black (slippery) configuration.
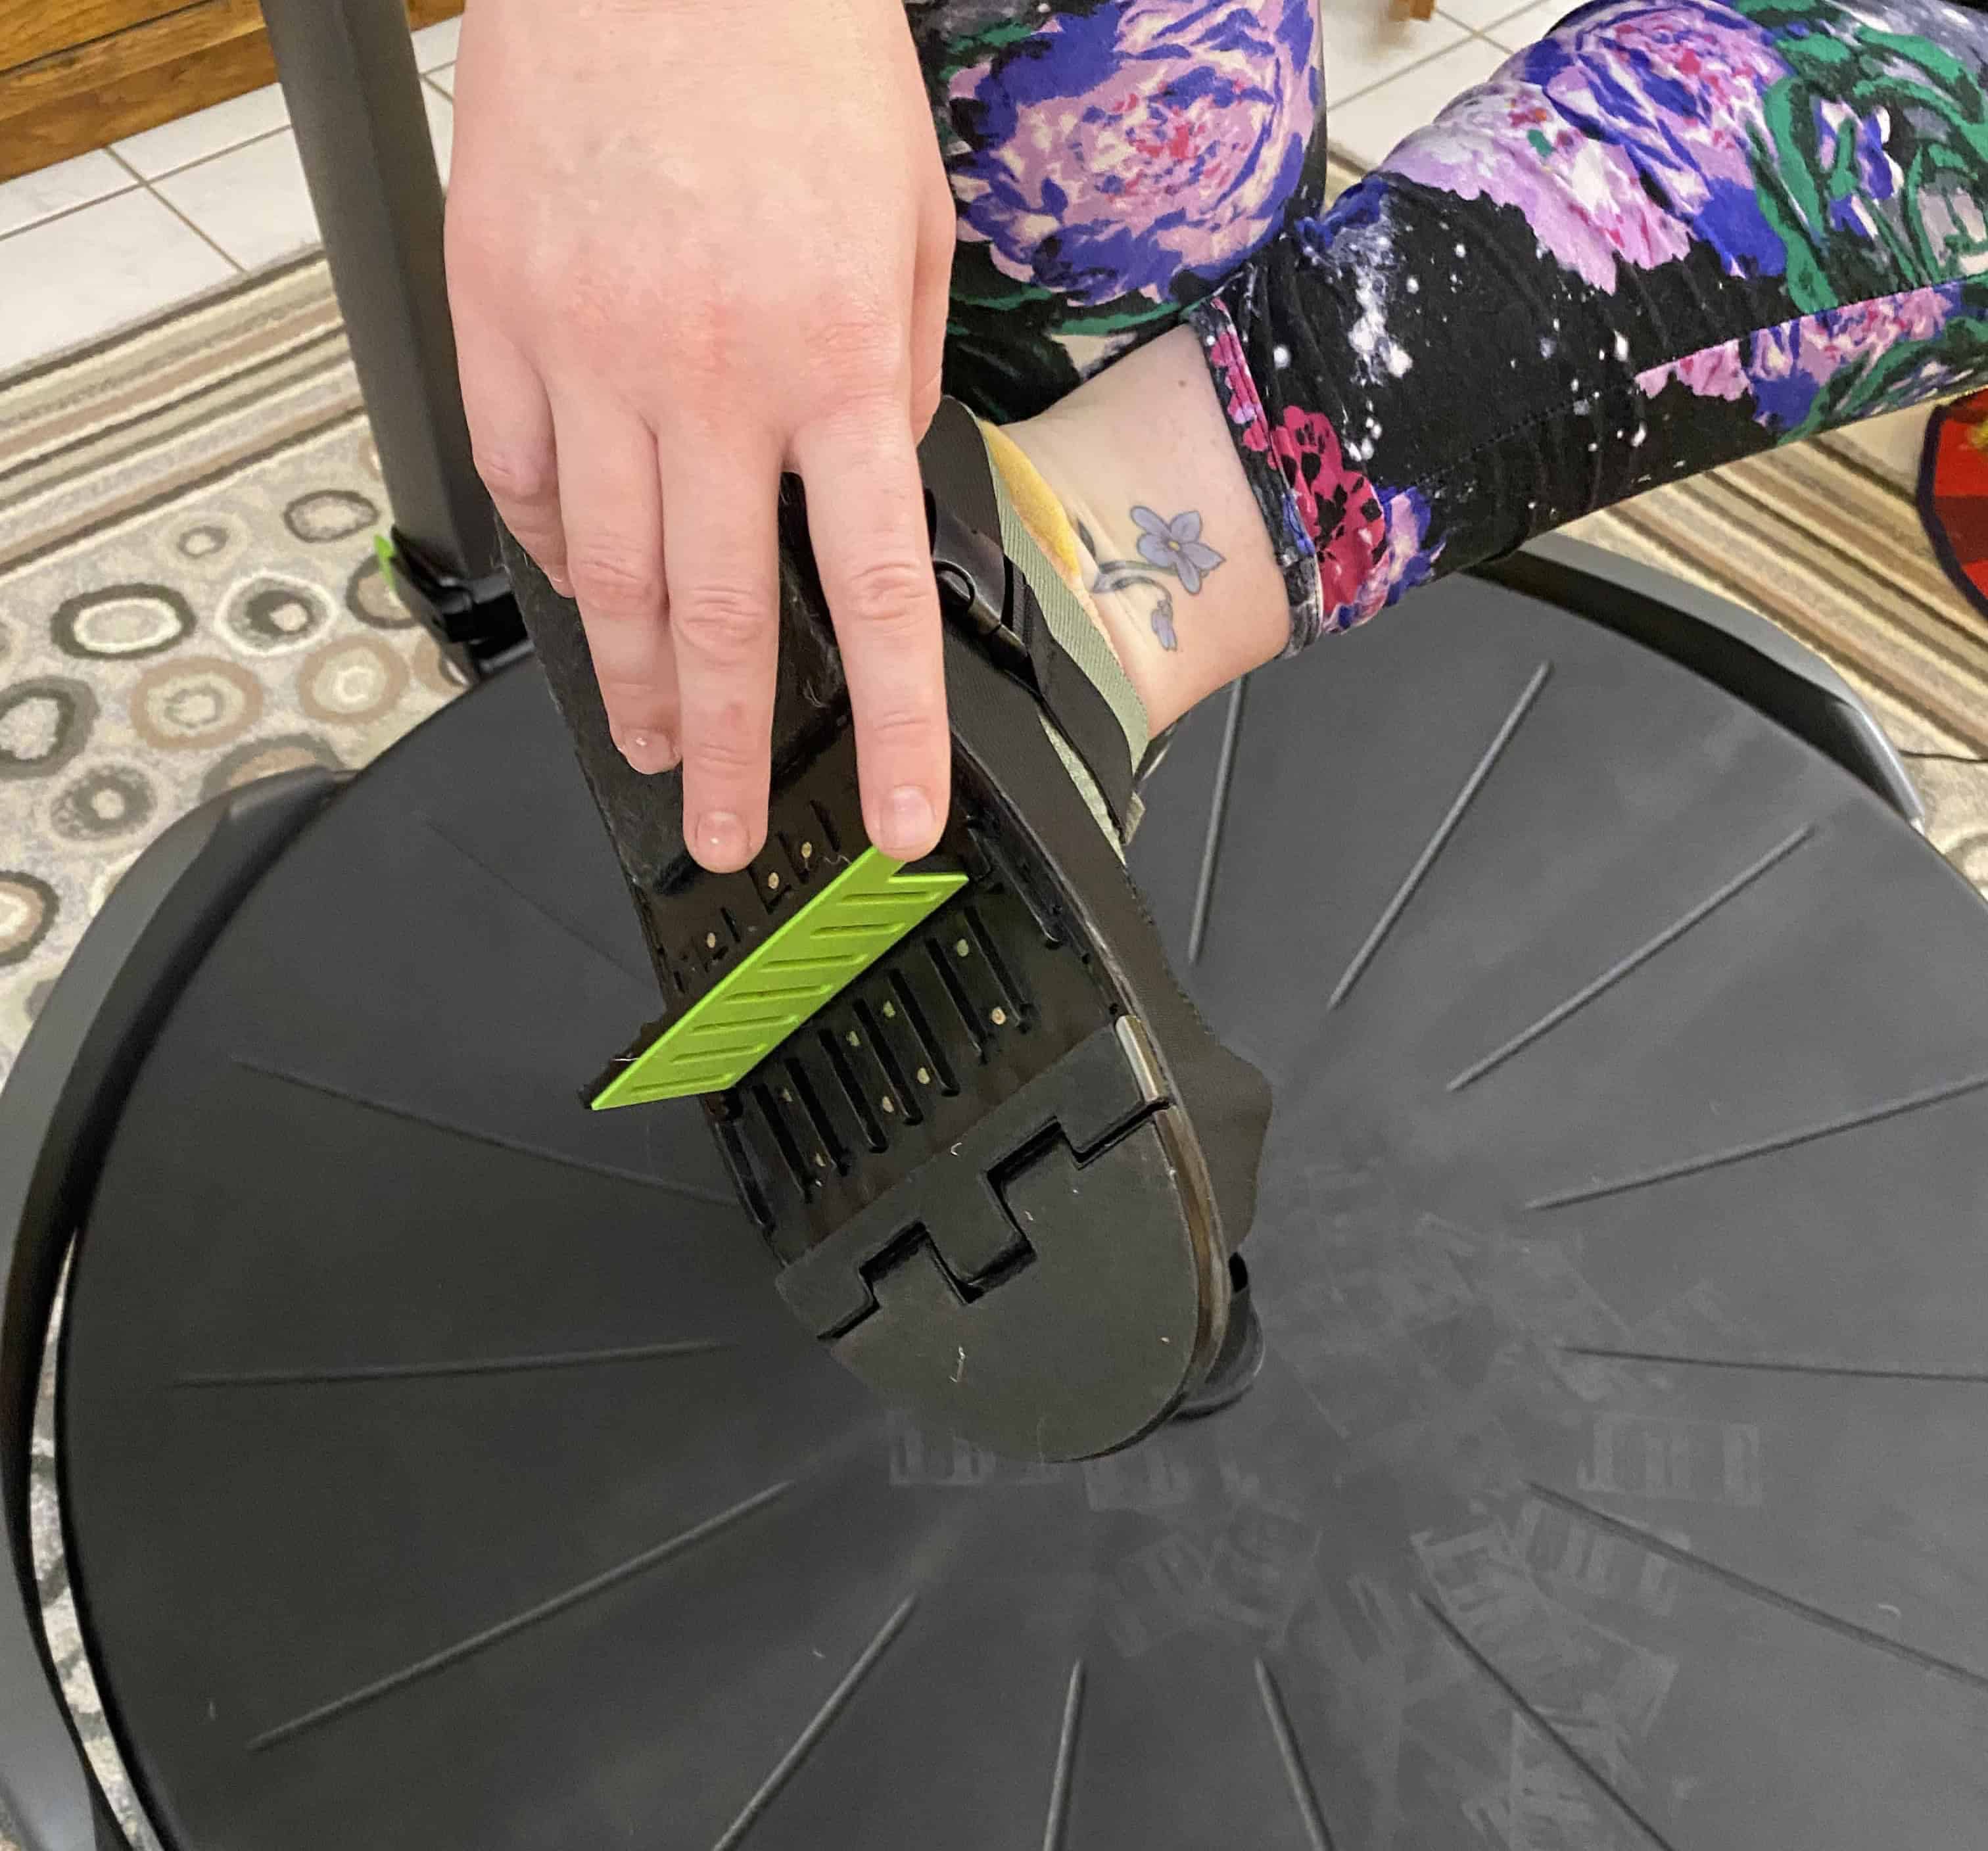
Flip overshoes to black (slippery) configuration
New Users: Practice Walking Before Putting on Headset
You might want to practice walking on the Omni One before putting on the headset. (In hindsight, I wish I had done this!)
Walking Tips
Here are some walking tips. There are more tips at this Virtuix support page.
- Make sure your overshoes are on the slippery configuration. If needed, press the shoulder button to enable full movement of the Omni arm and base.
- Look down at the base (with your head only) and start walking. Don't bend at the waist! Keep your back straight, but lean slightly forward. (Don't worry—the arm will won't let you fall!)
- Start with small steps. Gradually increase your step length, aiming to reach the edge of the base with each step.
- Count each step to establish a steady rhythm: 1, 2, 1, 2, ... Keep both feet in motion—one slides back while the other steps forward.
- When you're ready, raise your head to look straight ahead at a point level with your eyes. Continue walking without looking at your feet.
Put on the Headset
At this point, the headset is still just resting on your head, but not covering your eyes. Also, it isn't yet powered on. Time to fix this!
You can put on the headset and then power on the headset. Or, you can power on and then put on. The order really doesn't matter.
However, until the headset is powered on, you'll have absolutely no visibility. It's totally black. No view of the real world. No view of a virtual world. If this blackness is uncomfortable to you, then you might prefer the order: power on first, put on second.
Power on the Headset:
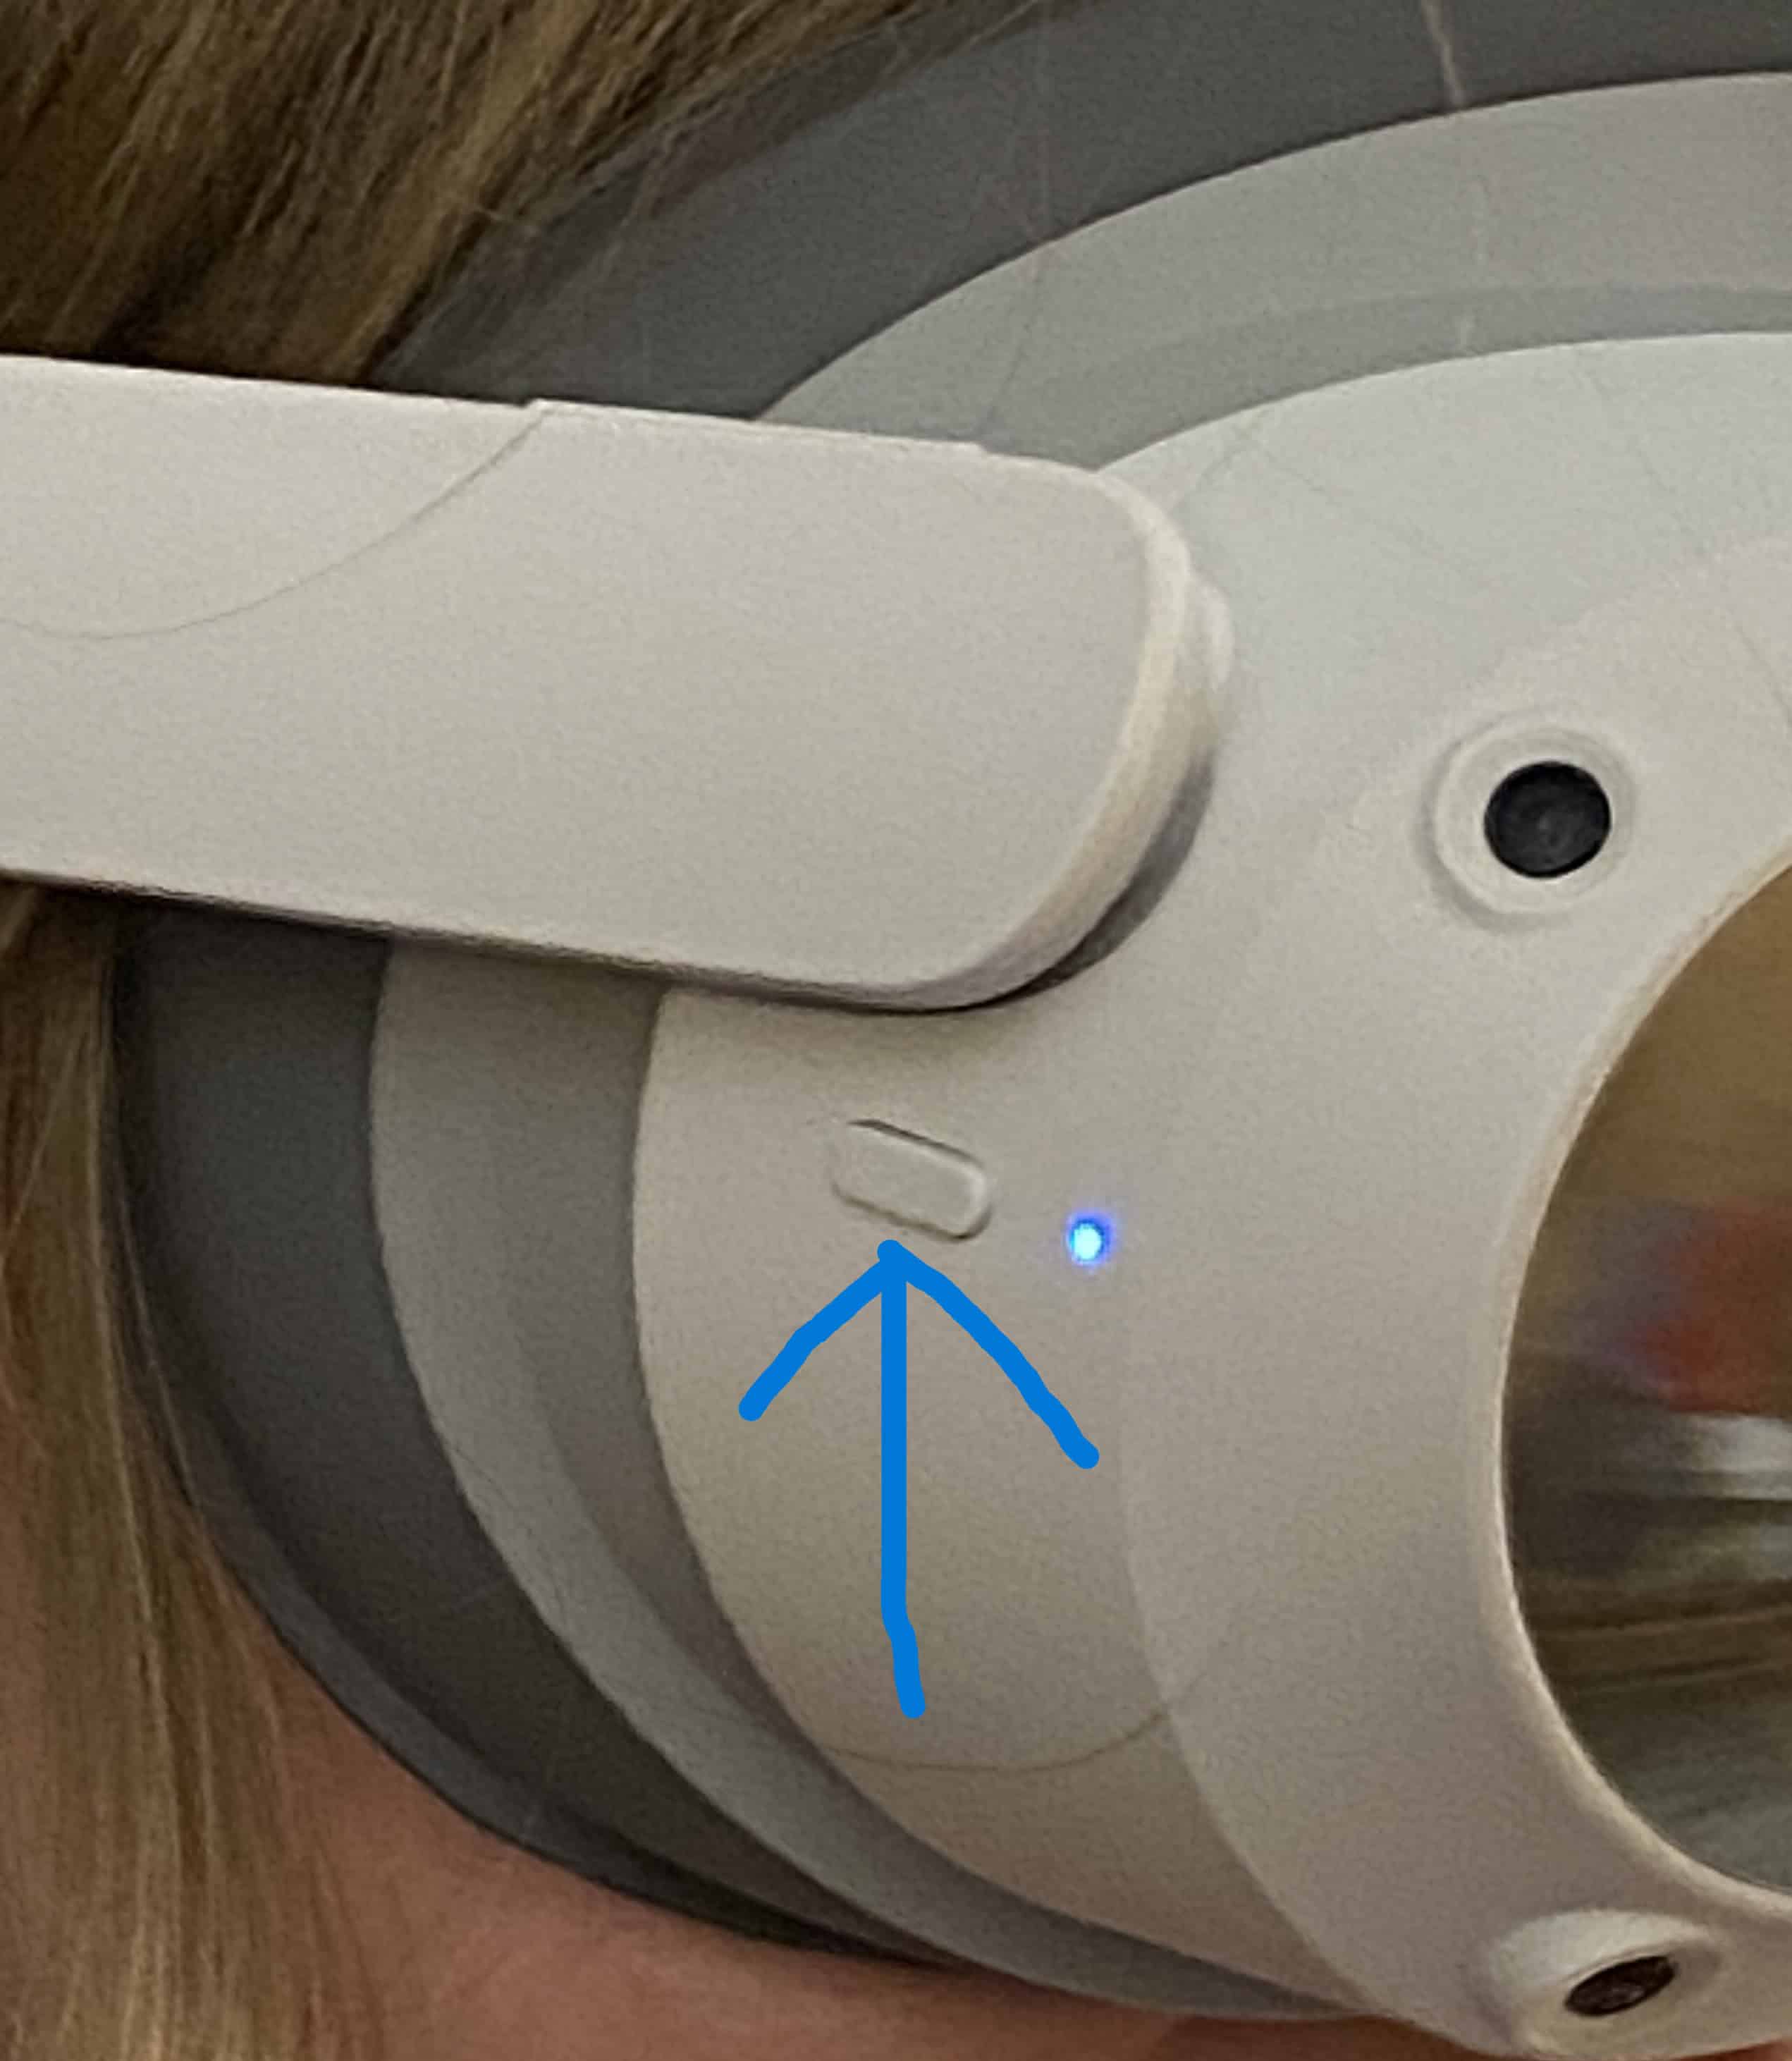
The power button is located on the right side of
the headset.
To POWER ON the headset, long-press for about two seconds.
The status indicator turns blue (outside indicator).
The word ‘Virtuix’ appears (inside indicator).
Note: To POWER OFF the headset after you're done, also long-press for about two seconds.
The status indicator turns off (outside indicator).
Everything goes black (inside indicator).
Put on the Headset:
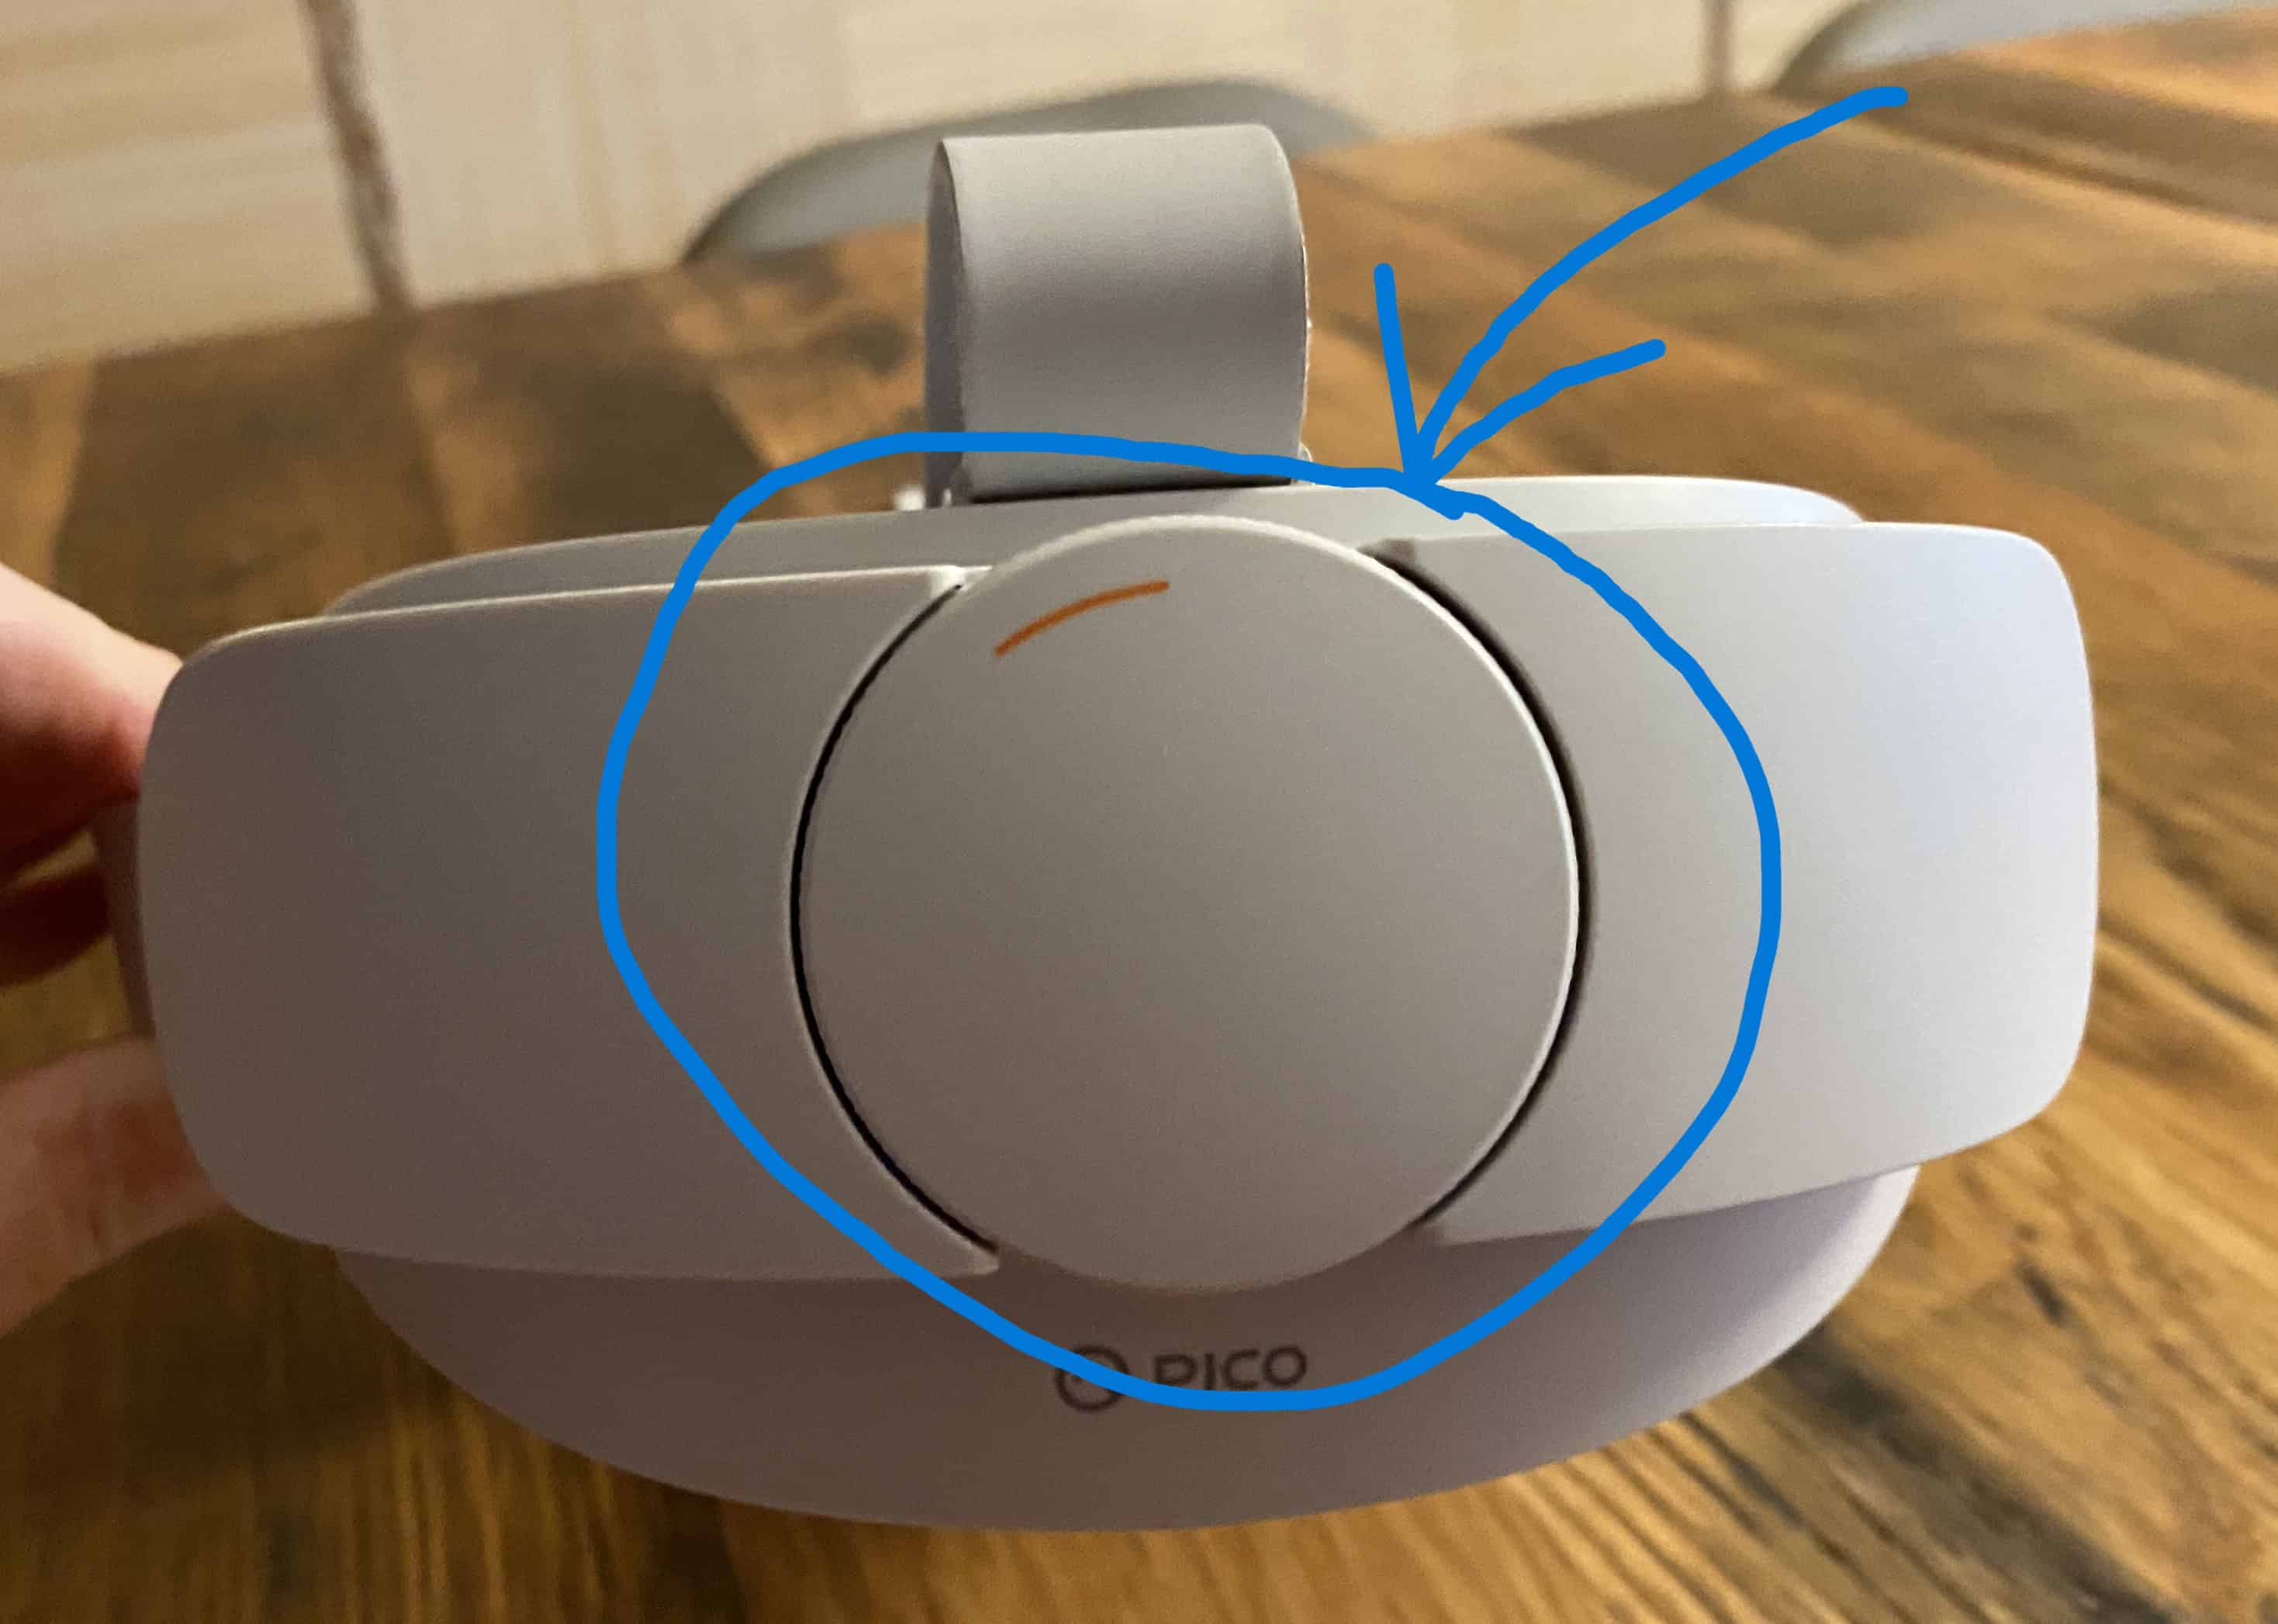
On the rear of the headset is this Strap Dial to adjust
the fit.
Depending on who last wore the headset,
you may need to make it bigger just to get it
positioned over your eyes.
Once positioned over your eyes, turn the Strap Dial to achieve a snug fit.
Pick up your Controllers
Now that you're all harnessed in and have both hands free, you need to pick up your controllers.
When you first put on your headset, you're in ‘Mixed Reality’ mode. Mixed Reality allows you to interact with both the physical and digital worlds. In particular, you can still see your hands on the controllers, which makes picking them up a bit easier.
If you use the wrist straps (which is recommended), then you have to put on the controllers one-at-a-time.
Pick up (say) the right controller, as follows. (This looks complicated, but will be easy once you've done it a couple times.)
- Reach back with your right hand and grab the right controller (not the tracking ring). Rotate it about 90 degrees out. Then, lift straight up and out of the holster.
- Use your other hand to locate the wrist strap and open it up with your fingers.
- Carefully let go of the controller (you're holding the wrist strap so it won't fall). Put your right hand through the wrist strap and snug the fit.
- Resume the correct grip on the controller.
Repeat for the other controller.
If you're not using the wrist straps, then grabbing the controllers is quicker and easier. Just reach back with both hands, grab the controllers, rotate out about 90 degrees, and lift straight up and out of the holsters.
Now, follow the instructions that you're being given in your digital world!
Adjust Headset Audio
Once you start hearing voices/sounds in VR, you may need to adjust the headset audio.
The headset audio control is on the top of the right strap. To locate it, I reach up with my right hand, run my fingers along the right strap to the front, then back up slightly until I feel the audio button.
Pressing the front of the audio button increases volume; pressing the rear of the audio button decreases volume.
YouTube Links to our First Steps
Walking on the Omni One is not easy at first. It's a totally new experience for most people. You might want to watch these hints from Virtuix:
Have fun watching our family's first (and second) steps on the Omni One! I've ordered them below: from least successful (definitely me!) to most successful (my husband Ray).
Please don't let these videos discourage you! My hope is that they'll help you to set realistic expectations for your own first steps on the Omni One.
You might be a natural (like Ray) or a total klutz (like me). No matter where you start, you'll improve with practice ☺ The ‘Second Steps’ videos already show dramatic improvement from the First Steps!
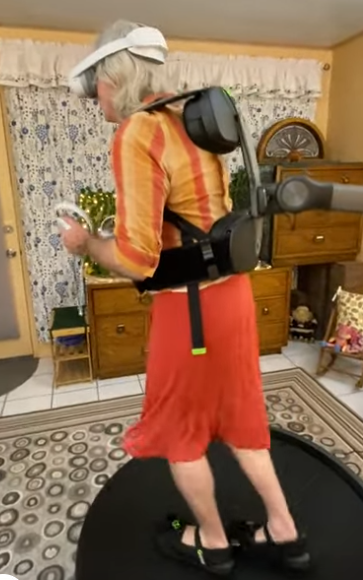
Ray's First Steps
(2:49, 11/29/2024)
(Ray is a crusader for Fashion Freedom for Men!)
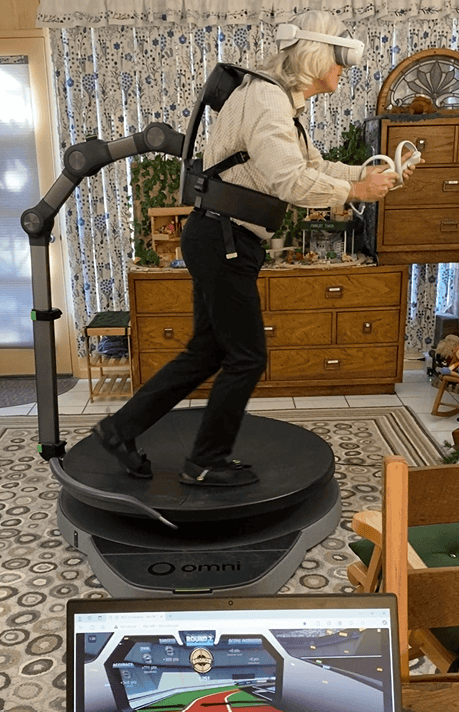
Ray's Second Steps
(0:44, 12/9/2024)
Already, the second time was a lot of fun for him!
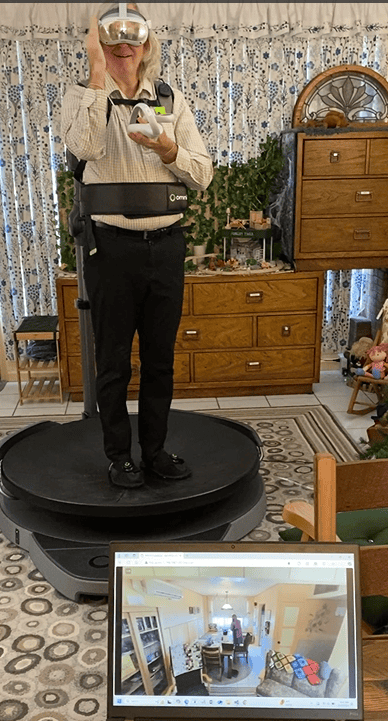
Ray's Discovery
(0:22, 12/9/2024)
Ray stumbled on this feature: a light double-tap on the side of the headset toggles you between
virtual reality and real reality! Super useful!
When You're Done Playing
Be sure to turn everything off when you're done playing:
- Headset off: long-press (about 2 seconds) on power button
- Controllers off: long-press (about 5 seconds) on HOME button
- Foot trackers off: remove from shoes and switch button so that it reveals red
The Omni One itself does not have a power button, and can be left on (plugged in).
As needed, charge both the headset and foot trackers so they have a full charge for your next game play.
