|
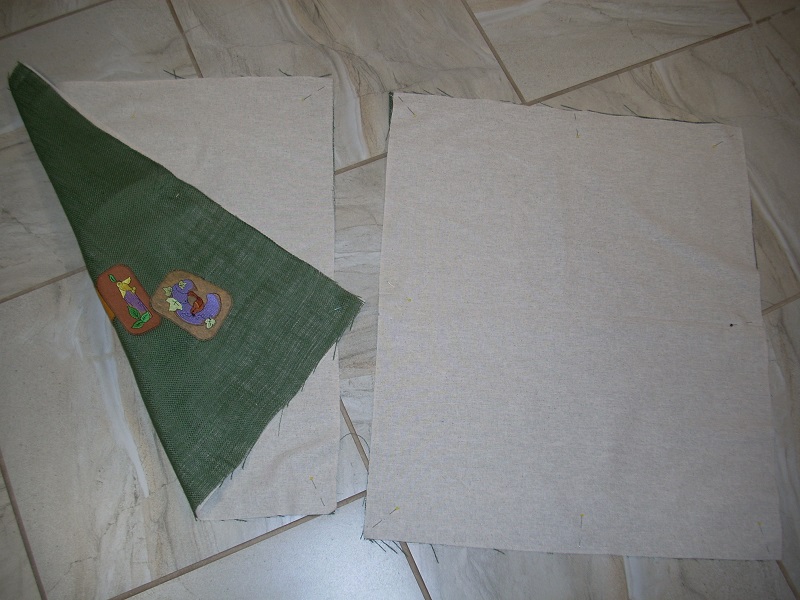
(1) Cut cover and lining fabric: I often use burlap for the outside (cover) fabric, and cotton for the lining. Cut two rectangles each from cover and lining fabric: desired size, plus 1¼" on sides and bottoms (for french seams), plus 4" on top (for the drawstring closure). Use a rotary cutter, quilting ruler, and self-healing mat. Burlap ravels like crazy, so I keep my vacuum close by! |
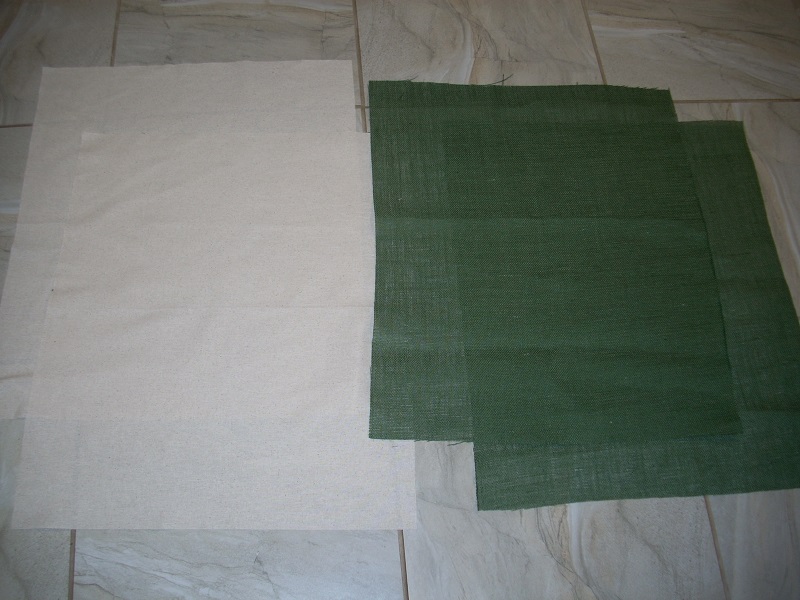 cut two rectangles each from cover fabric and lining → → → → use these tools |

|
|
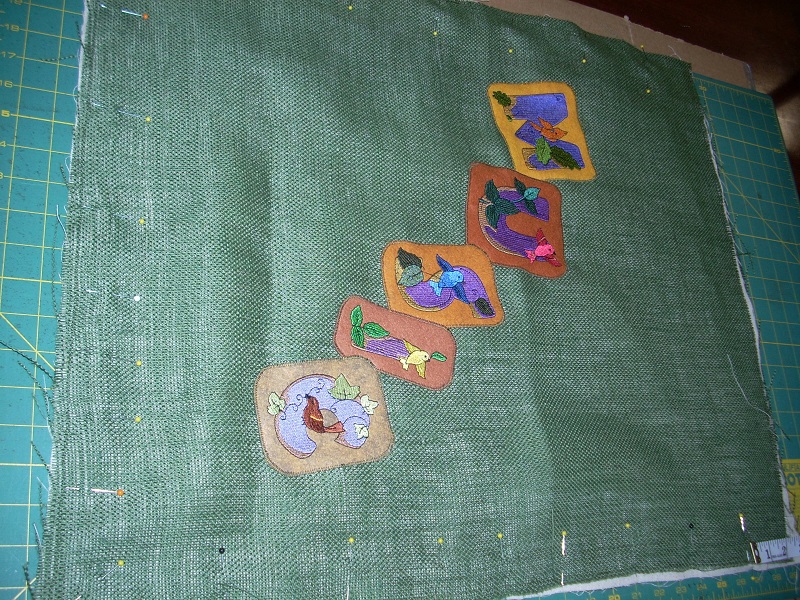
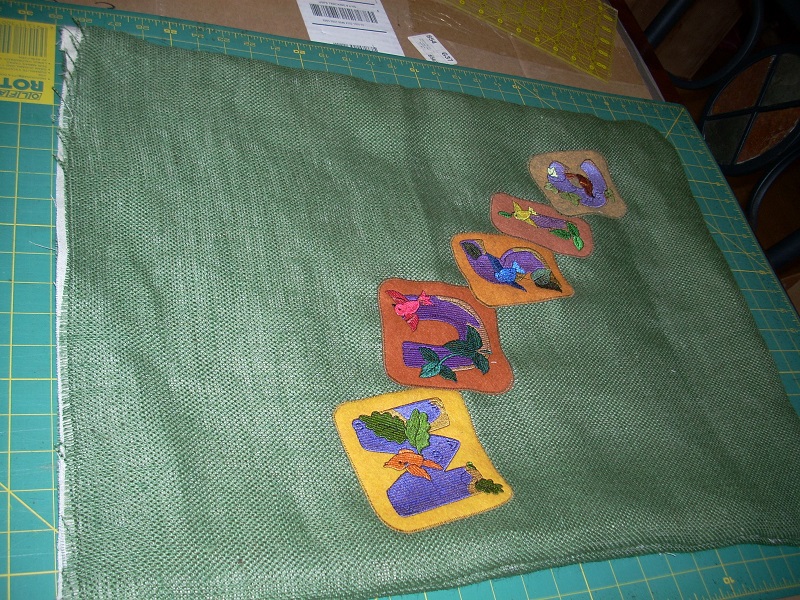
(2) Make and attach labels (as desired): You may want to make the labels a day ahead; depending on your design, they might take a long time to stitch out. I use a Janome Memory Craft 350E Embroidery Machine. I use Embrilliance software: I have AlphaTricks, Thumbnailer, Essentials, and Enthusiast. I get lots of my embroidery patterns from embroiderydesigns.com. I use Sulky invisible thread in the bobbin for multi-colored designs. I use tear-away stabilizer. For this project, I stitched the letters out on high-quality wool felt. Pin them to the cover fabric; zigzag in place. Be careful! Remember to allow for the french seams and top drawstring closure! |
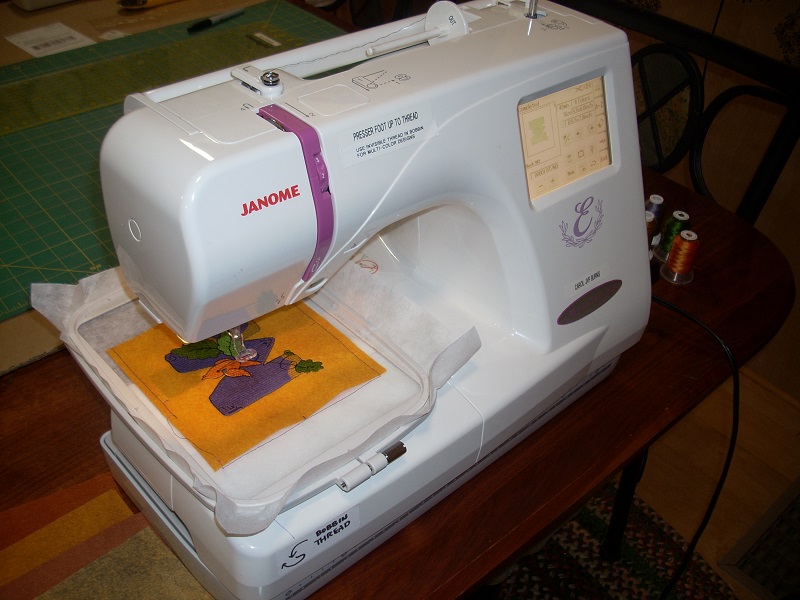 embroider labels (optional) |
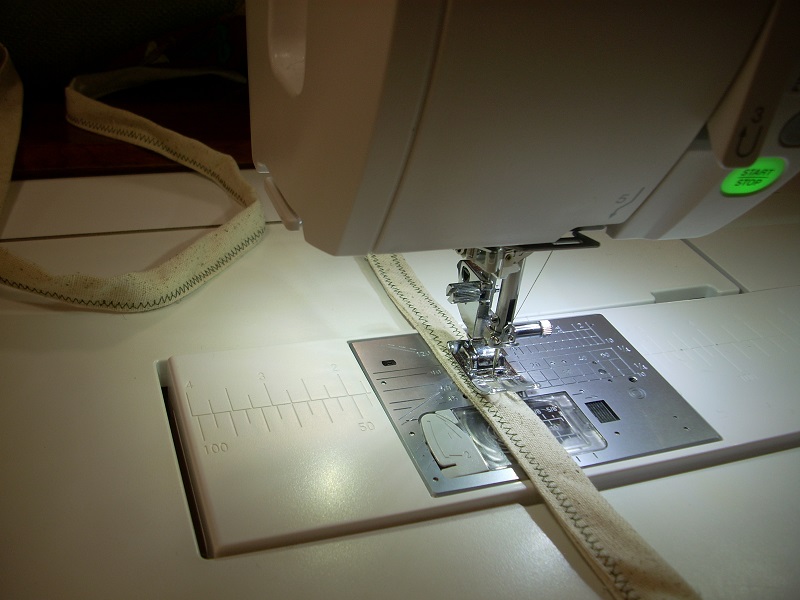
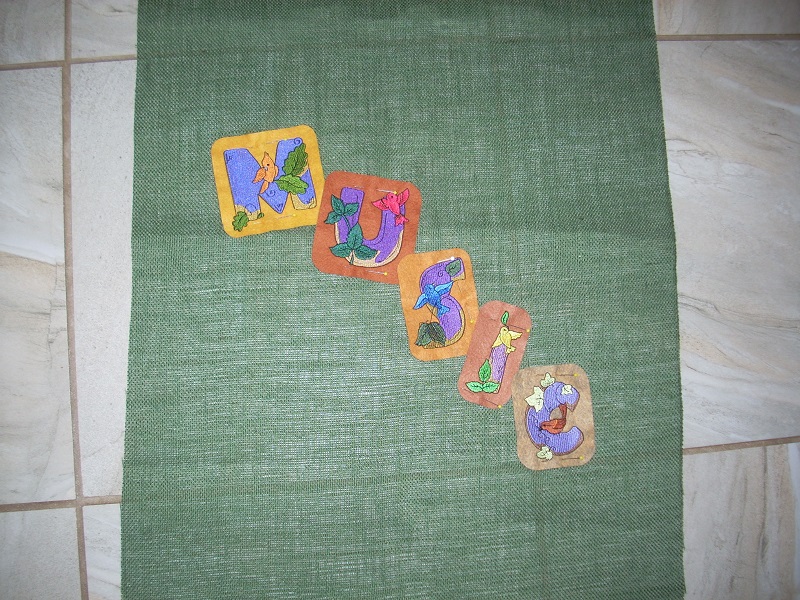 pin to cover fabric; zigzag in place |
|
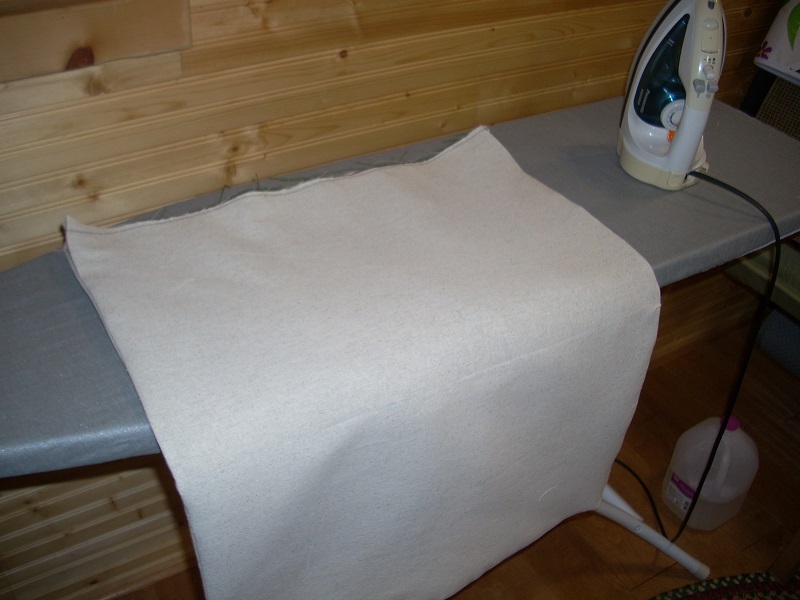
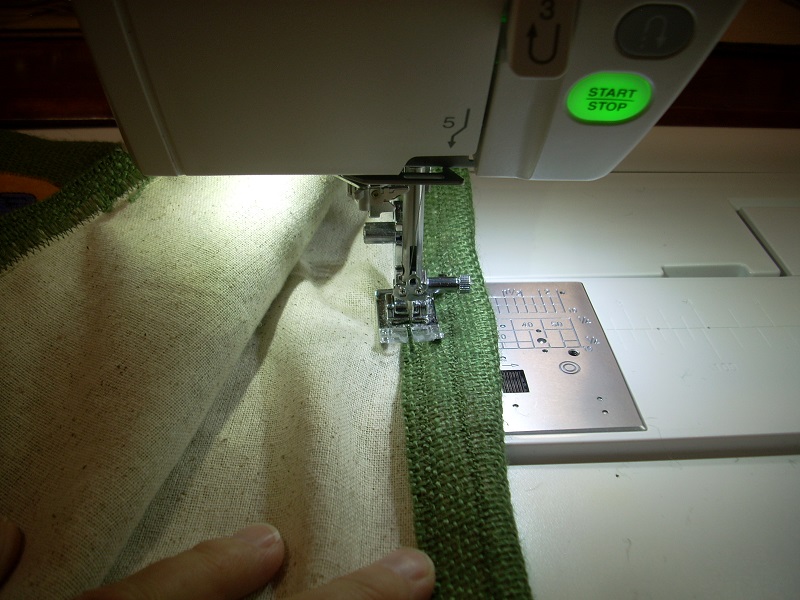
(3) Attach cover to lining: Pin cover pieces to lining pieces, WRONG sides together (right sides out). Sew around the perimeter, very close to the edge. (If you're using burlap, then use a ZIG-ZAG stitch (burlap ravels furiously). Once sewn, they act as a single piece of fabric in subsequent steps. |
 pin cover pieces to lining pieces, wrong sides together; sew/zigzag around perimeter, close to edges |
|
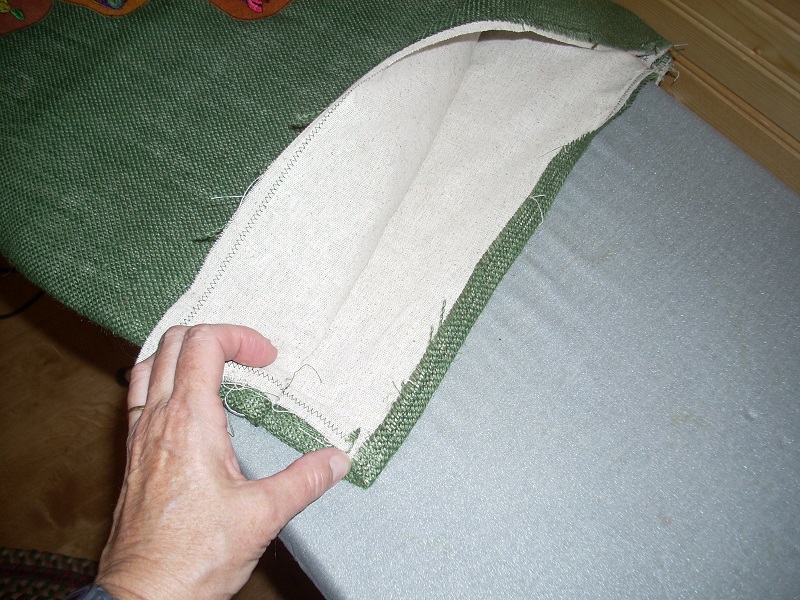
(4) French seam sides/bottom: Sew front to back with french seams along sides and bottom, as follows:
|
 wrong sides together; pin generously; starting/ending 4" from top, sew with 1/2" seam |
 turn inside-out; push out and press seams; sew again as before, but with 3/4" seam |
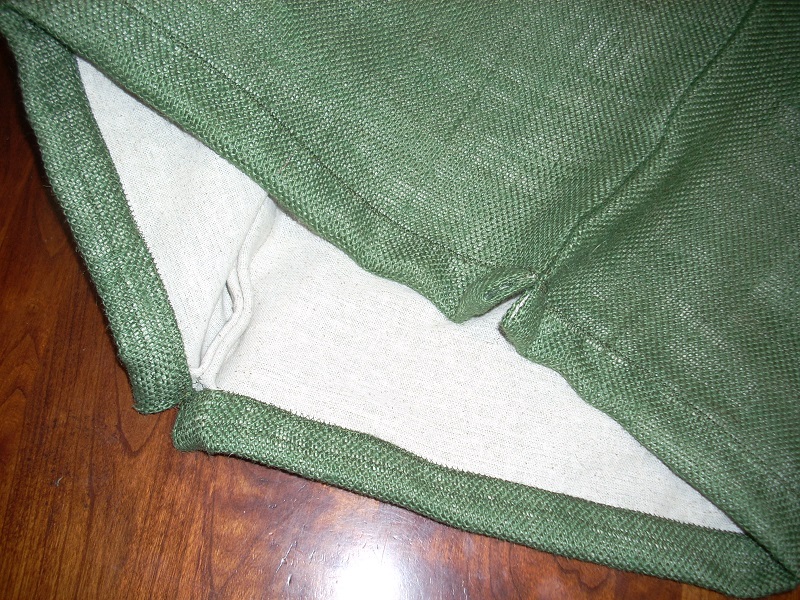
 turn right-side out; push out and press seams (also press 4" top sections) |
|
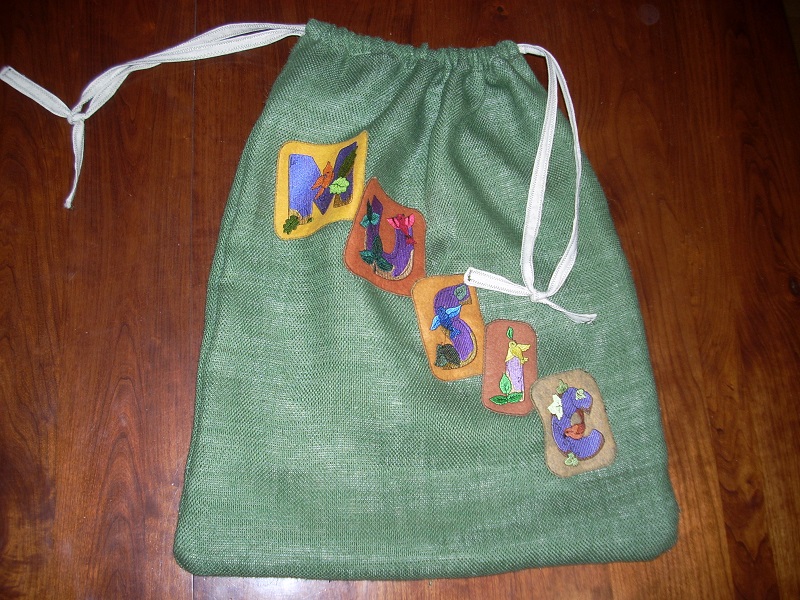
(5) Make drawstring closure: Press about 1/2" to inside on top seam. (The 4" side sections are double-folded and pressed; keep them folded as you press down the top.) Zigzag close to both top and bottom of pressed seam; also zigzag the ends. The ends are thick—be careful! Turn down the top until it meets the side seams. Zigzag the bottom, thus making a casing for the drawstring. Zigzag the bottom again, for extra strength. Do NOT zigzag the ends closed—this is where the casing gets inserted. |
 press about 1/2" to inside on top seam; zigzag all around this pressed part |
 turn down top until it meets side seams; zigzag the bottom (twice, for strength); this is the casing for the drawstring |
 the completed drawstring ‘tube’ |
|
(6) Make and insert drawstrings: I used extra lining material for the drawstrings. (Any strong, non-stretchy material should work fine.) Cut two strips, each 2" wide; the length should be twice the (current) top width, plus at least 6". Piecing is fine! Iron about 1/4" on each long edge of strips. Then, fold in half and iron again. Zigzag all around the strips. Fold in the ends to hide the raw edges. Insert the drawstrings as shown here (starting at 6:05). Done! |
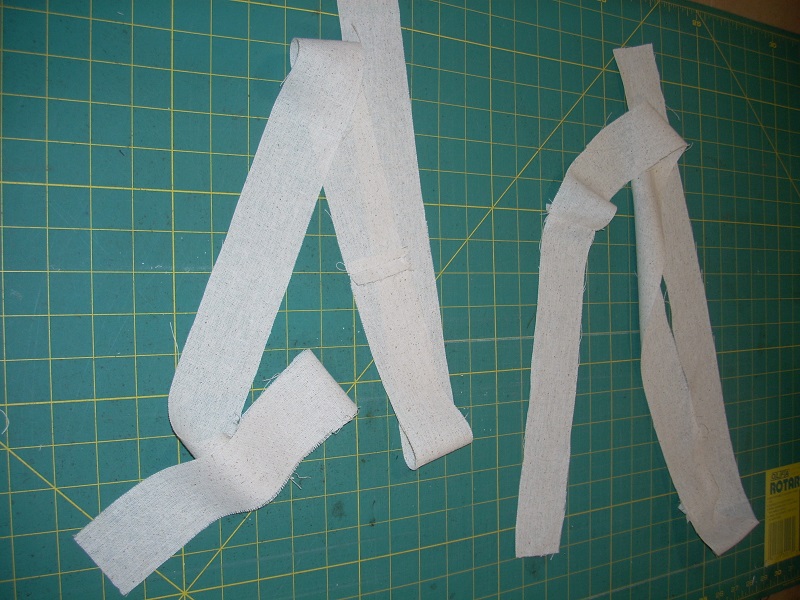 cut 2" wide strips for drawstring; piecing is fine |
 press under 1/4" on each long edge; then, fold in half and press again |
 zigzag all around strips; fold in ends to hide raw edges |