Monthly Craft:
May 2025
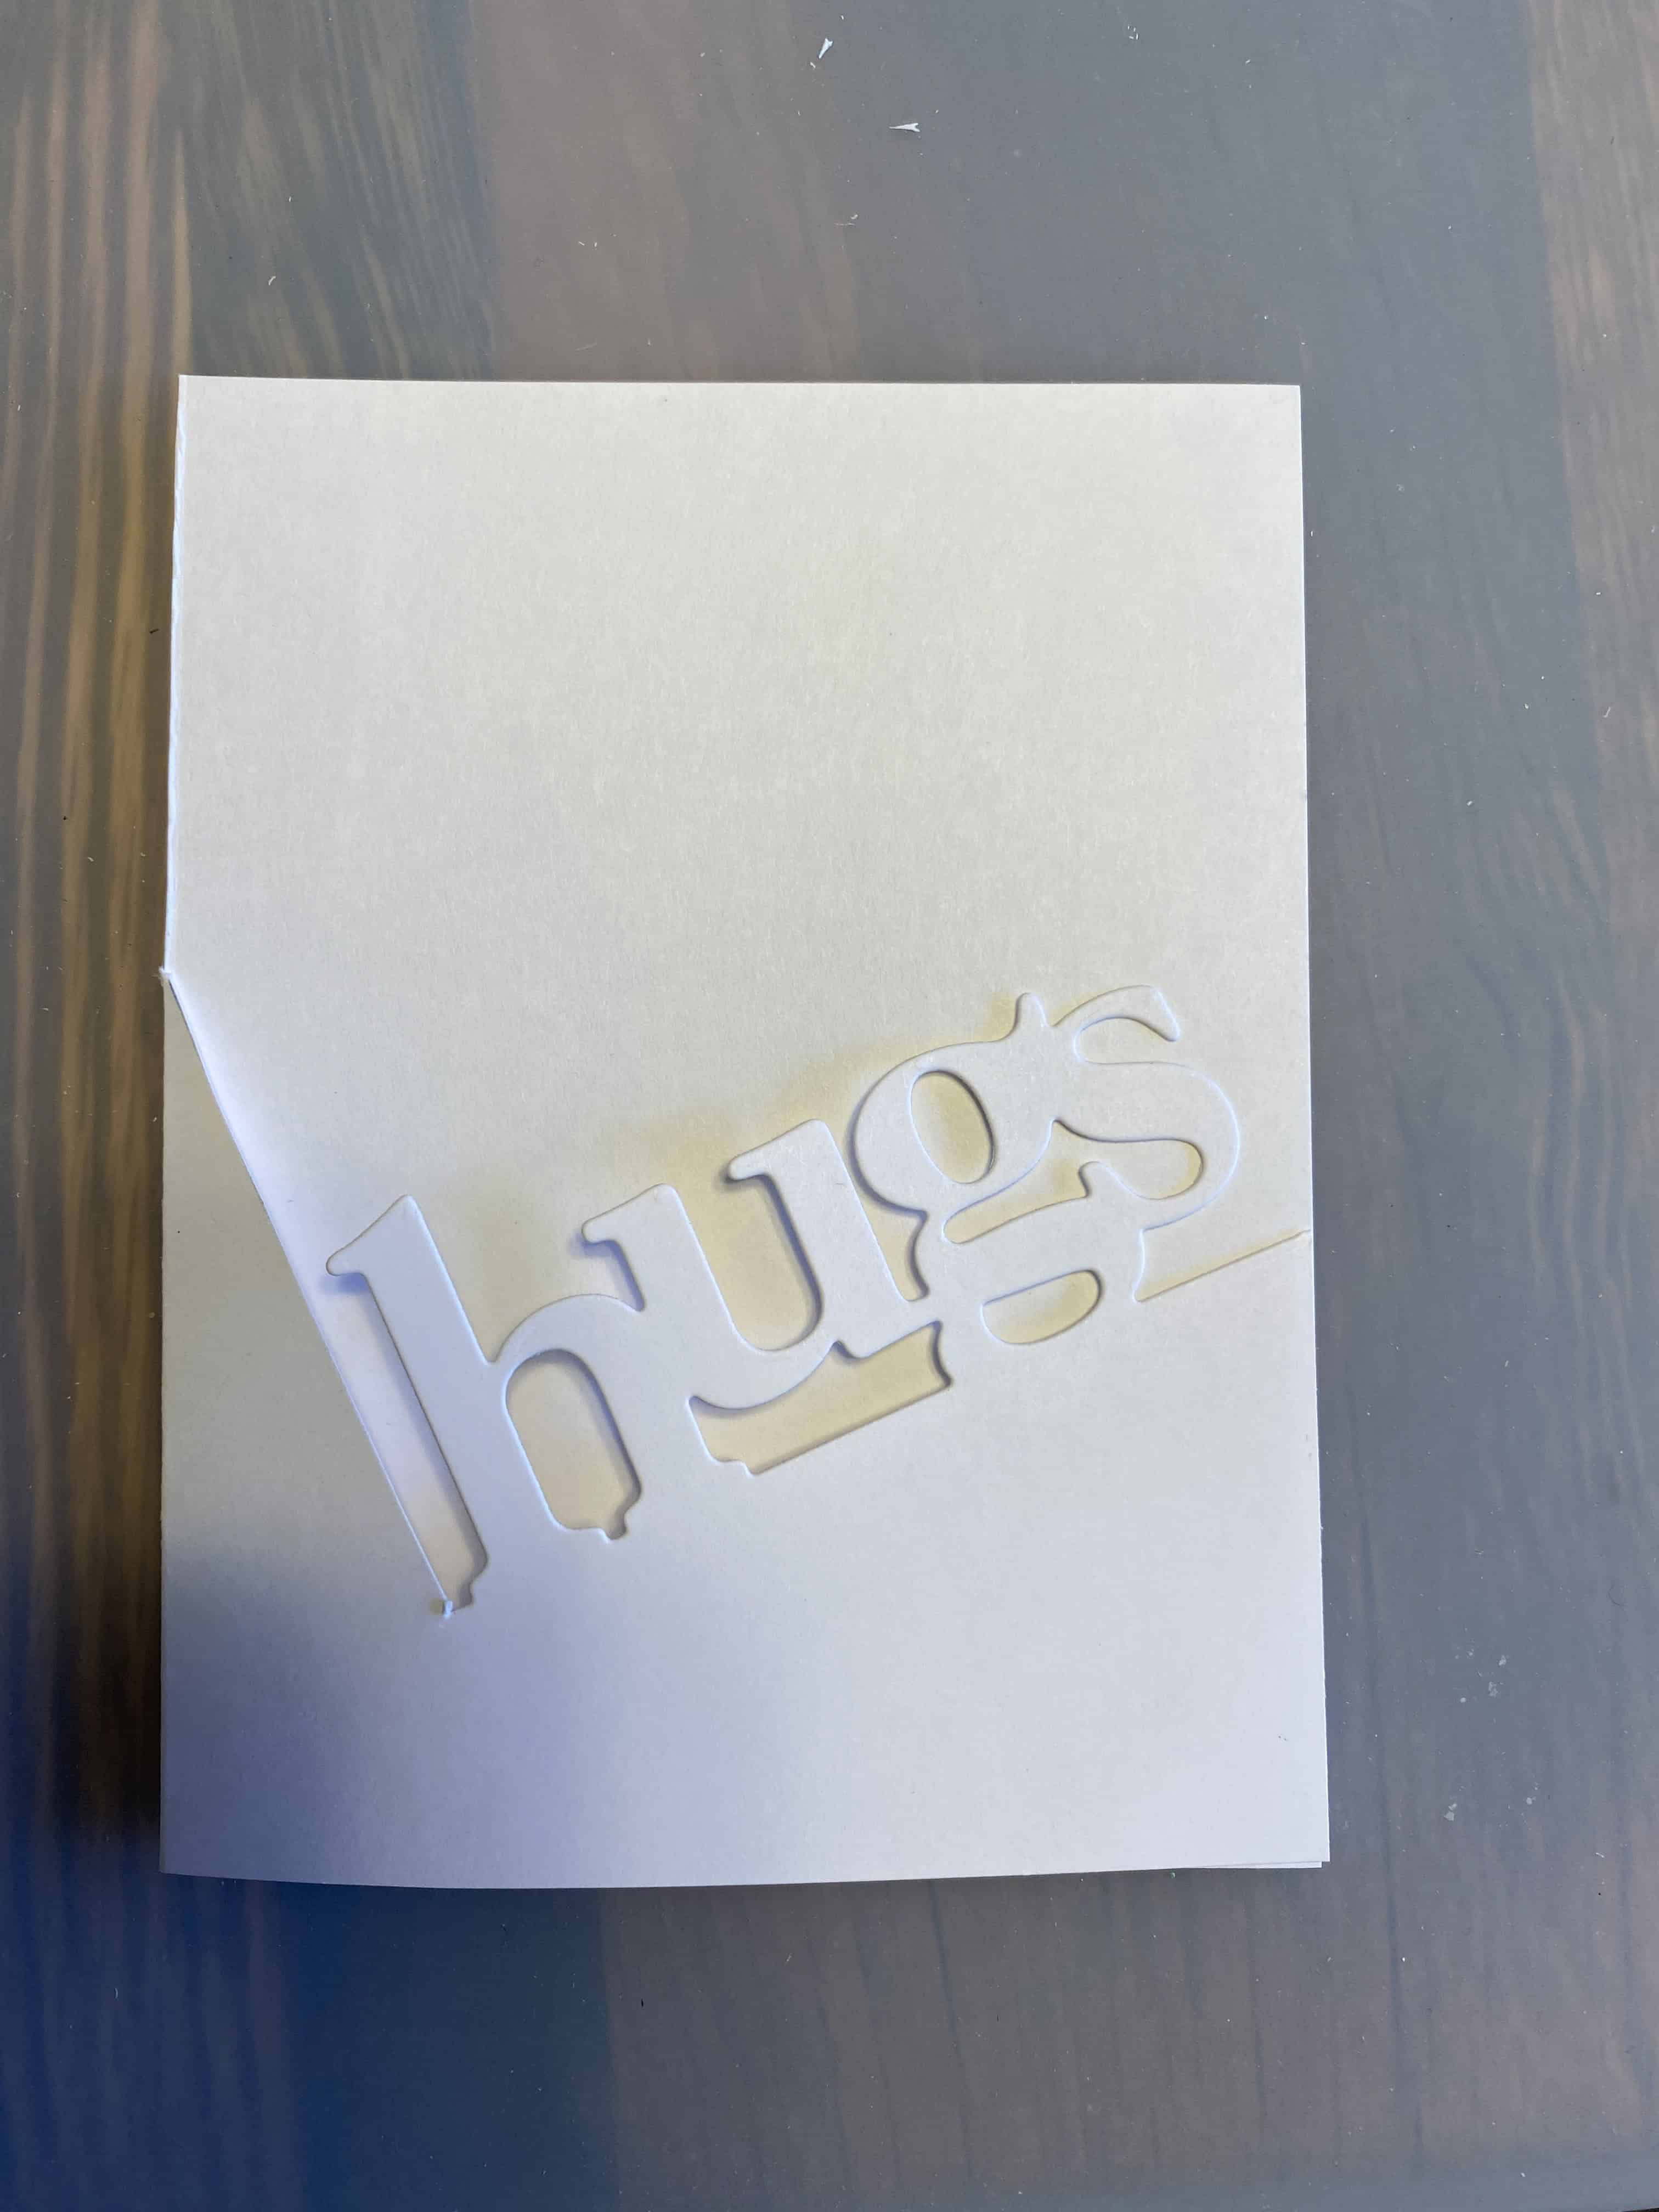
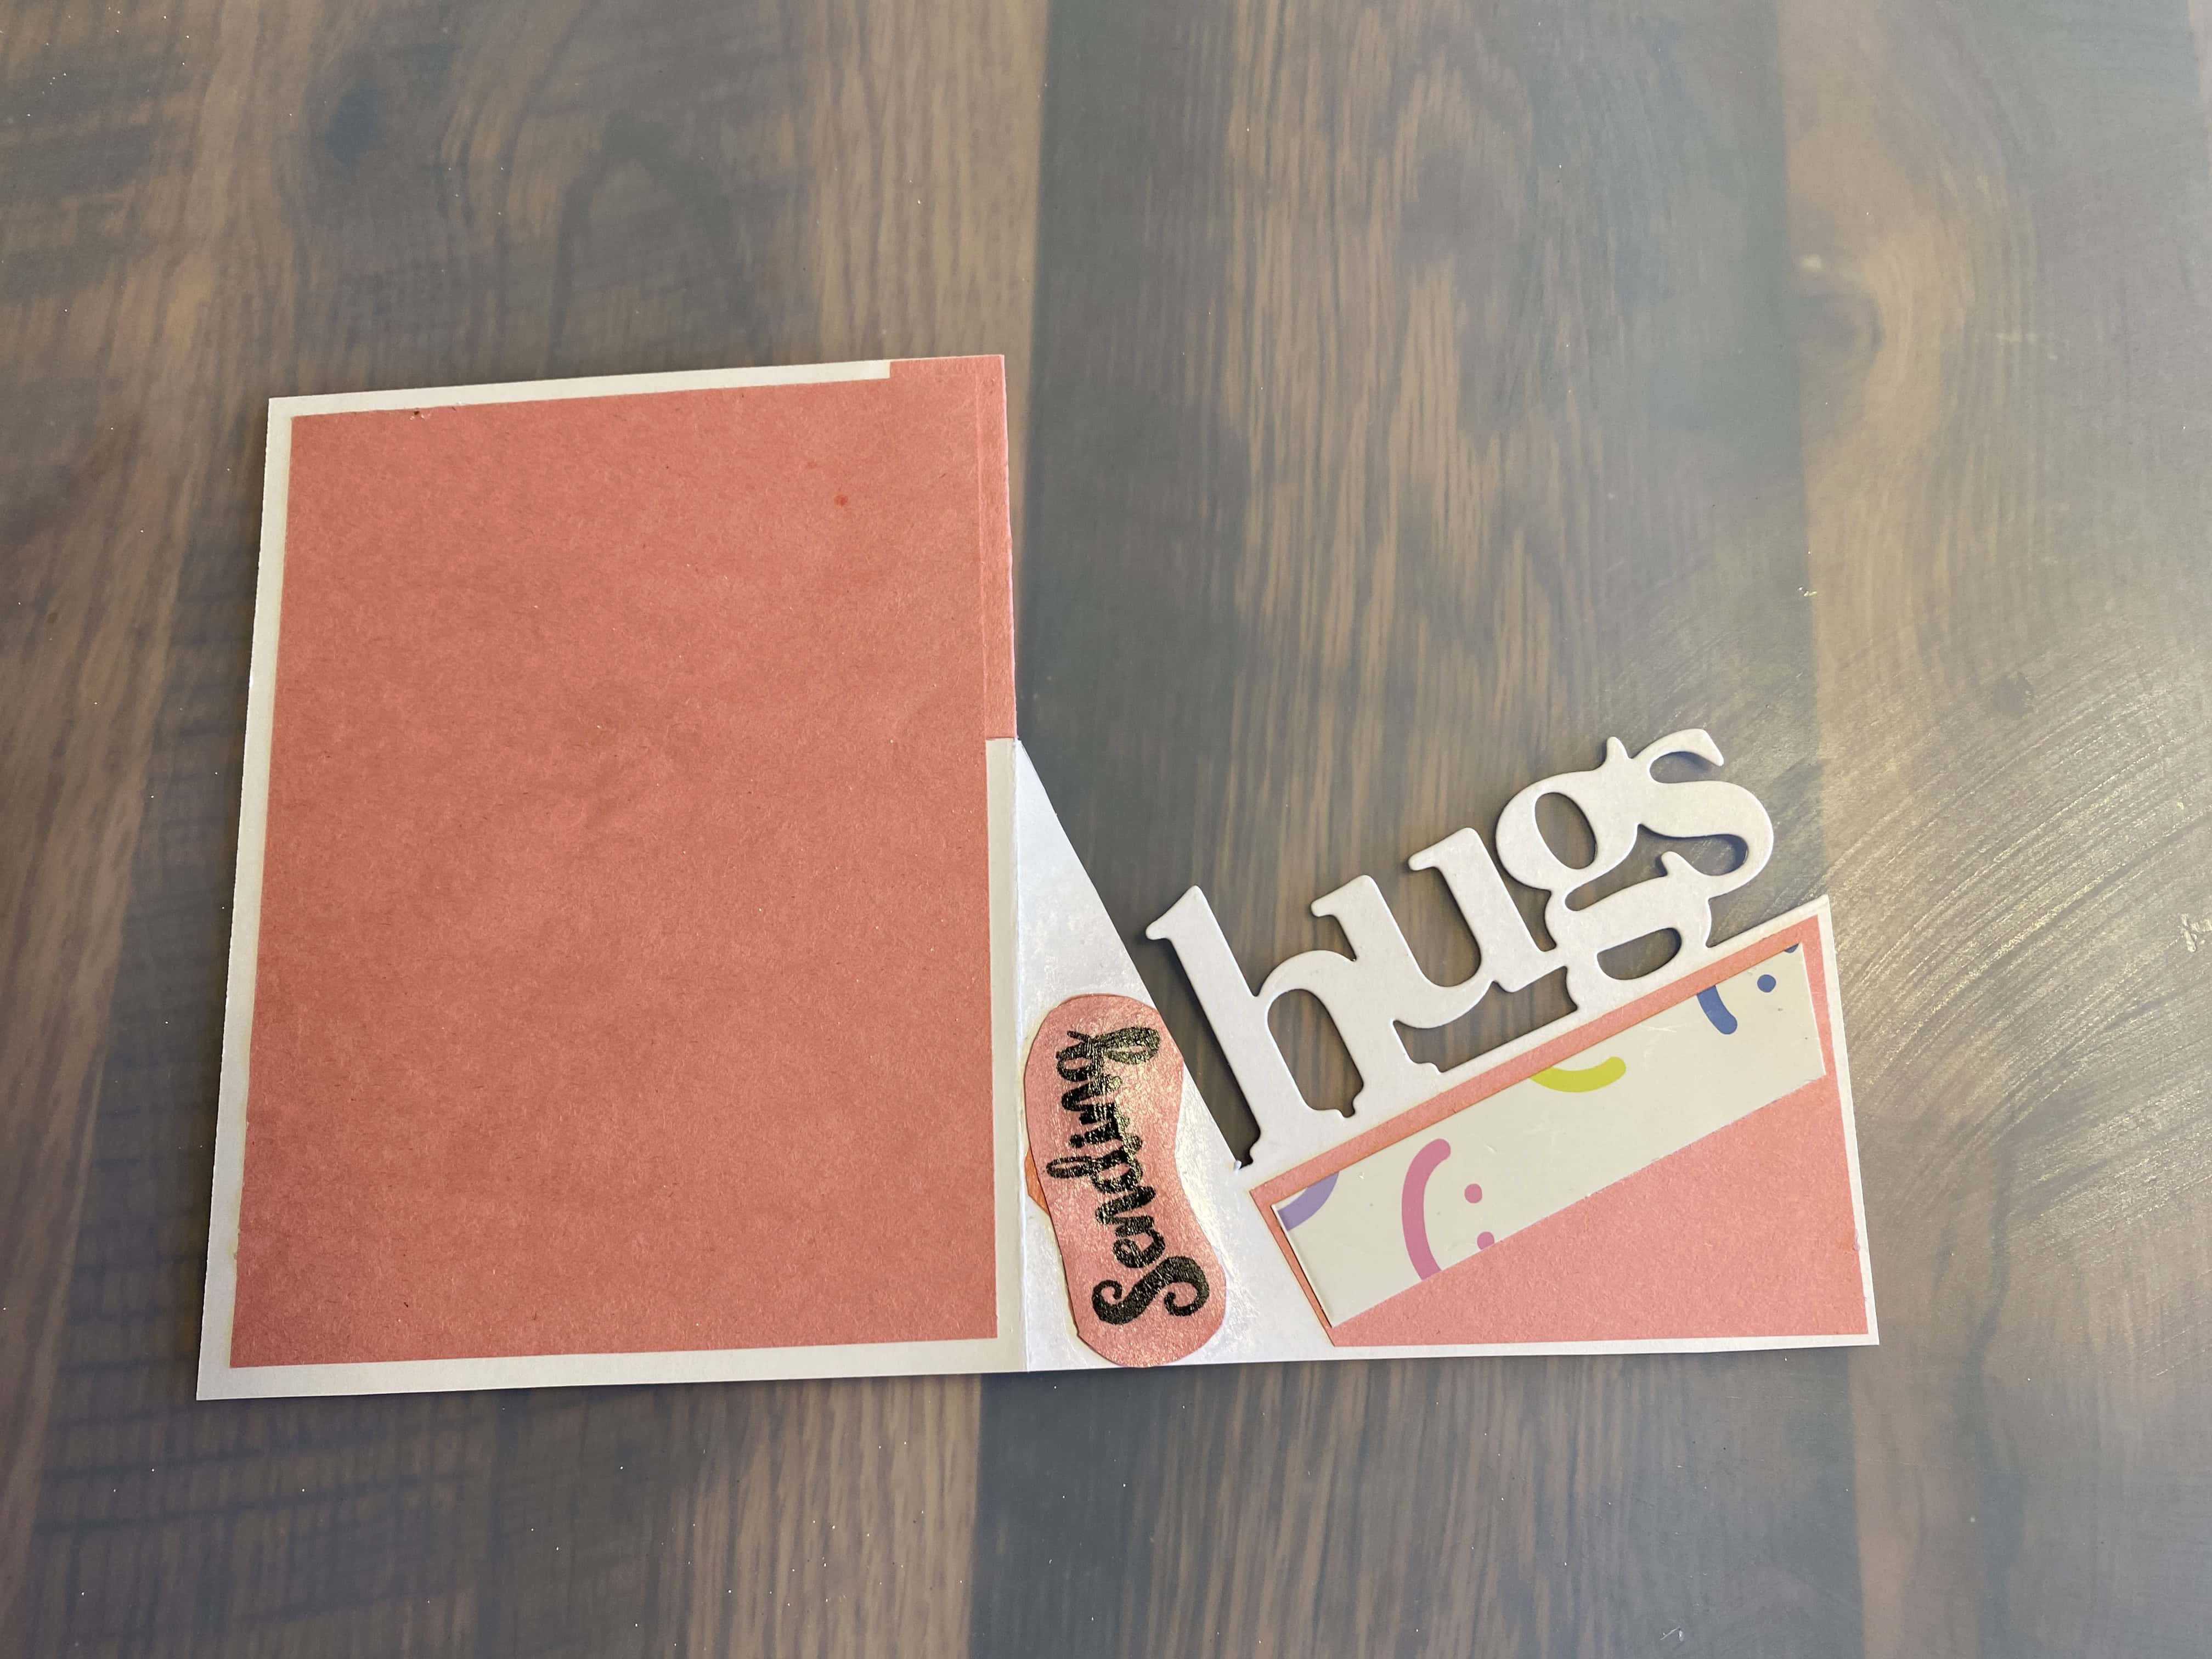
‘Double Message’ Card
(Edgeable with Shadow)
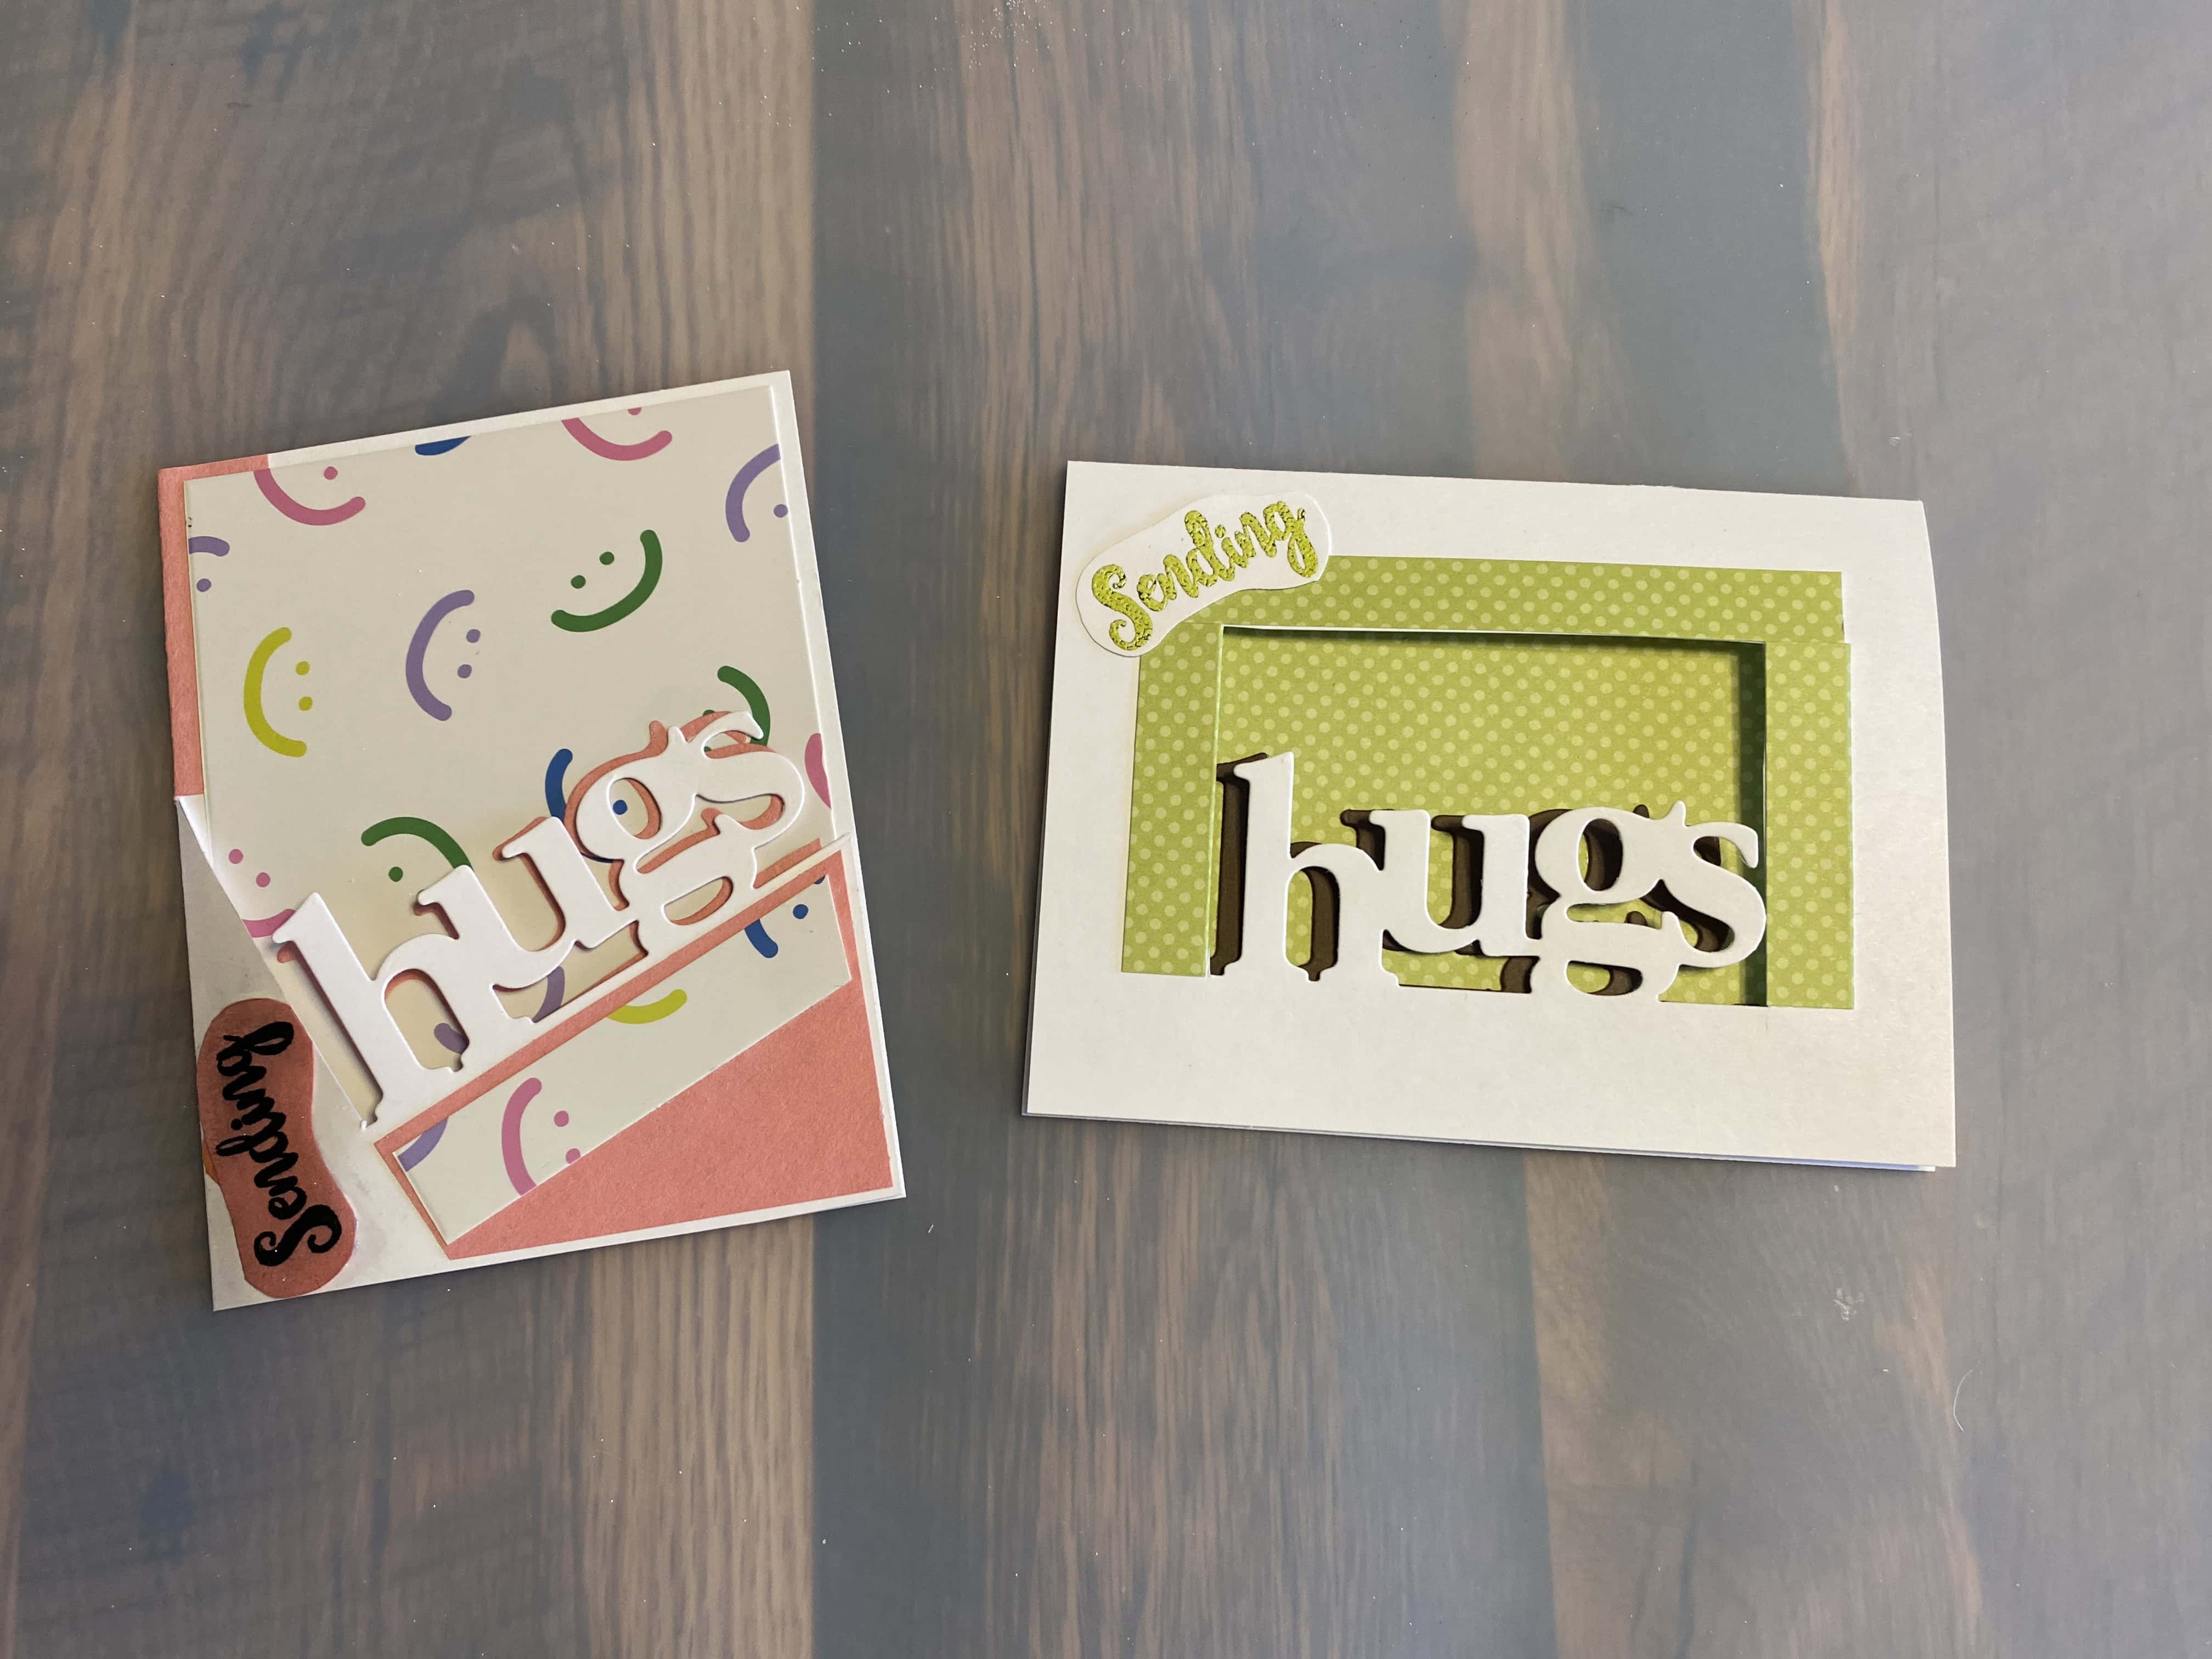
‘Double message’ cards! Note the slight shadow that the word casts. The outside message is: ‘Sending Hugs’
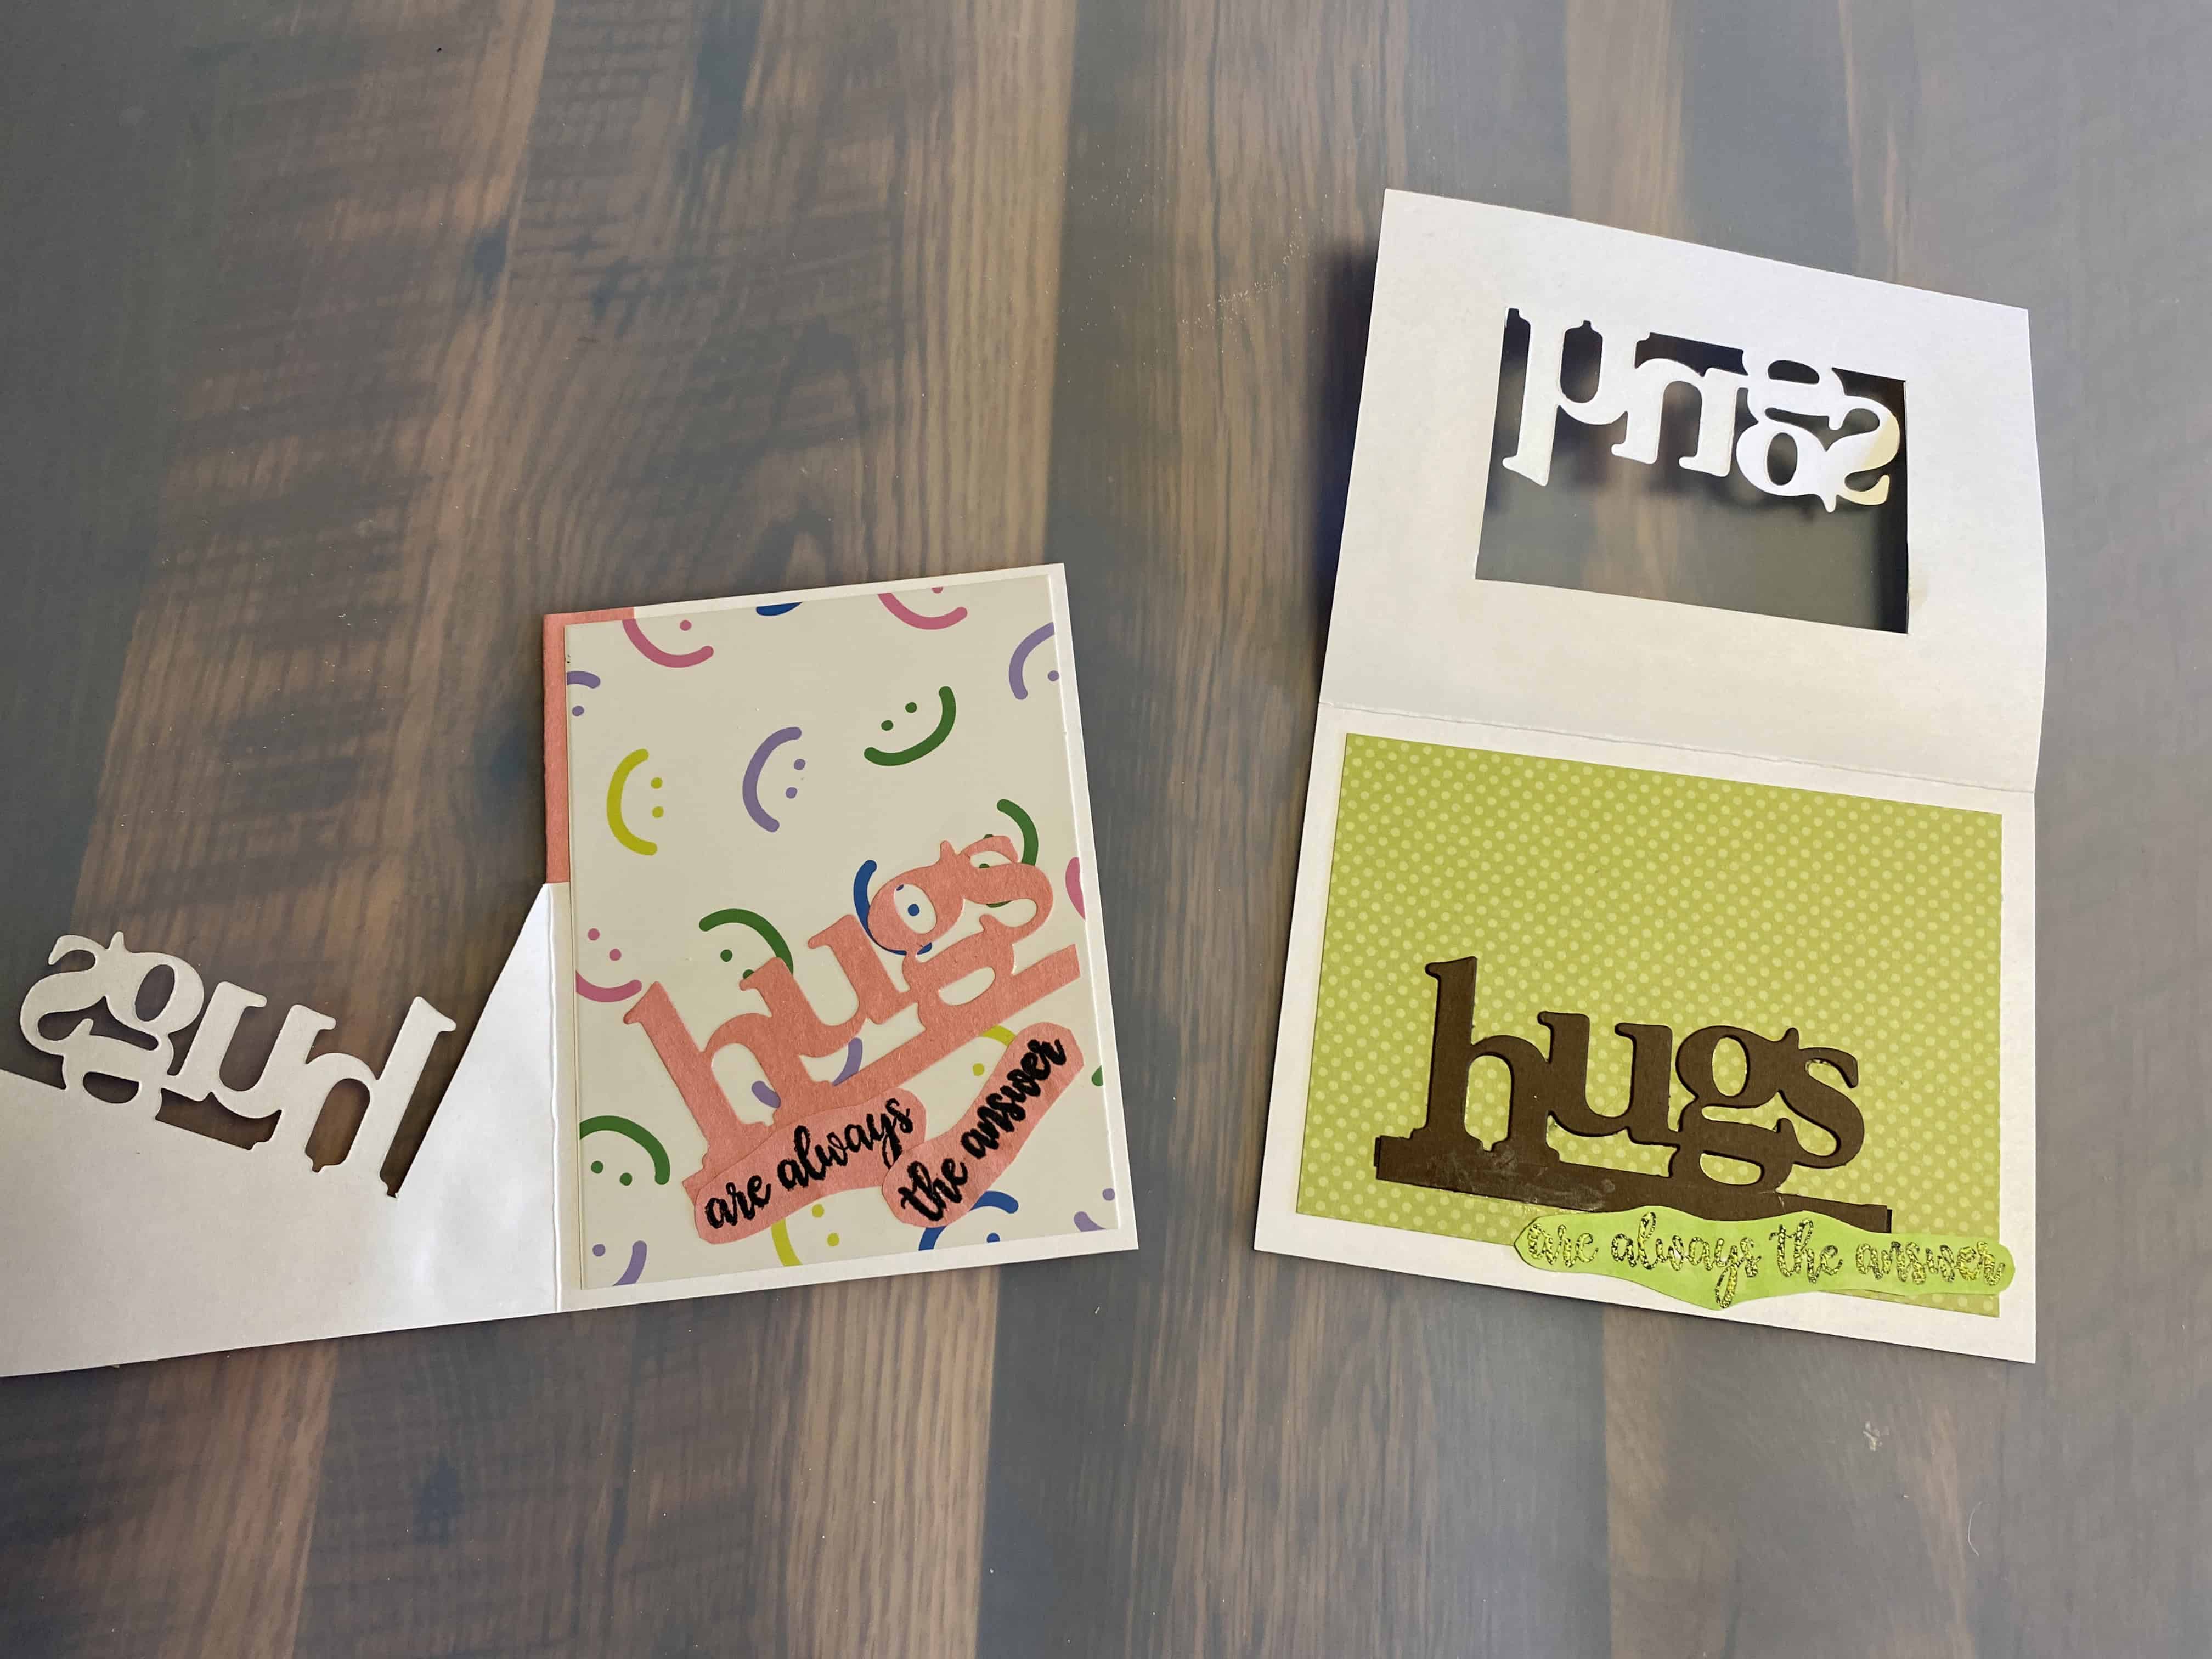
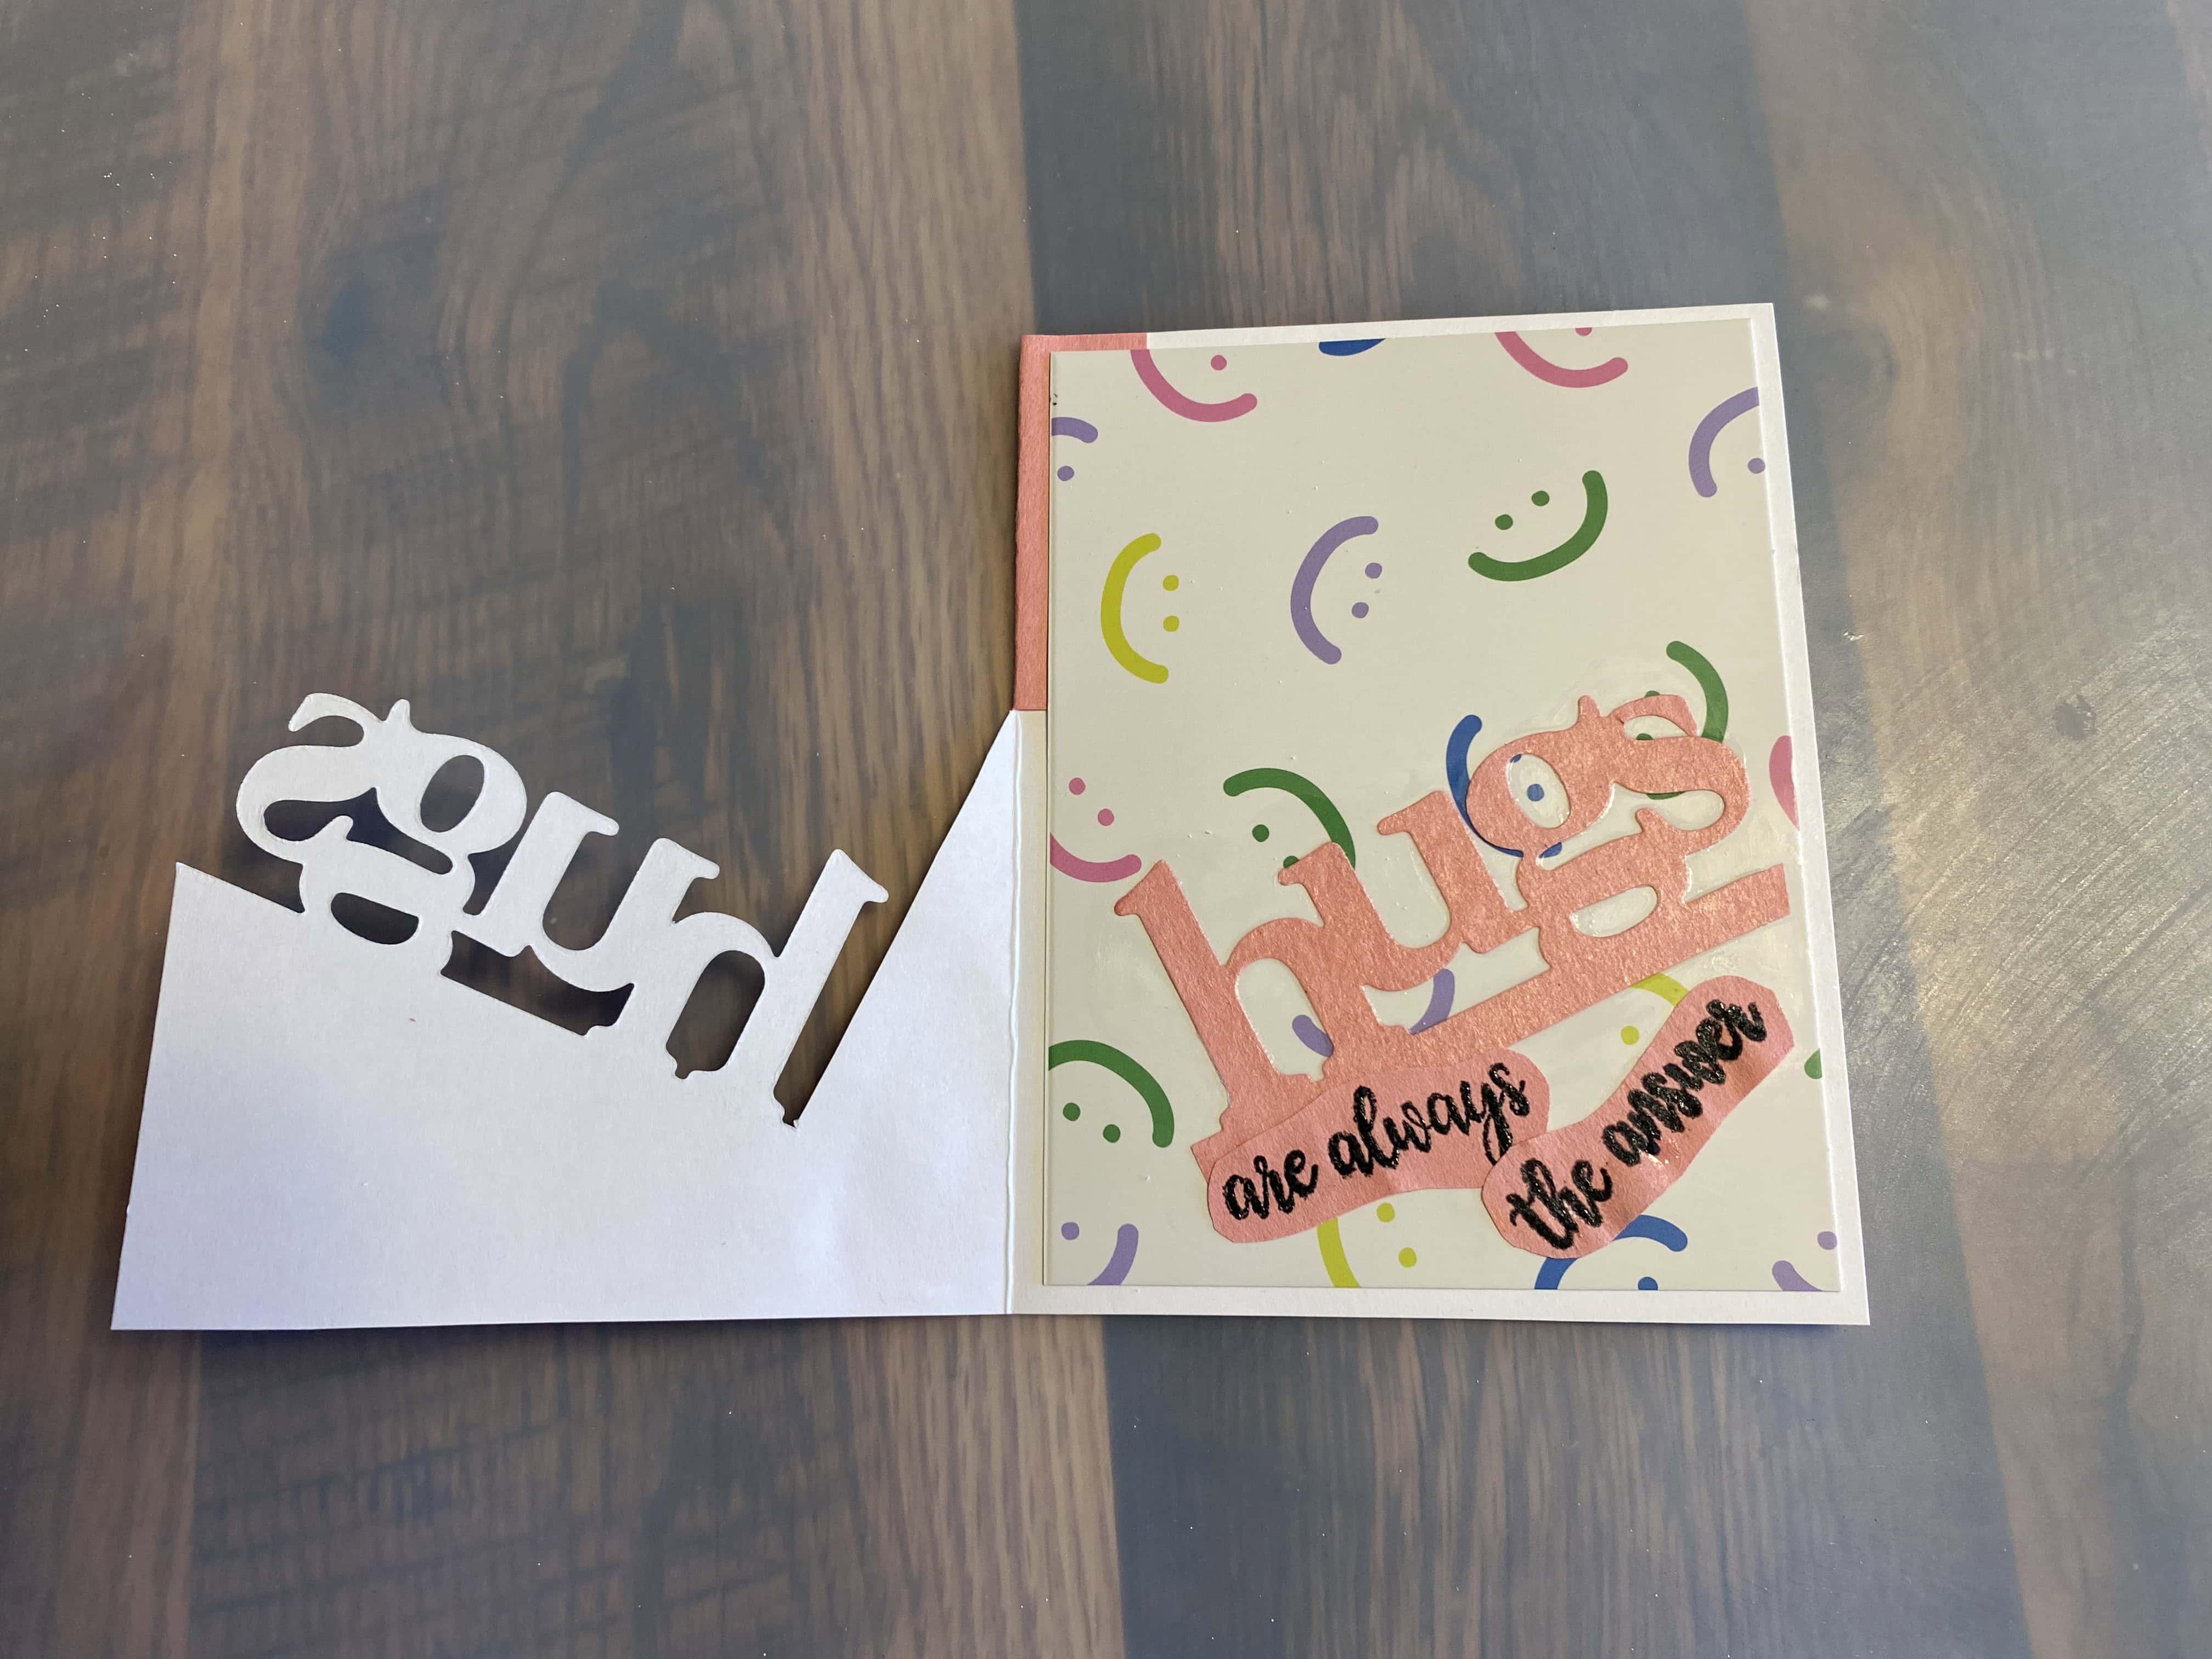
The inside message is:
‘Hugs are always the answer’
I have a collection of Crafter's Companion word dies that each coordinate with two different stamp sentiments. Oh—decisions decisions—which sentiment to choose?
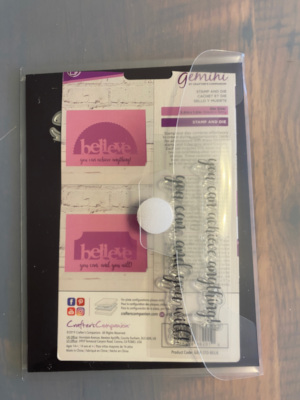
BELIEVE
... you can achieve anything!
... you can and you will!
you are ...
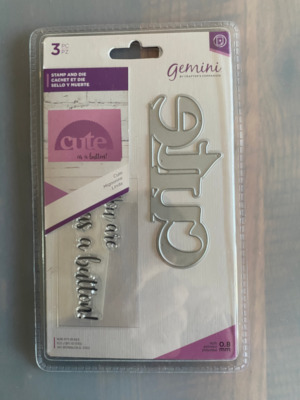
CUTE
... as a button
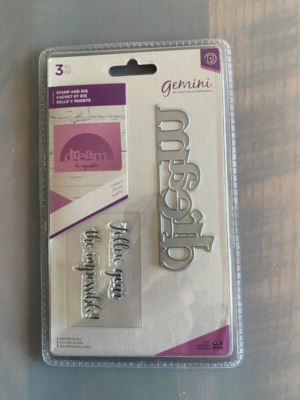
Follow your ...
DREAM
... the impossible!
True ...
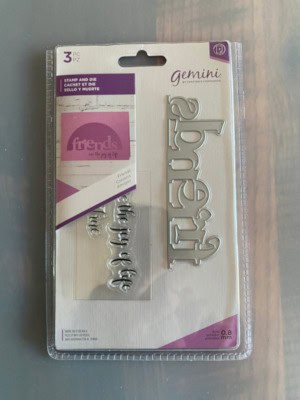
FRIENDS
... are the joy of life
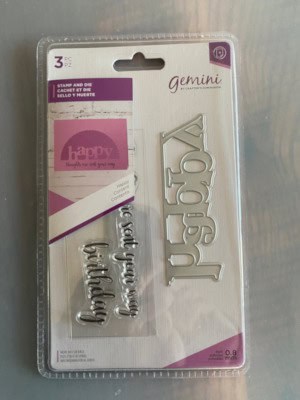
HAPPY
... birthday
... thoughts are sent your way
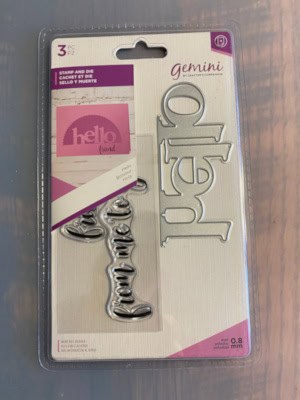
HELLO
... friend
... from me to you

HOPE
... and dreams
... faith, and love
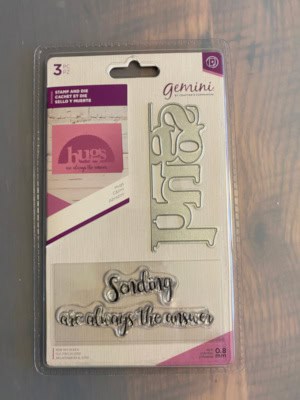
Sending ...
HUGS
... are always the answer
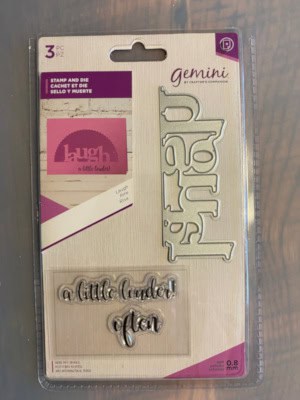
LAUGH
... a little louder!
... often
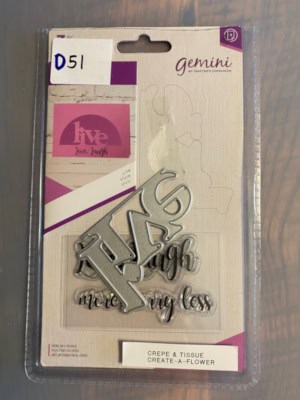
LIVE
... Love, Laugh
... more, worry less
Sending lots of ...
LOVE
... is all we need
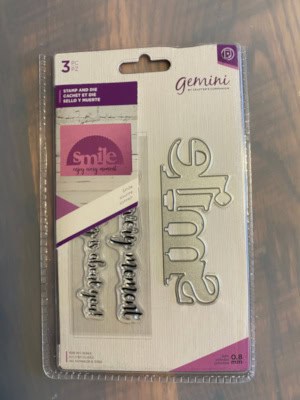
SMILE
... enjoy every moment
... because today is about you!
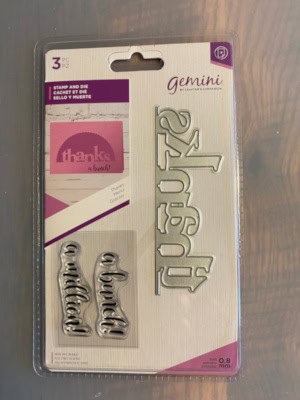
THANKS
... a bunch!
... a million!
To solve this conundrum, I created this ‘double message’ card. The main word casts a ‘shadow’: one sentiment goes on the front; the other sentiment goes with the shadow inside!
Edgeable Dies
The main words in my ‘sentiments’ collection are ‘edgeable’ dies. By definition:
An ‘edgeable’ die cuts a shape, while keeping the shape attached to the main paper
By comparison, a standard metal die completely separates a shape from the paper from which it is cut.
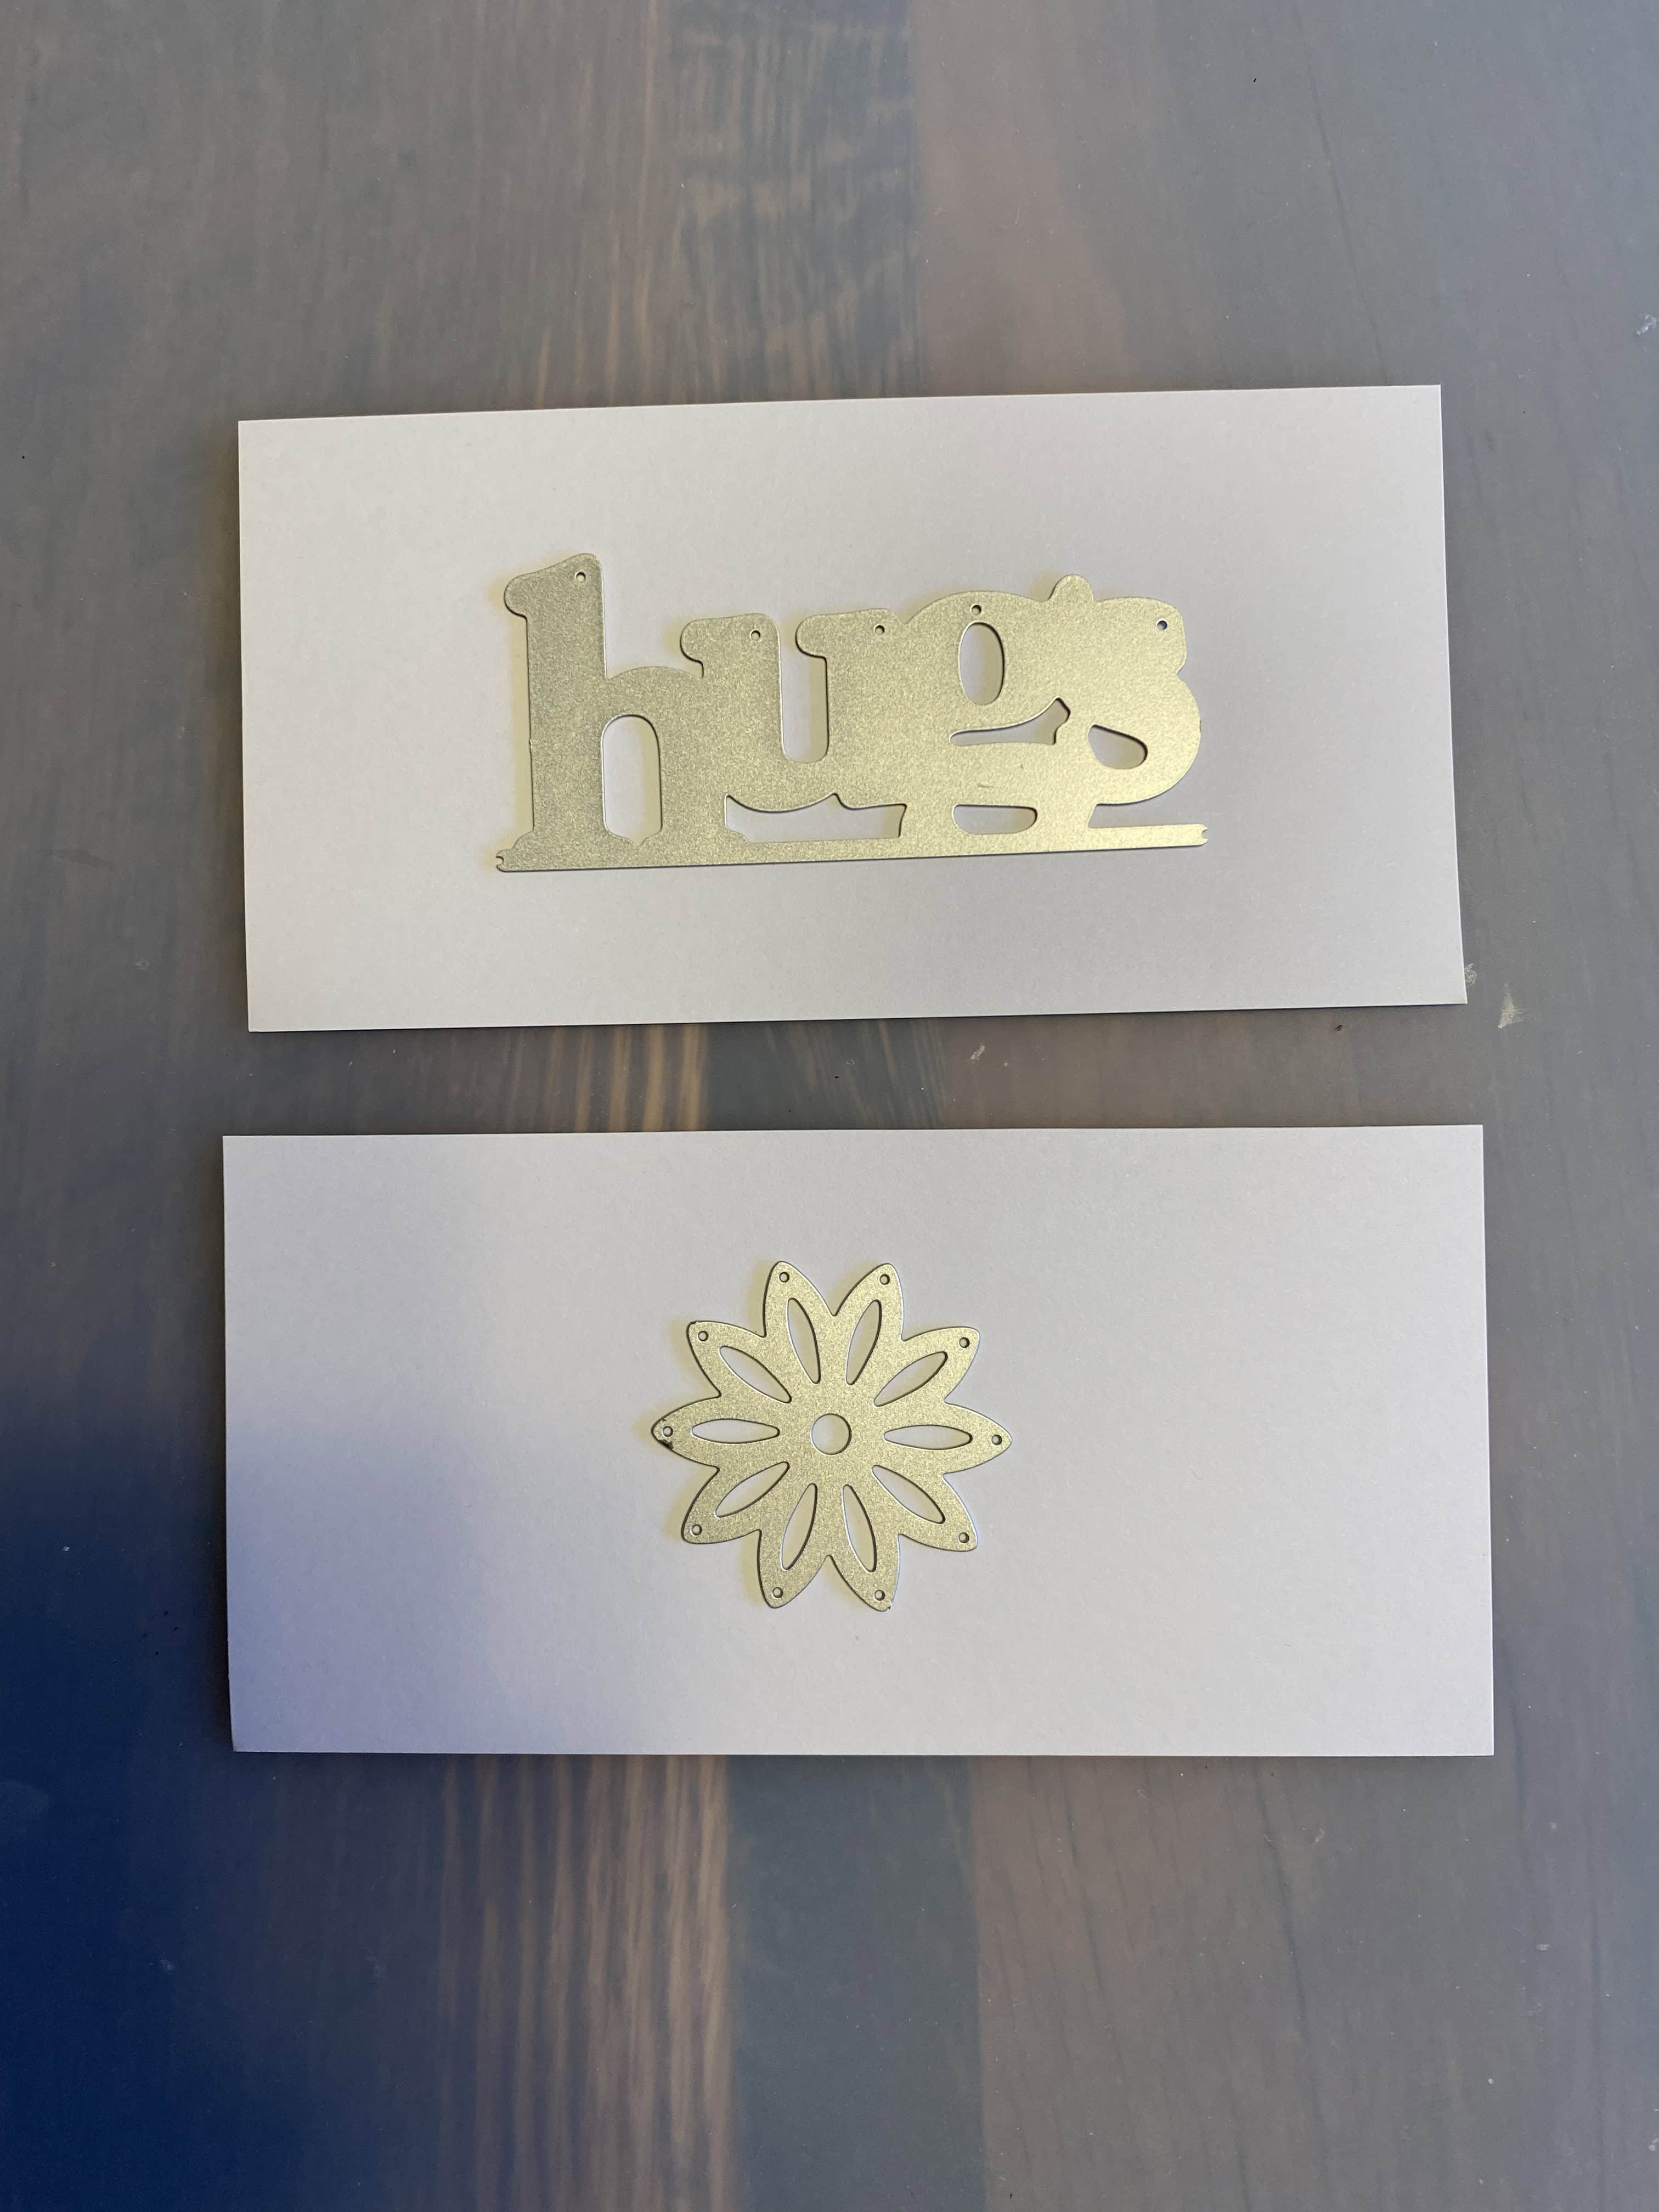
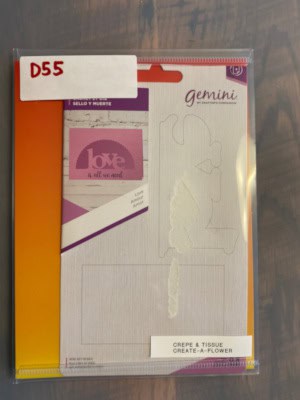
Two metal dies:
‘hugs’ is an edgeable;
the flower is a standard die
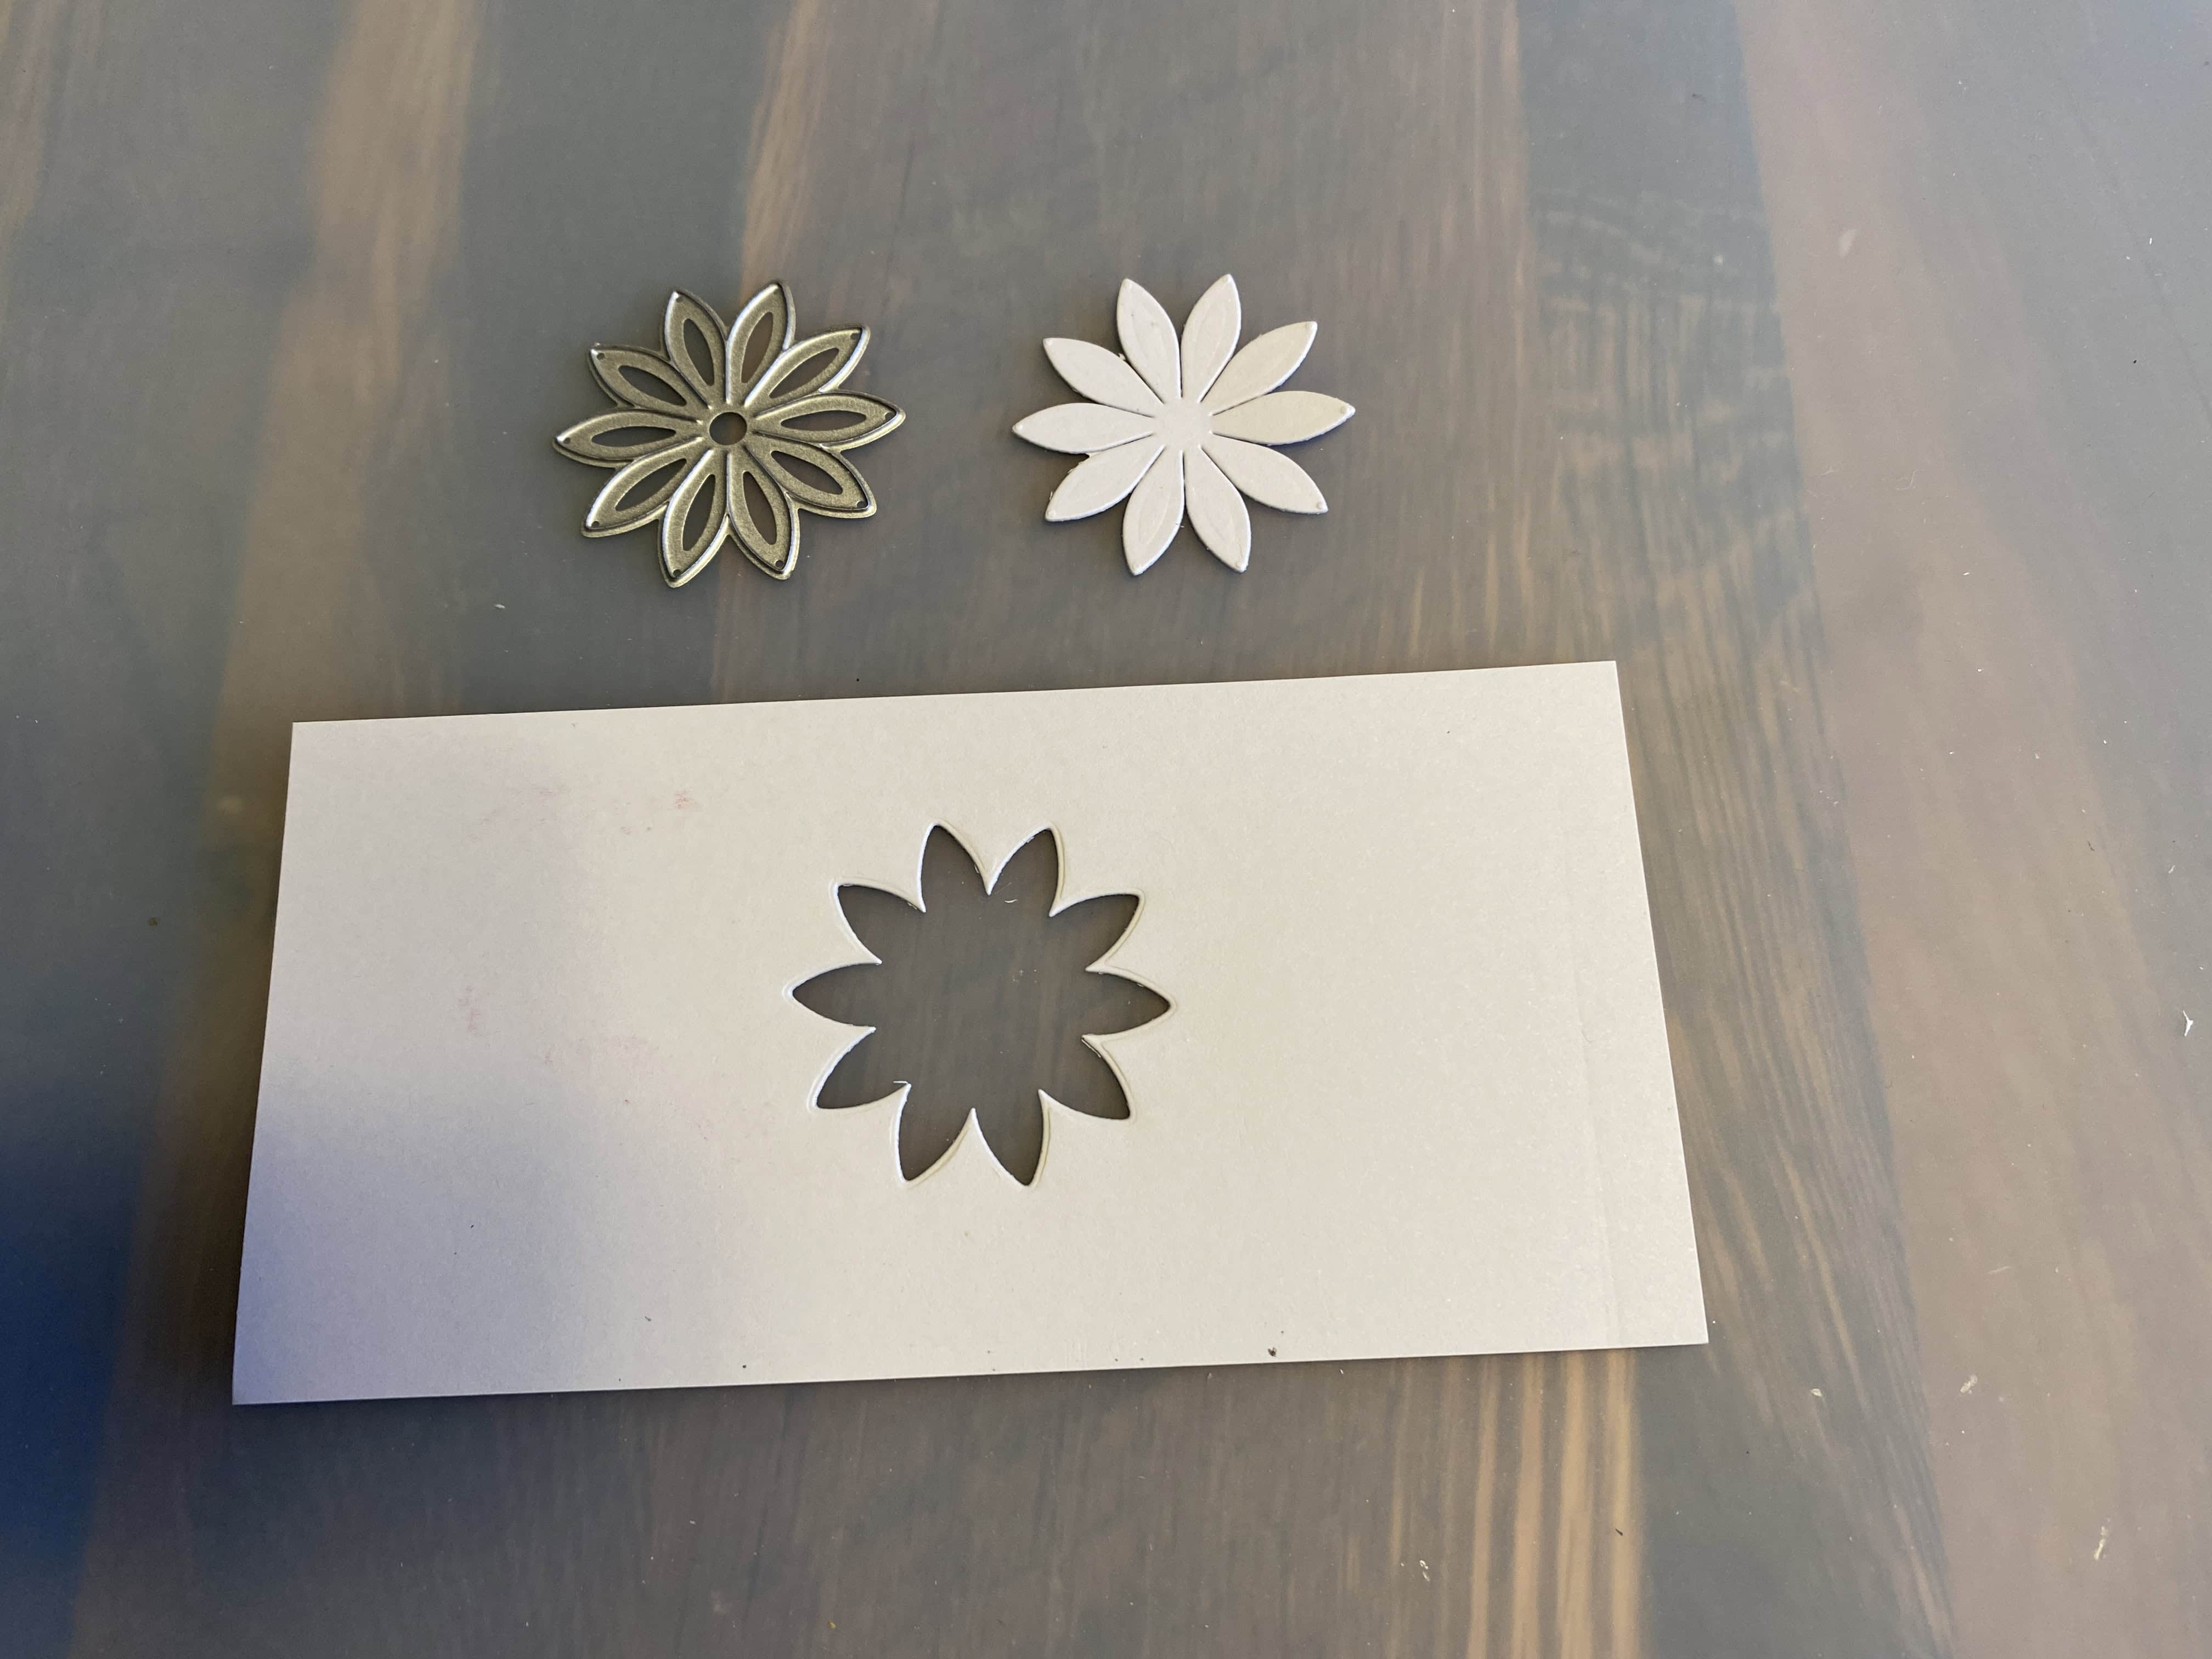
Standard die:
the flower, when cut, completely separates the shape from the paper

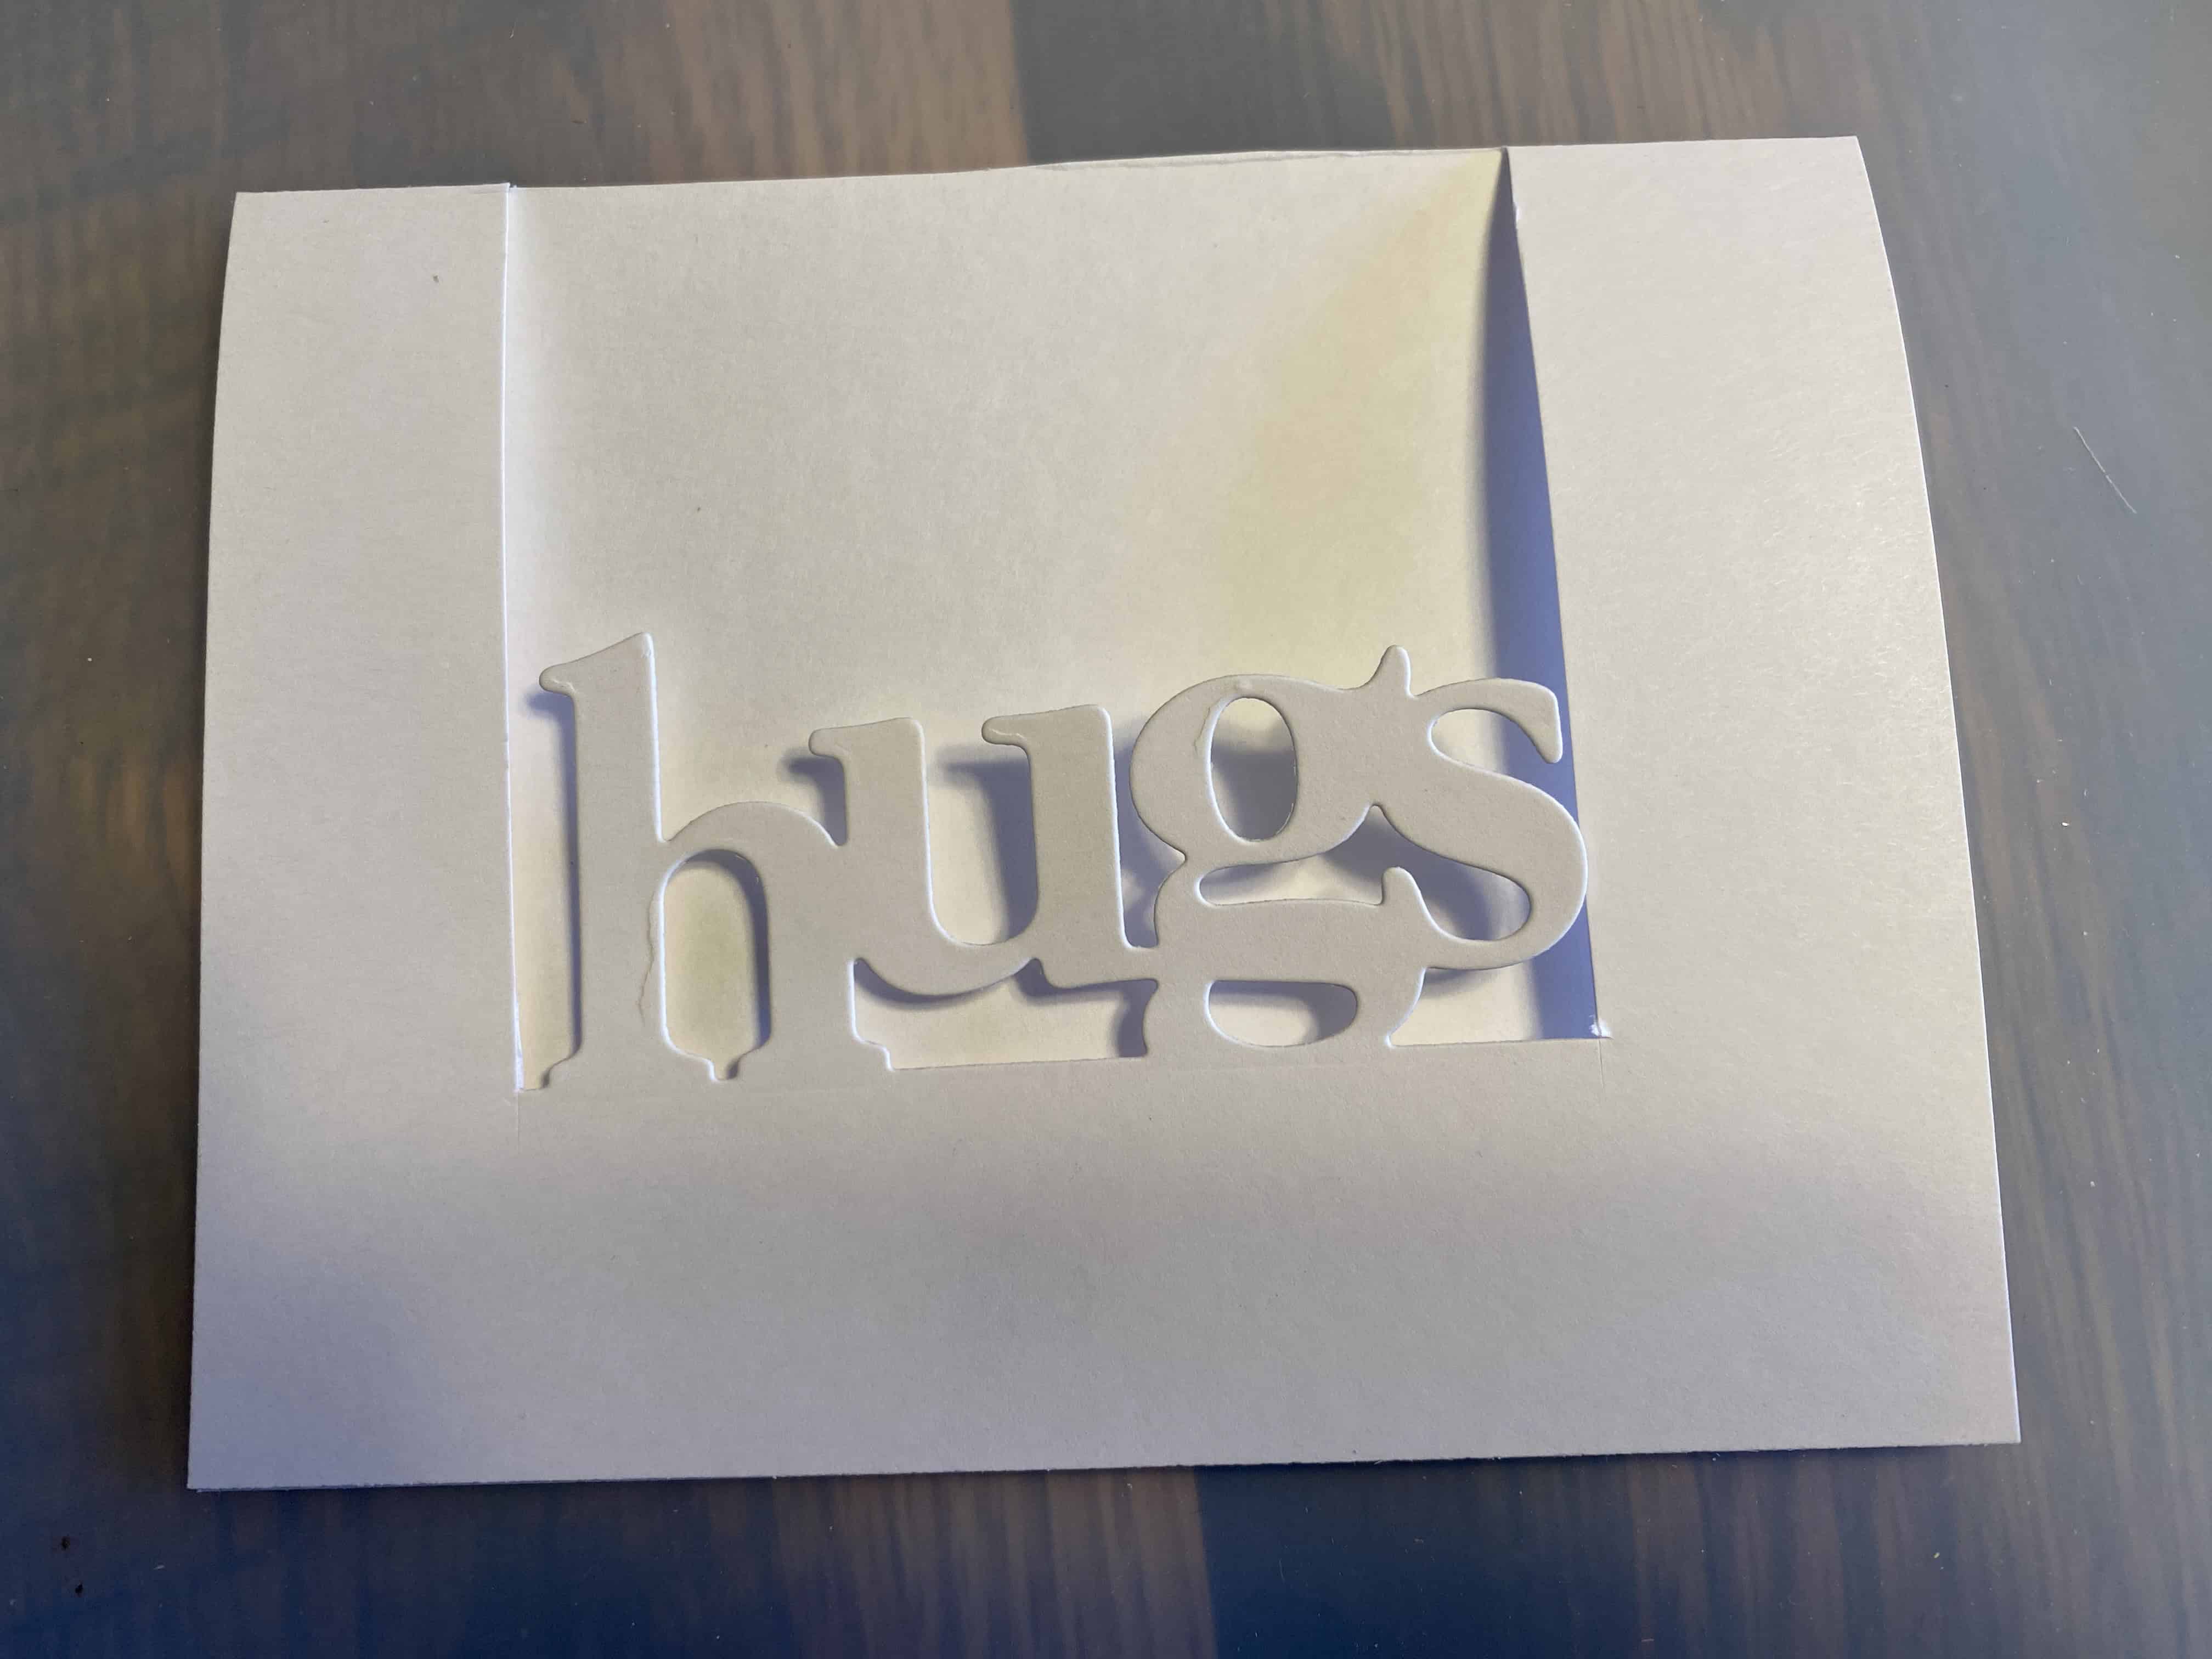
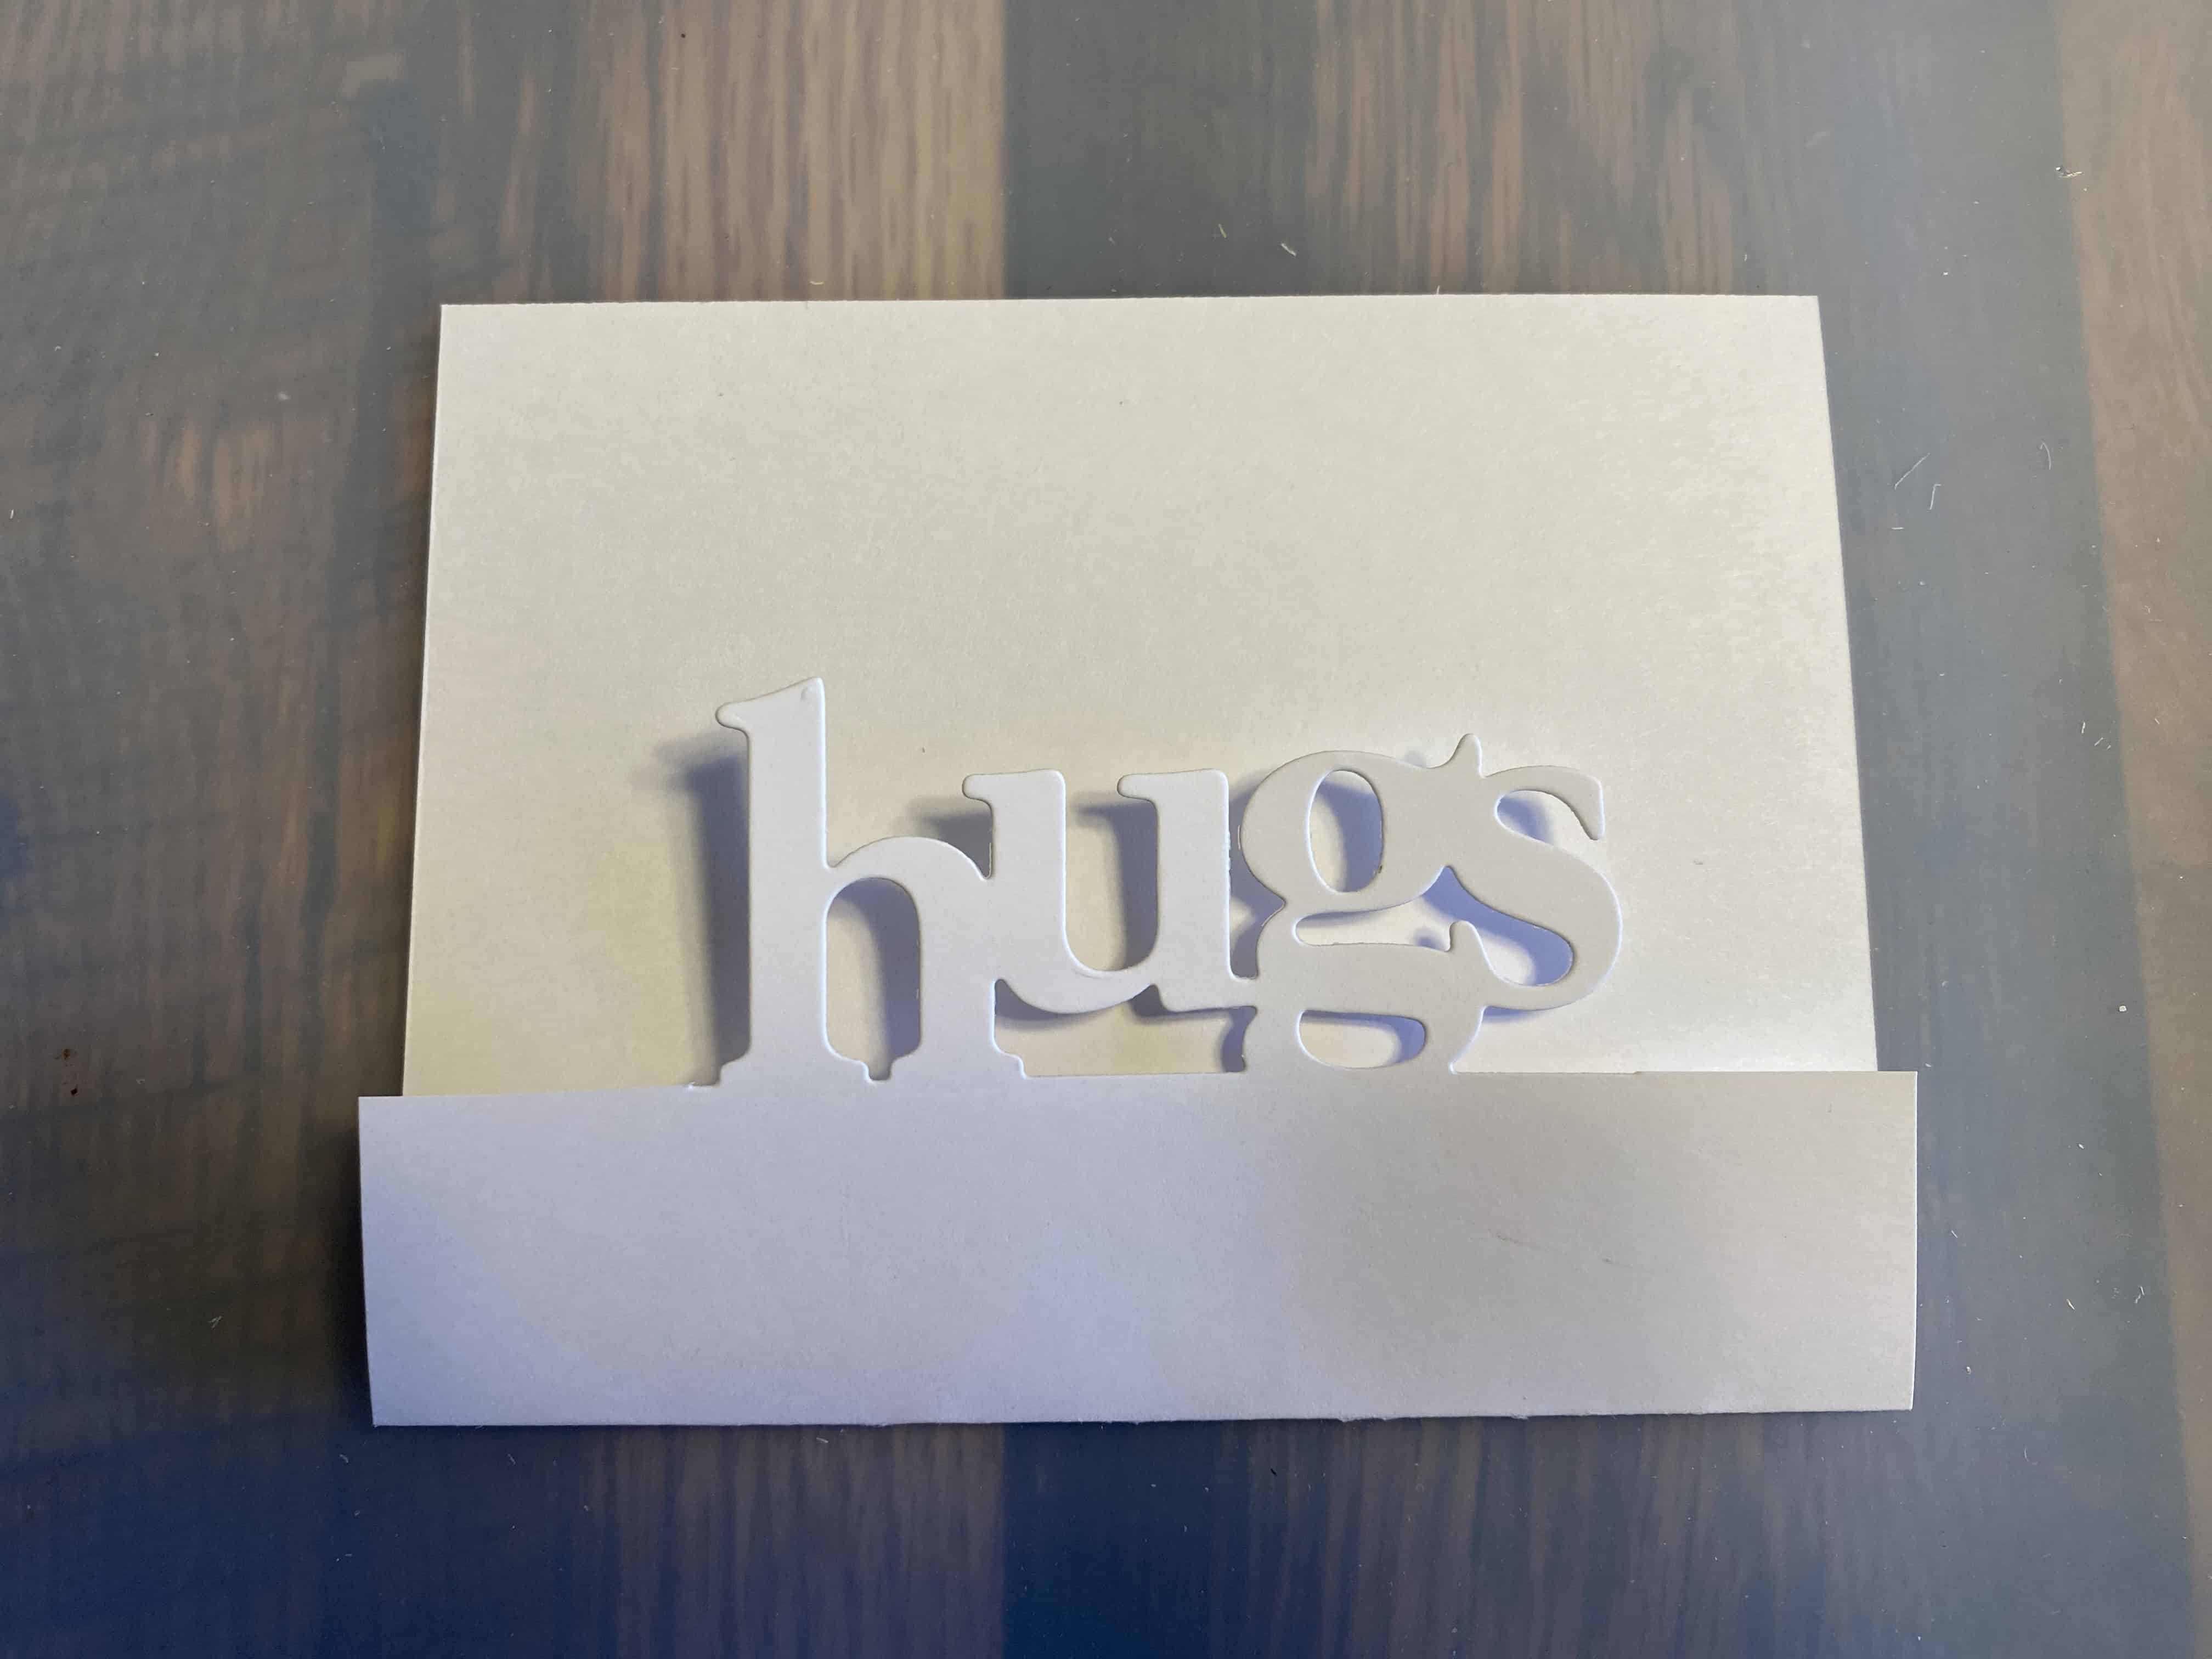
Edgeable die:
When cut, there is not complete separation from the paper!
The shape stays attached to the paper from which it is cut!
How can you tell if a die is an ‘edgeable’ ?
At first glance, ‘standard’ dies and ‘edgeable’ dies are not particularly easy to tell apart (unless you're an experienced crafter).
If you're willing to cut the die, then it's easy:
- Does the shape separate completely from the paper? Then, it's a standard die.
- Does the shape stay attached to the paper from which it was cut? Then, it's an edgeable die.
But what if (say) you're at a tag/garage sale, and there are a bunch of loose dies sitting in a box? Here's an easy way to tell the standard dies from the edgeable dies:
-
Metal dies have a flat side and a cutting side. The cutting side has the raised metal ‘bumps’, which are called the cutting edges.
When you use a die, the cutting edges must face the paper you want to cut. (Otherwise, you'll cut your cutting plates! Yep—oops—been there, done that...)
-
On a standard die, cutting edges go around the entire perimeter of the die. There are no gaps. The perimeter cutting edges form a closed curve. This is why the resulting piece gets completely separated from the paper.
-
On an edgeable die, there are cutting edges along part (but not all) of the perimeter! The cutting edges around the perimeter do not form a closed curve. The gaps in the perimeter cutting edges are what keep the shape connected to the paper from which it is cut.
More Detail: How to Identify a Standard Die
Take the die you're trying to identify as standard or edgeable. Pick any point on the perimeter cutting edge (the outside edge).
Trace the cutting edge around the perimeter. Do you end up back where you started? If so, then it's a standard die!
Standard die:
Start at any point on the perimeter cutting edge,
and trace around.
You'll end up back where you started!
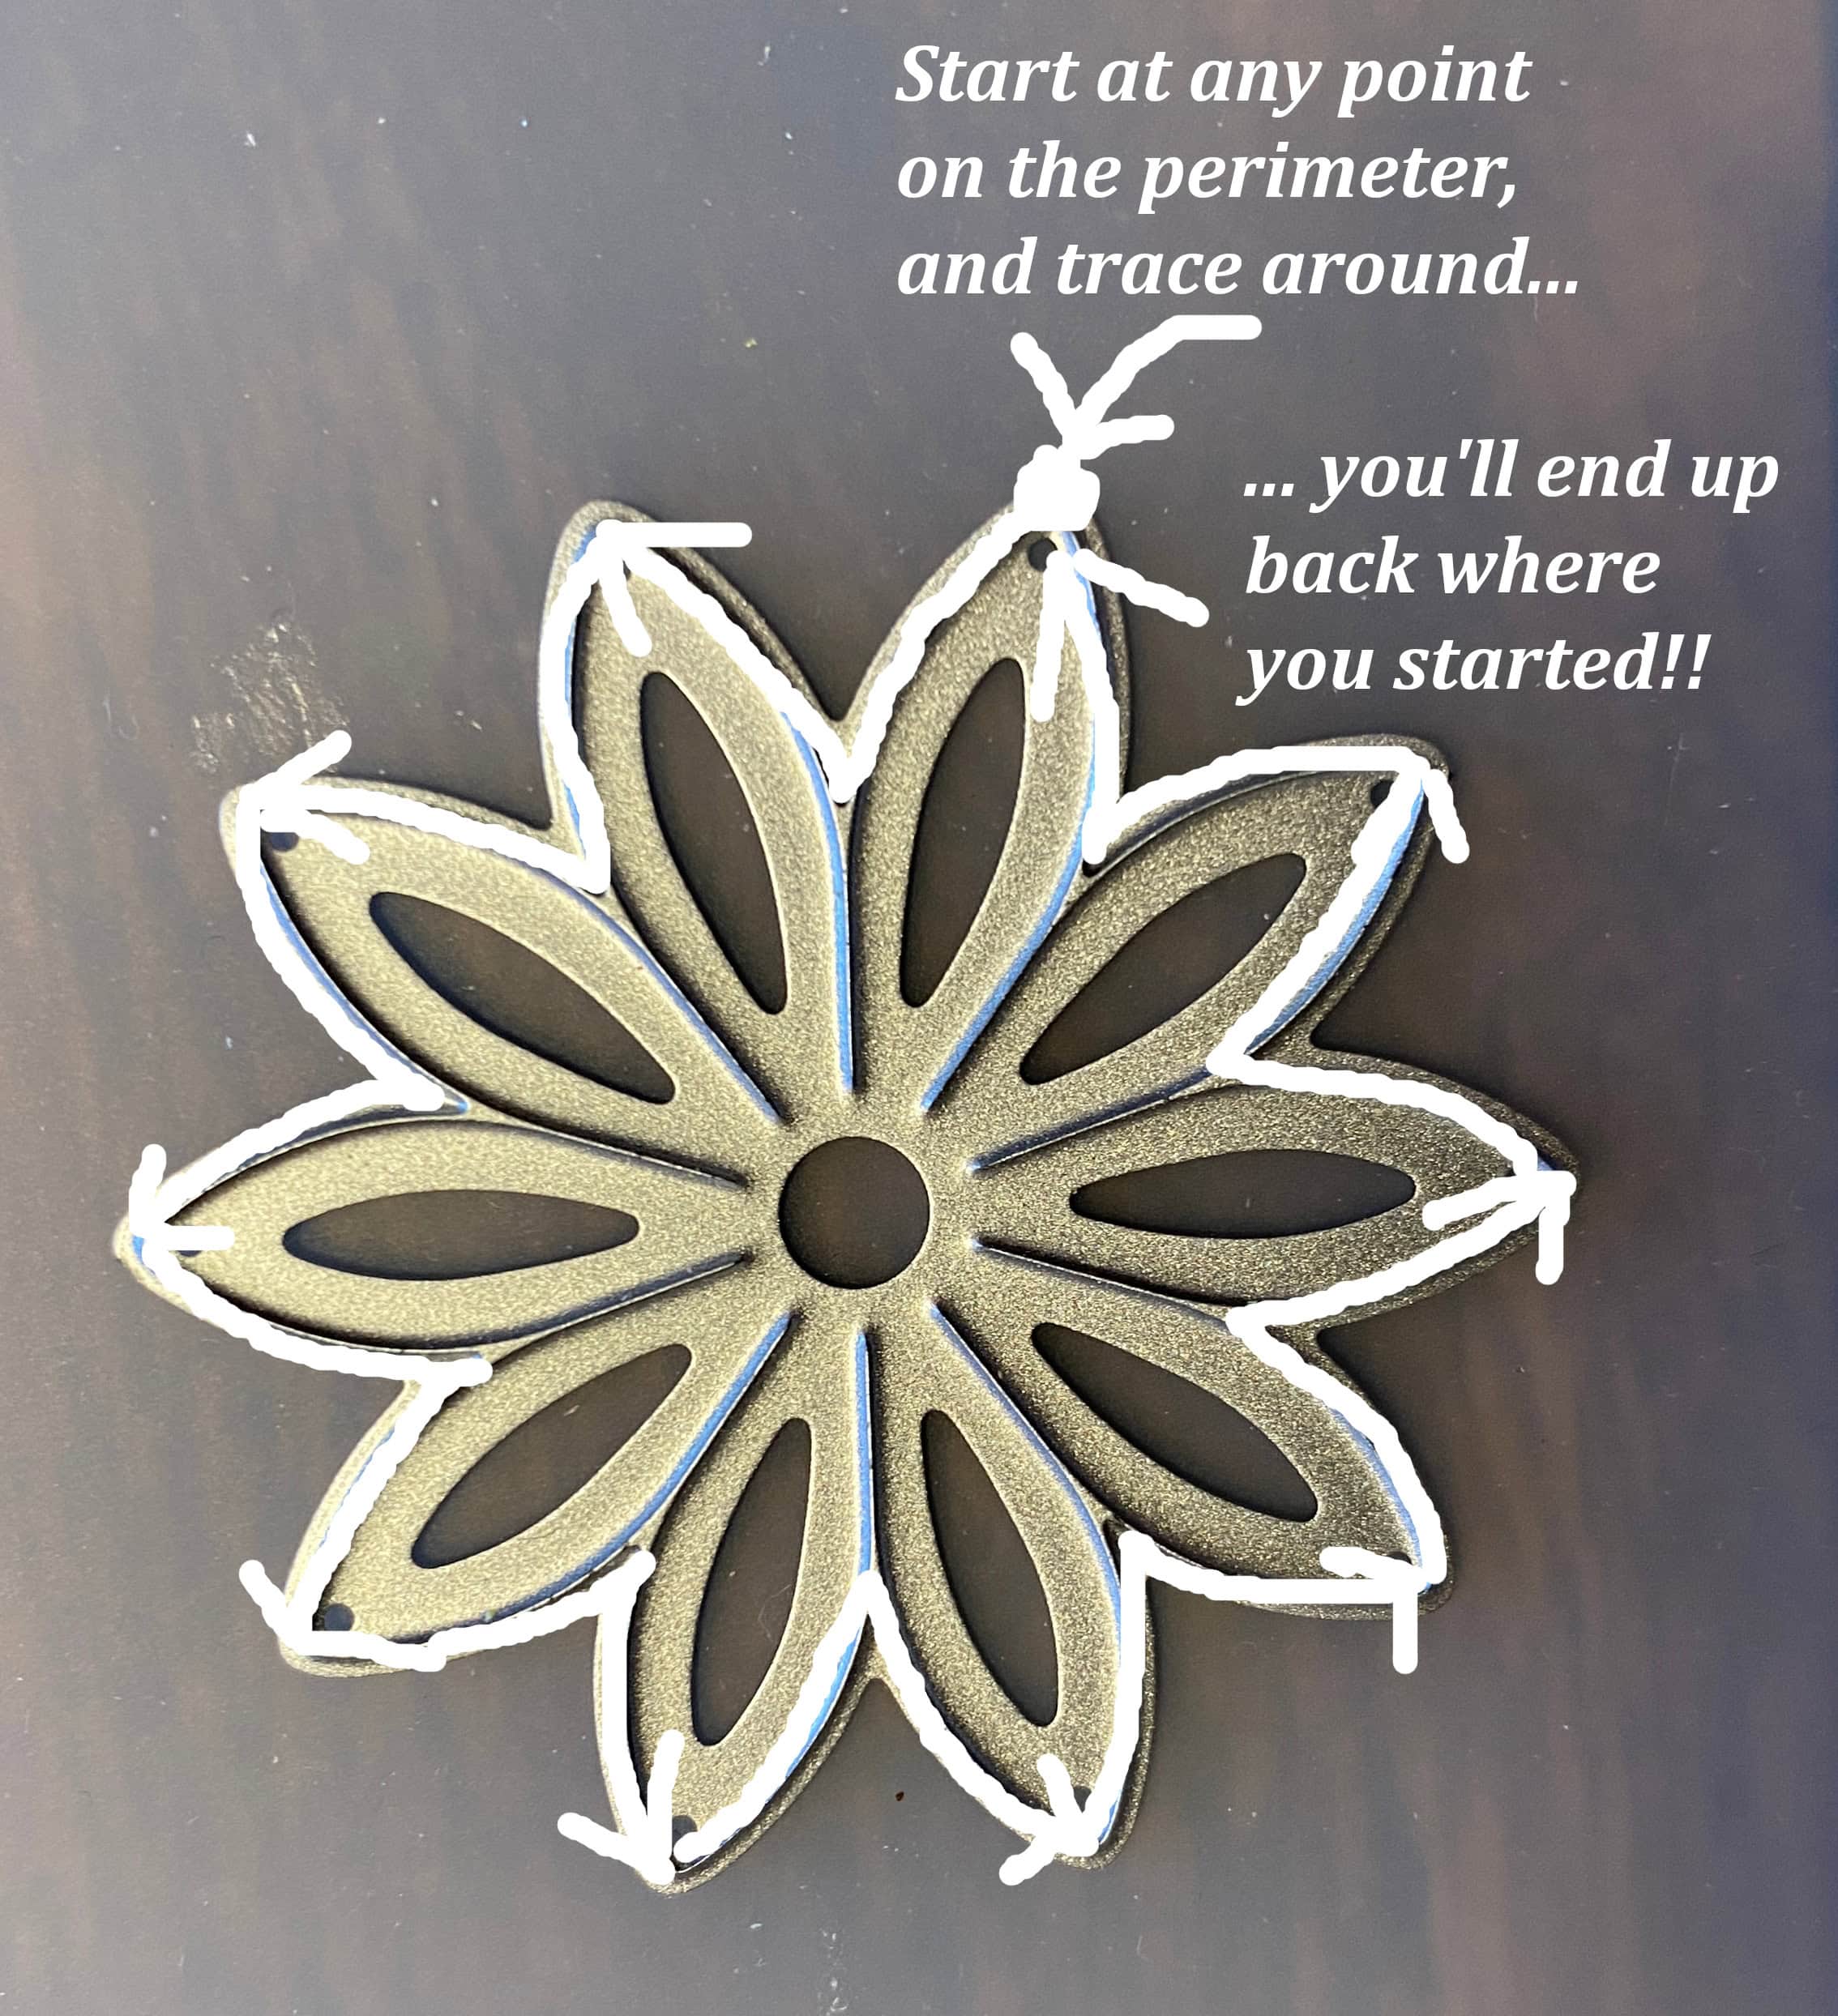
More Detail: How to Identify an Edgeable Die
With an edgeable die—for most points on the perimeter—when you trace the cutting edge, you won't end up back where you started. The cutting edge will just ... stop ... at a different place.
Two such tracings are shown in the image below. This is the identifying feature of edgeable dies.
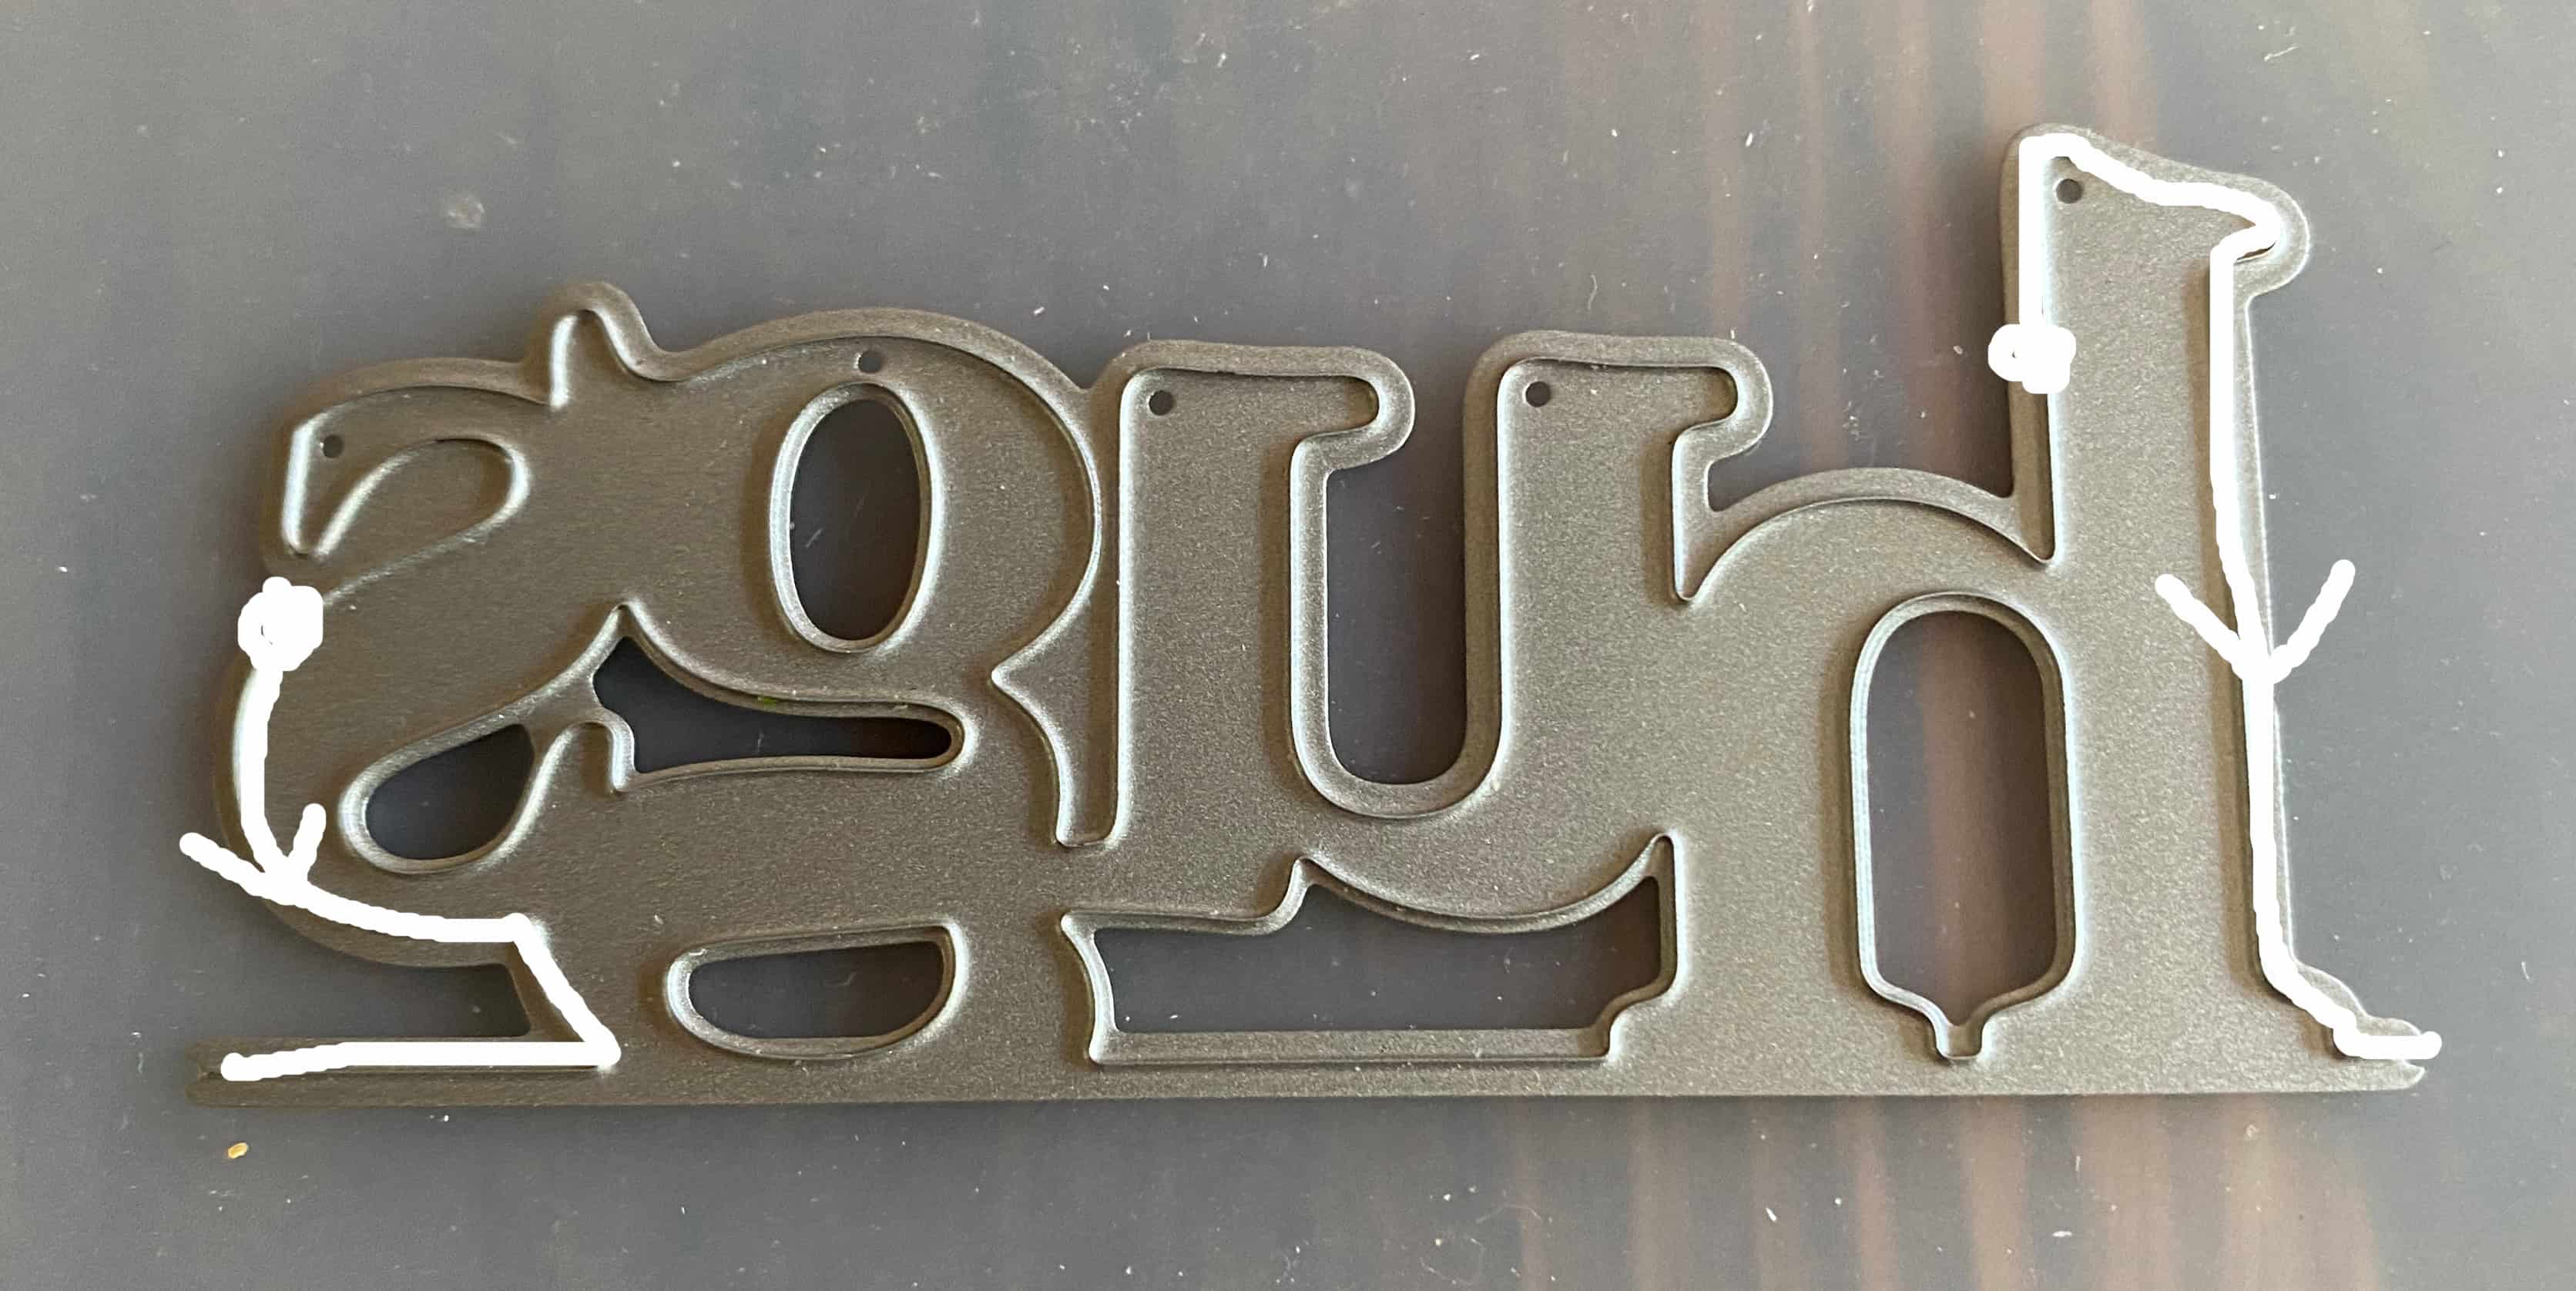
Edgeable die:
There are gaps in the perimeter cutting edges!
The perimeter cutting edges don't form a closed curve.
Versatility of Edgeable Dies
Here are some questions you want to think about before you cut your edgeable:
-
CARD ORIENTATION:
What card orientation do you want? Vertical (long side up/down)? Horizontal (long side left/right)? -
THE FOLD (for opening the card):
Do you want a full-side fold? Or, are you content with cutting away some of the fold, leaving just a partial fold? -
THE SENTIMENTS:
Where will you position the outside sentiment?
Where will you position the inside sentiment? -
VISIBILITY OF INSIDE:
How much of the inside do you want showing, before the card is opened? A lot? A little? Make sure the inside message stays hidden until the card is opened! -
PLACEMENT OF HANDWRITTEN MESSAGE:
Will you be handwriting a message? If so, where will you put it?
The images below illustrate some of the many possibilities! All these have finished size $\,4\frac14\text{in} \times 5\frac12\text{in}\,$ (size A$2$), which uses half of a standard $\,8\frac 12\text{in}\times 11\text{in}\,$ piece of cardstock.
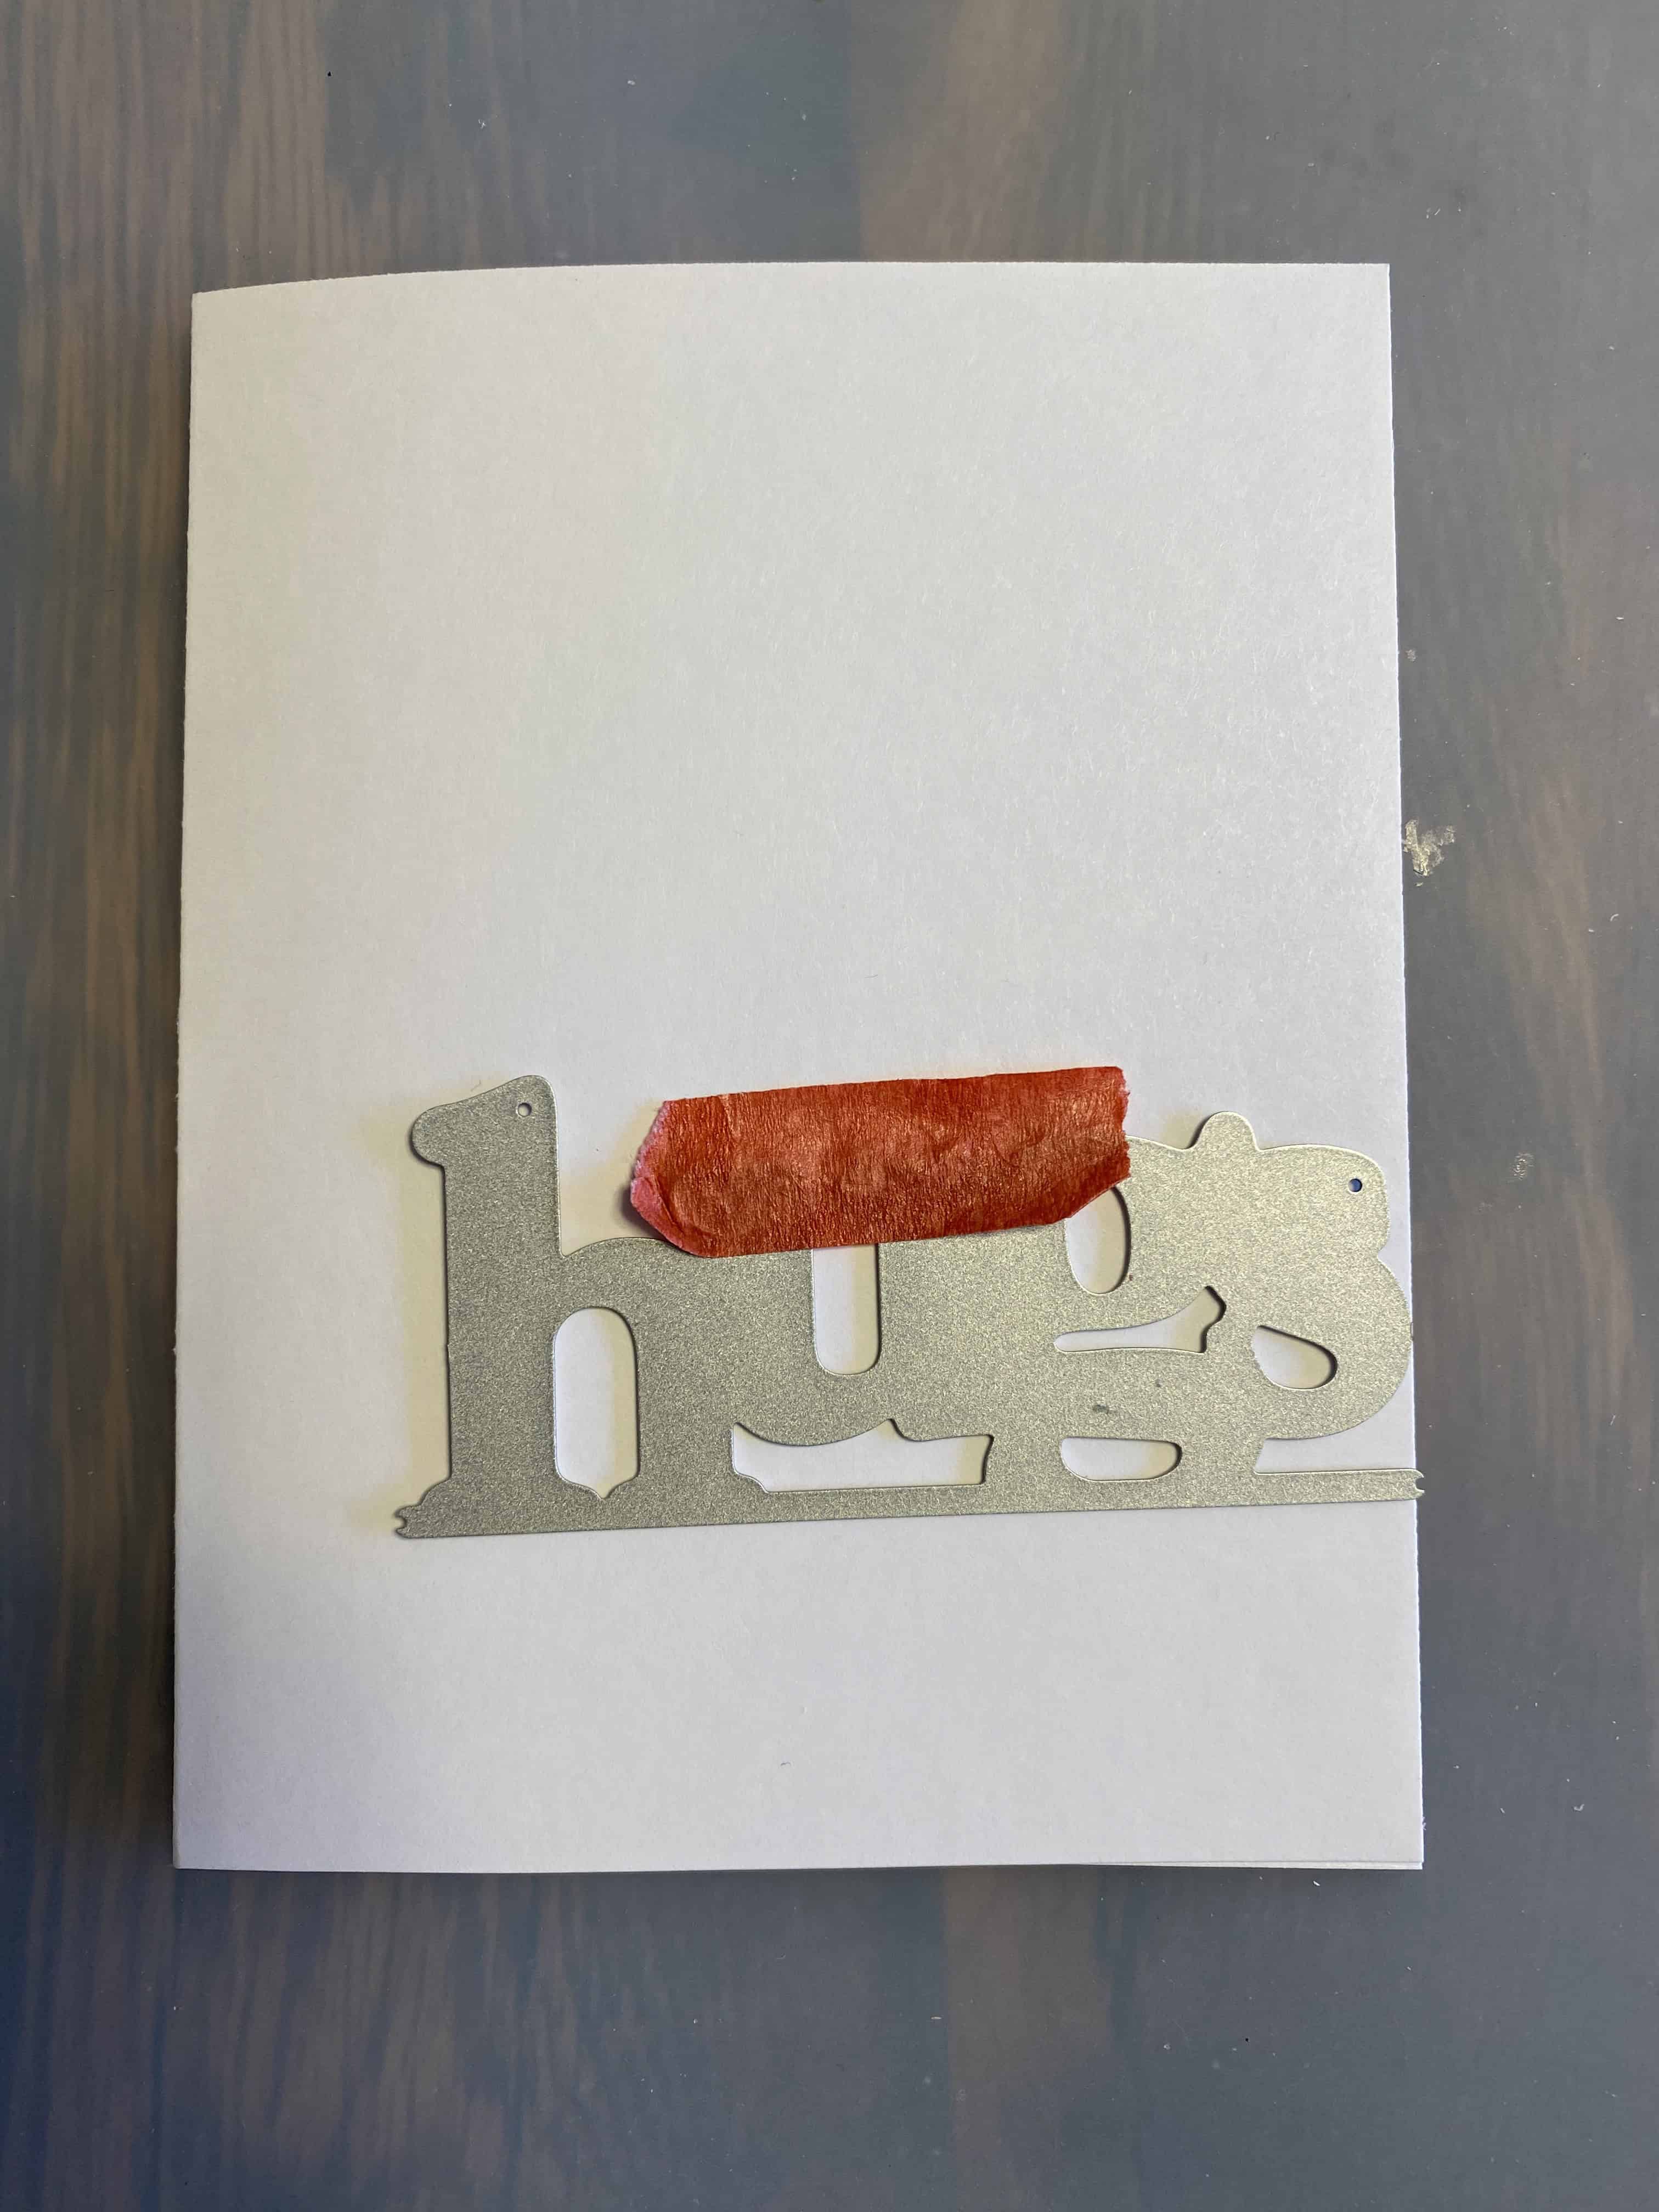
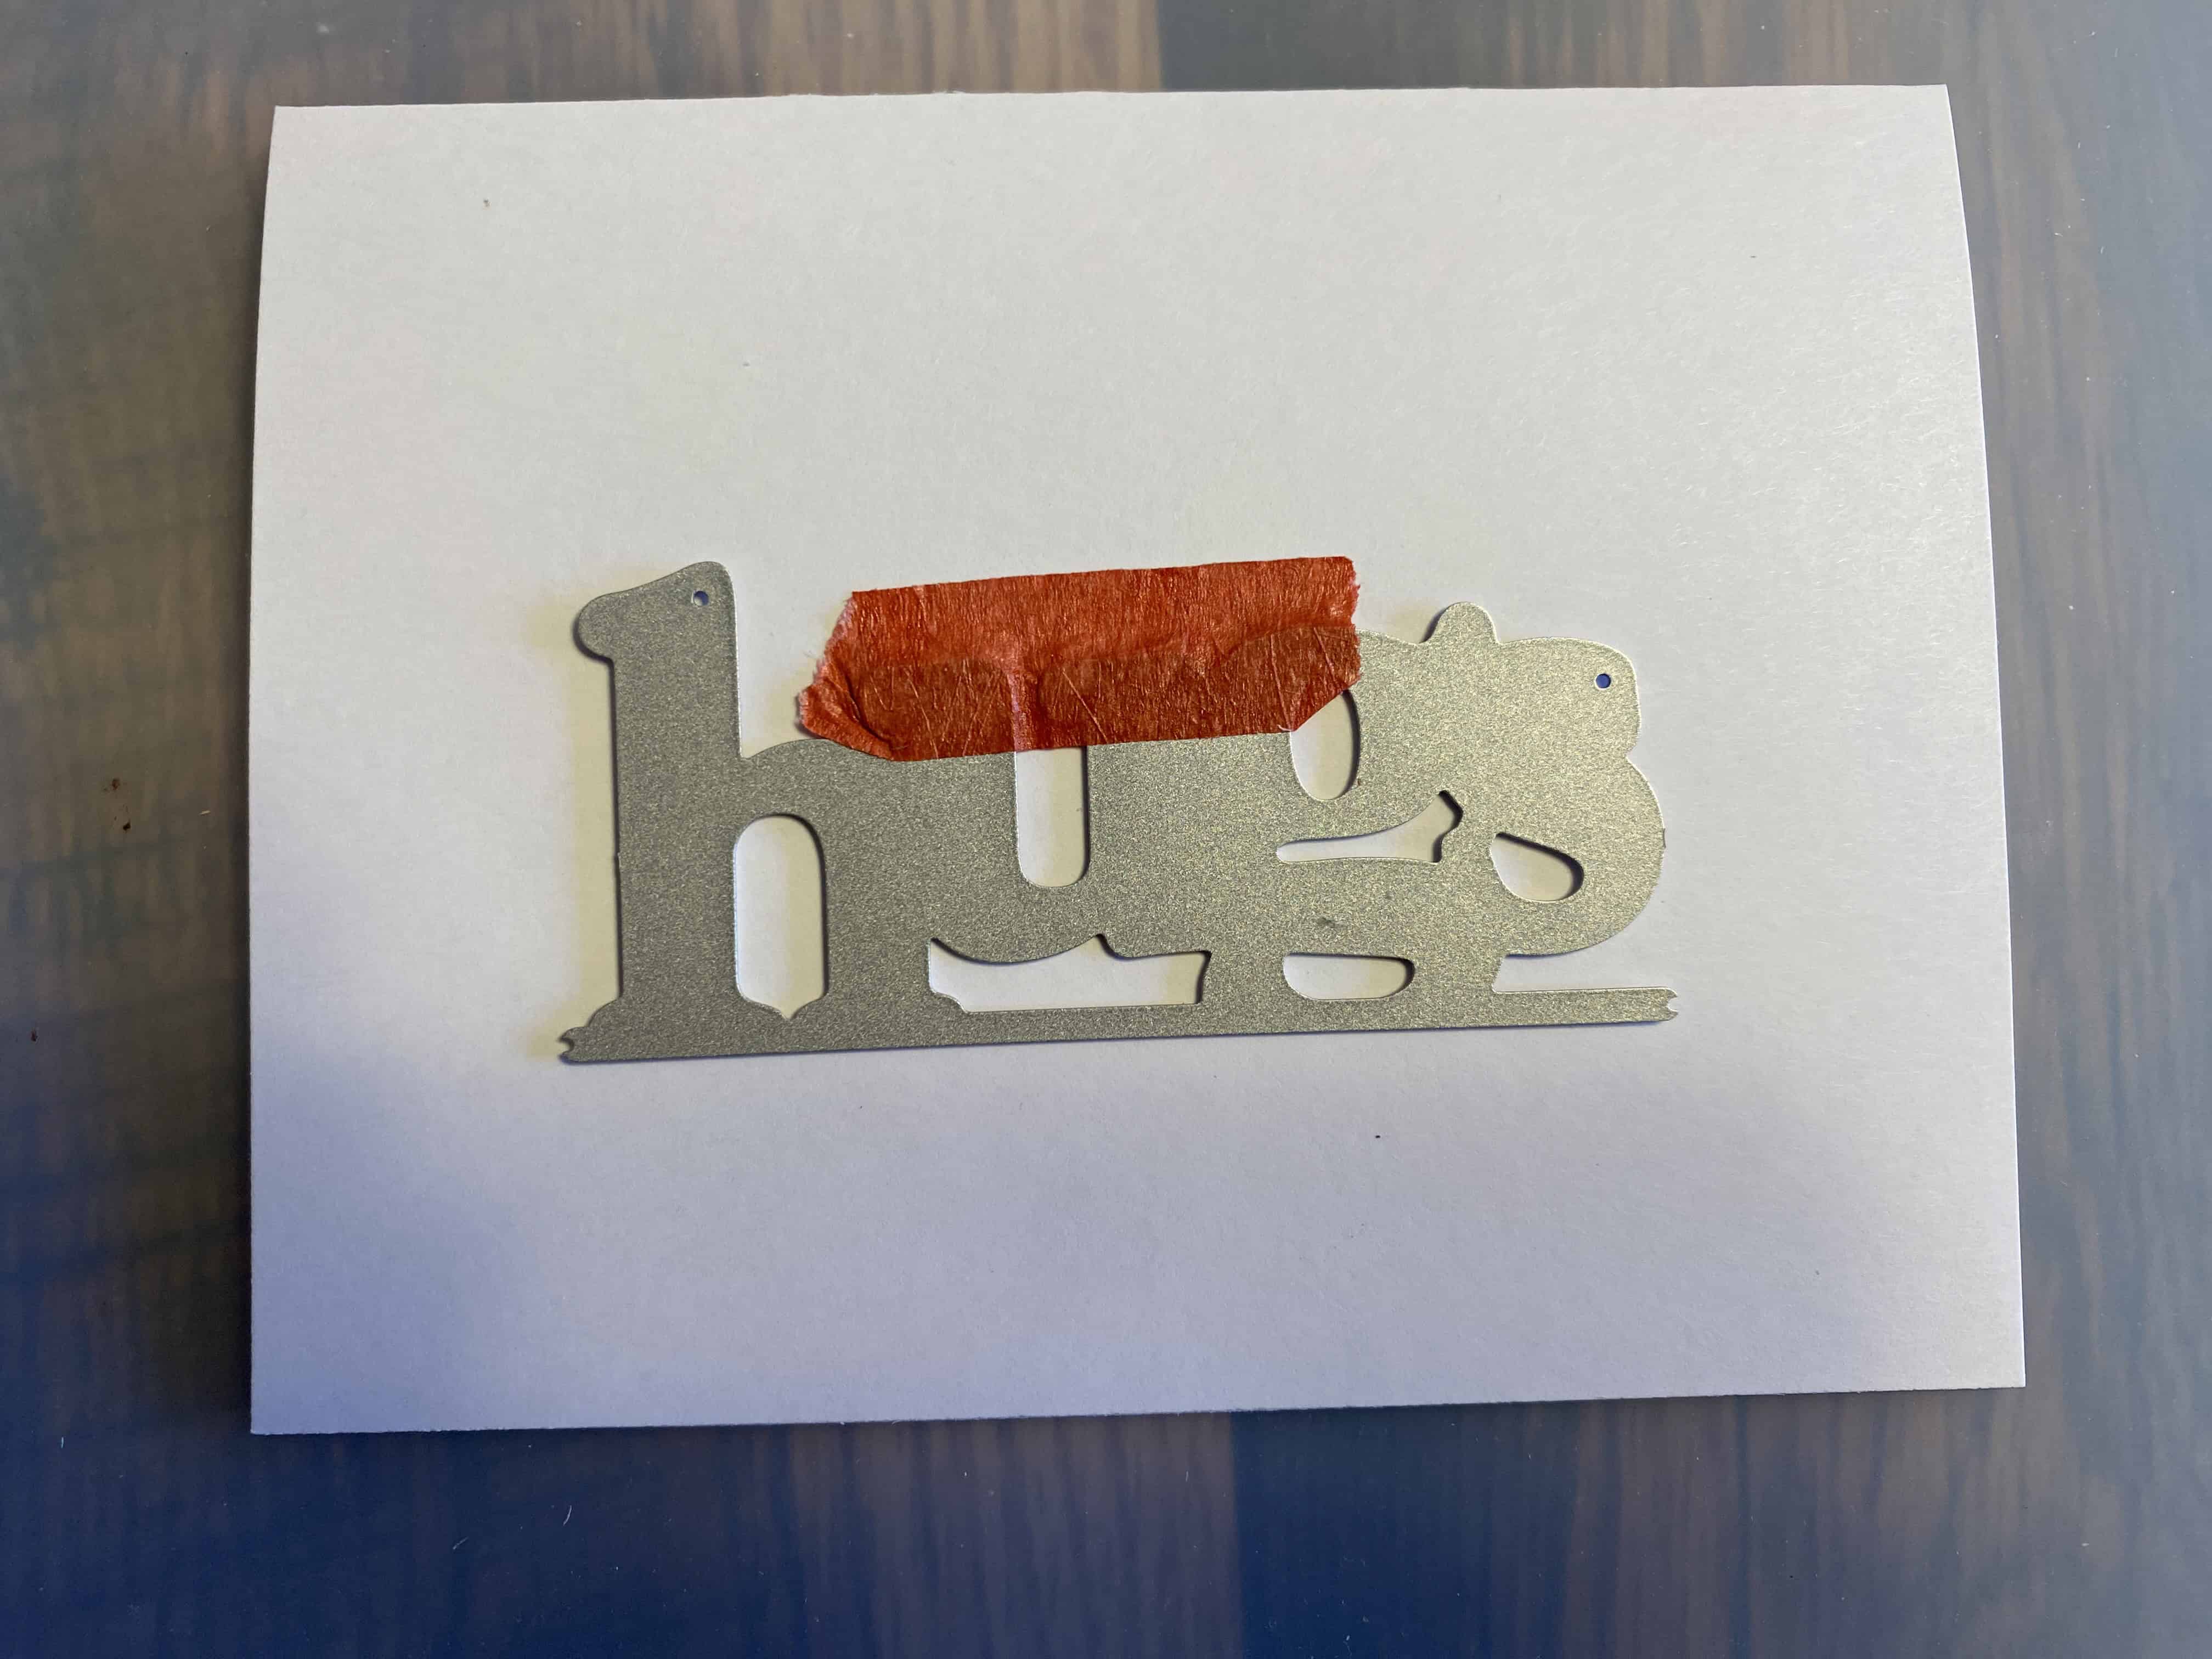
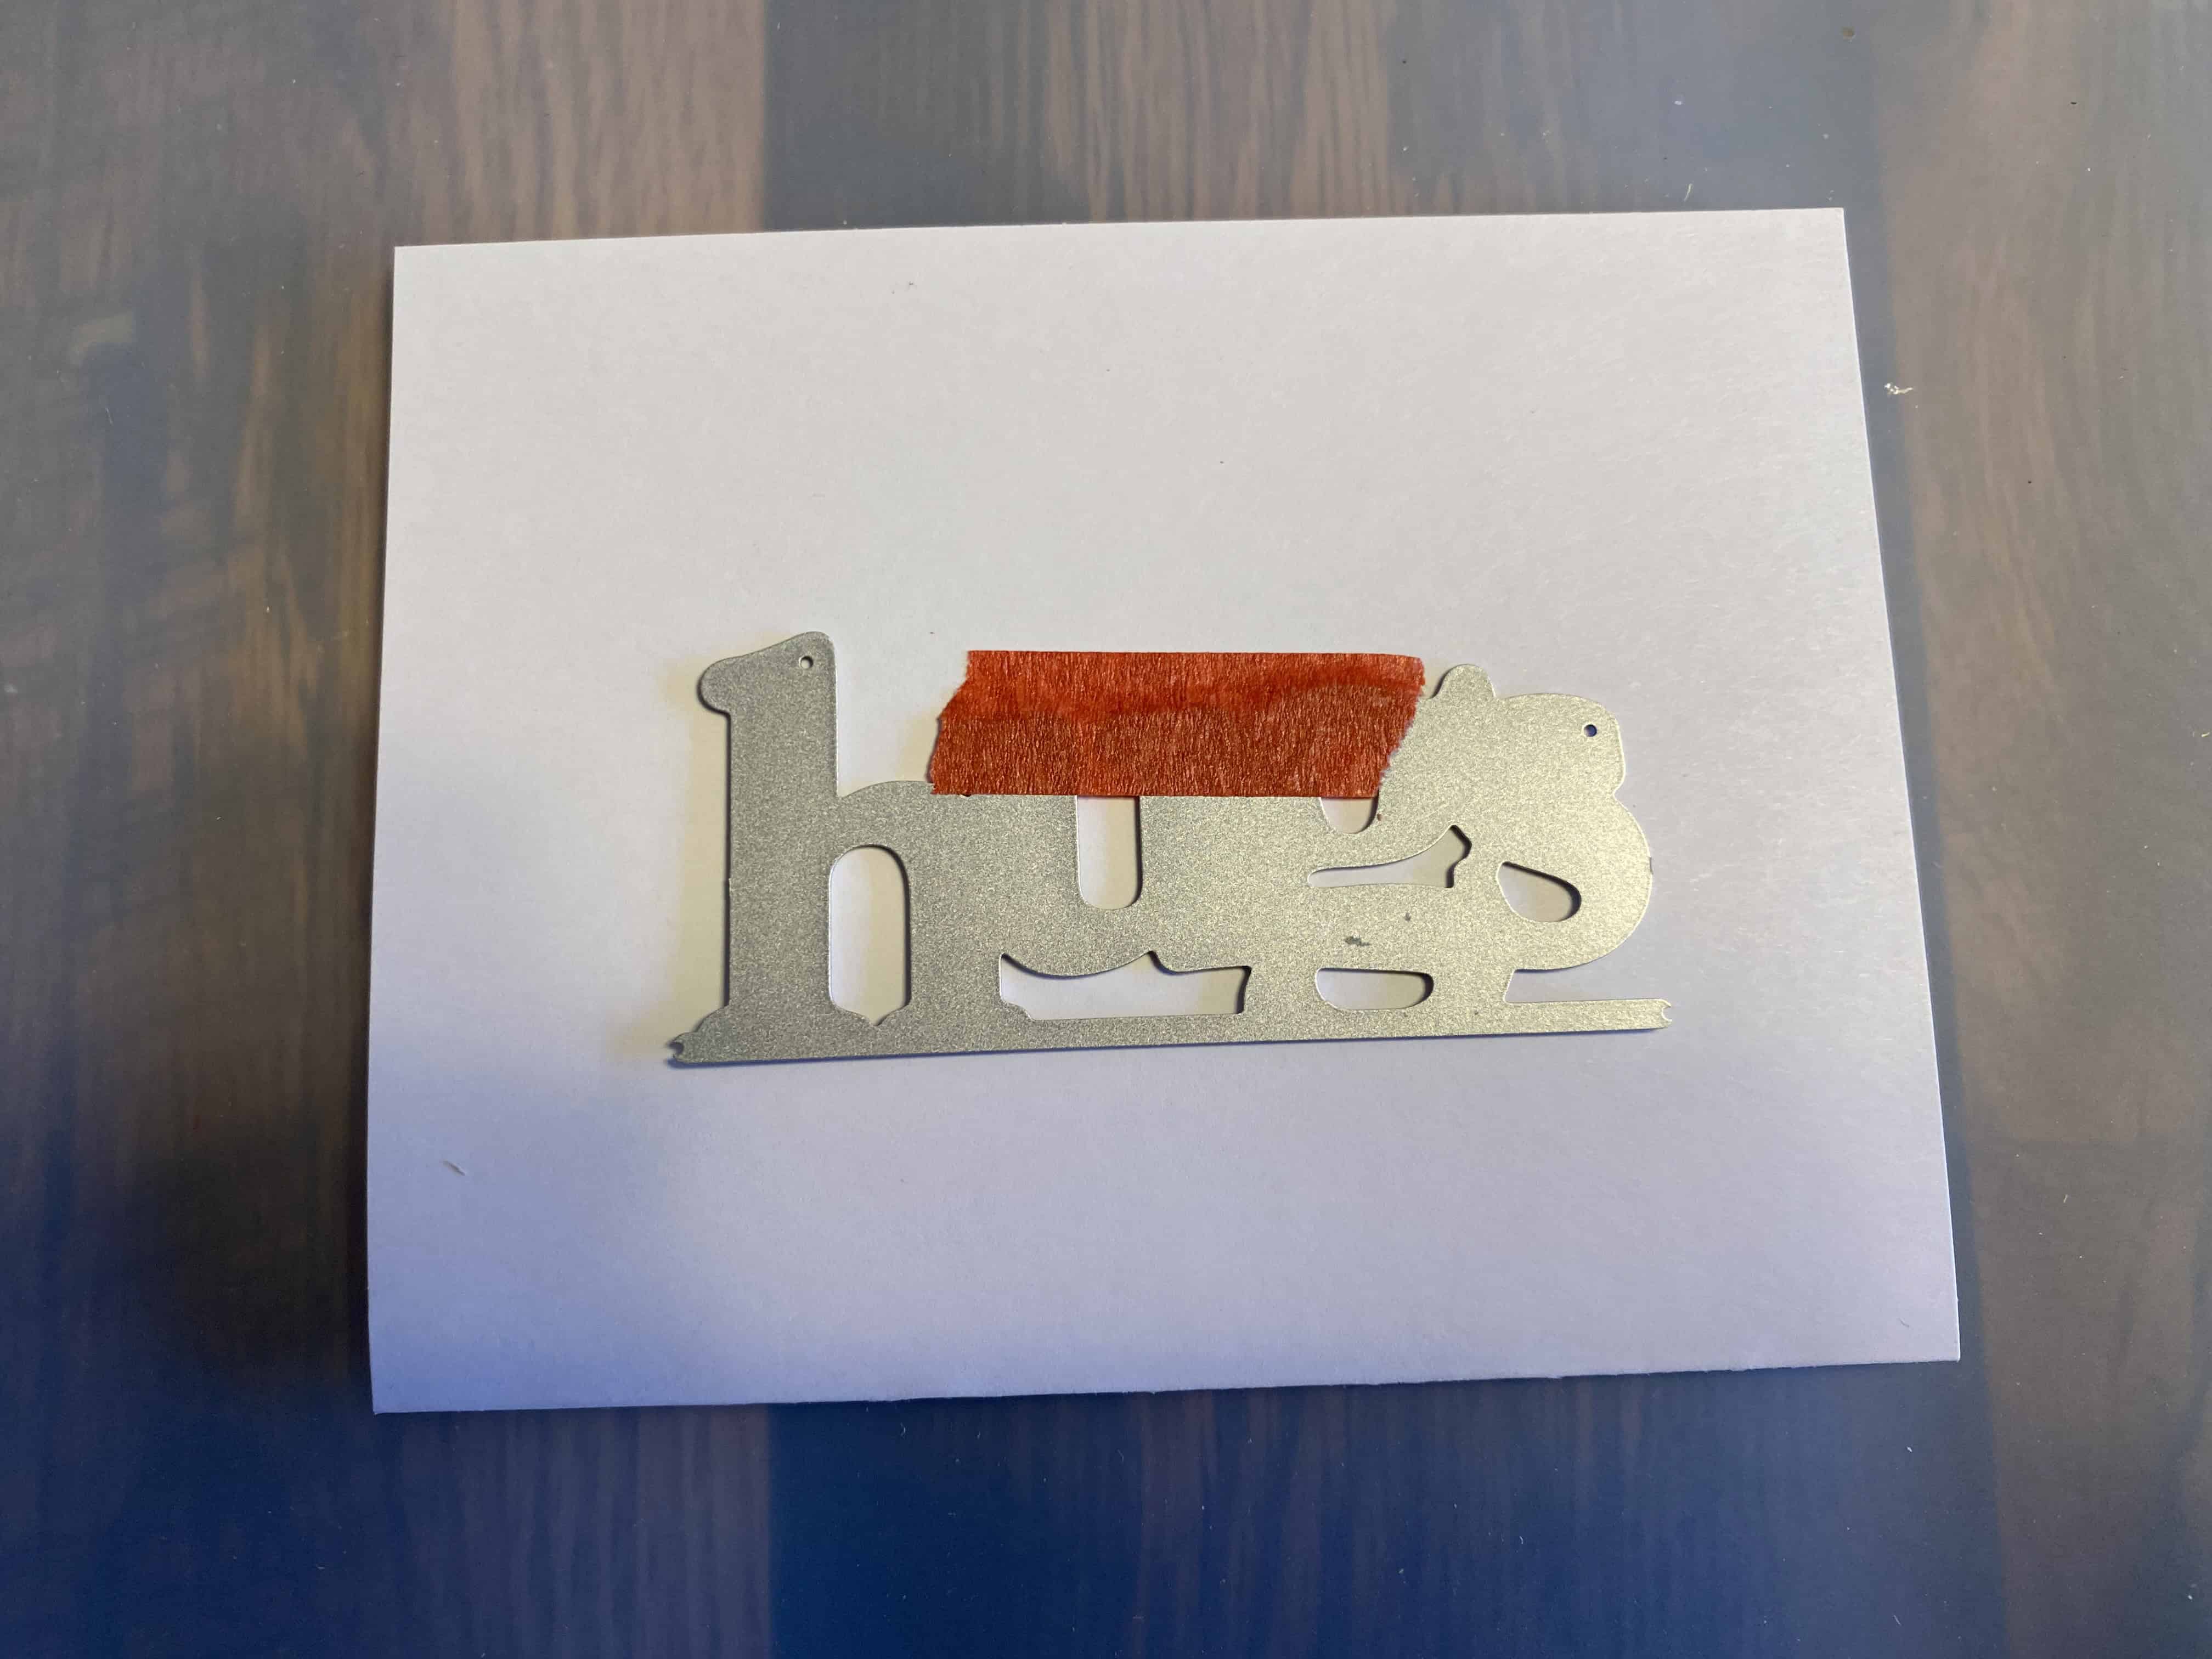
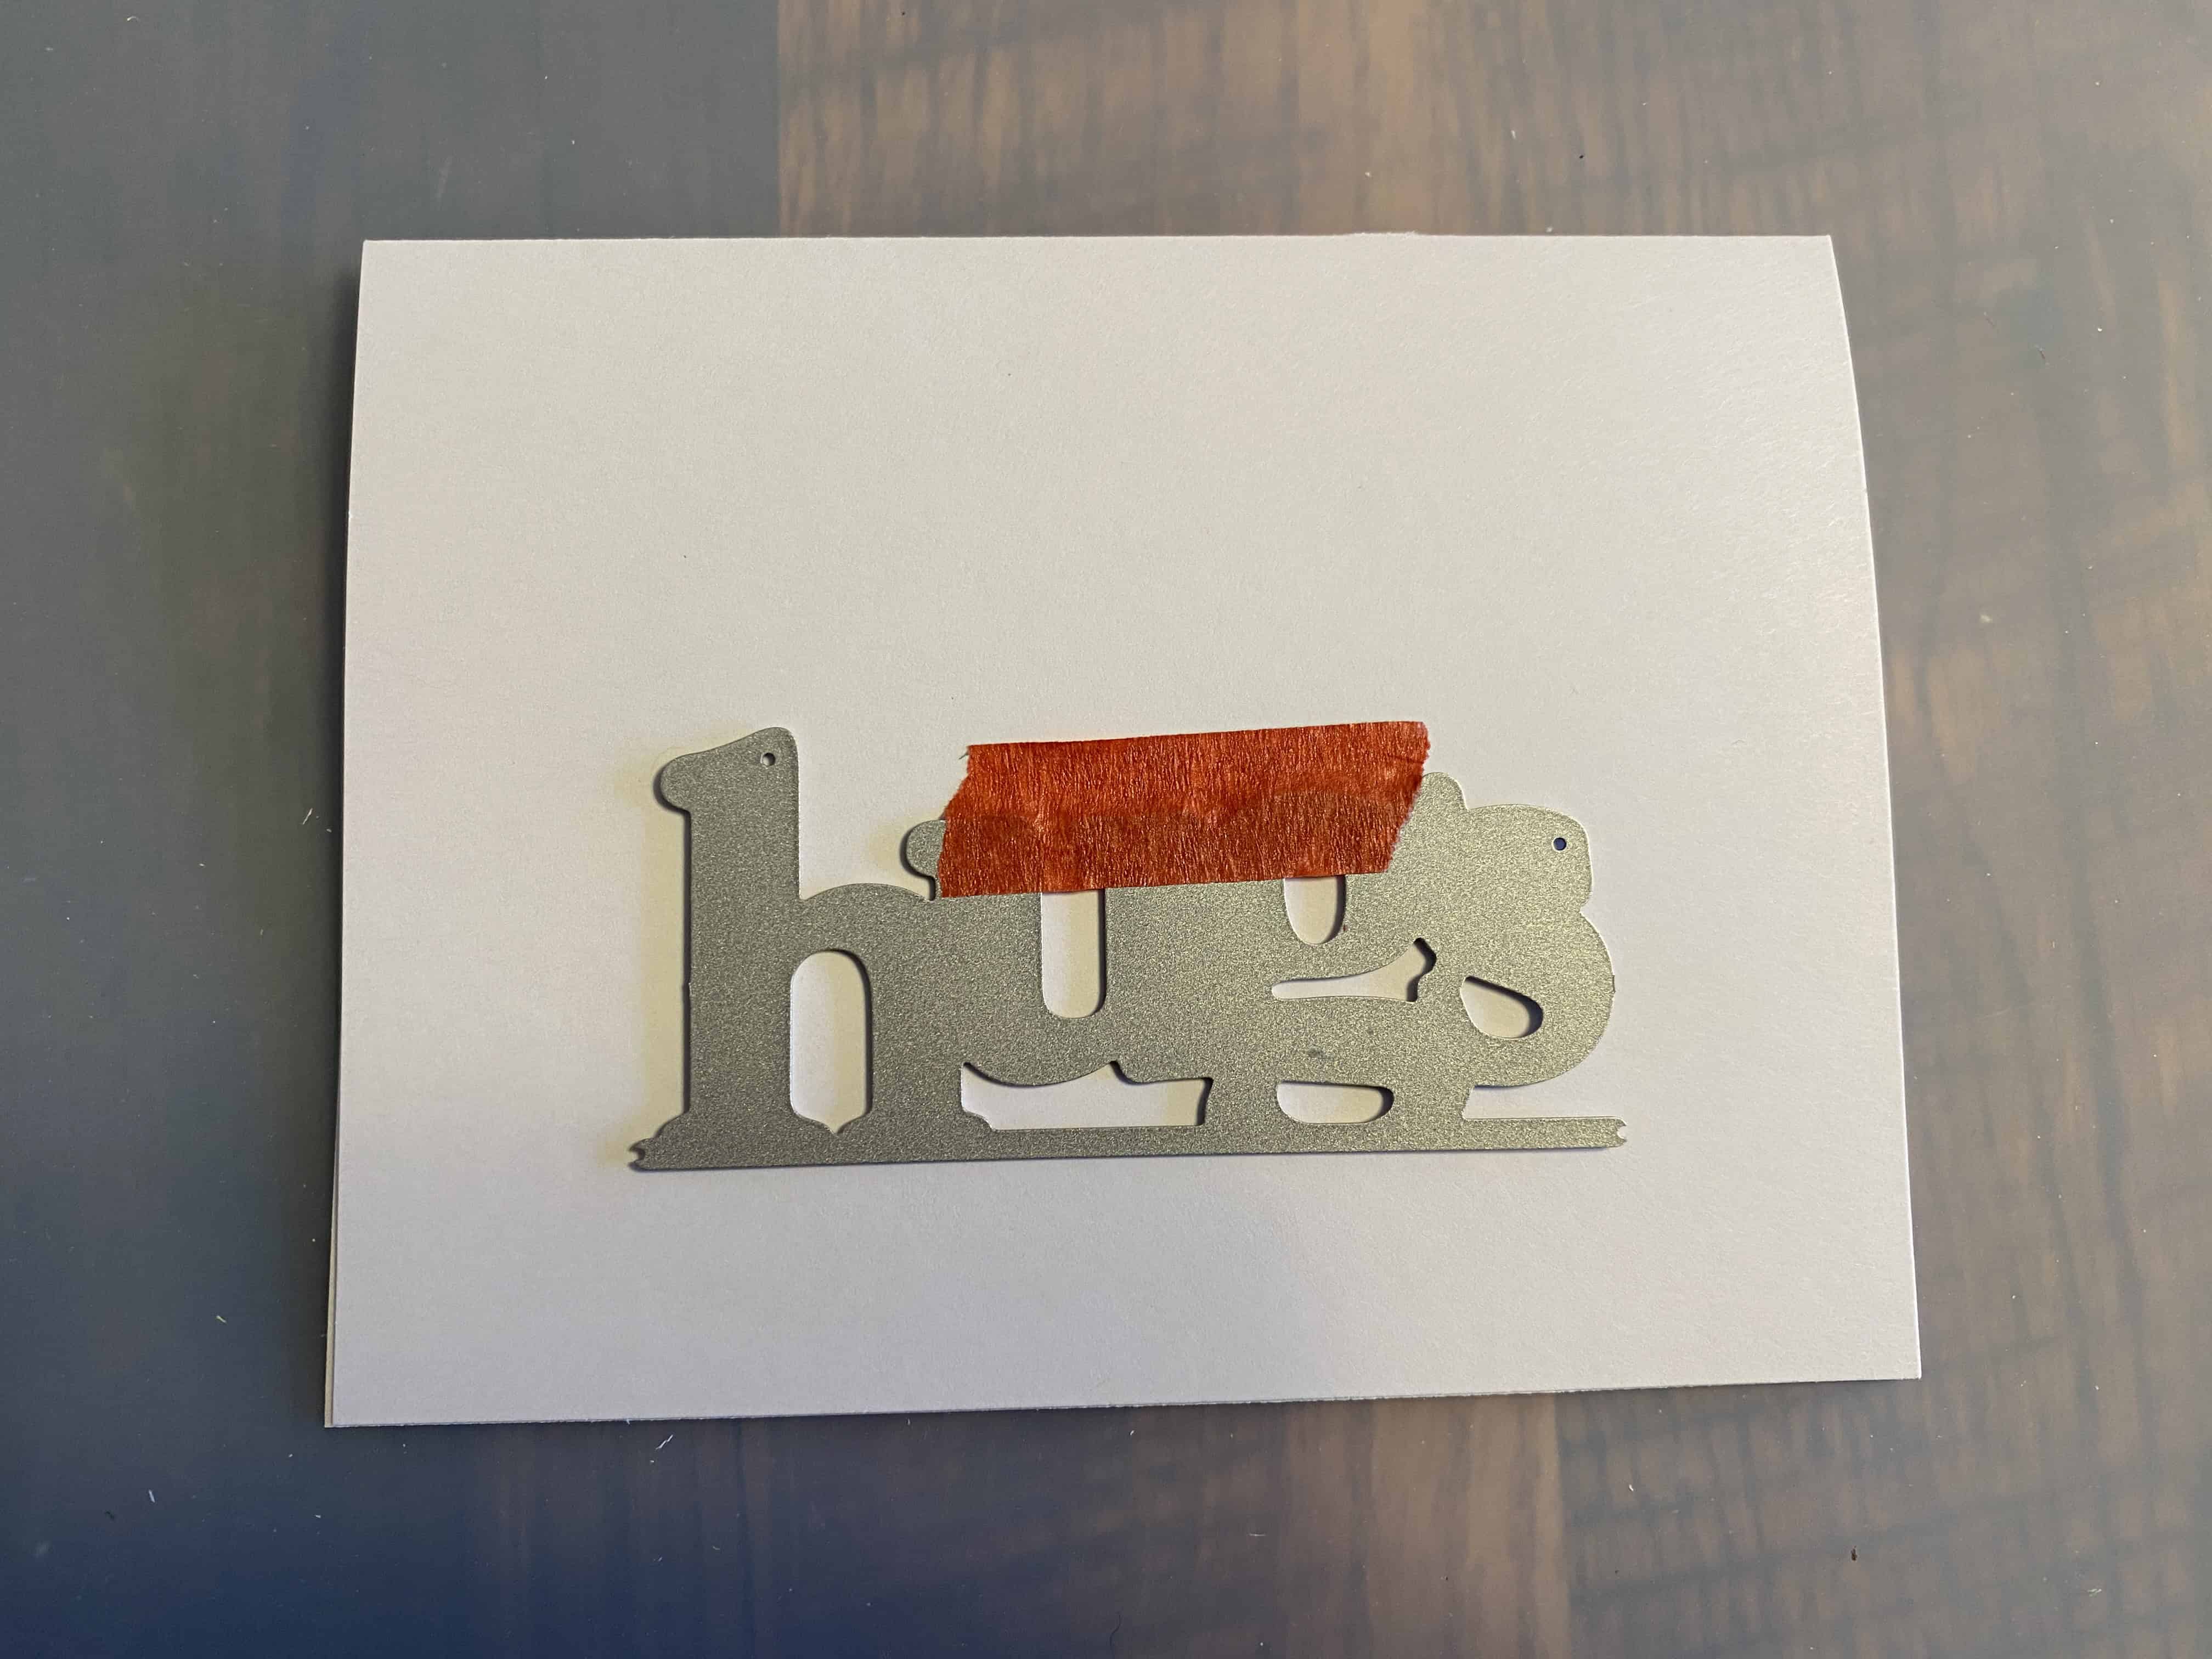
Think ahead: put low-tack tape where paper will be removed (just in case it tears the paper a bit)
Vertical orientation:
Full left fold
Think ahead: Where will you put the outside greeting? The inside greeting?
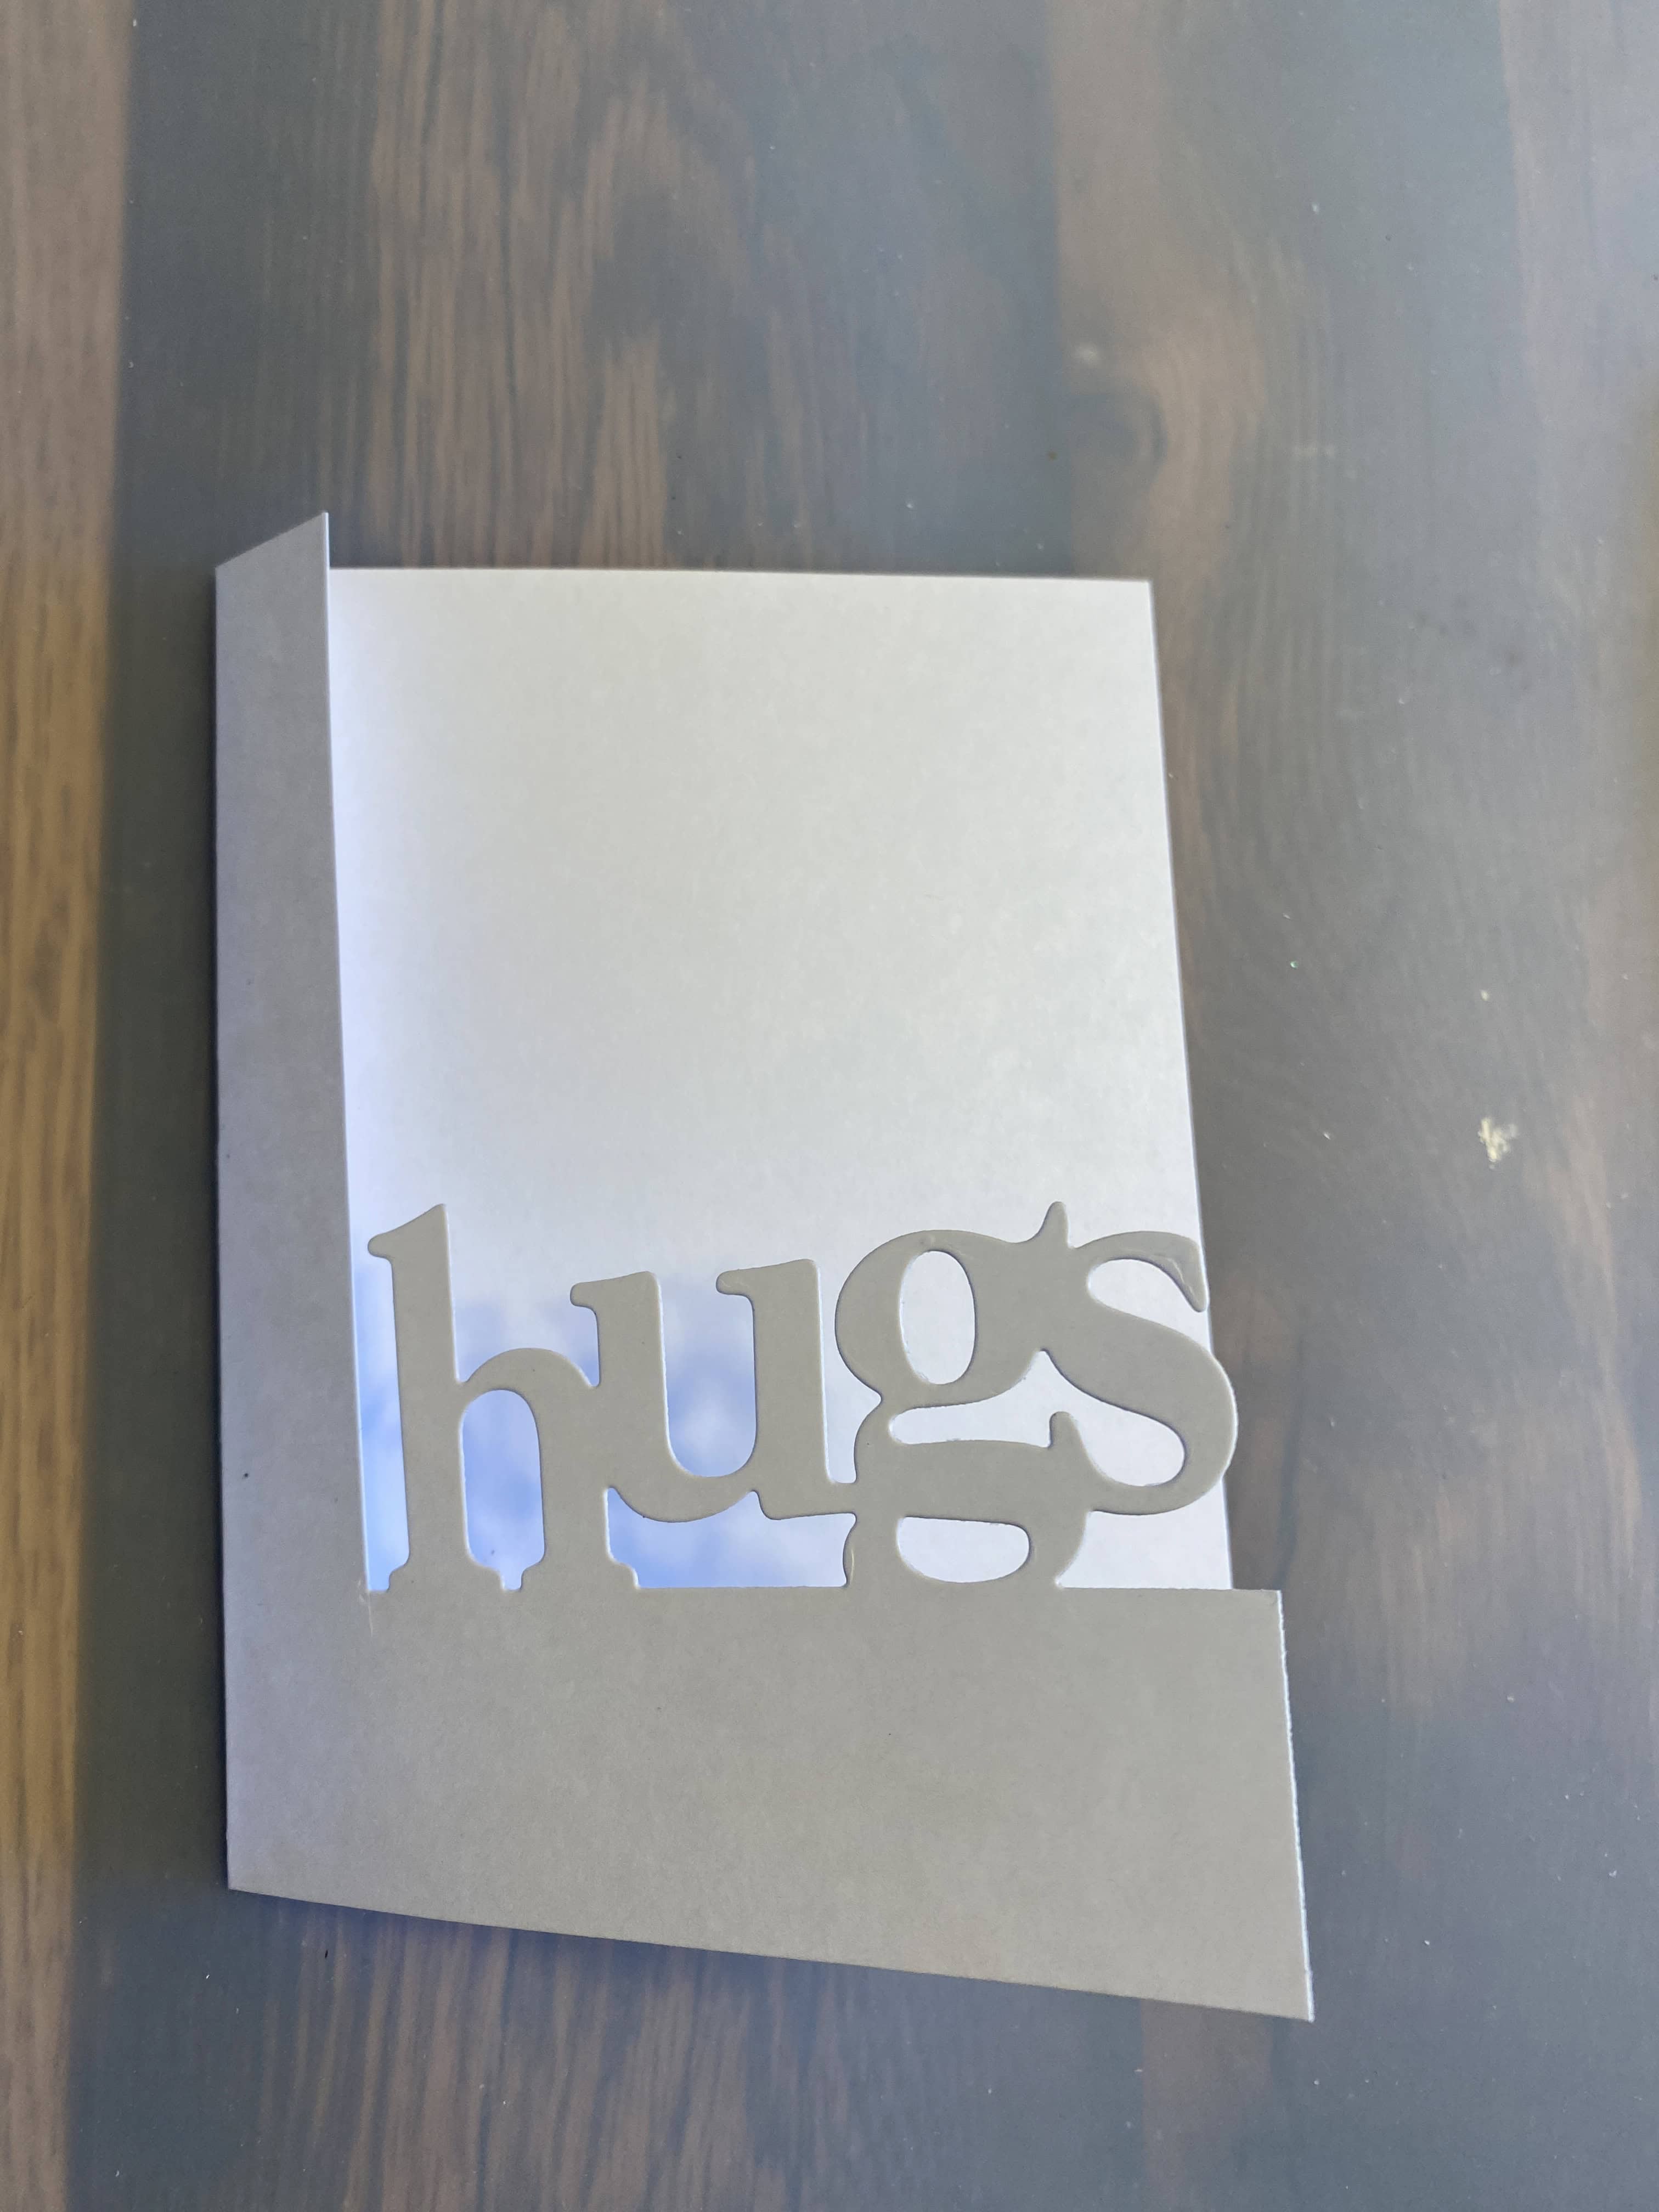
Horizontal orientation:
Partial top fold
Make sure you leave enough space beneath the word for your sentiment (as needed)
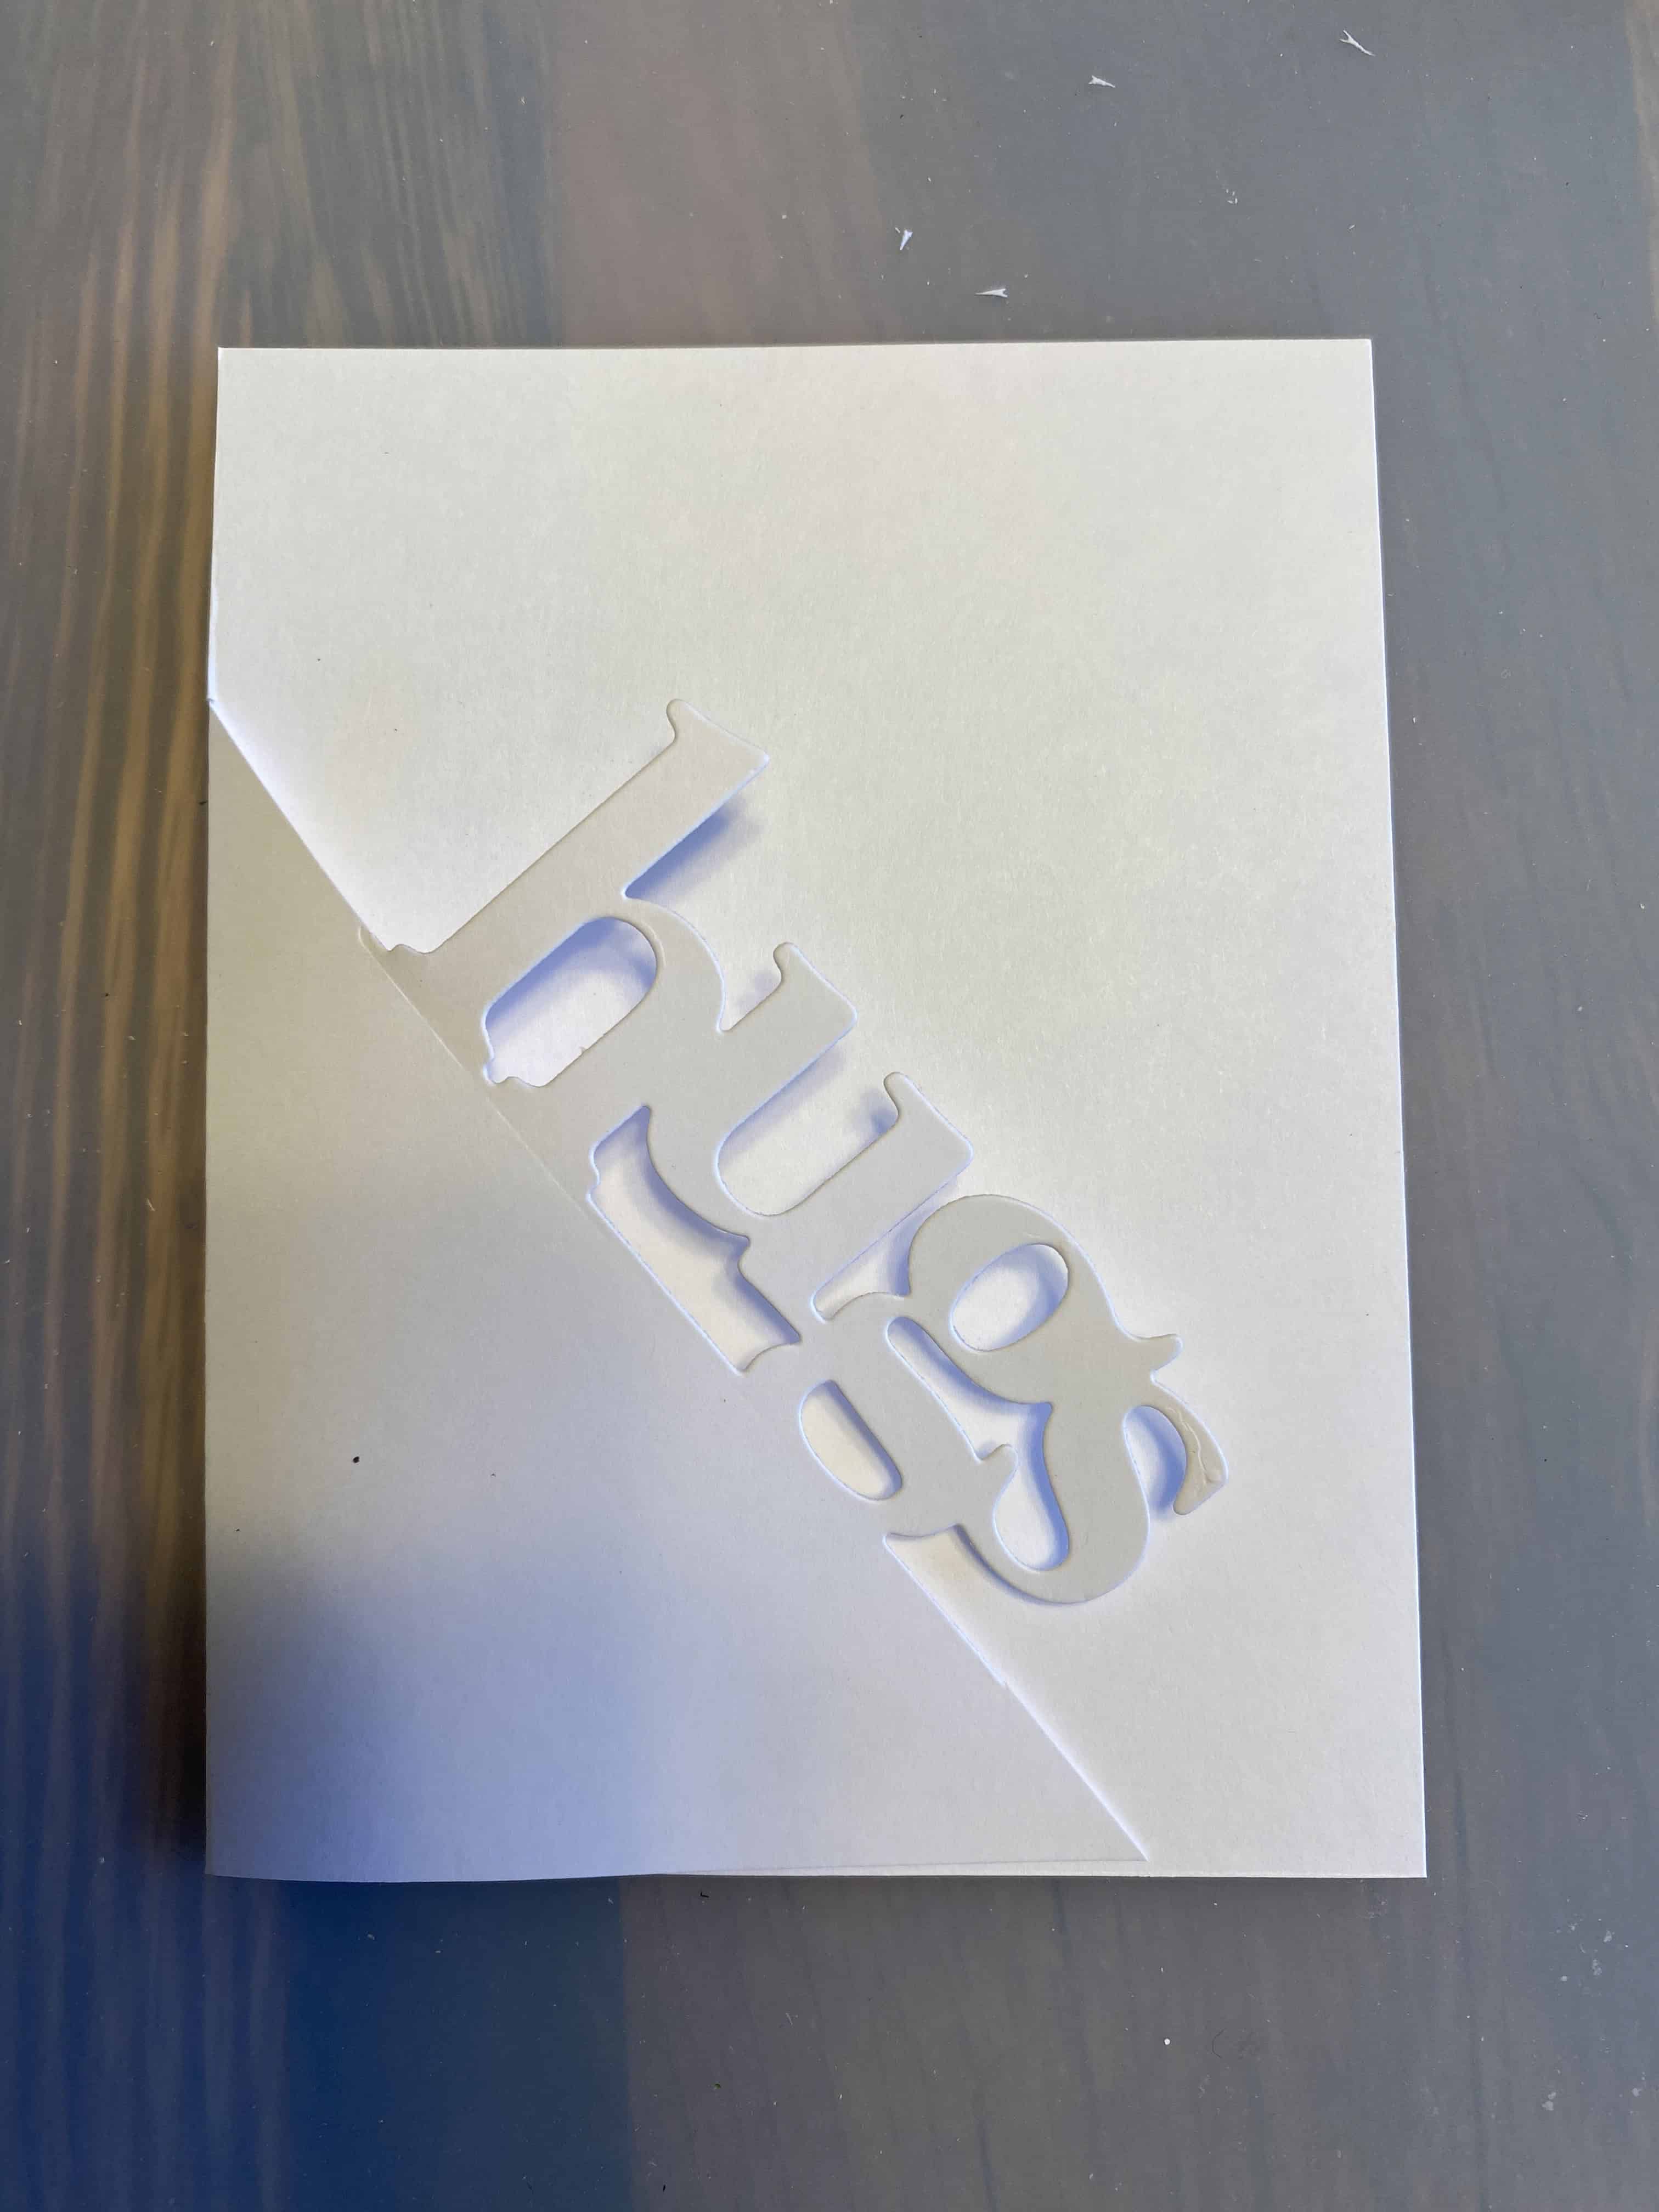
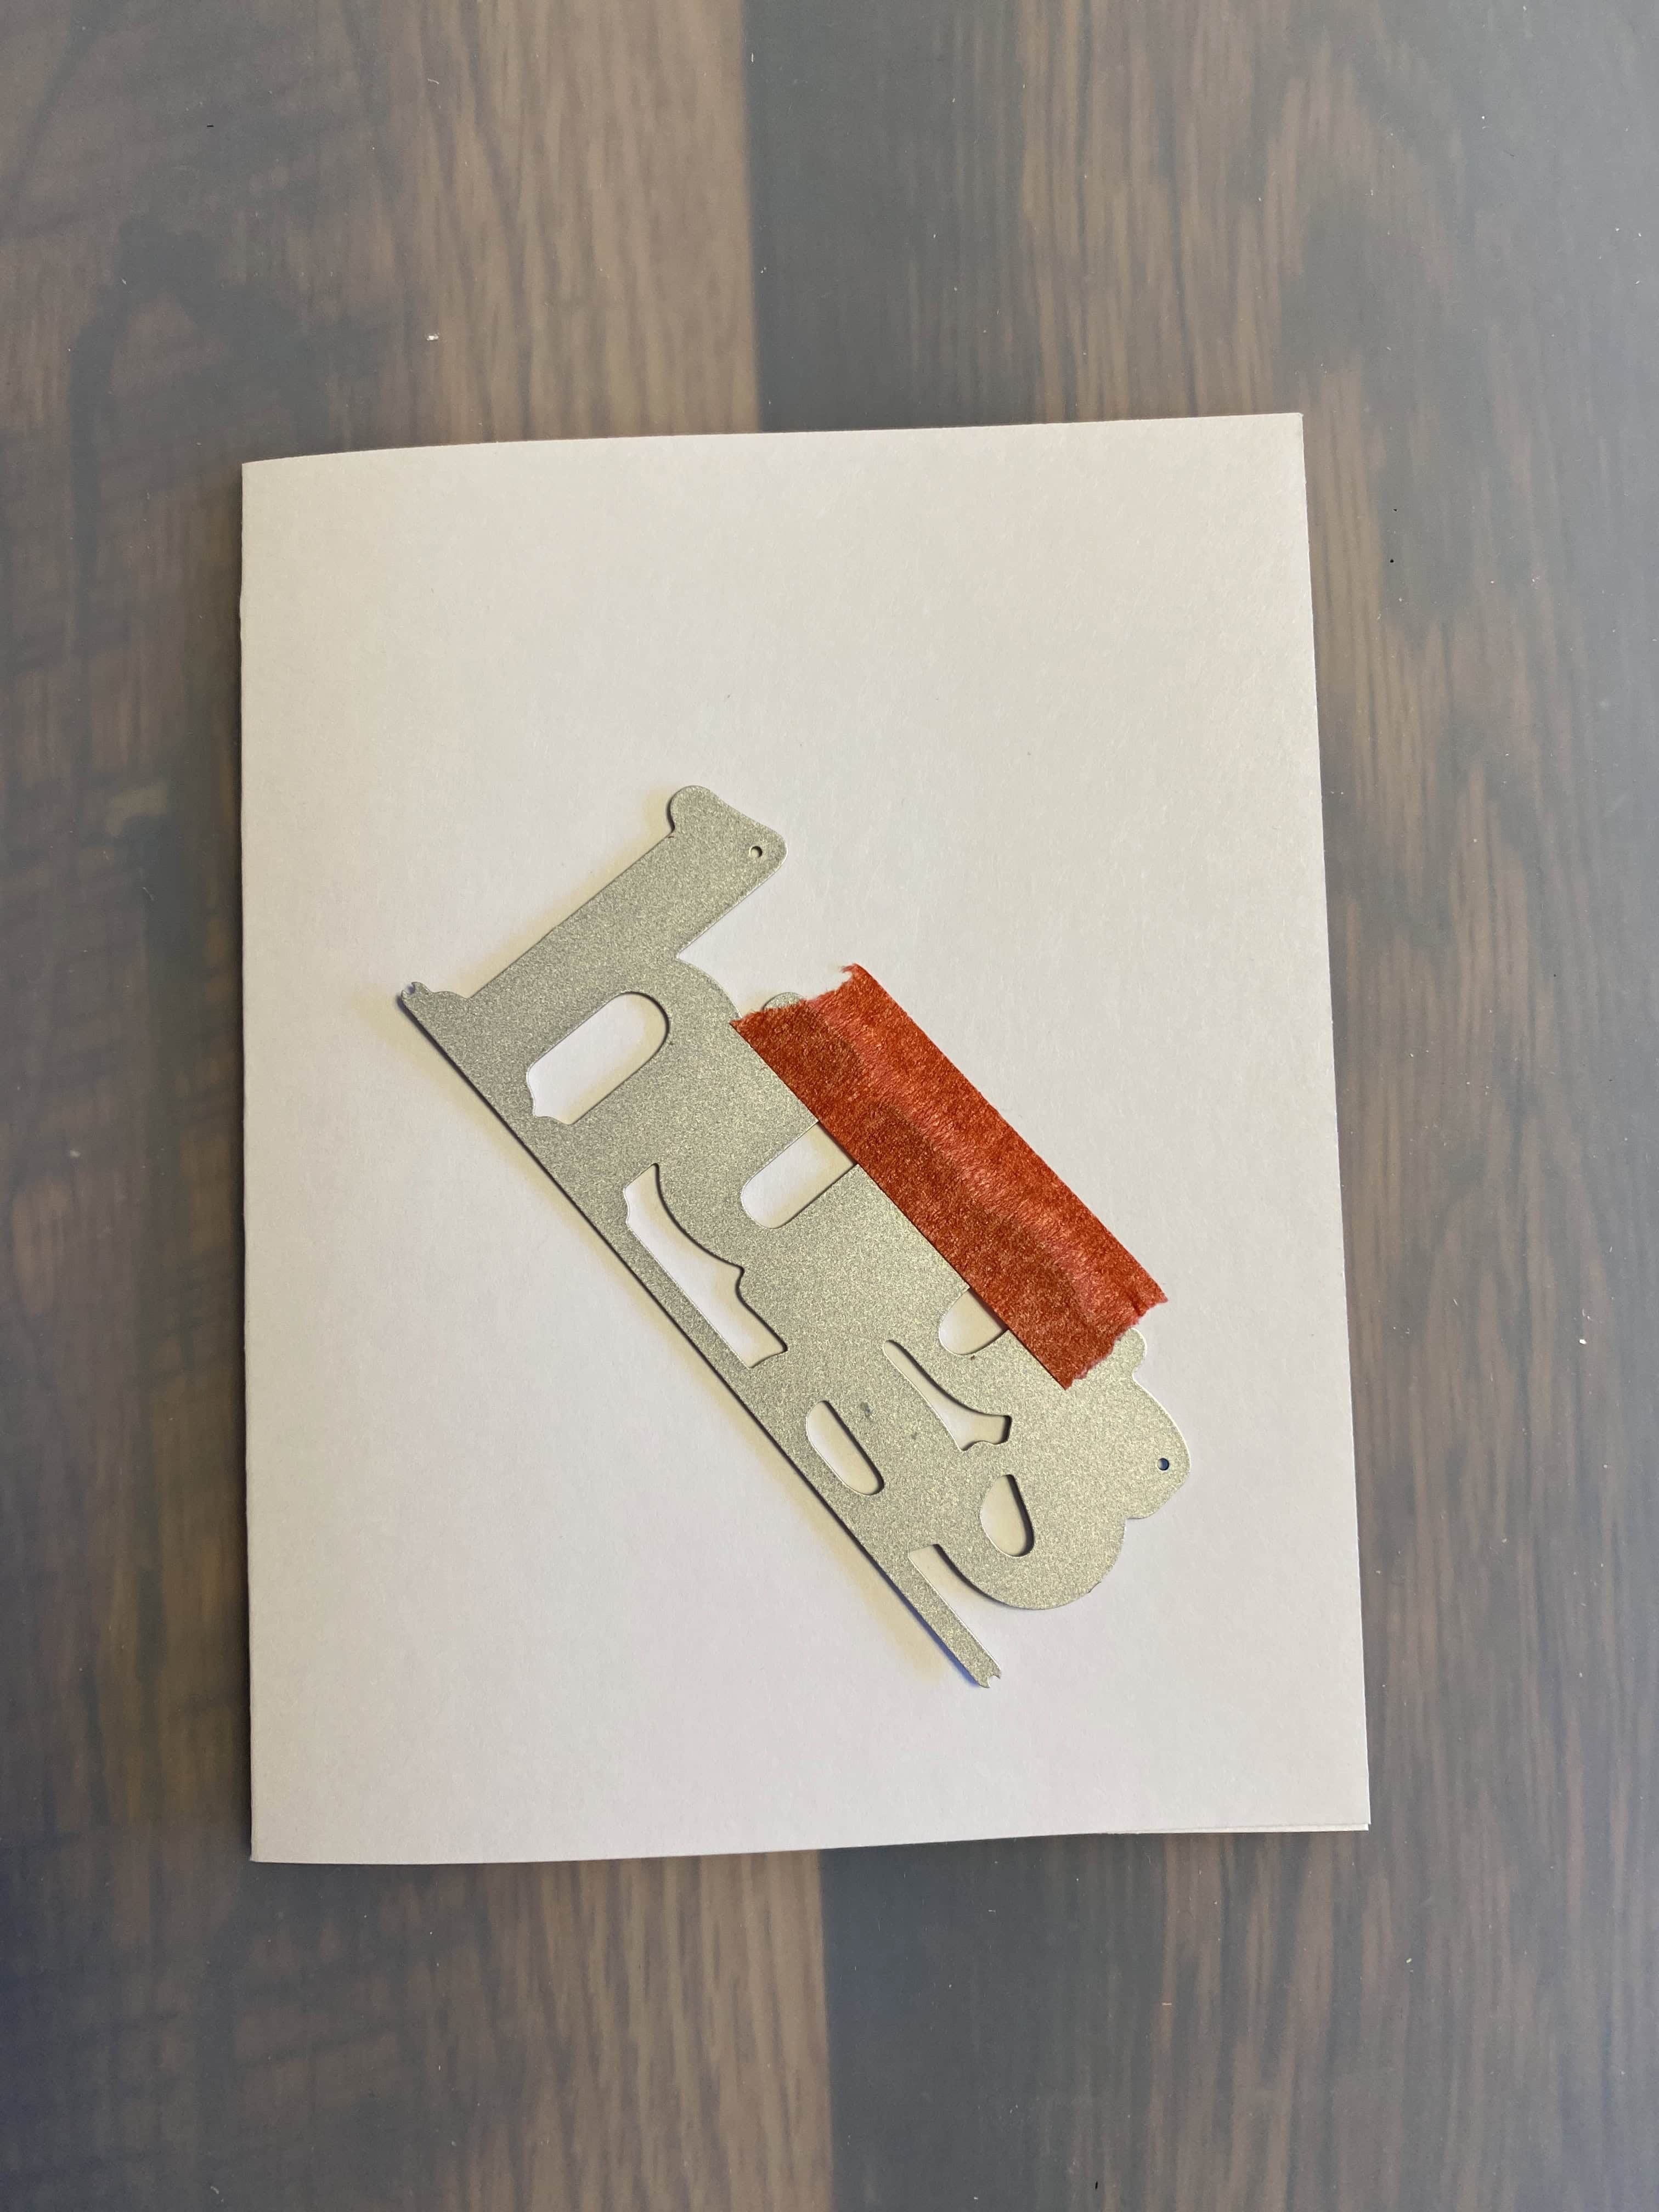
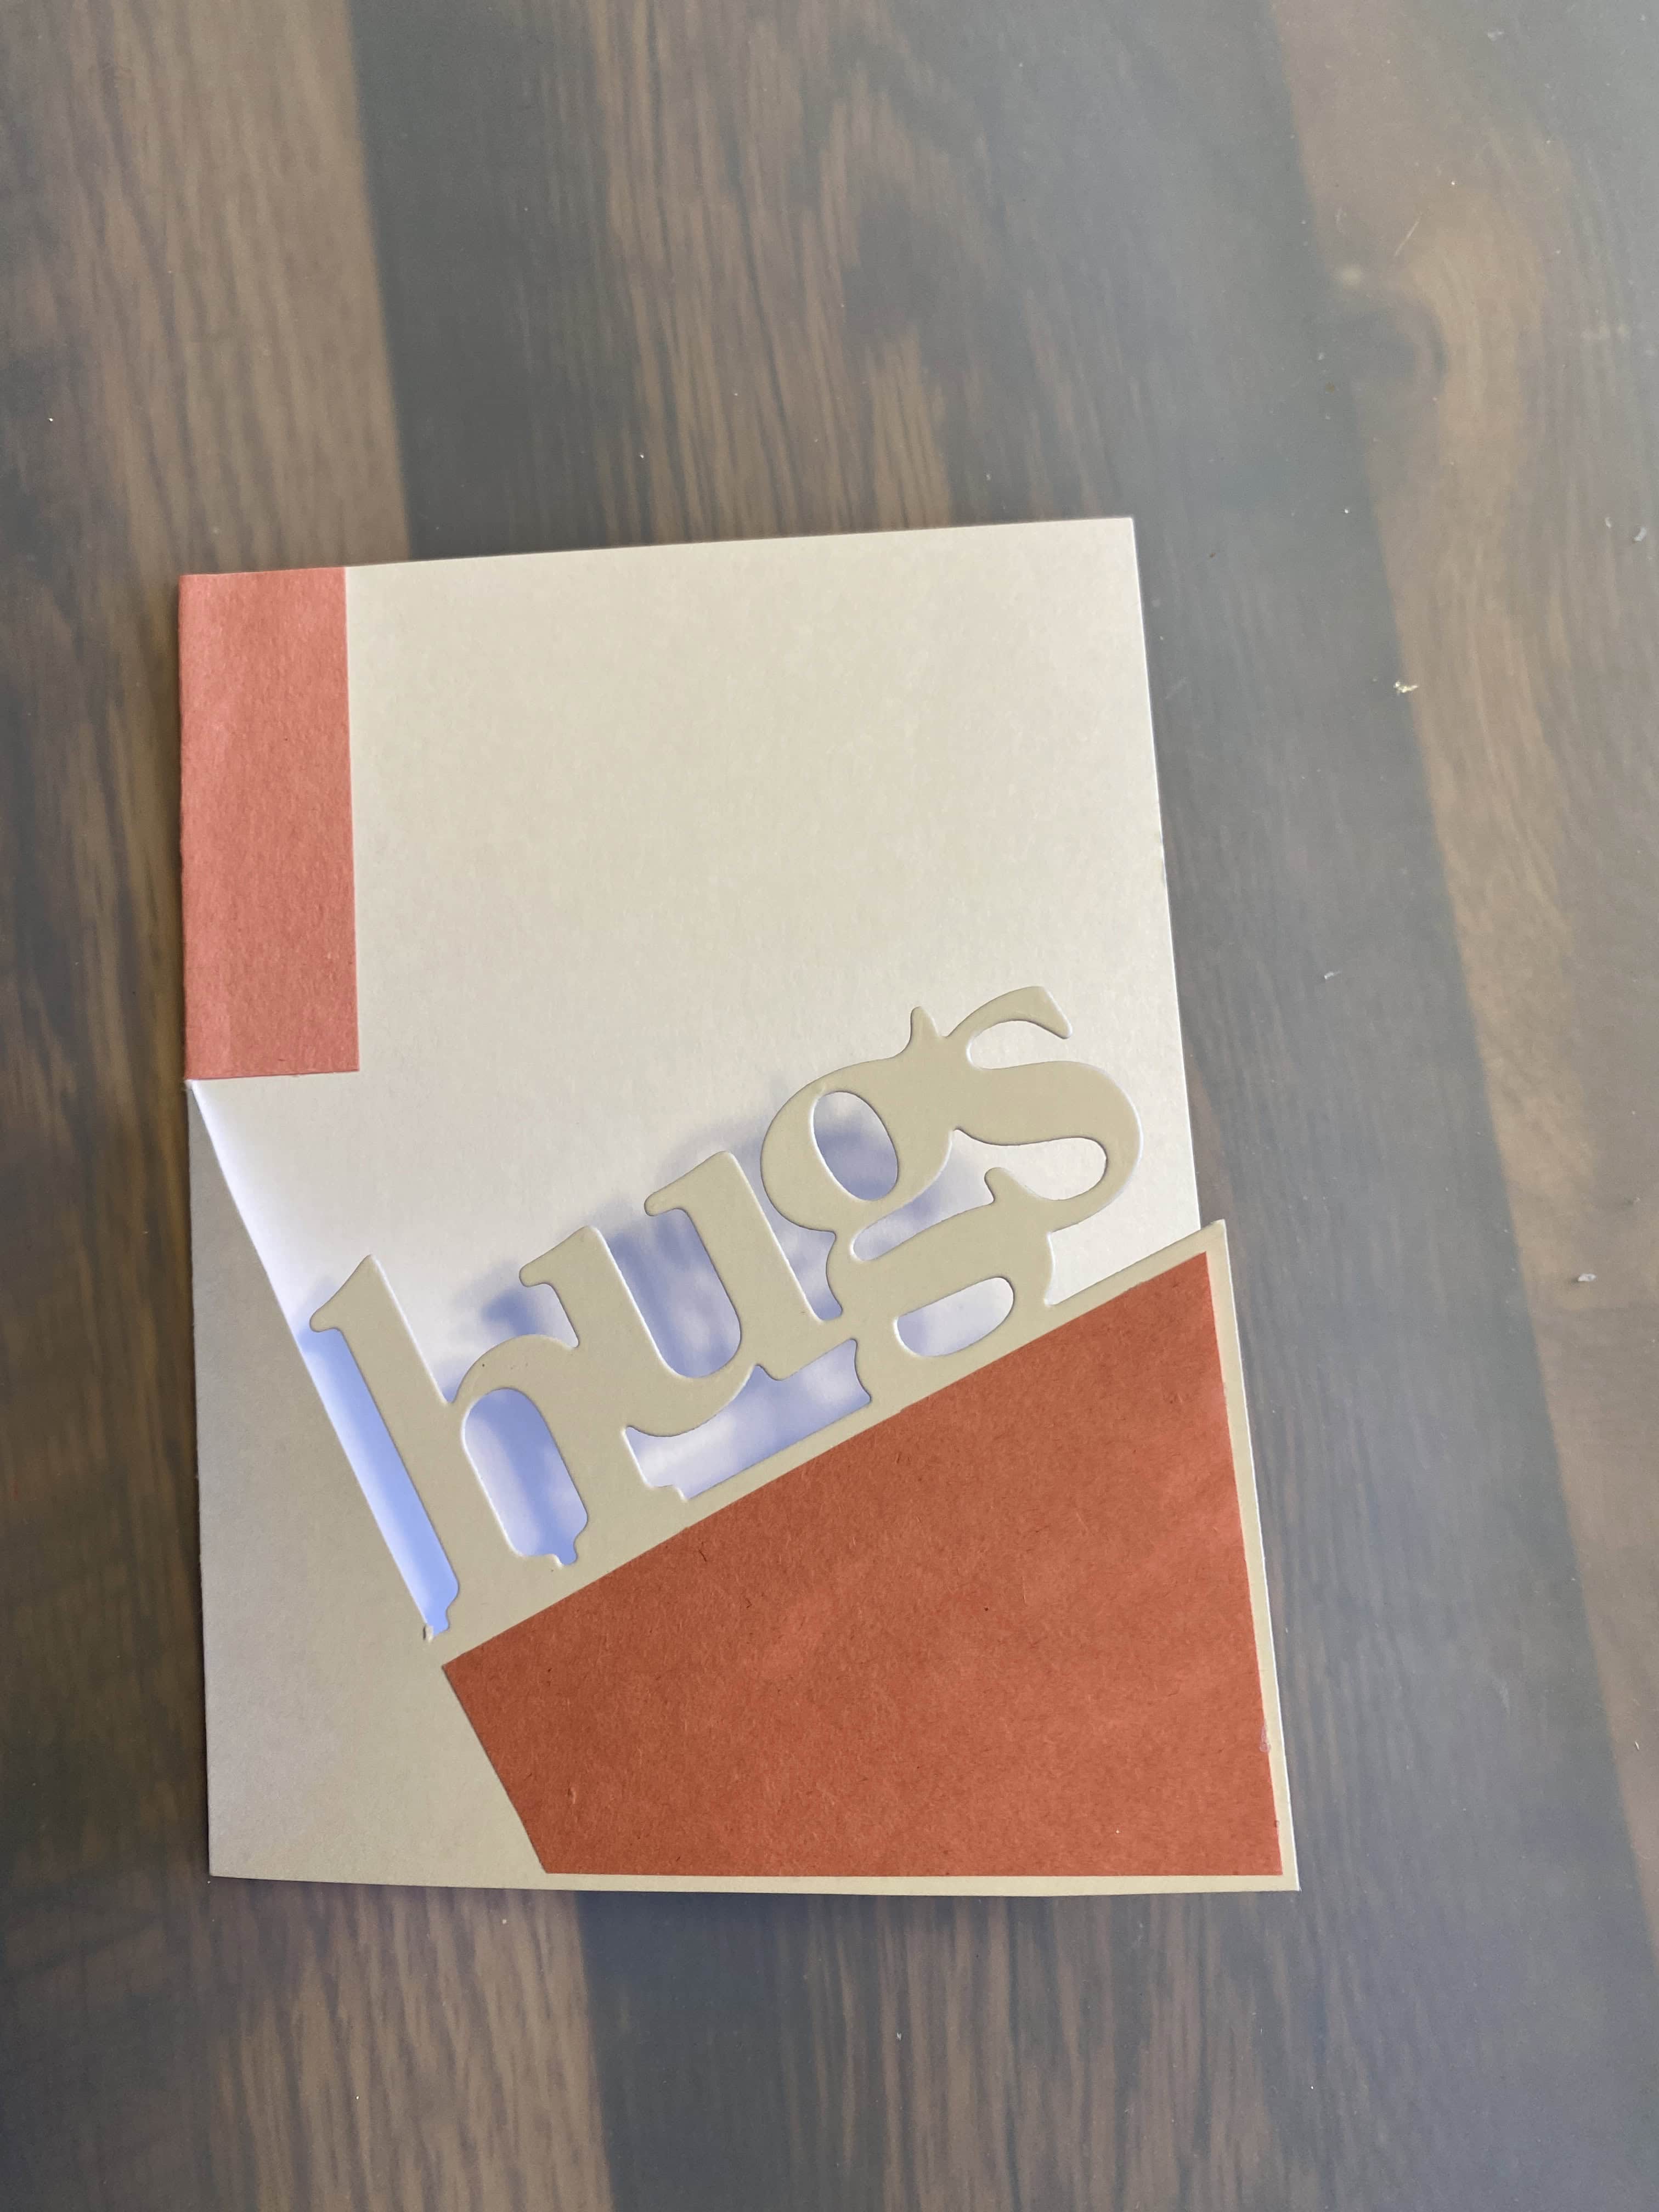
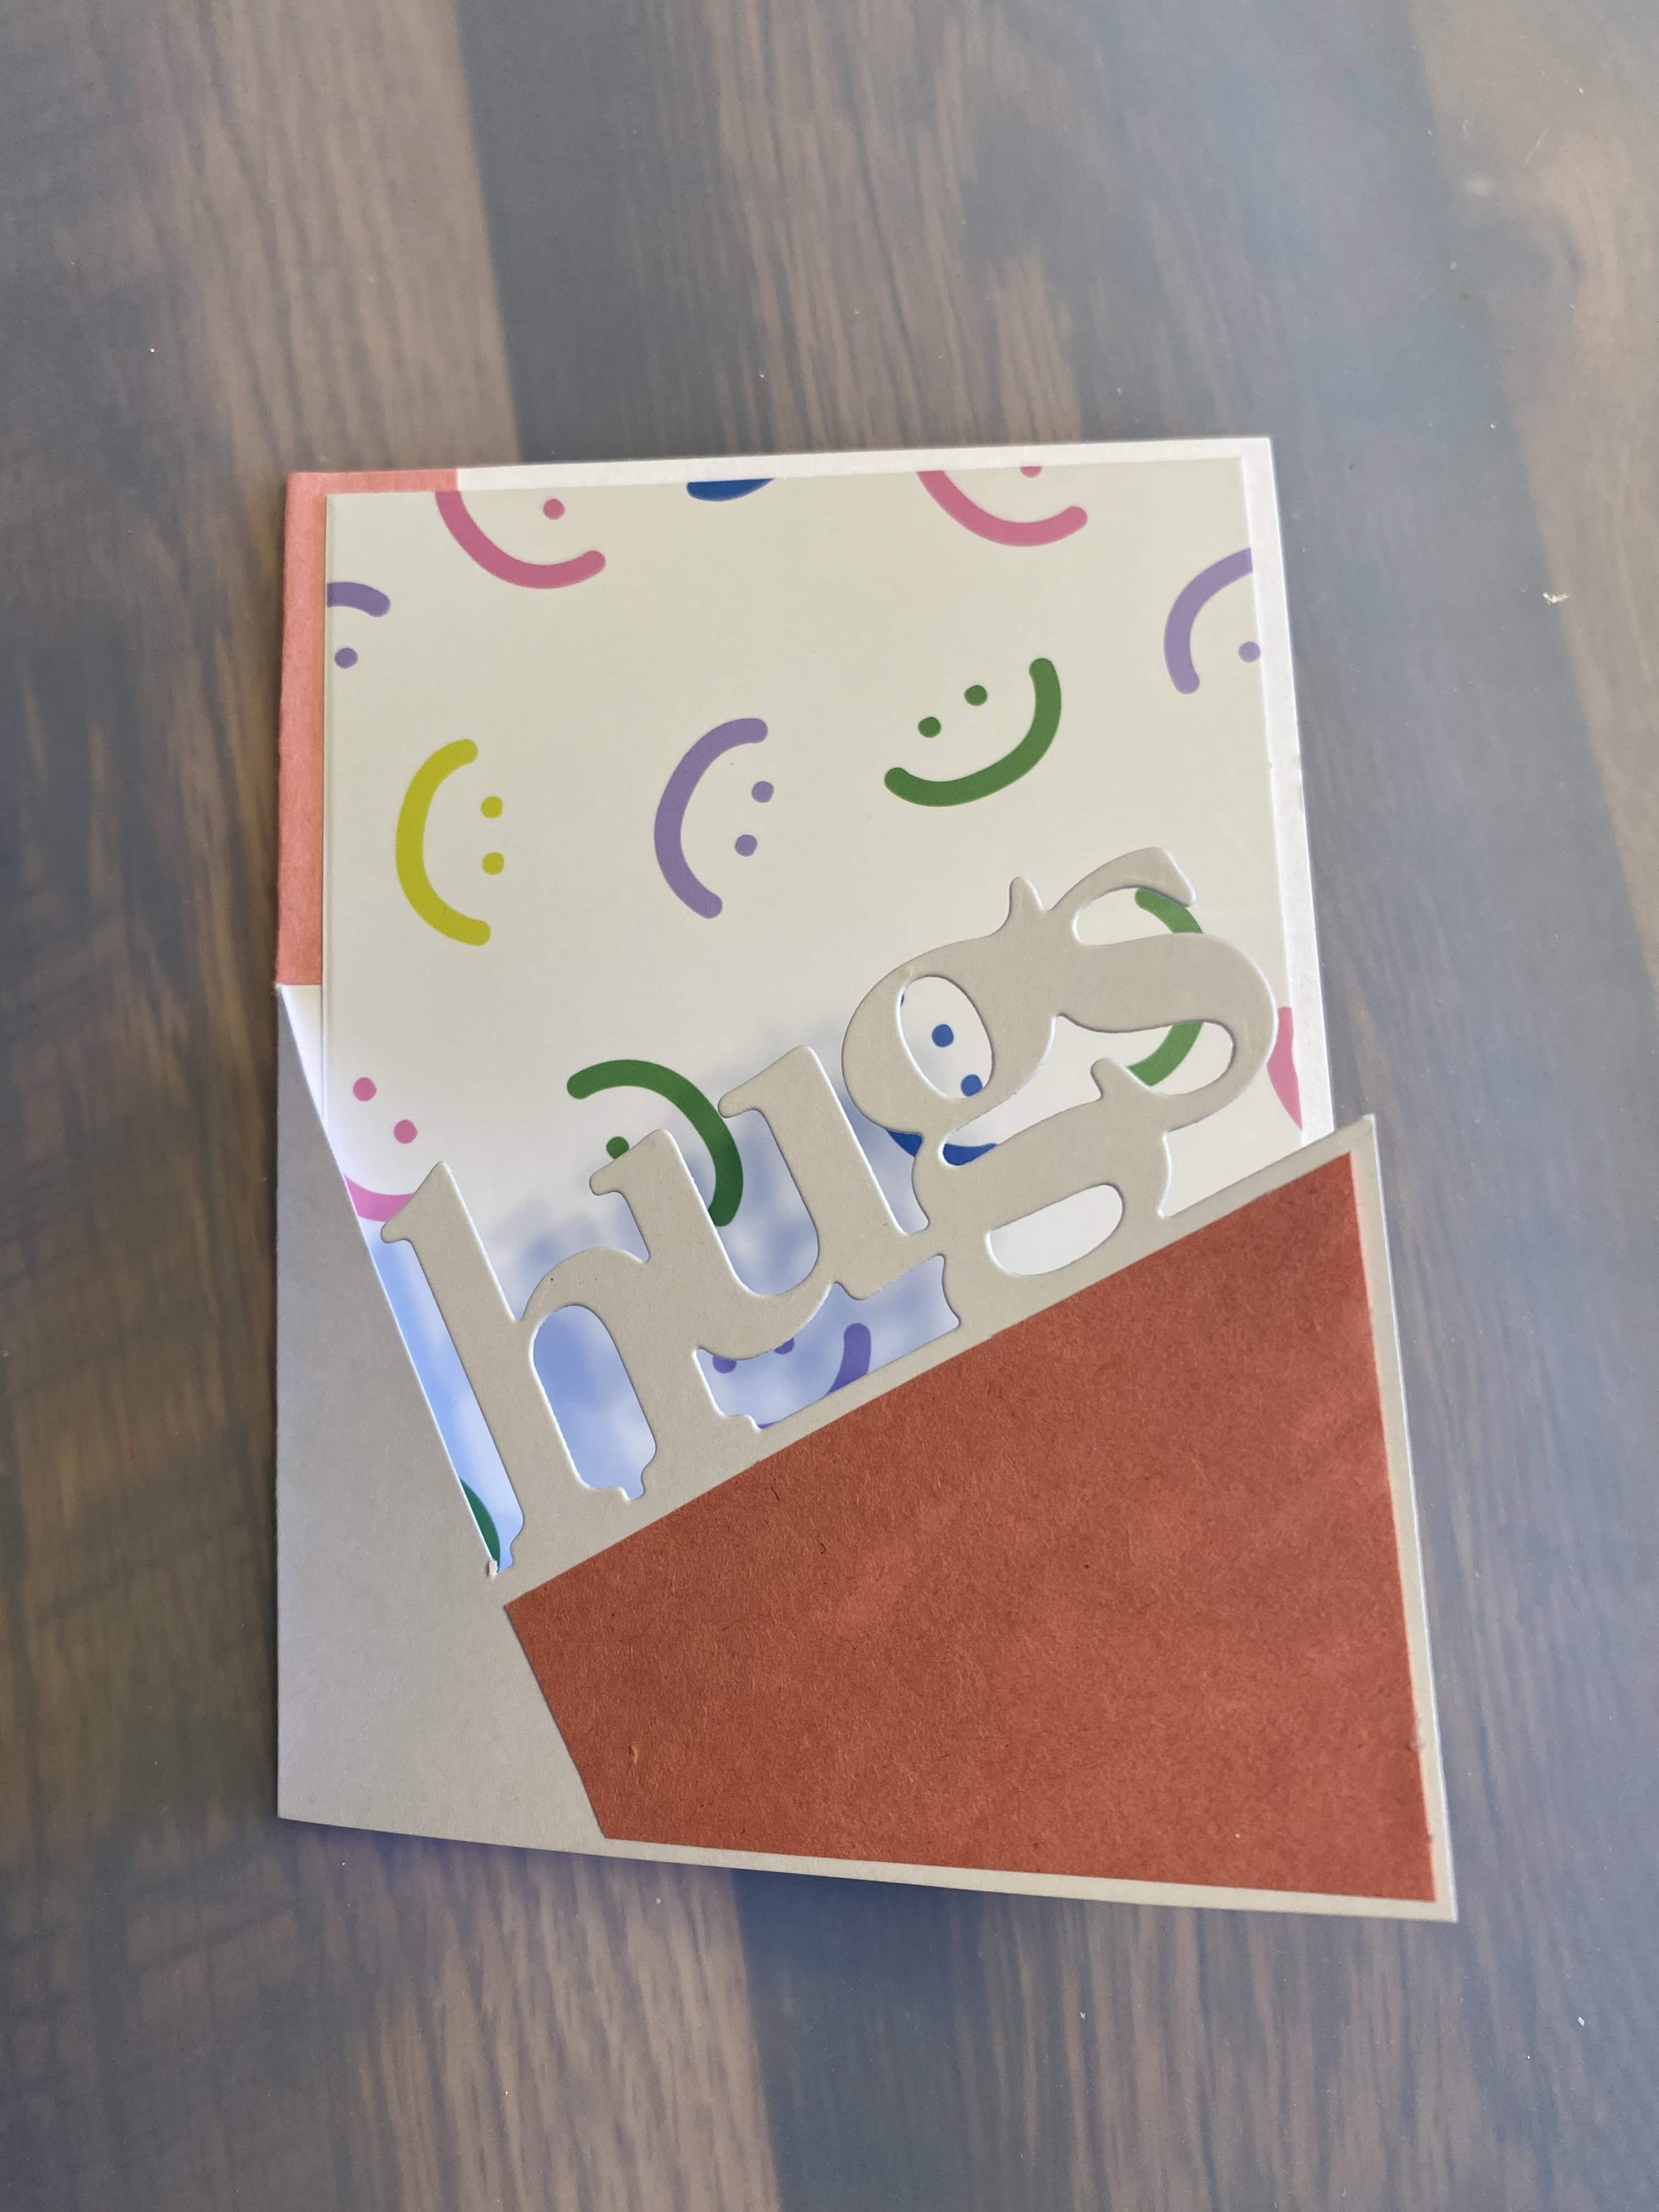
Vertical orientation:
Partial left fold
You can have a very open design, which reveals most of the ‘inside’ ...
Horizontal orientation:
Full bottom fold
You can create a design which shows very little of the inside, until you open the card ...
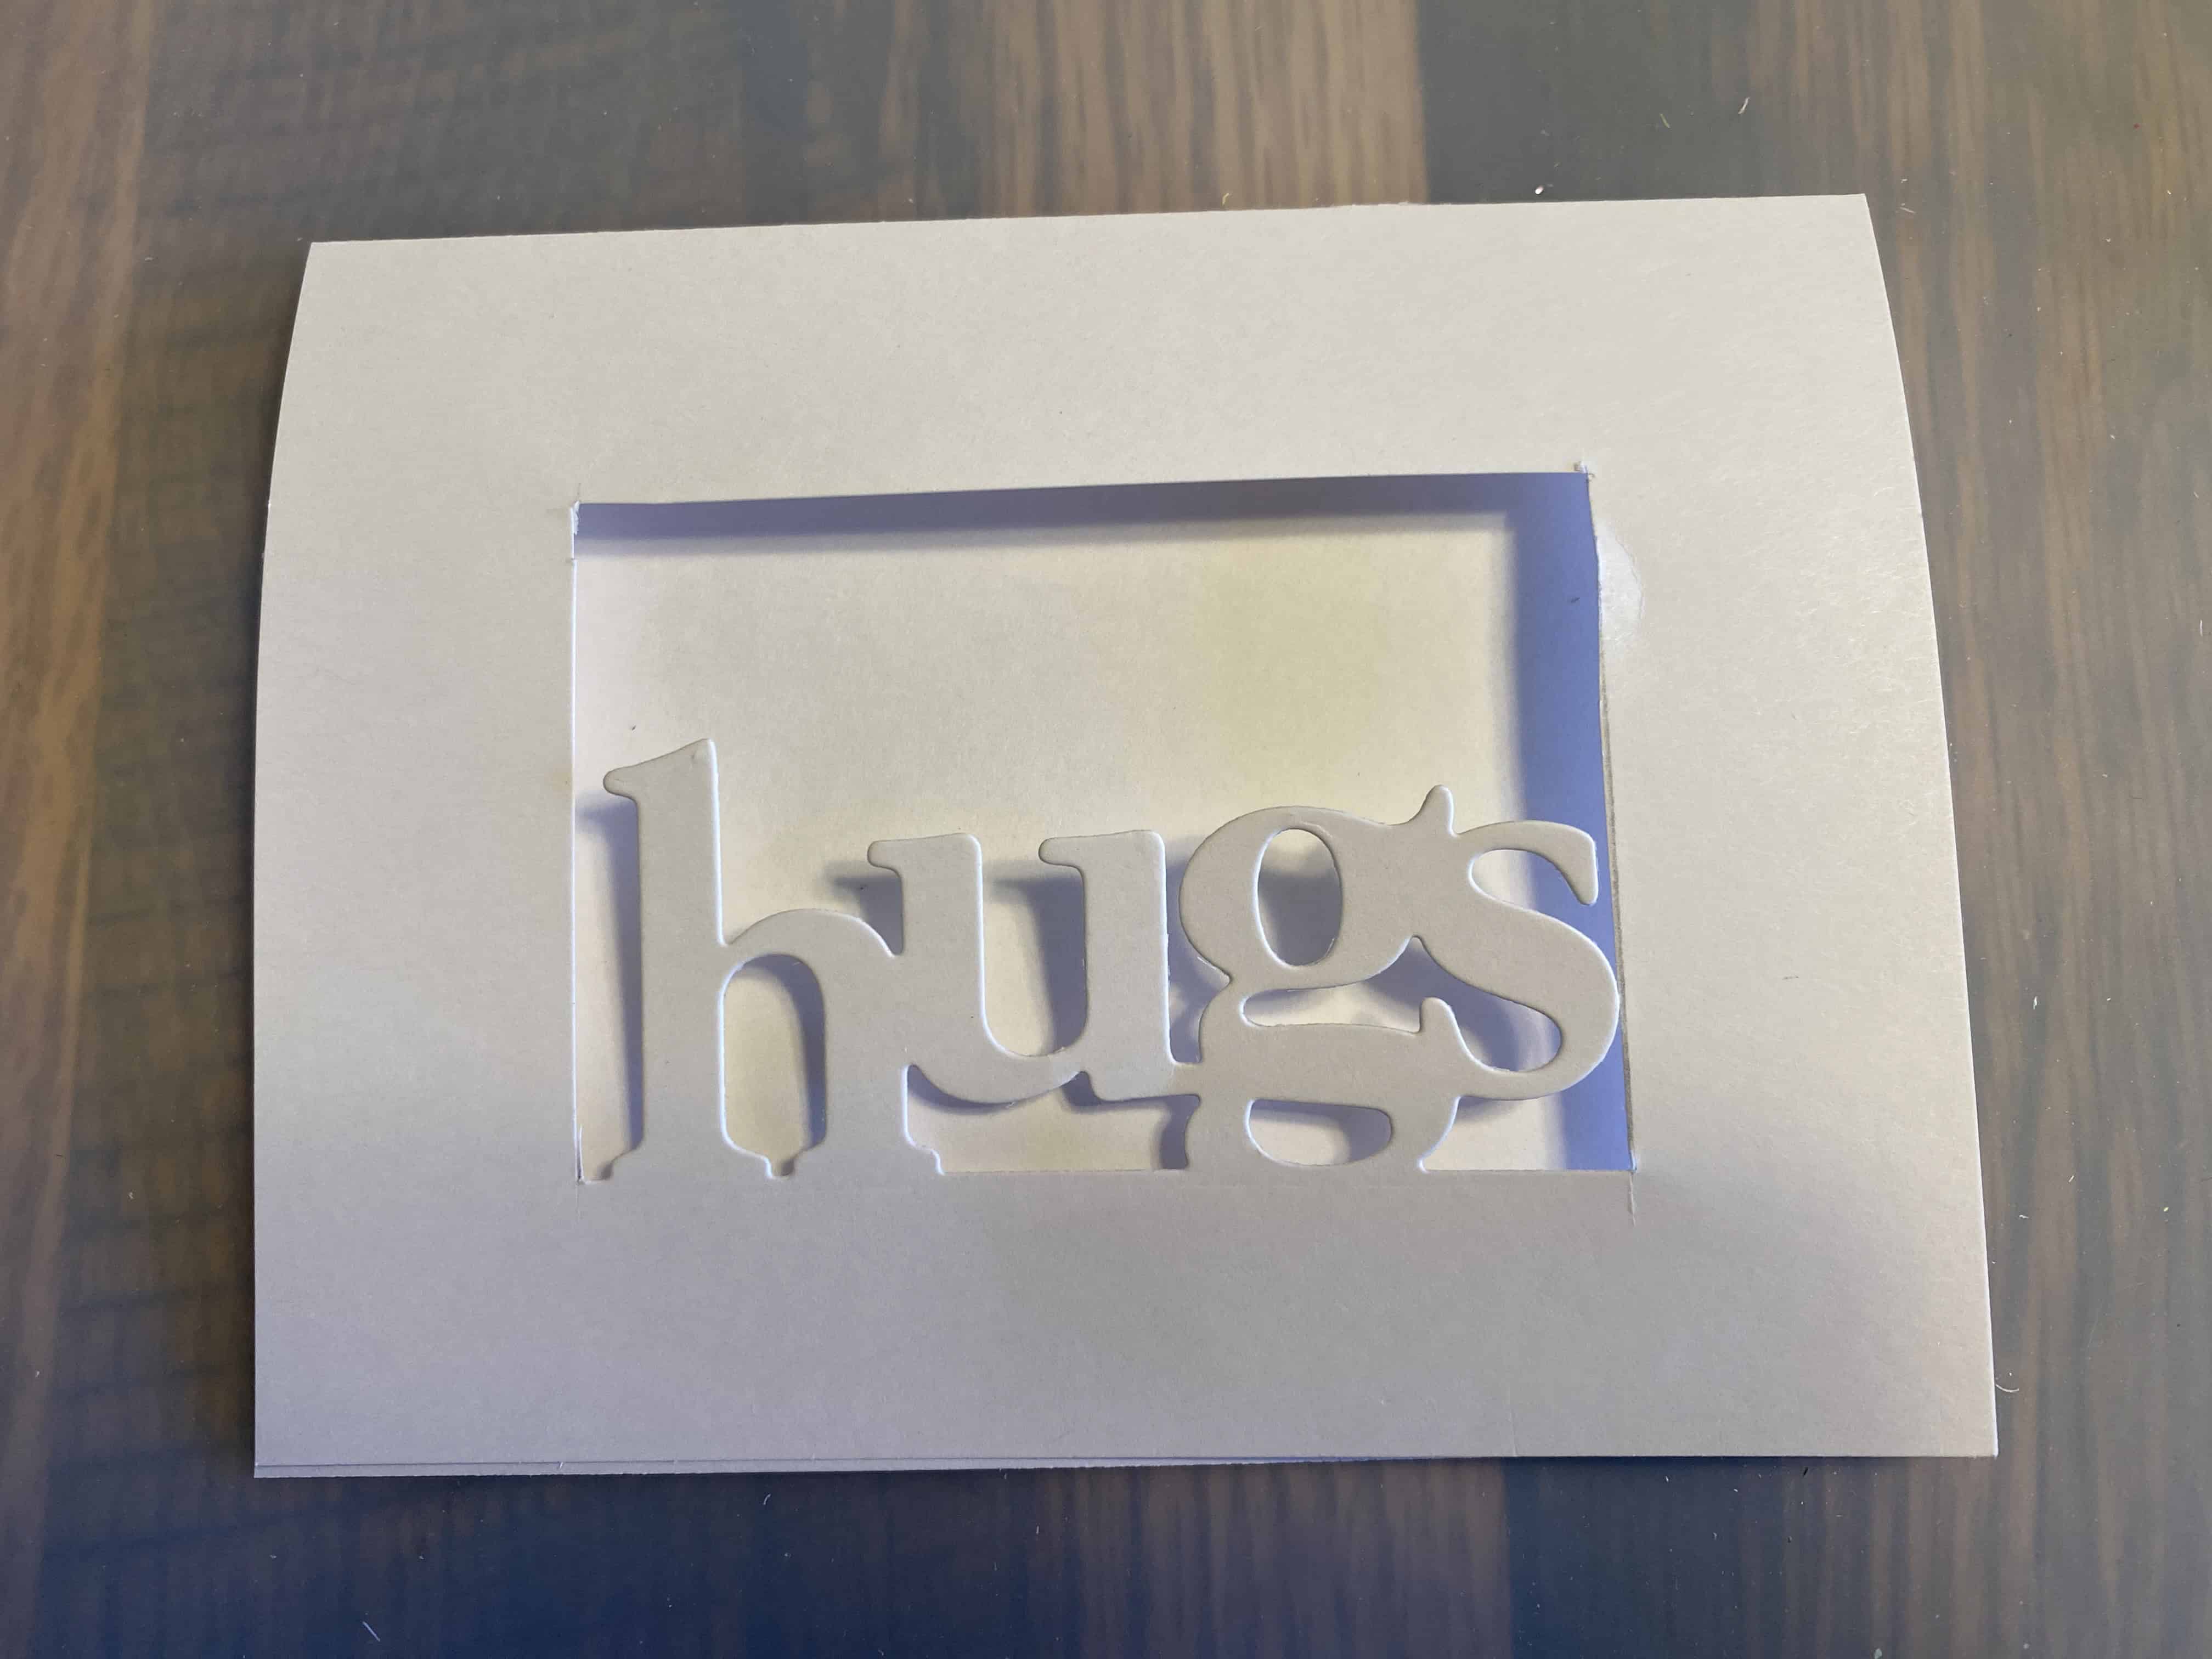
Horizontal orientation:
Full top fold
(‘window’ design)
Get creative! There are so many possibilities!
Step 1: Choose Materials: Coordinate Card Base, Shadow, Decorative Features
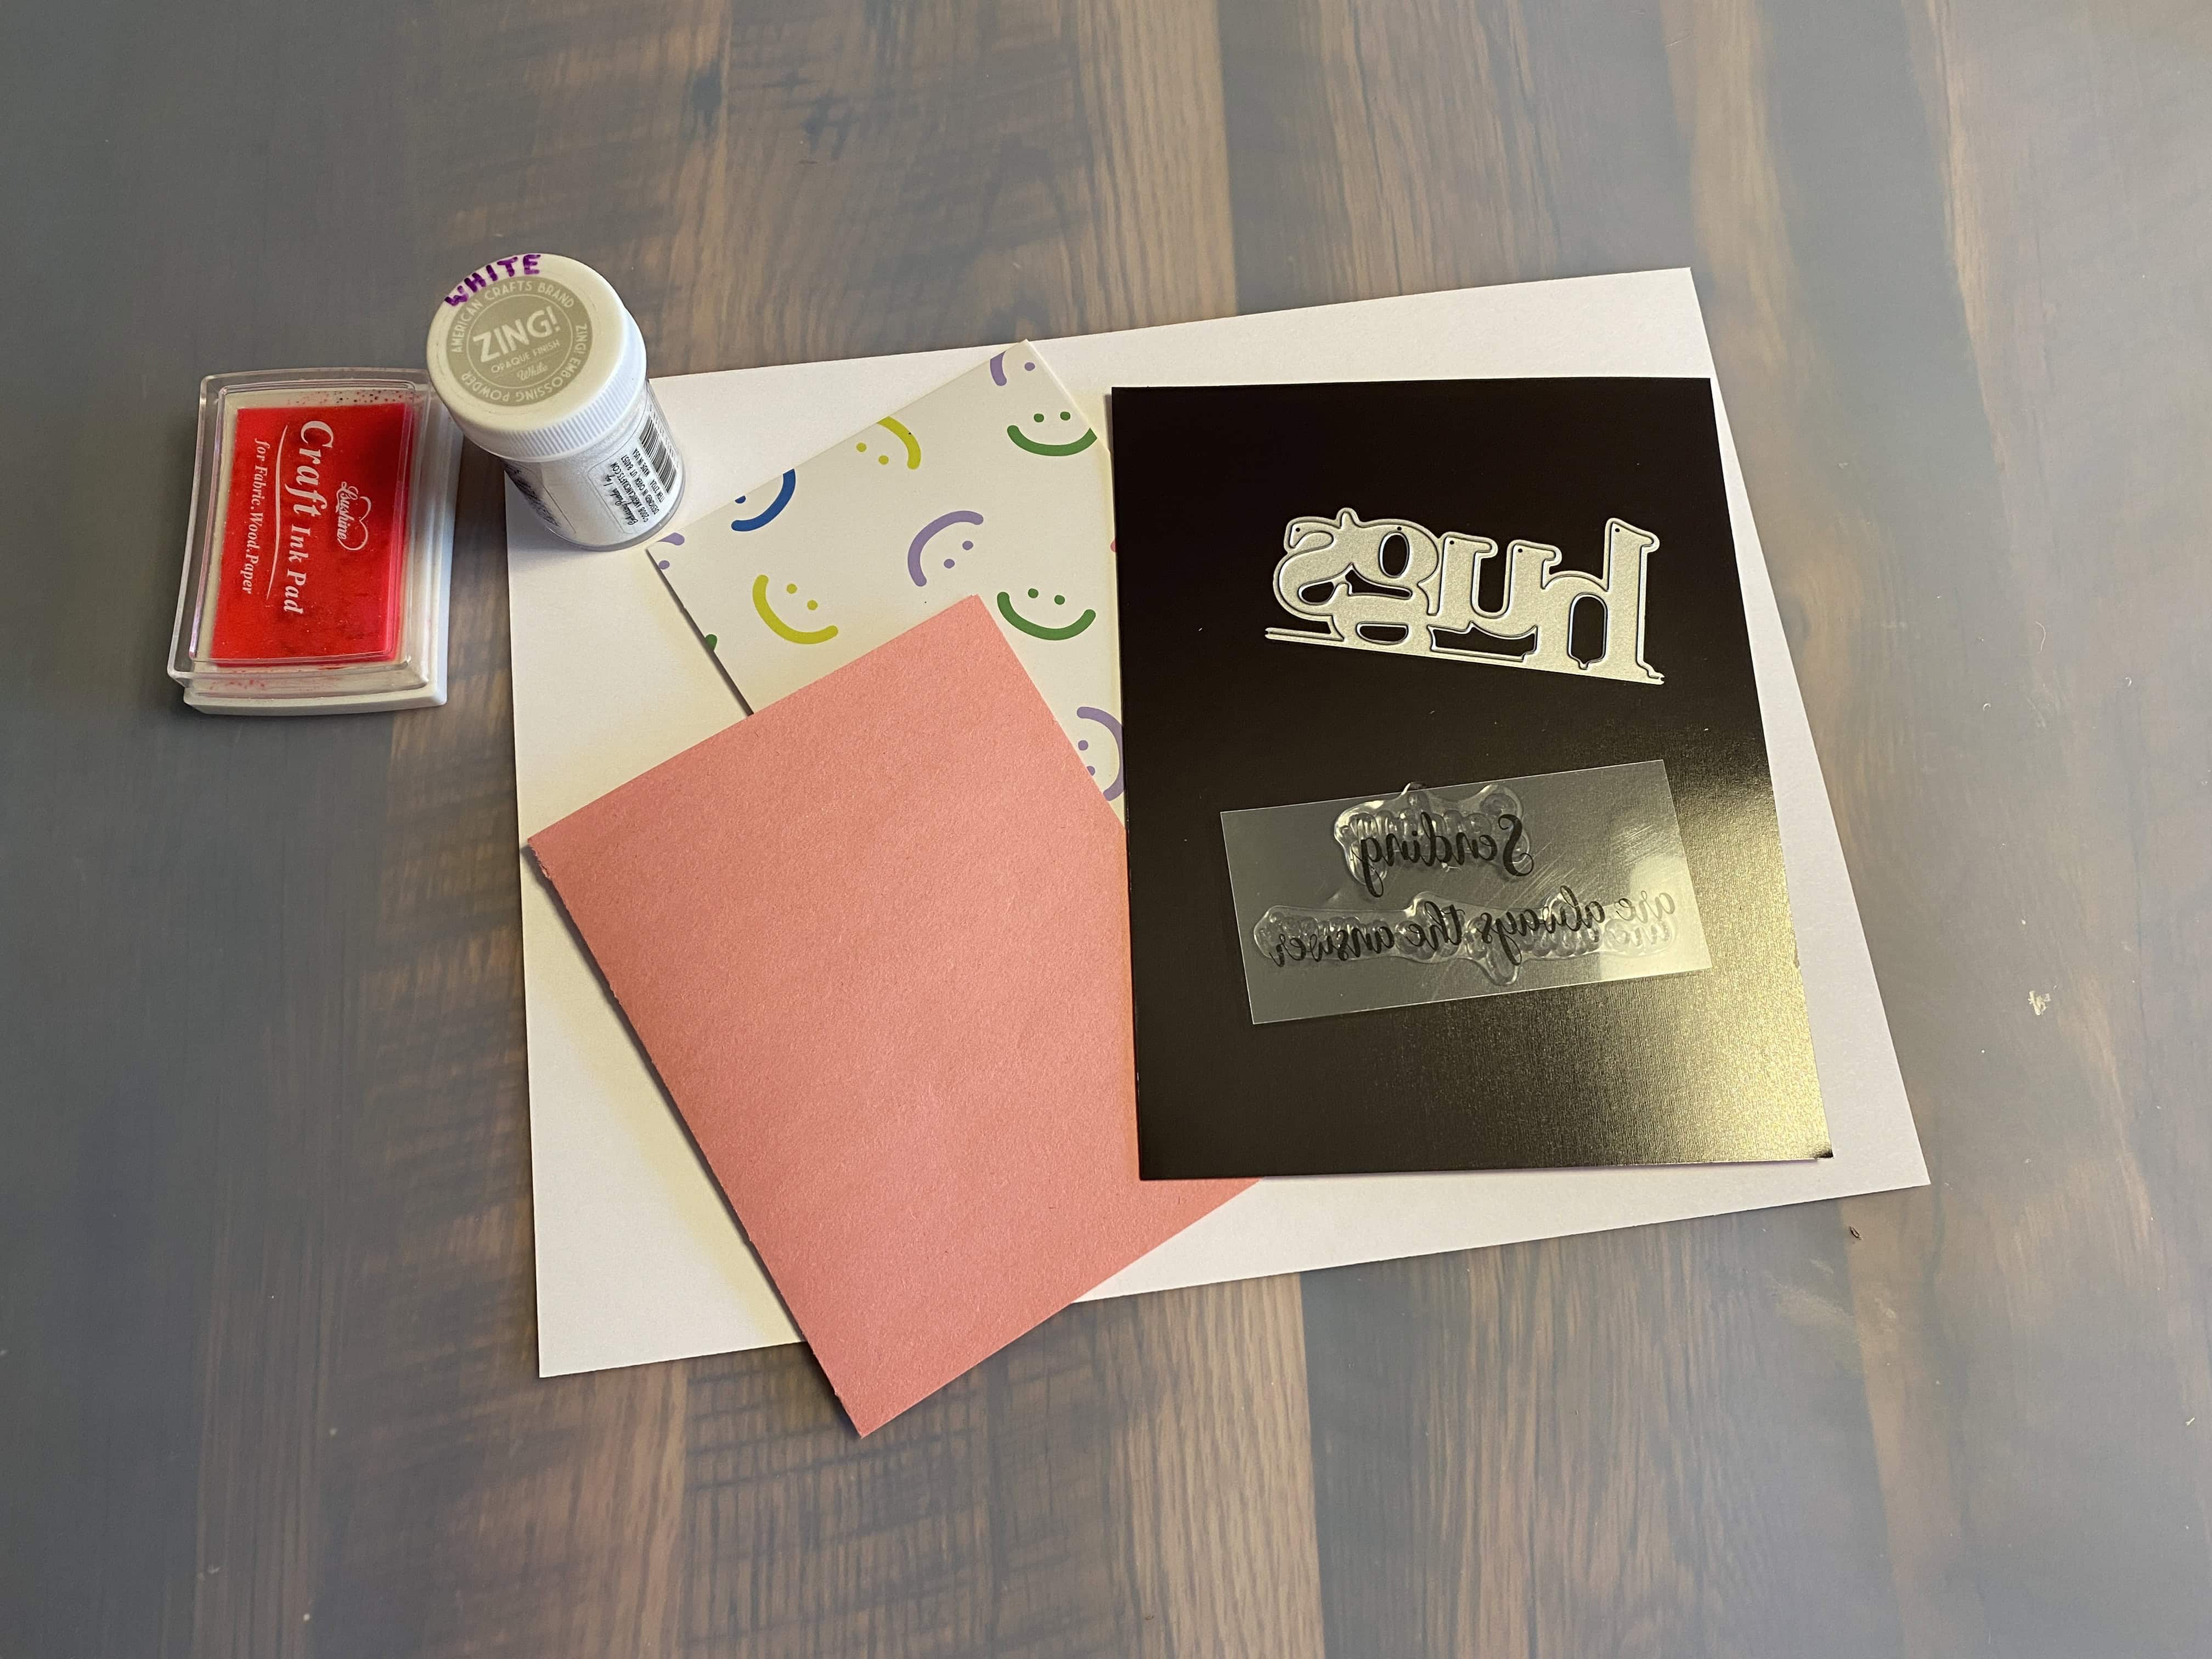
Things might change as you progress, but it's good to have an initial vision
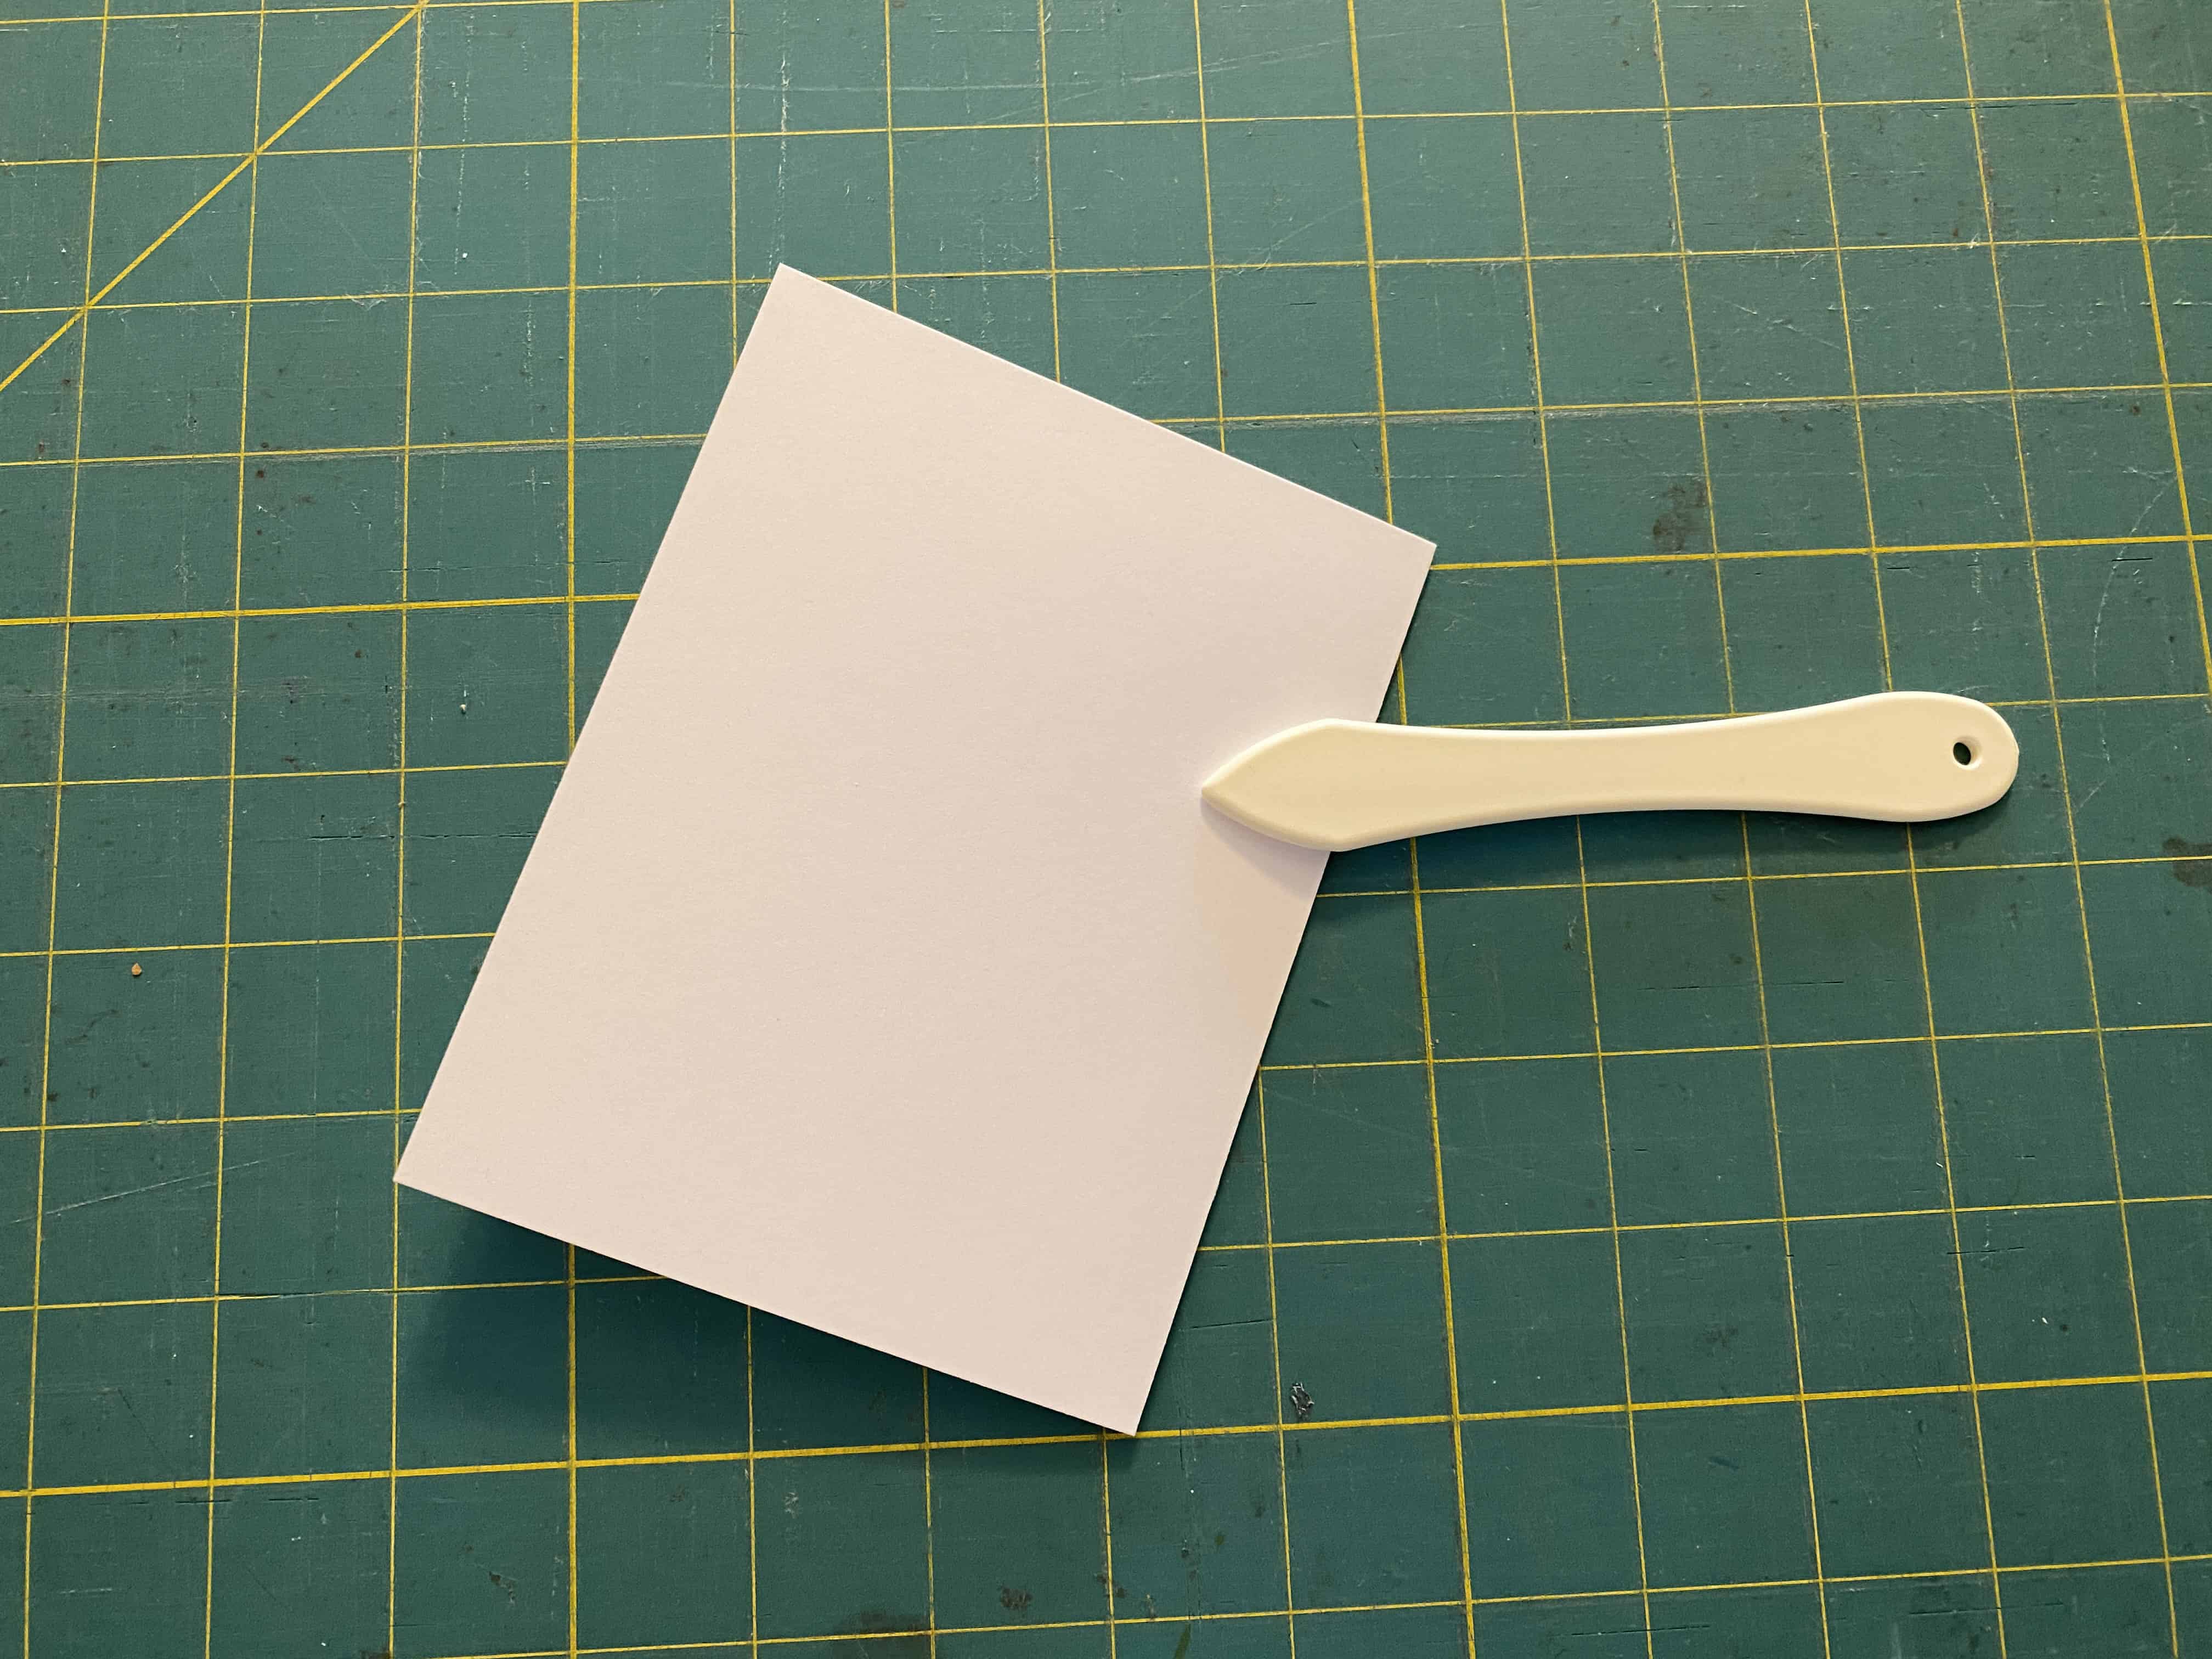
Step 2: Prepare Card Base
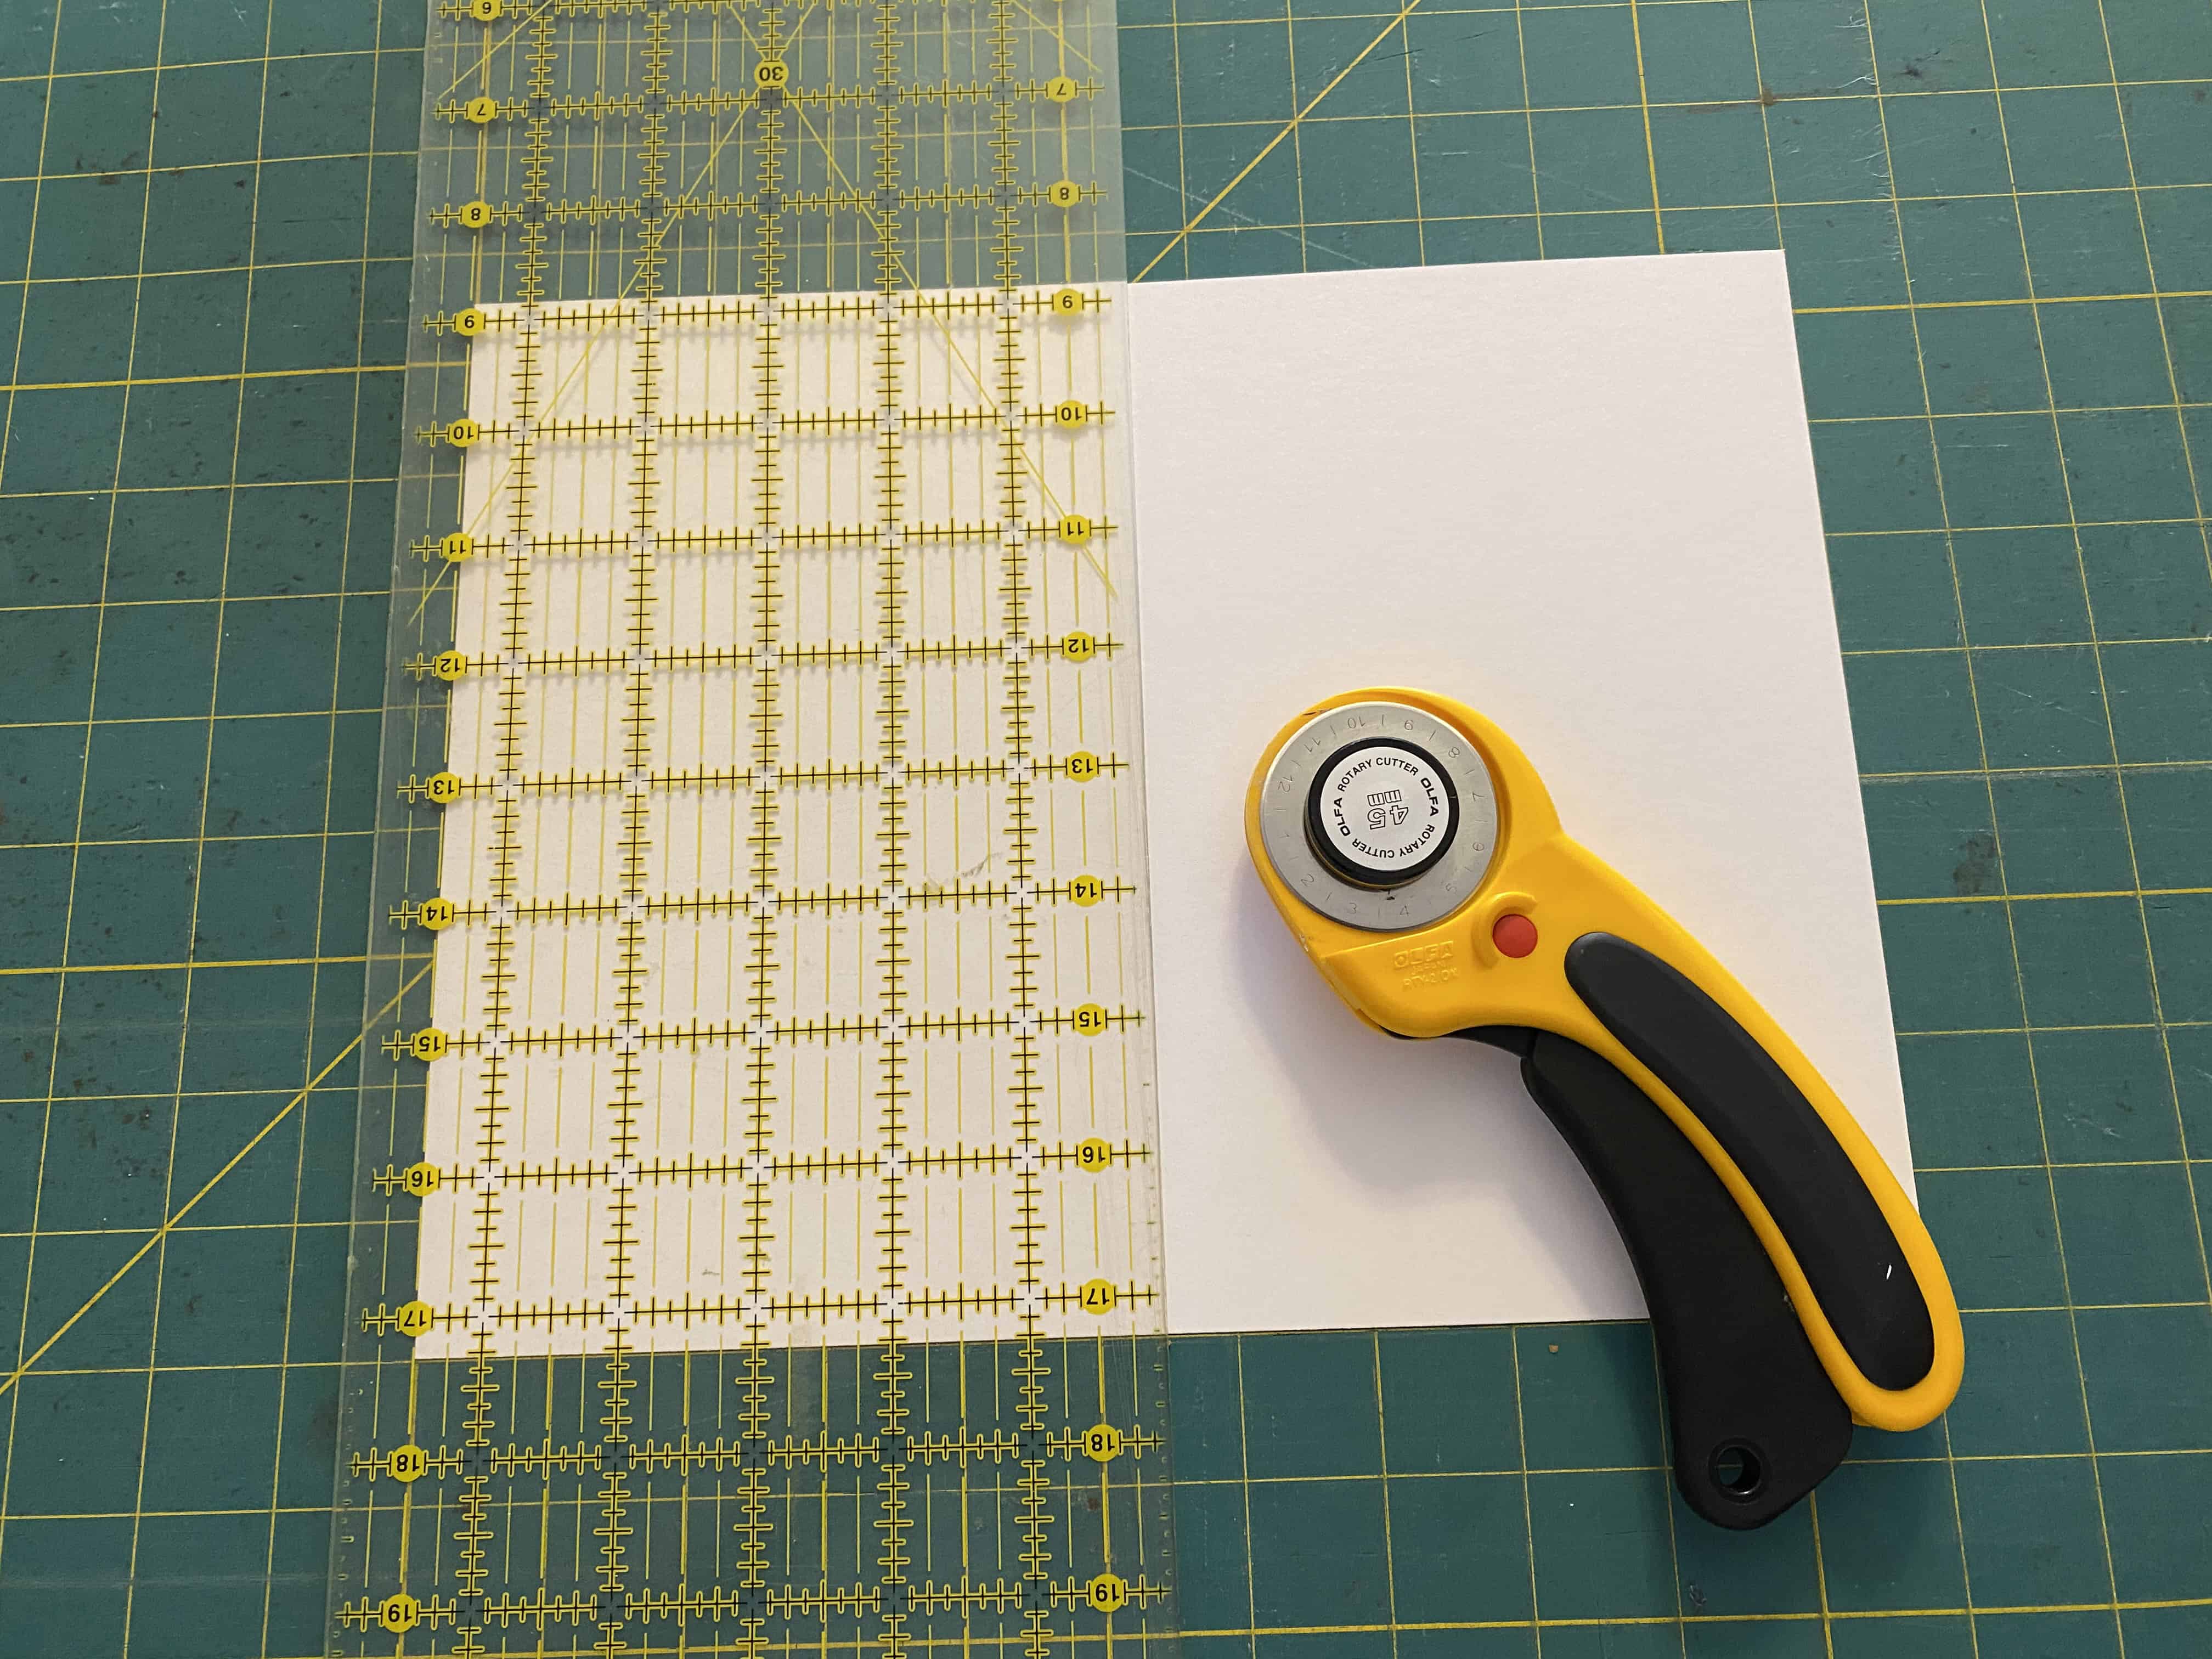
You need to use cardstock for the base (to support the ‘free-standing’ word).
The card base is $\,8\frac12\text{in}\times 5\frac12\text{in}$ (which is half of a standard-size $\,8\frac12\text{in}\times 11\text{in}\,$ sheet).
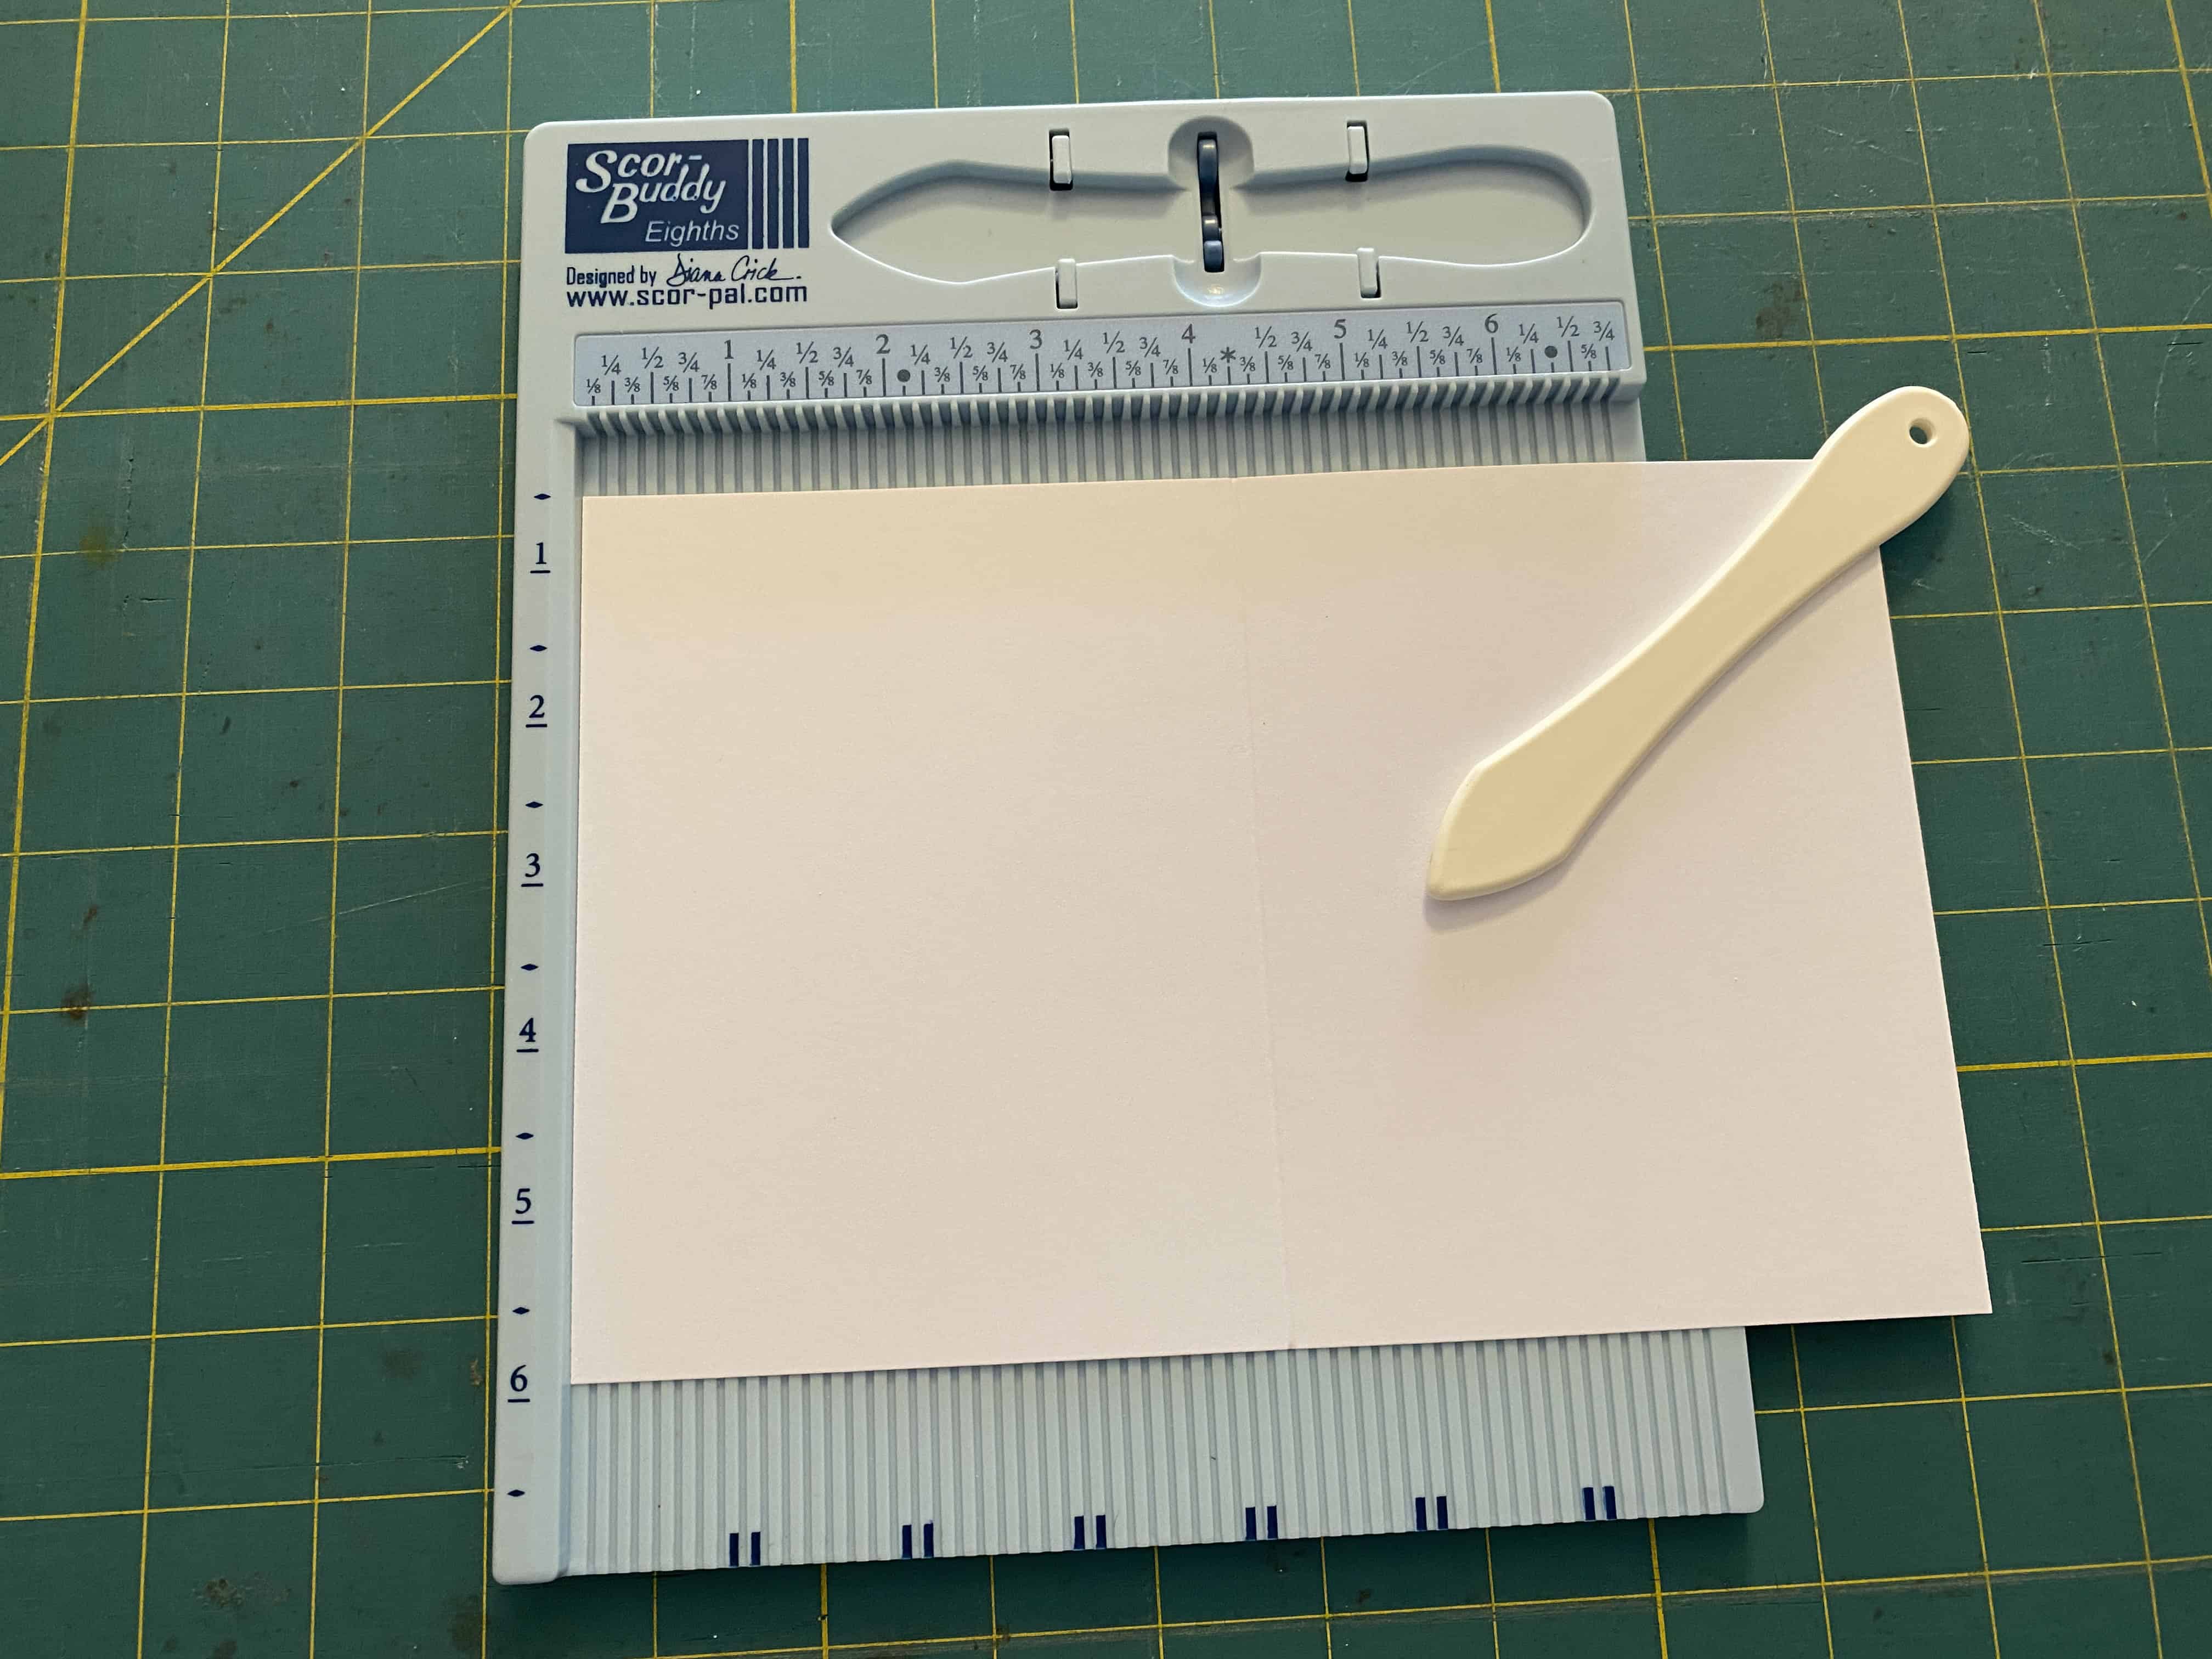
Score in half (at $\,4\frac 14\text{in}\,$), parallel to the shorter edge. (I use a Scor-pal.)
After scoring, fold in half (away from you) along the scored line.
Reinforce the crease with the scoring tool
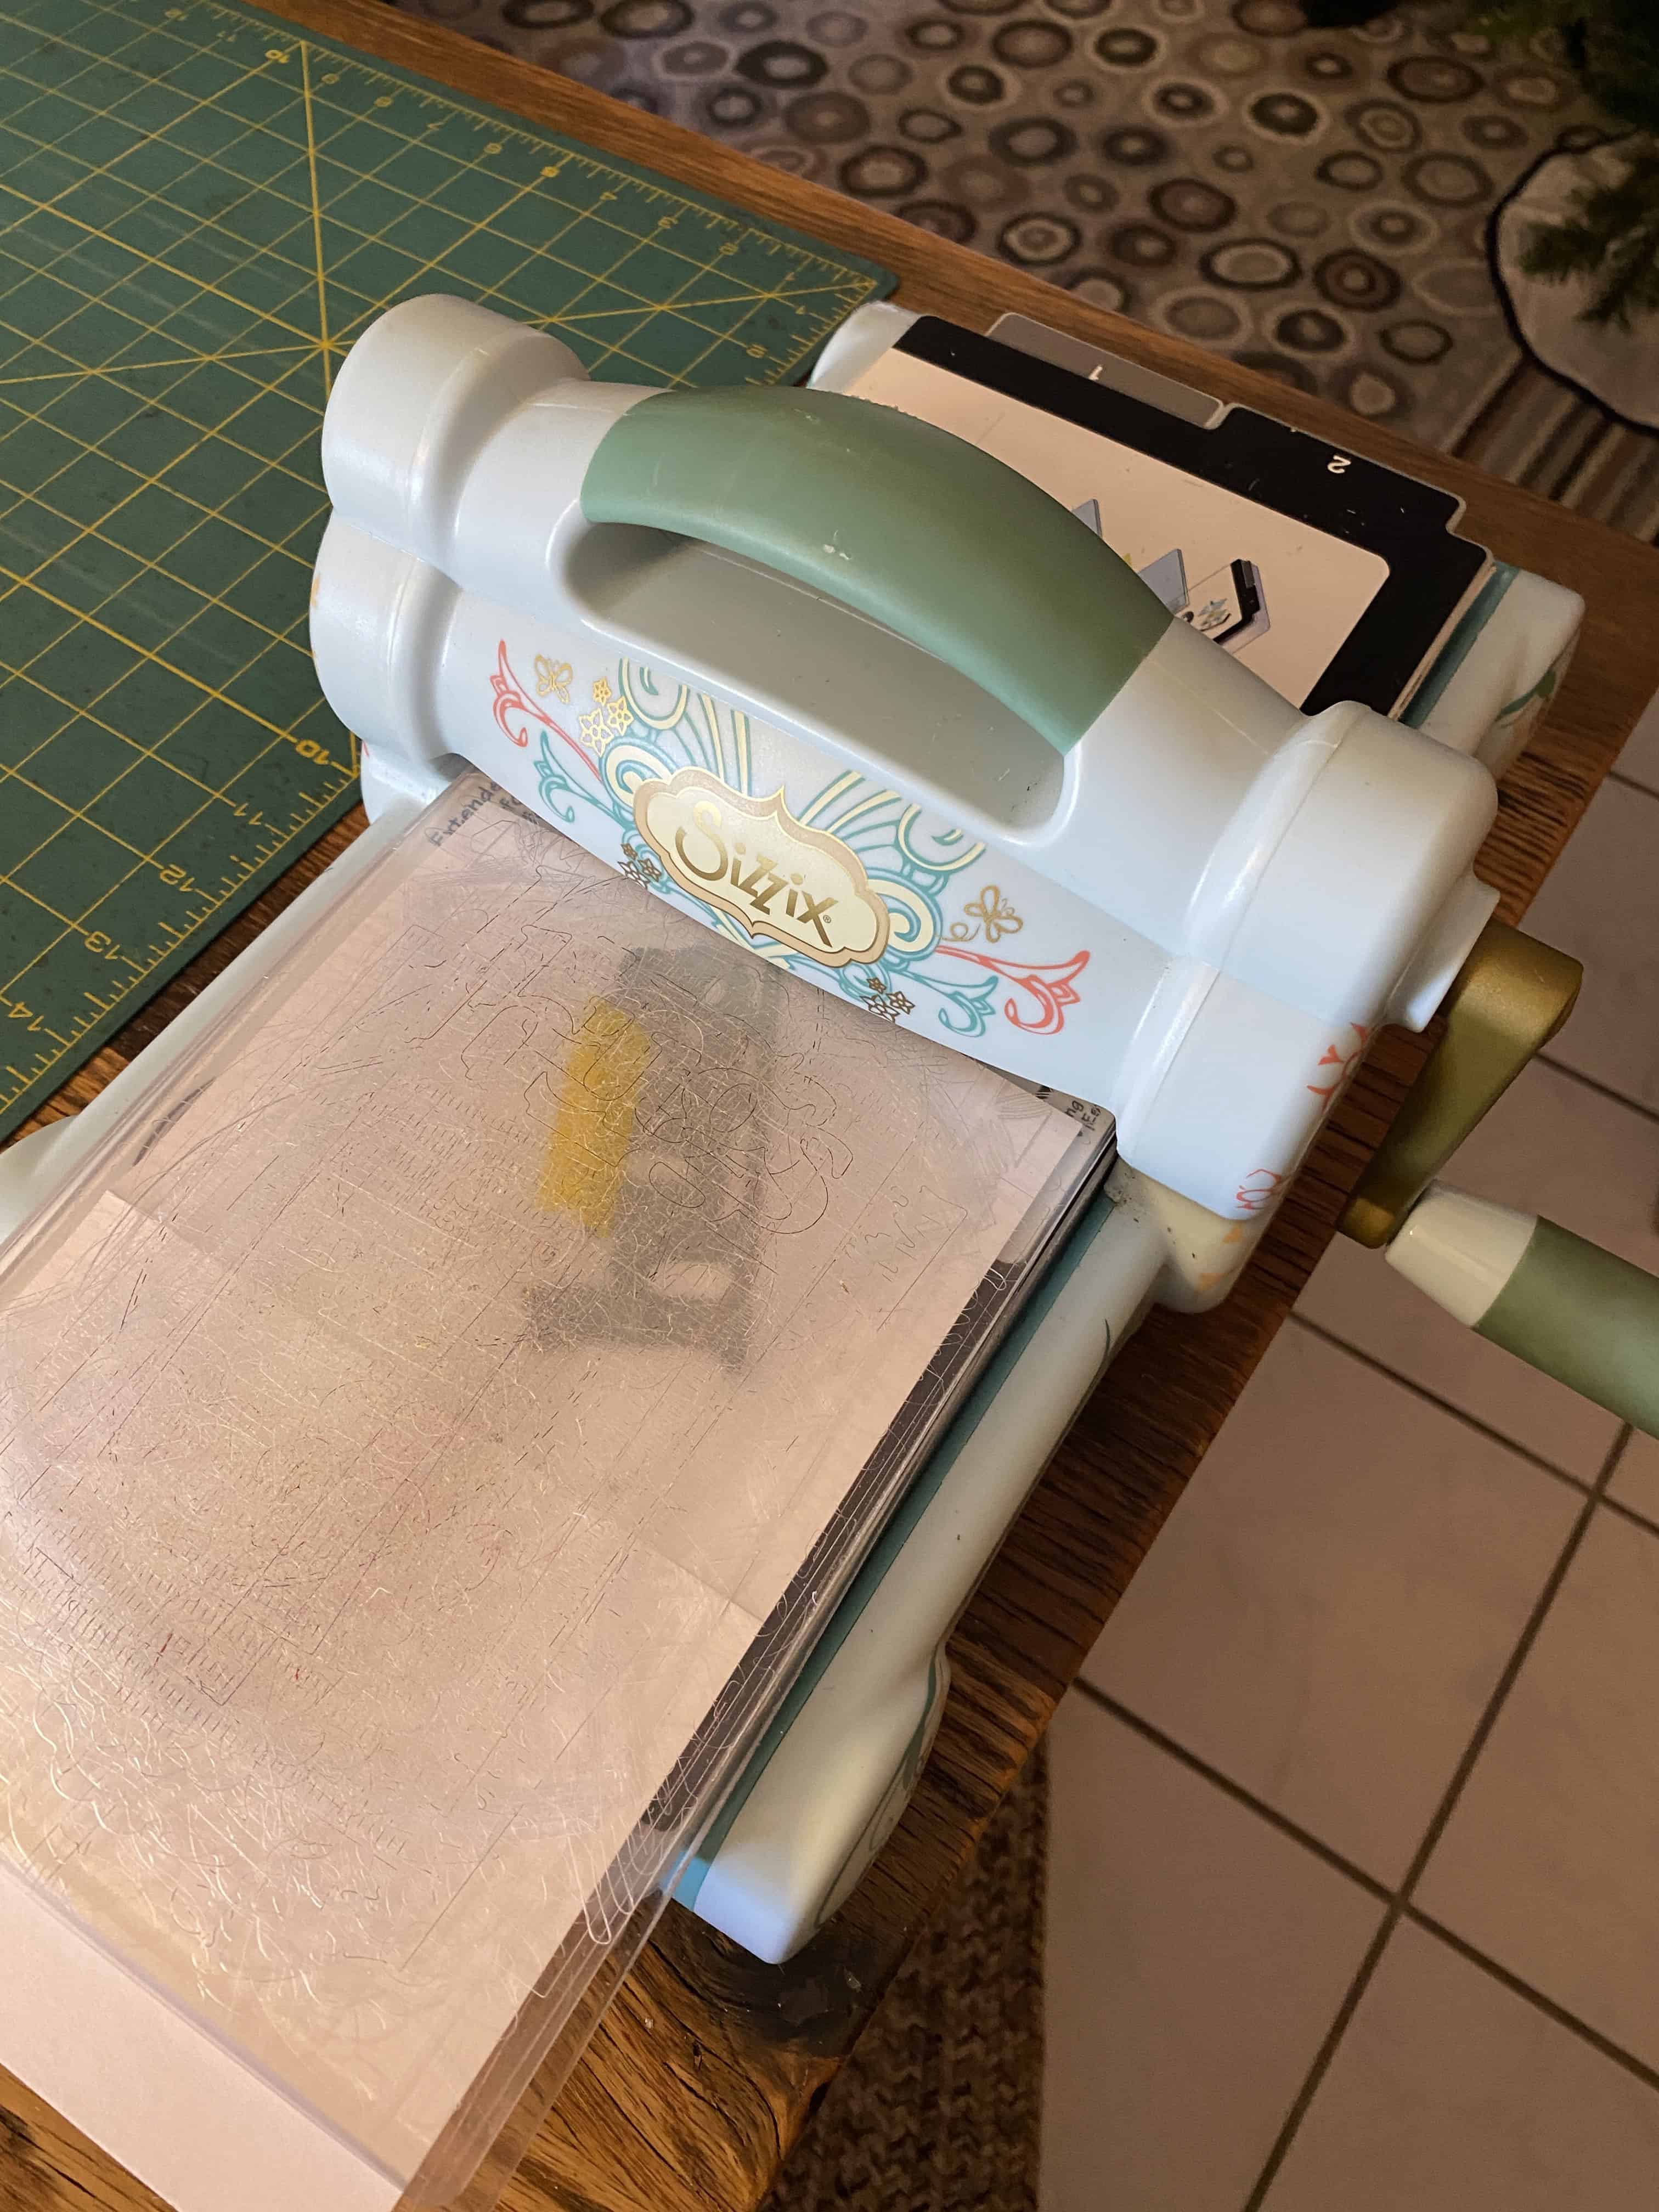
Be sure to un-fold the card before you cut the word die! You don't want to cut through both the front and back, by mistake!
I use a Sizzix Big Shot Cutting/
Step 3: Decorate Front, Inside, Back
I chose to reinforce the top (cut) part of the fold edge, before adding the inside and back layers
Add the decorative inside layer (and back, not shown here).
As you'll see in the next step, I thought it was too plain beneath the front word, so I added an extra decorative strip.
Step 4: Cut and Apply the Shadow
Cut a second word (for the shadow) from the desired paper.
Position the shadow using the hints outlined below:
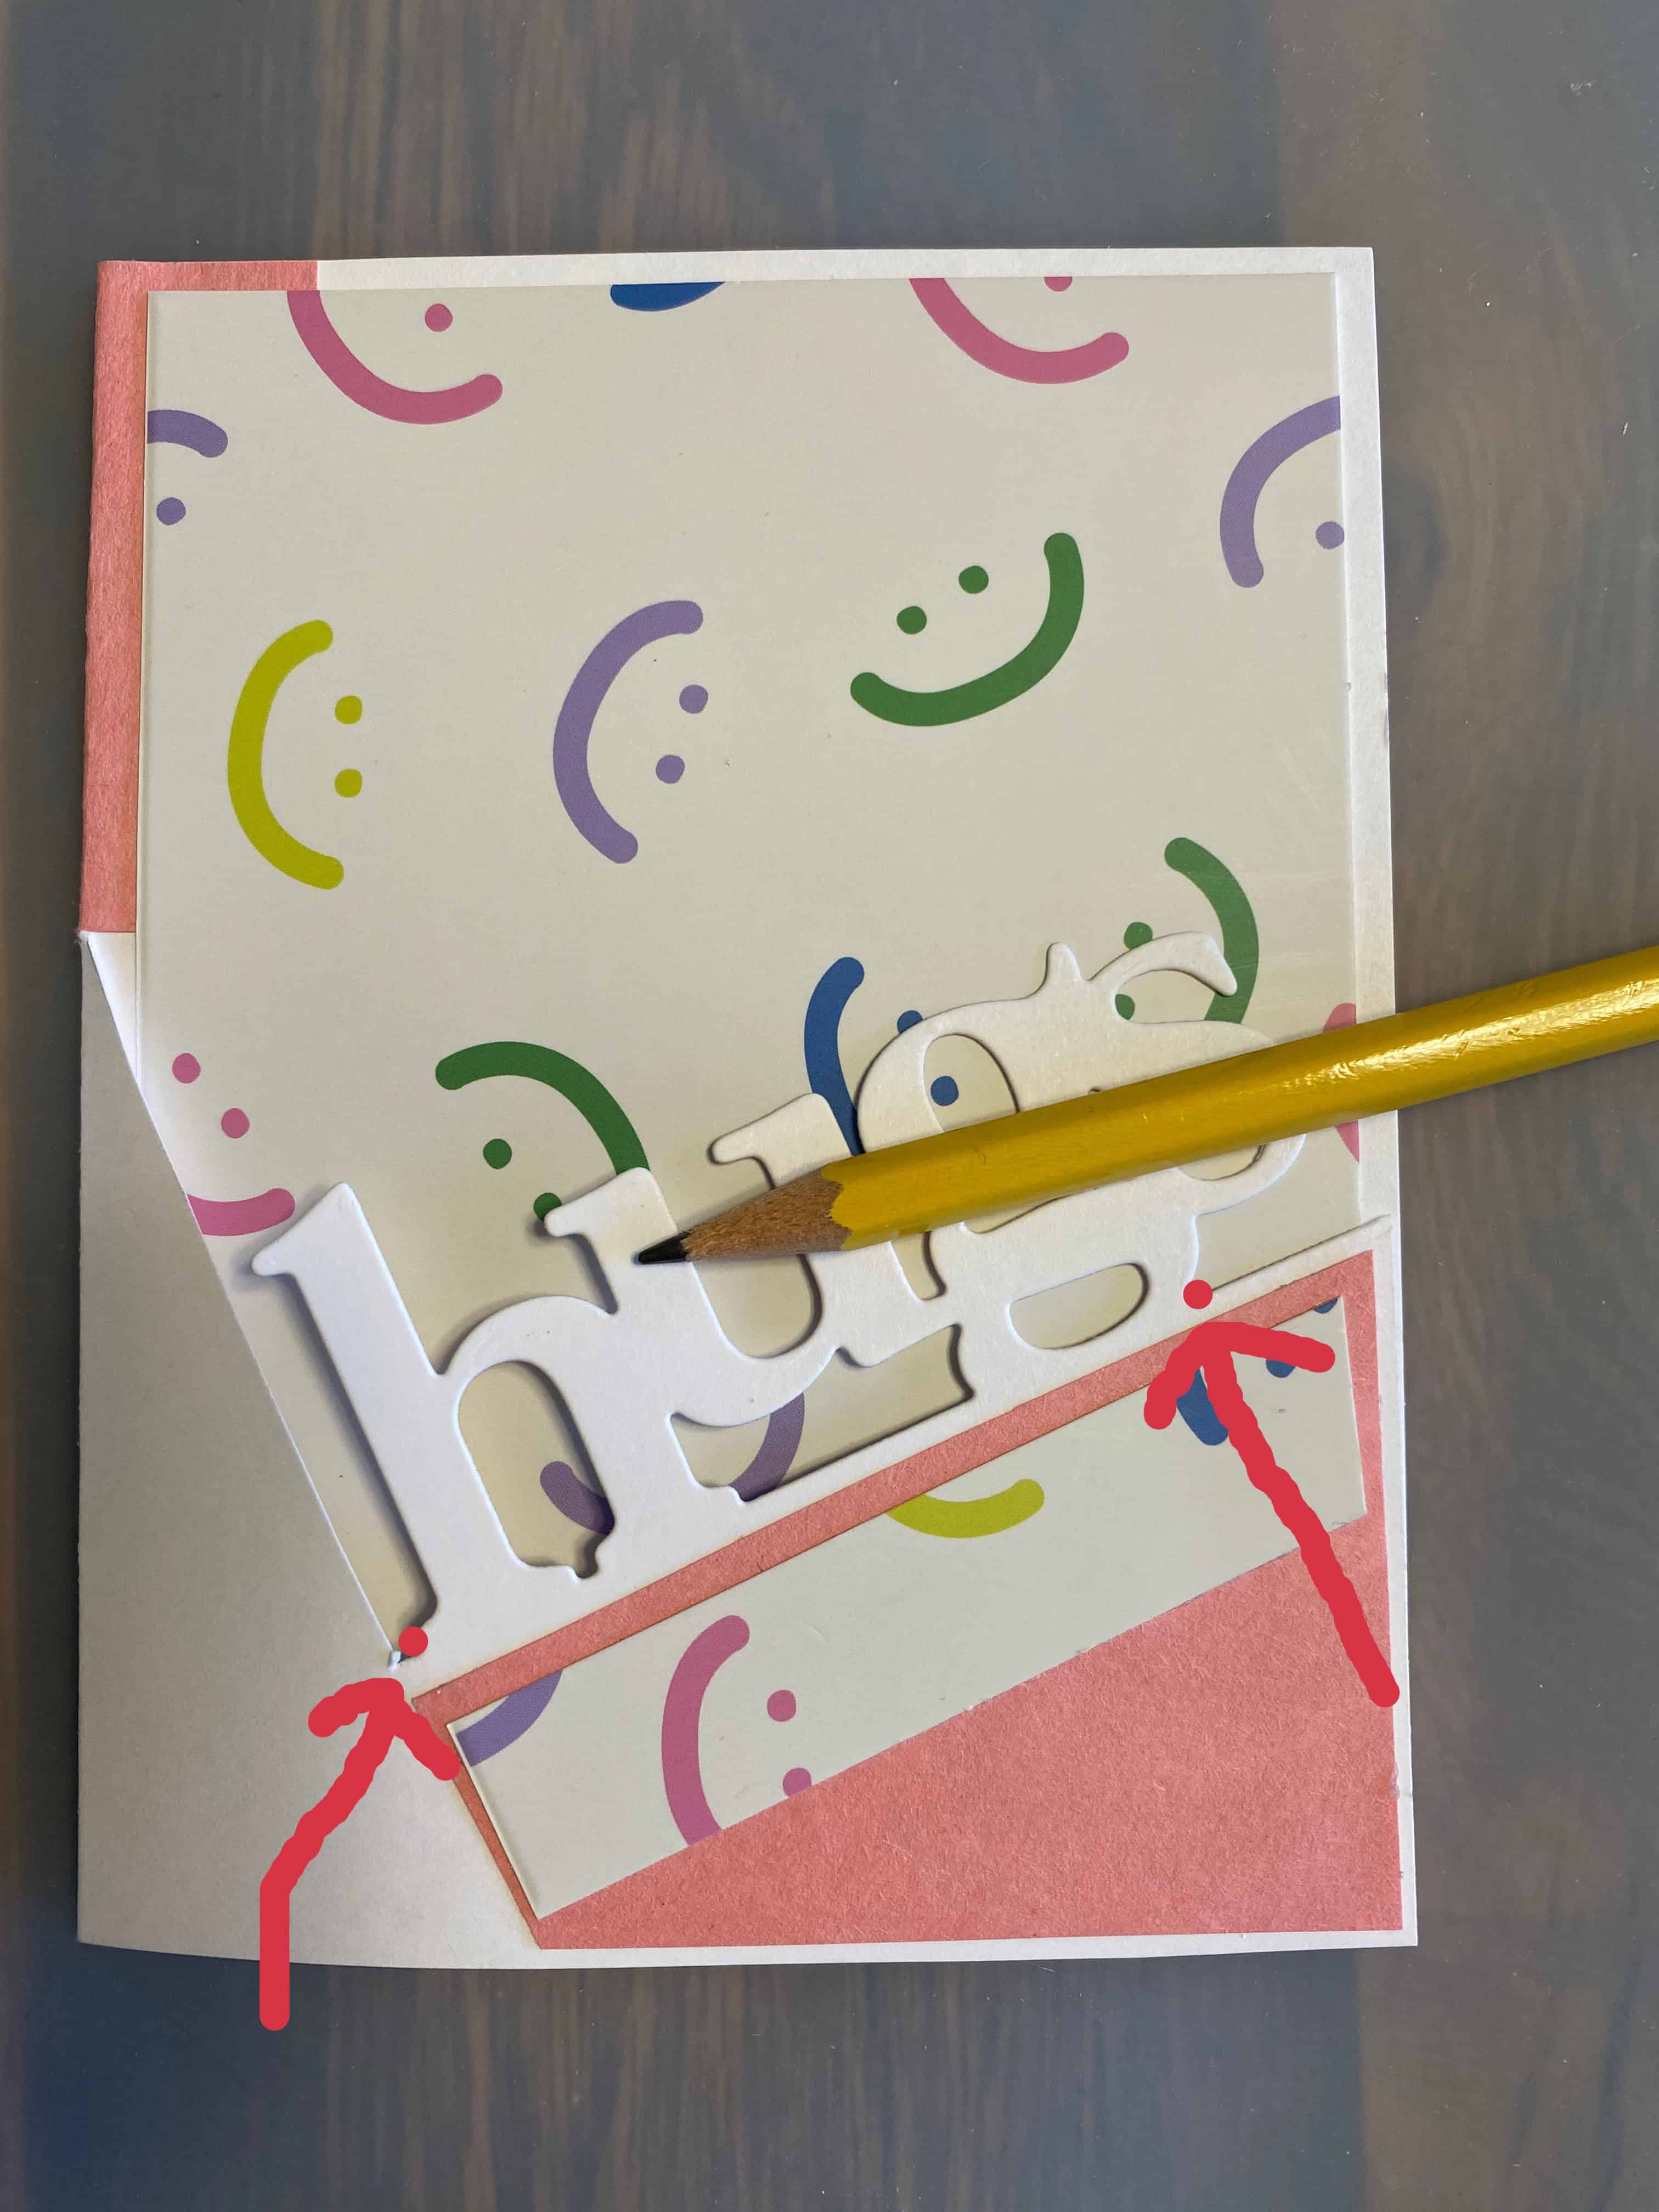
- Close the card. Using a pencil, make two tiny dots at the indicated positions. You'll see these two dots when you open the card, and they'll help you position the shadow correctly!
- Align your cut ‘shadow’ piece with the two tiny dots. But, here's the magic—we don't want it to line up perfectly, we want it offset a bit. So, once you have it aligned, move it just a smidgeon to the left, and just a smidgeon up!
- Before gluing in place, close the card and check the shadow positioning. It may take a few tries before you get it just the way you want!
Step 5: Apply Sentiments
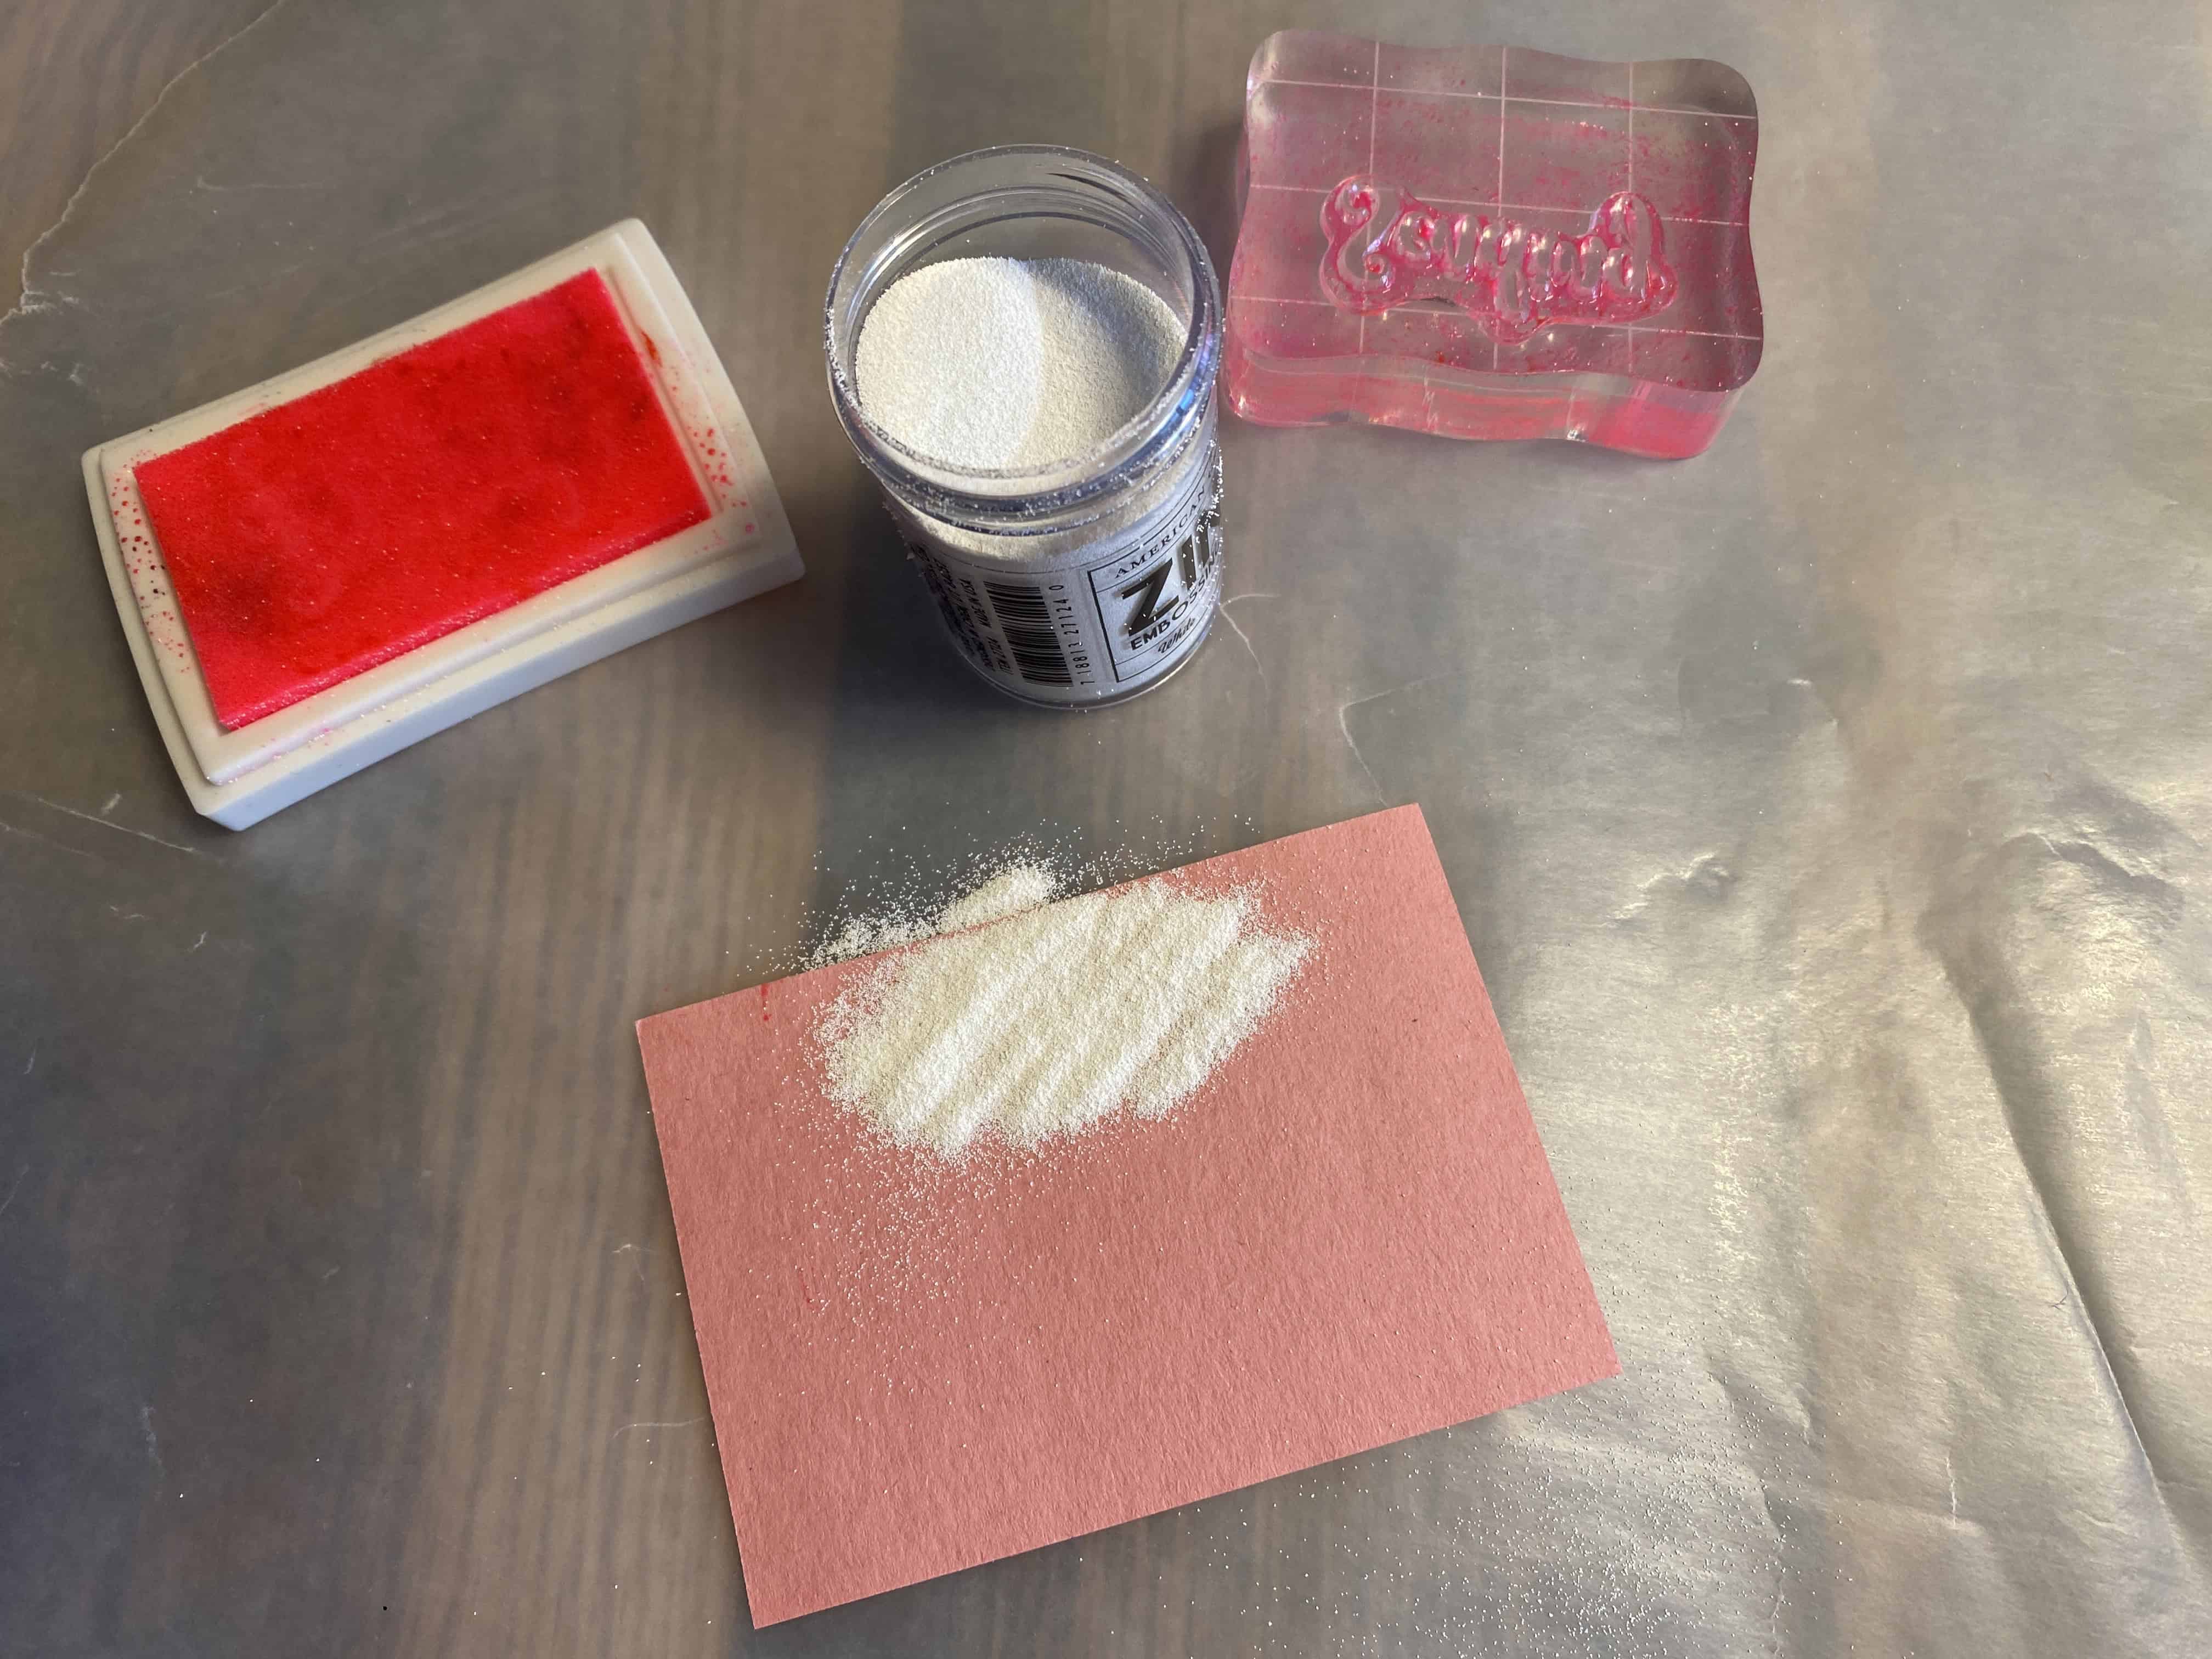
You can use embossing powder on your stamped sentiment, if desired. (You'll also need a heat gun to set the embossing powder.)
I often have issues with stamping (!!), so I always stamp on a separate piece of paper, cut it out, and attach.
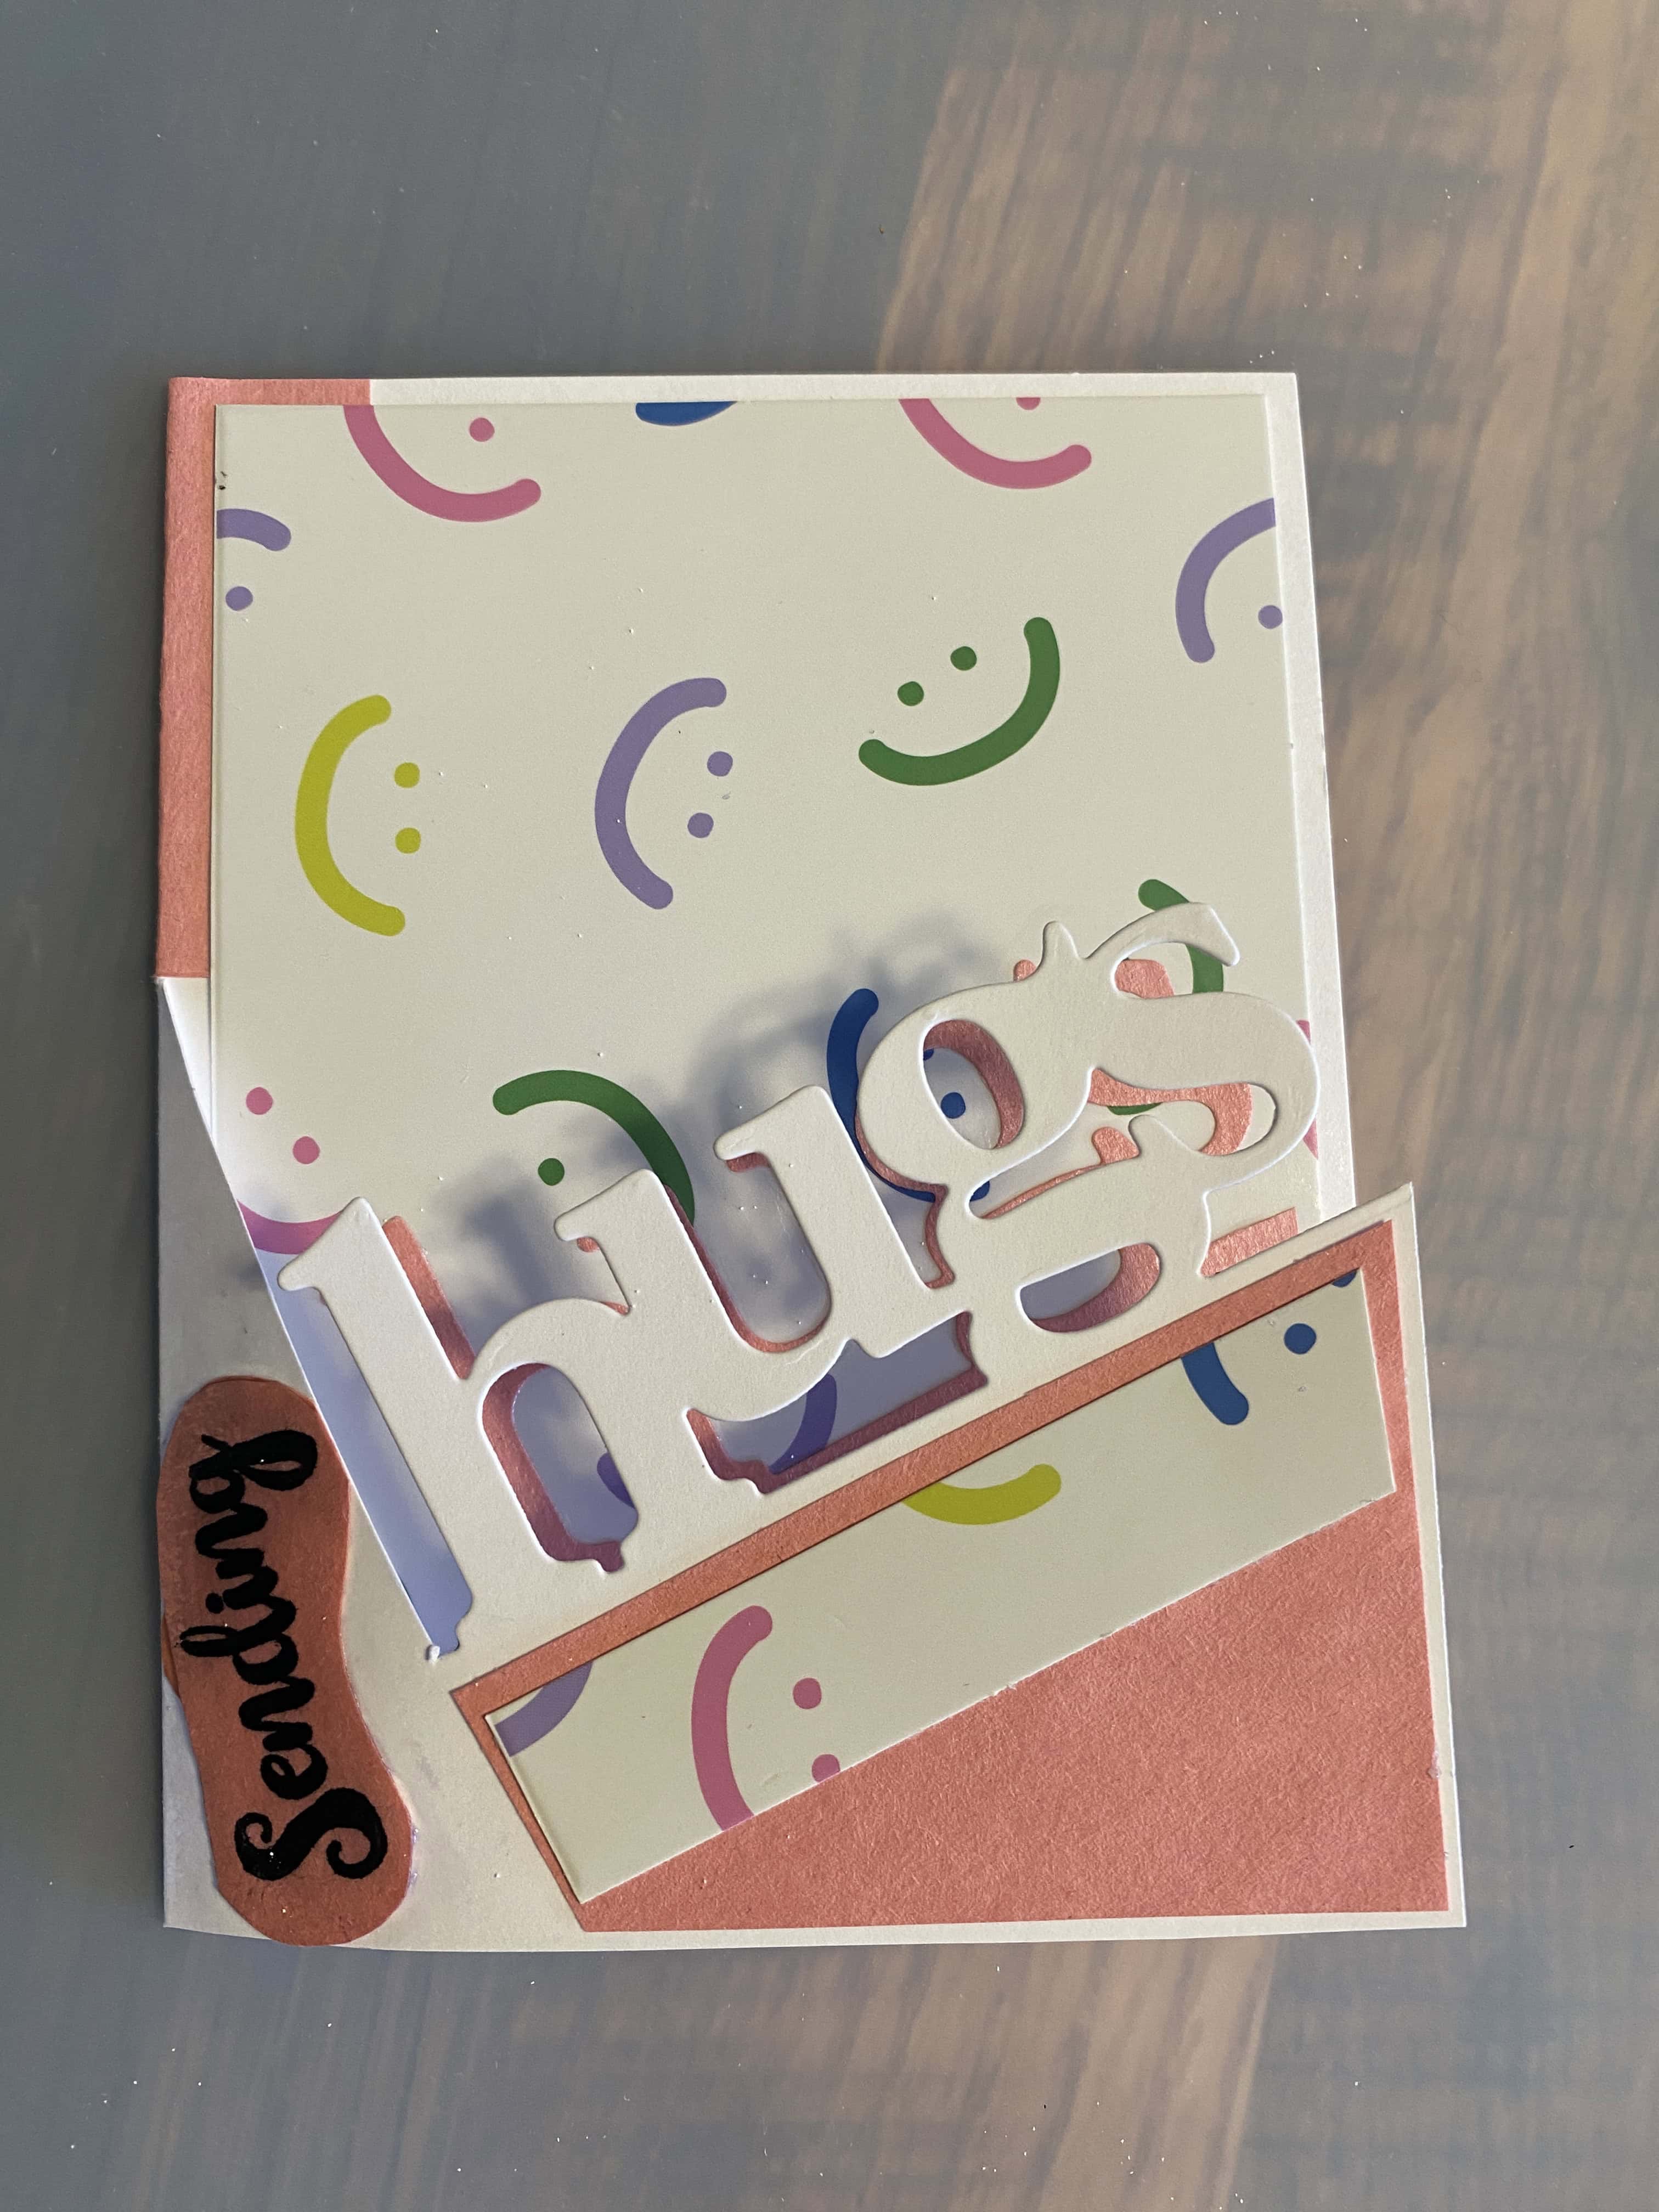
After attaching my initial front sentiment, I didn't like it. So I made a simpler one, and just glued it over the first!
I used black ink with black embossing powder inside, and smeared some Glossy Accents over the sentiment, to add a bit of sheen (which is hard to capture in a photo).
Here's what the back (and front) looks like
Done!! Have fun!!