 |
 |
 |
|
|
|
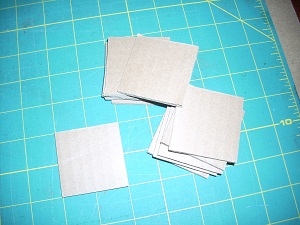
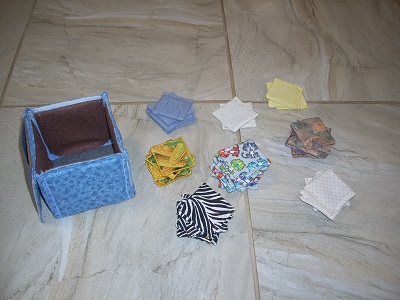
(1) The cardboard I use is about 1/8" thick (common Amazon box thickness). Use any size square you want, but I use 2" x 2". Let $\,\ell\,$ denote the desired side length with units of inches (so, for me, $\,\ell = 2\,$). I use my Sizzix Big Shot to make four squares at a time (and all PERFECT). These squares are a little bigger than what I made—believe it or not, I couldn't find my 1-1/2 inch finished (2 inch unfinished) Sizzix Fabi BigZ die on Amazon! |
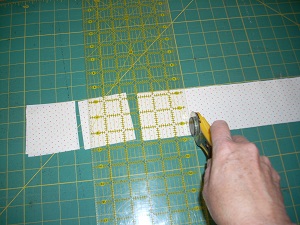 Cut fabric for covers: (2) Cut two fabric squares (top and bottom) for each finished square: $$ (\ell + 1) \times (\ell + 1) $$ Note: the fabric square side length is 1" longer than your cardboard. Use the same fabric for both top and bottom, or mix things up! I use a rotary cutter and quilter's ruler on a self-healing cutting mat to cut everything. |
|||
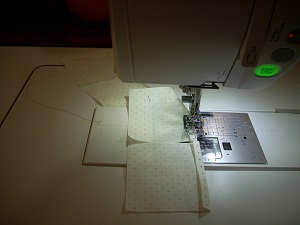
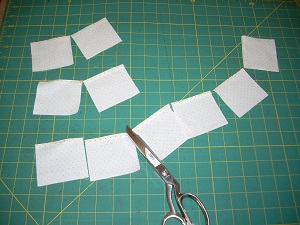
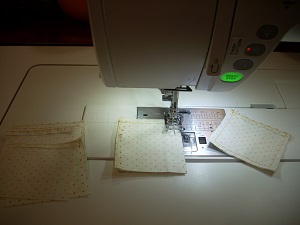
(3) Fold over and press (as needed) 1/4" on one side of each fabric square. Stitch in the middle of the folded edge. This stitching will show in the final product, so use a thread color that you're happy with. No need to do any lock-stitching on this step! If you're making lots of squares, then use ‘chaining’ (shown above) to speed things up. Cut them apart in sets of two. |
 Create a fabric pocket: (4) Put two fabric squares right-sides together, matching the finished edges. Sew 1/4" from the three unbound edges, locking stitches securely at both beginning and end, and pivoting at corners. |
|||
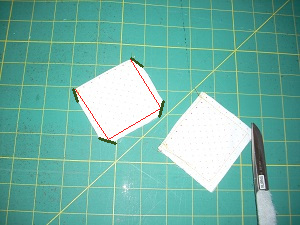 photo enhancement for clarity: red = stitching lines (from step 4) green = corner trimming lines Trim corners: (5) To reduce bulk, trim all four corners as shown. The trimming on the two corners by the finished edge is different than the trimming on the other two corners. Look carefully at the picture! Be careful not to cut any stitching! Trim close to the stitching, but be sure to leave a little space. |
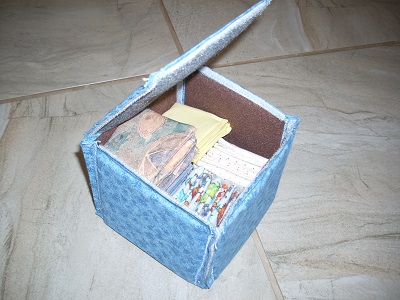
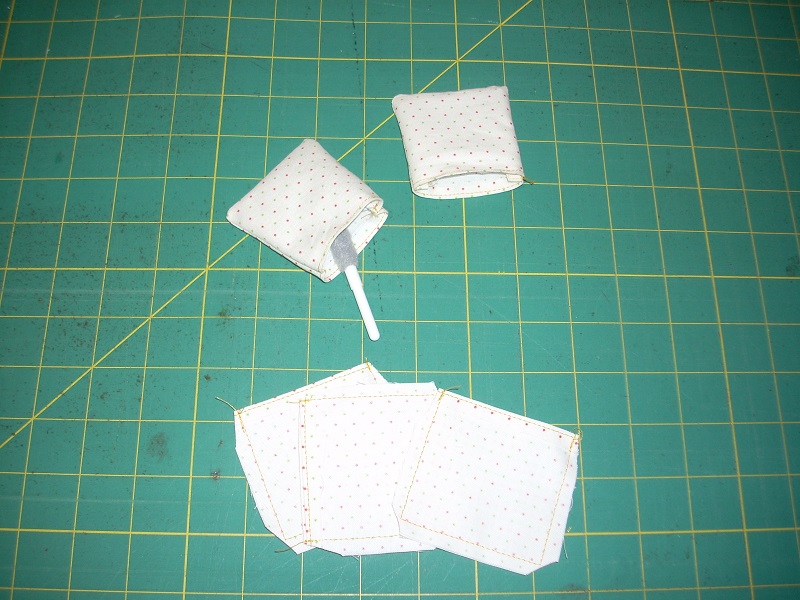 Turn right-side out and insert cardboard: (6) Poke your finger (or a blunt object) into the corners to push them out (square them up) as much as possible. Insert a cardboard square into each pocket, pushing it in as far in as it will go. |
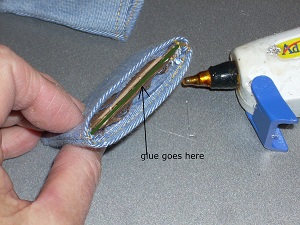 photo enhancement for clarity: glue is shown in green Use a hot-glue gun (or sew) to close: (7) Put a line of hot glue on the exposed cardboard edge. Carefully press together—don't burn yourself! The glue will ooze all the way to the edge and completely seal the pocket. If some glue oozes out, remove the excess. Wait a few seconds (because it will be HOT), but don't wait too long or it will be hard to clean up. If you don't want to mess with glue, then you can alternatively sew the pocket shut. Your choice! |
||
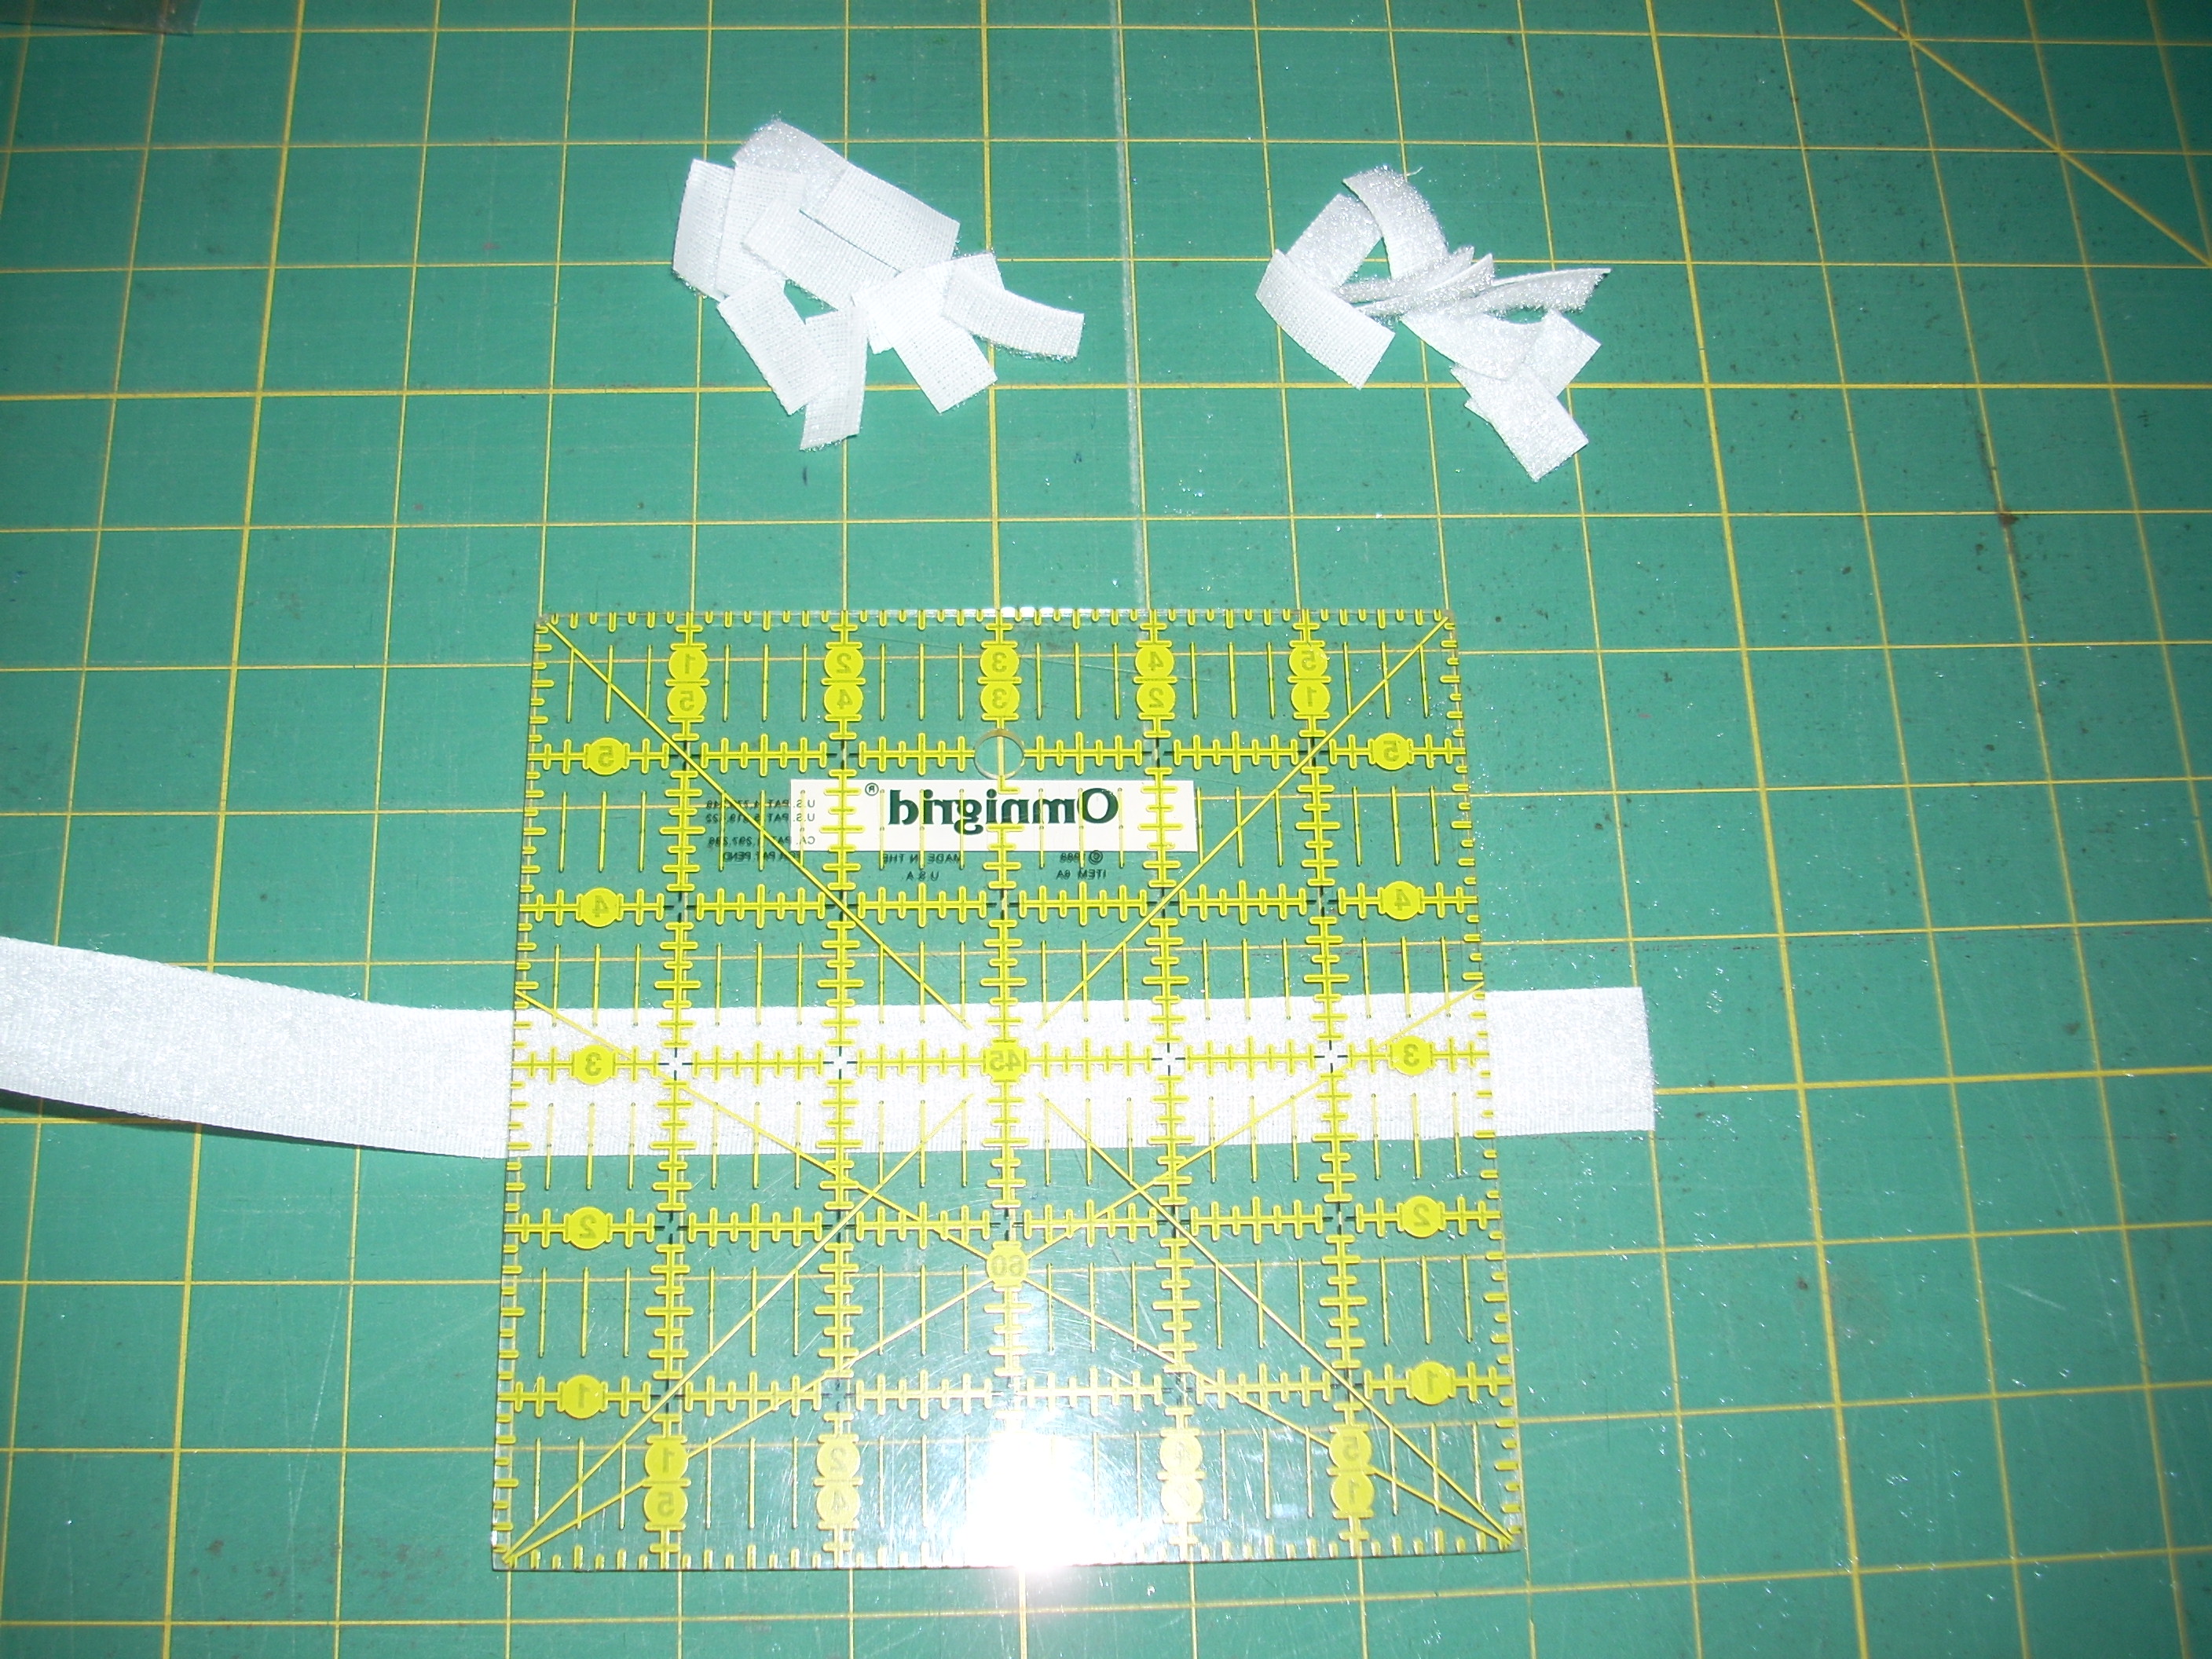
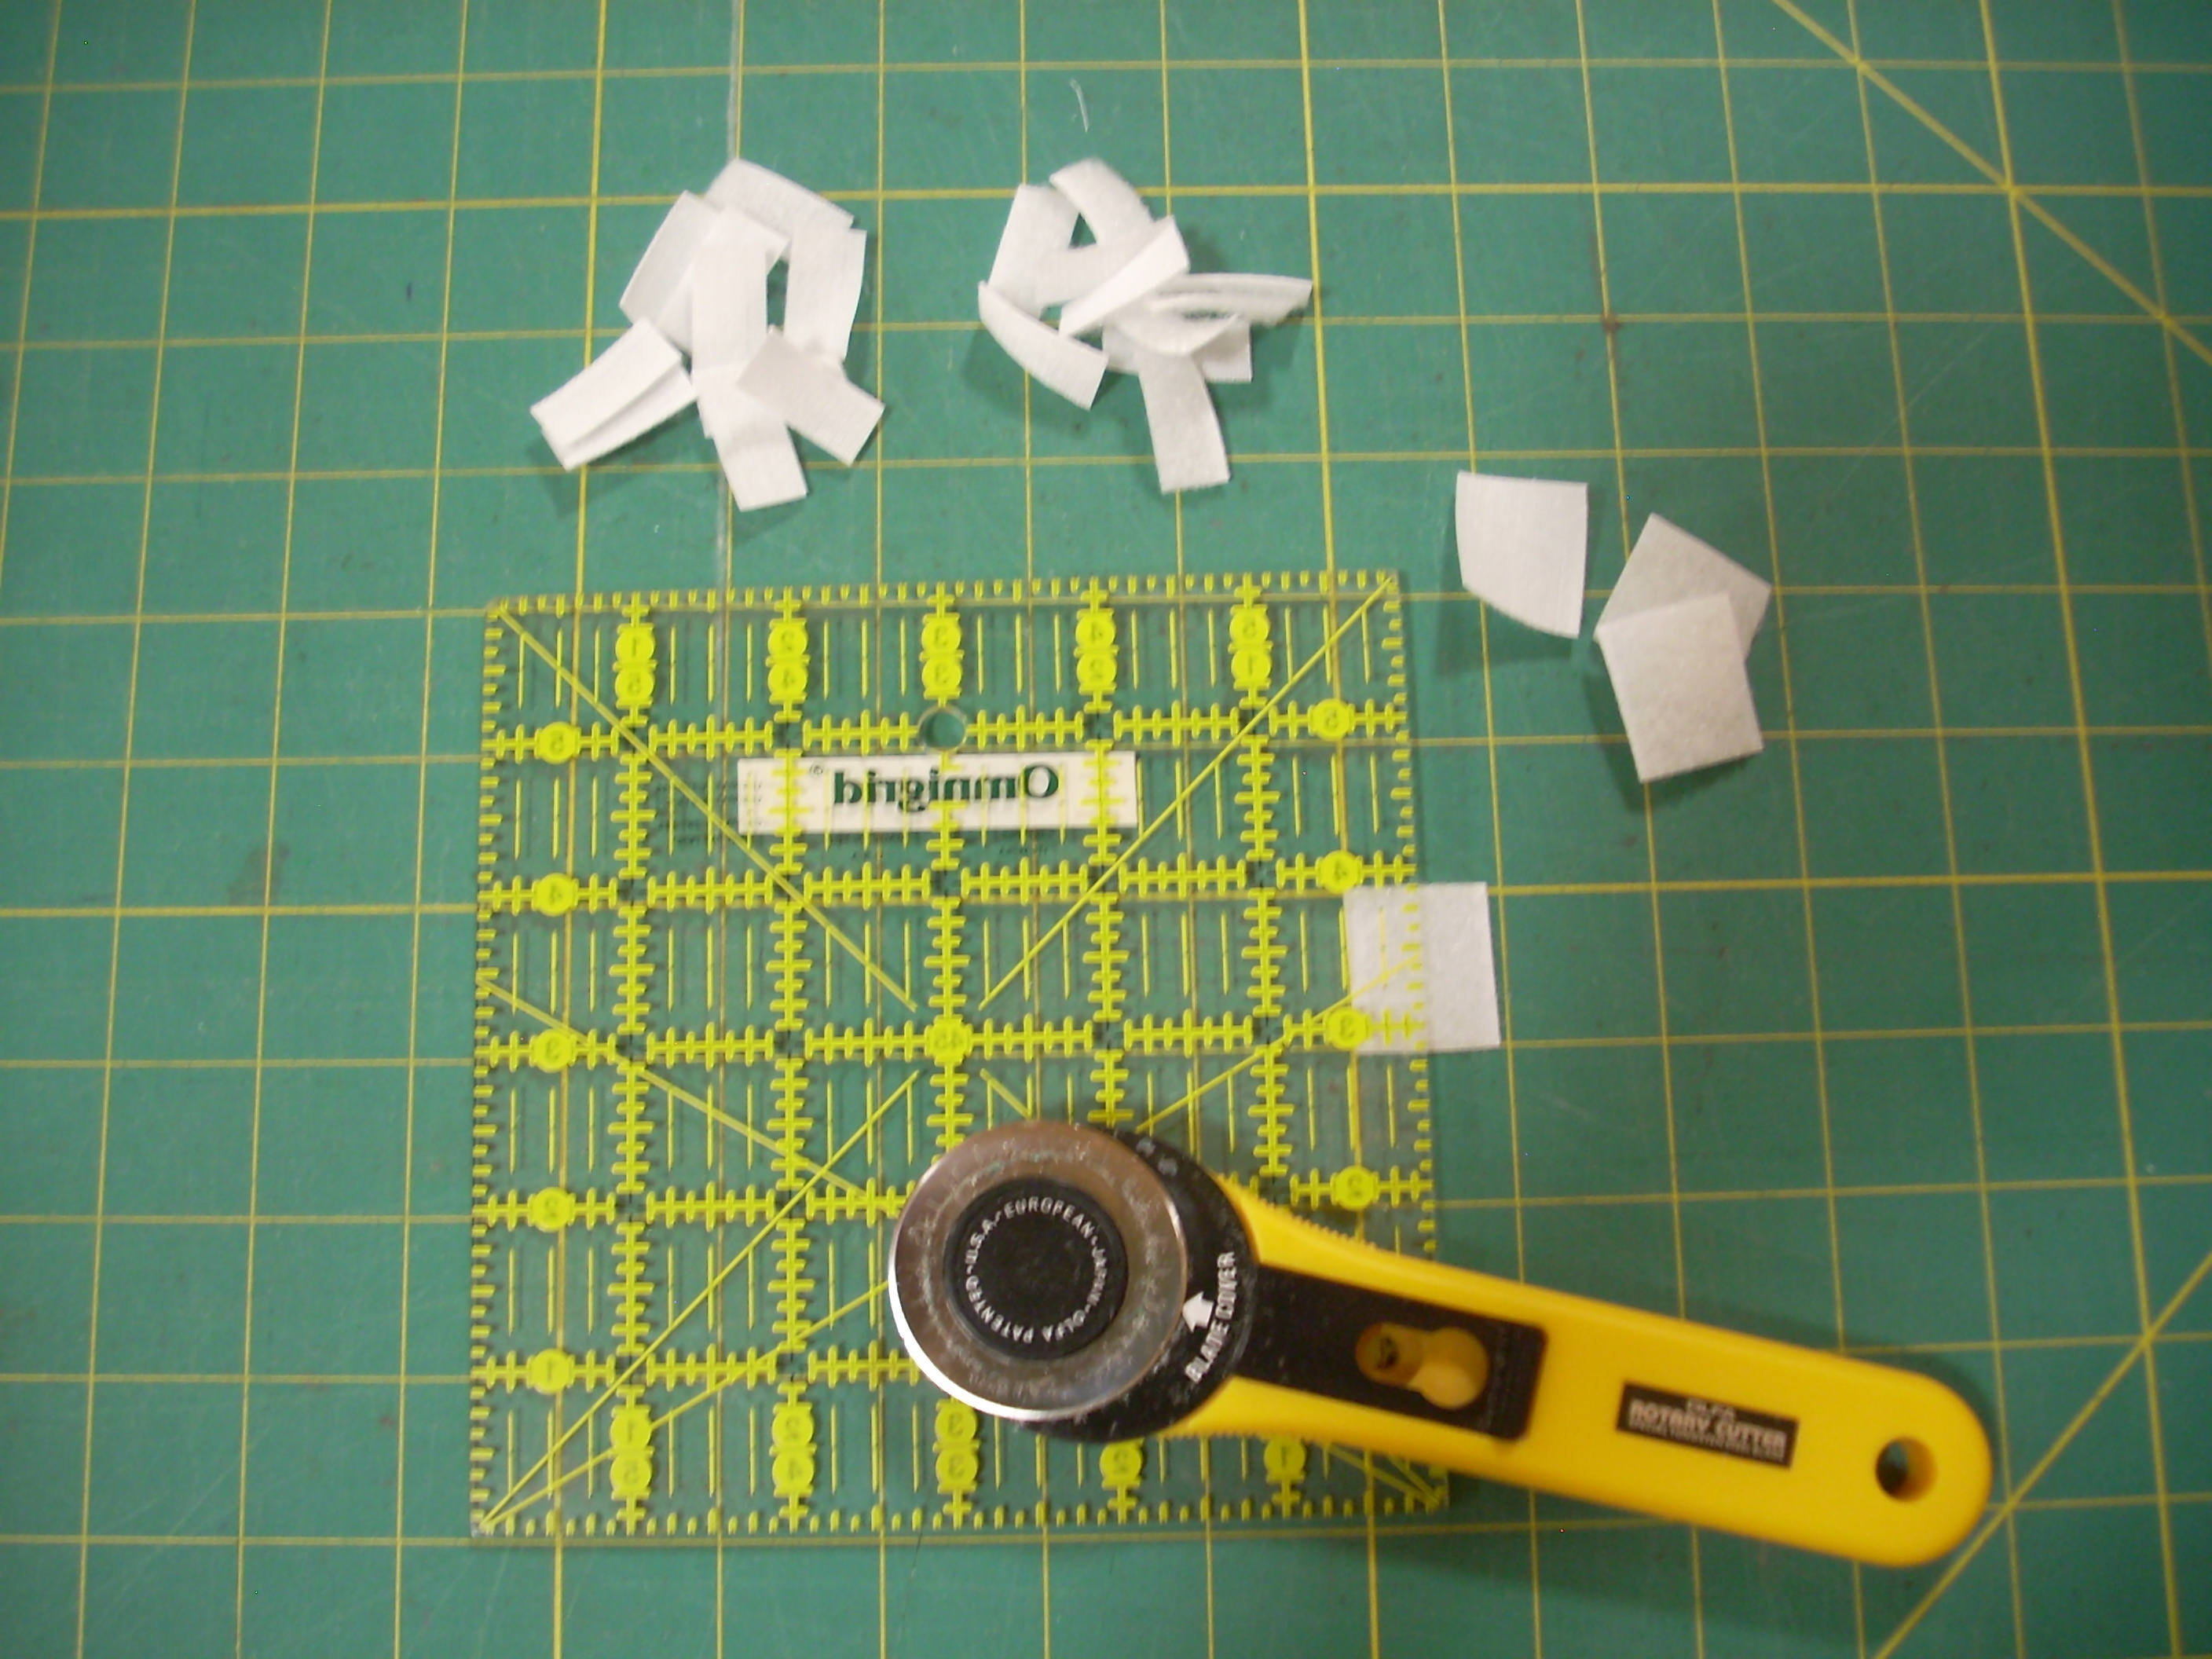
cut velcro pieces: (8) I use white 1" sew-on velcro; cut into pieces of length one inch, then cut each in half. Each fabric/cardboard square will have hook velcro on one side, and loop velcro on the other. |
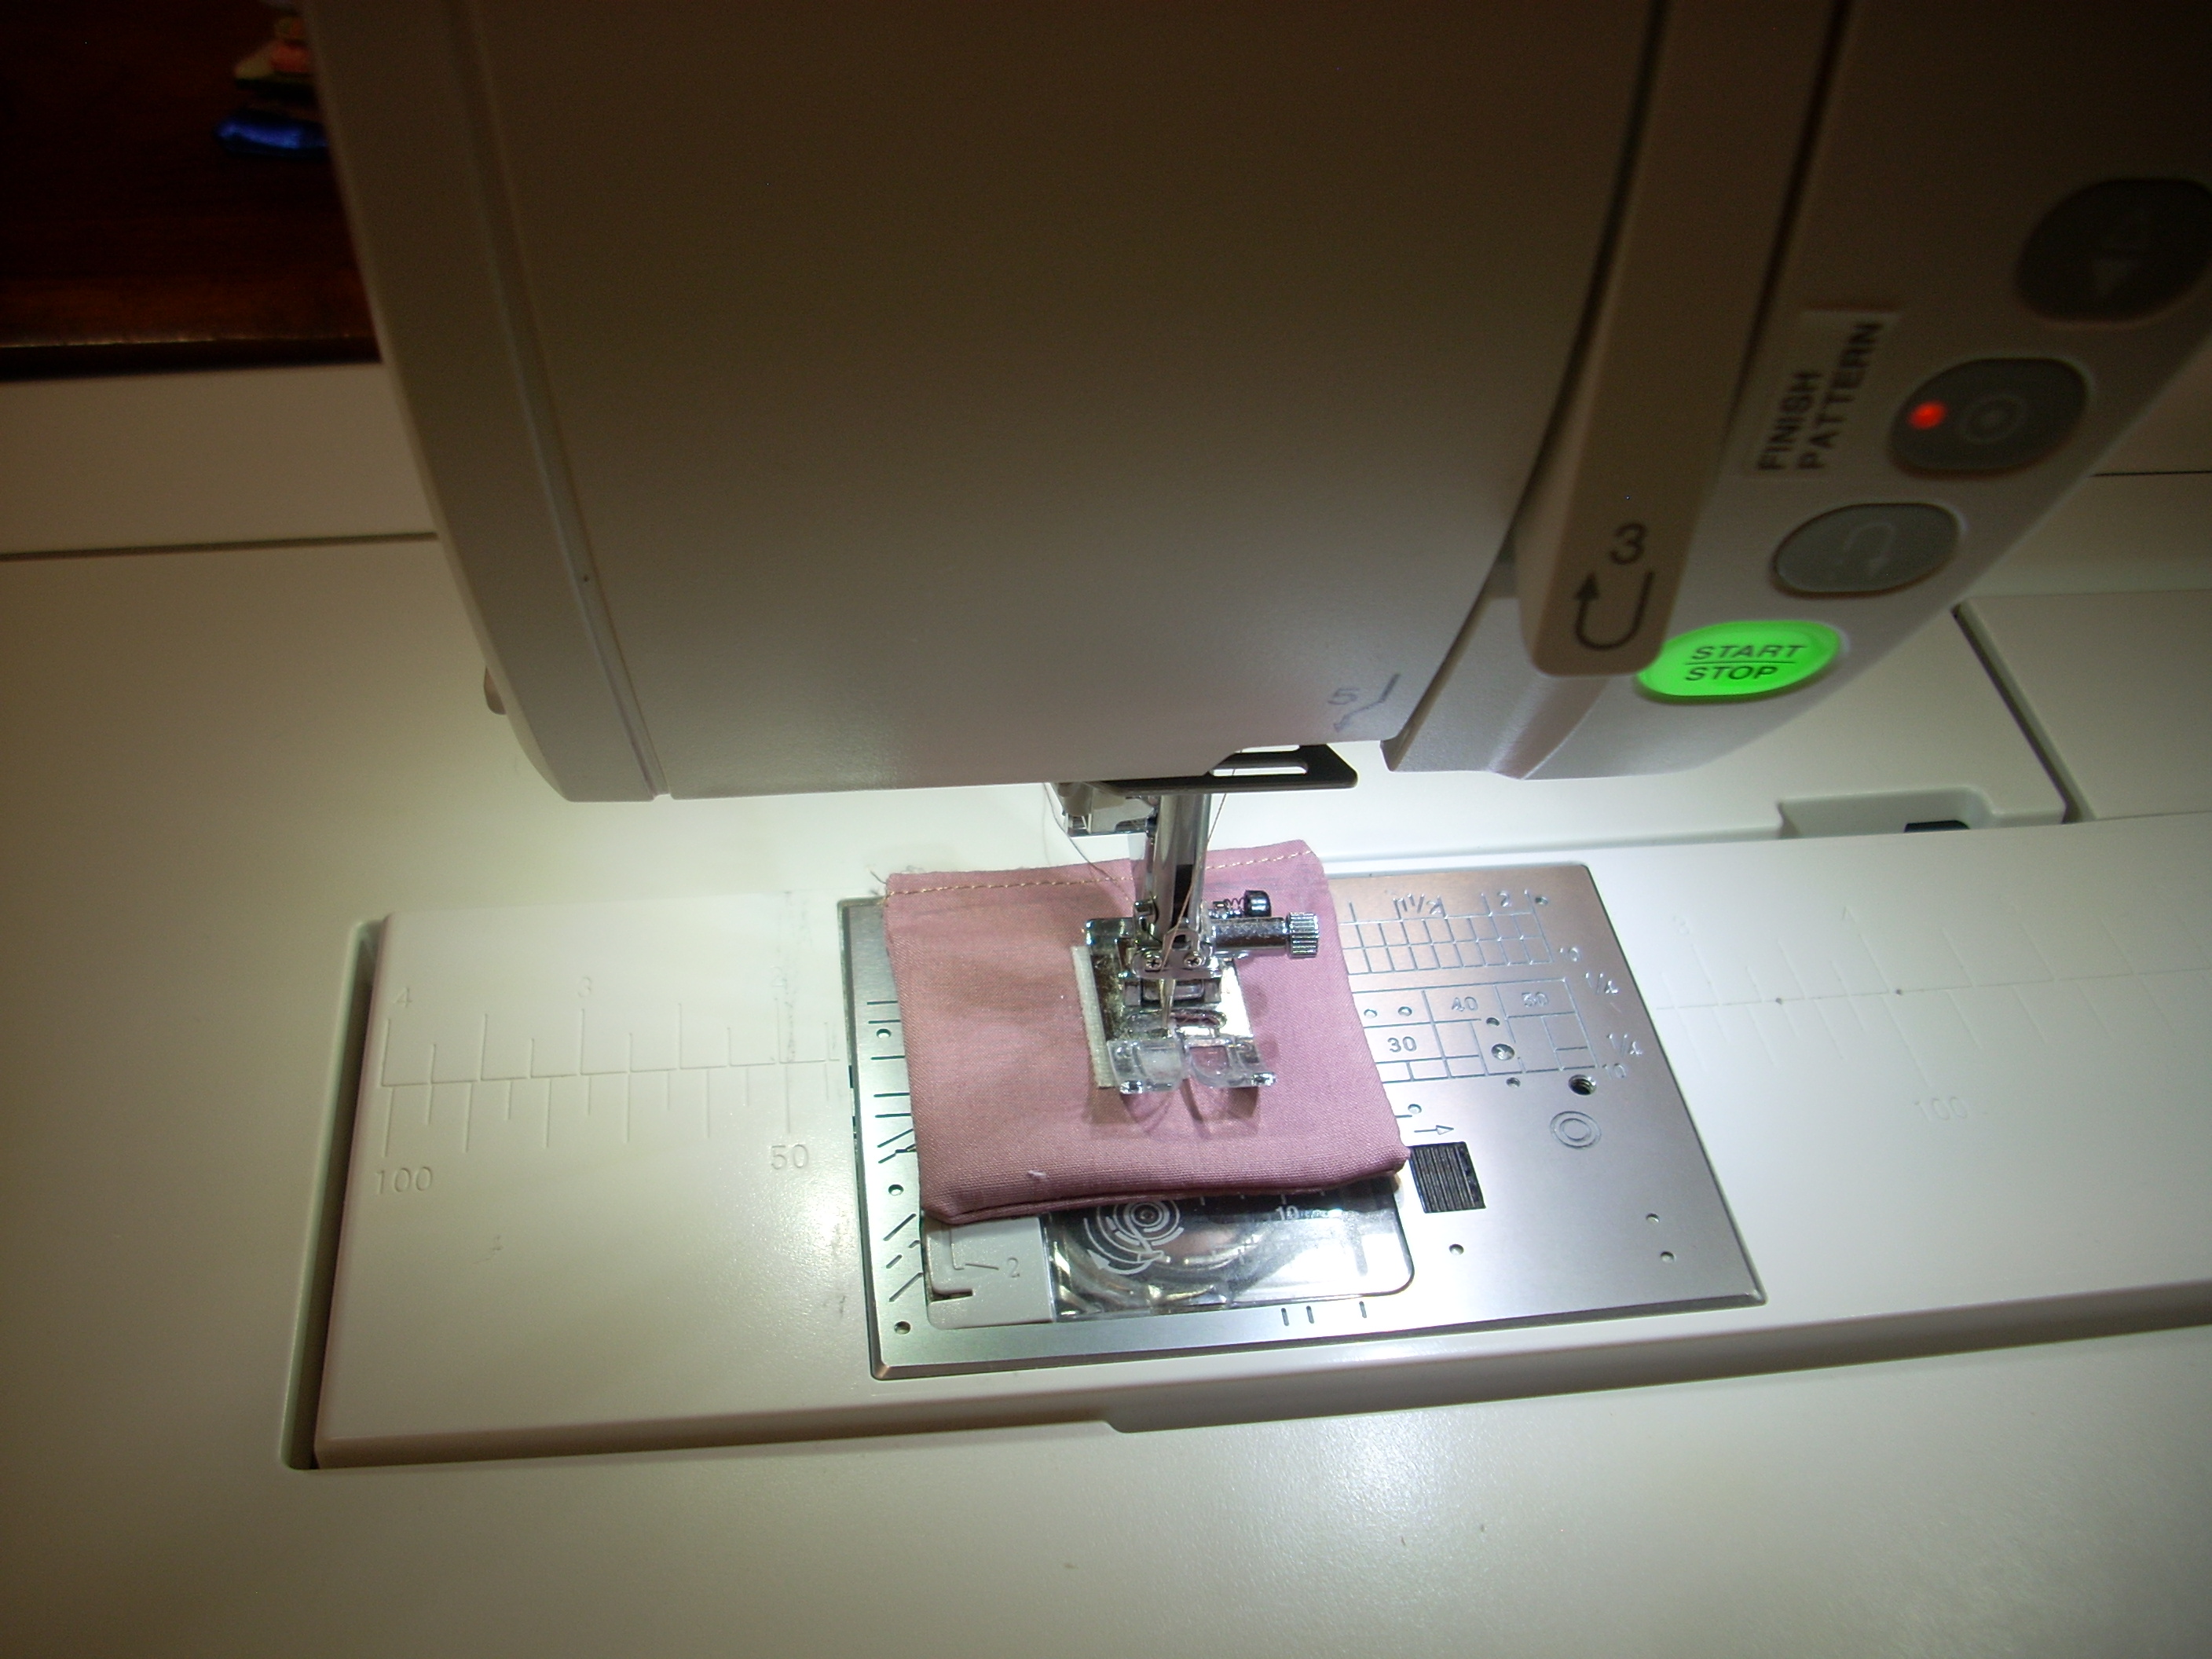
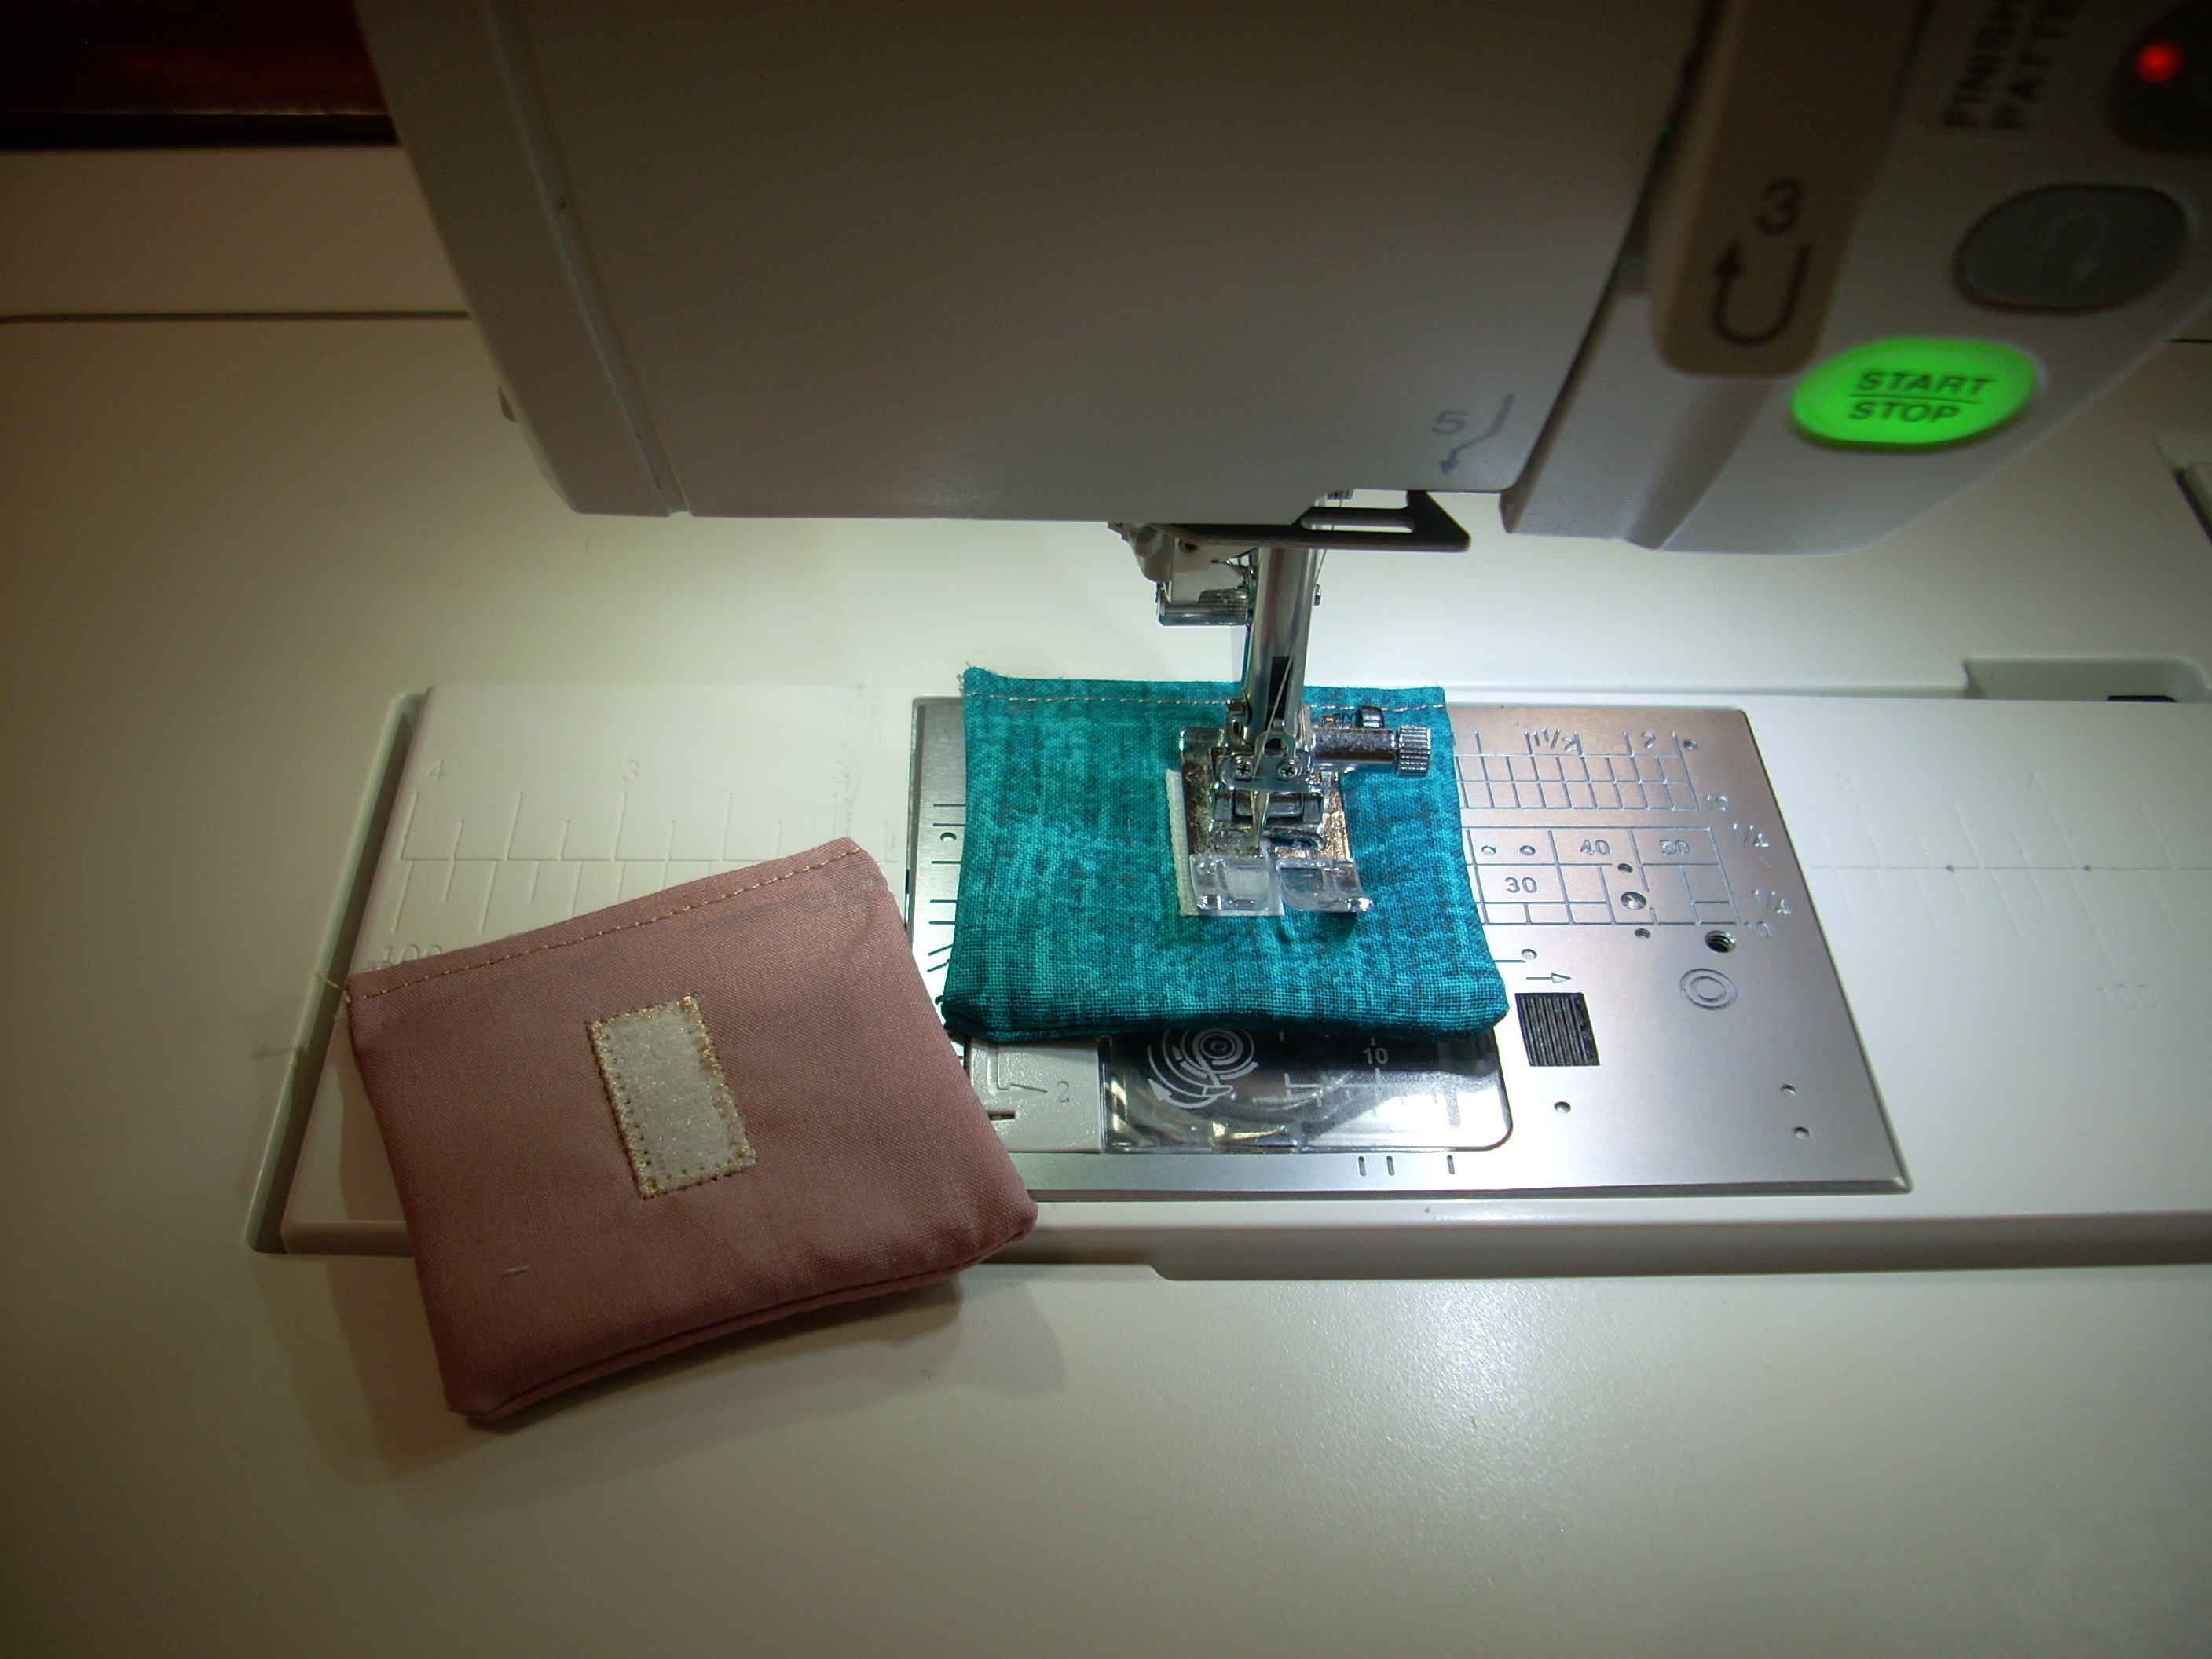
attach velcro pieces: (9) On my Janome 9400 QCP: decrease zigzag density to 1.0; stitch width to 2.0 Starting in middle of long edge, zigzag the hook (hard side) of velcro, at the very edges, to center of card. Note: you are stitching through two layers of fabric and cardboard! Flip over; align the loop side of velcro over the stitches just made, and sew again. |