|
|
|
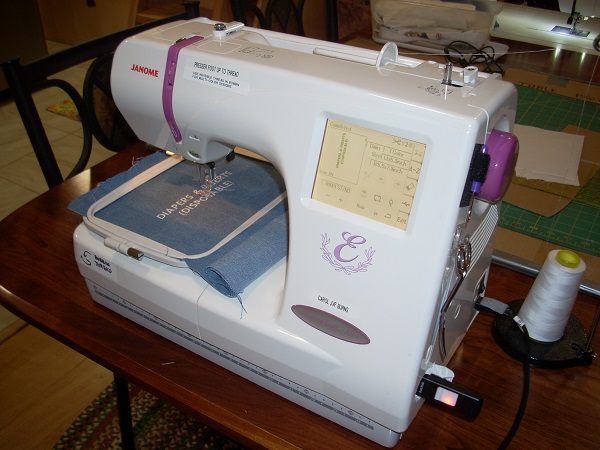
(1) SEW LABEL WITH EMBROIDERY MACHINE: I have a Janome Memory Craft 350E. Use a sturdy fabric; be sure to use a stabilizer sheet. It will look best if you use the same thread for top and bobbin. Here, I'm using hoop B (5.5" x 7.9"). I purchased a block font; the built-in fonts don't have parentheses! Make sure there's at least 1" fabric above/below the top/bottom stitching, and at least 2" fabric to the left/right of the stitching. |
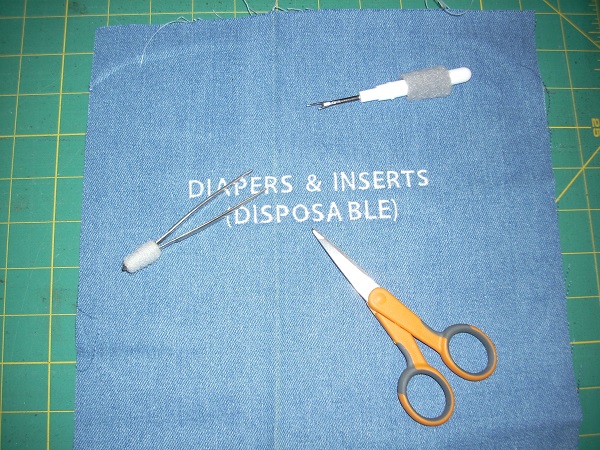
(2) REMOVE HOOP; CUT CONNECTING THREADS: Trim all the connecting threads between the letters. Here's my technique for doing this:
|
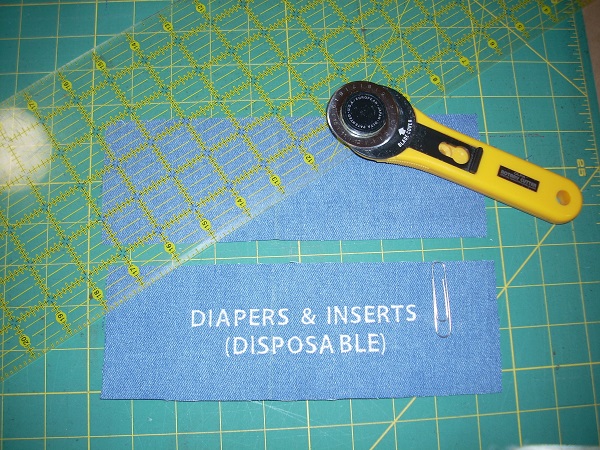
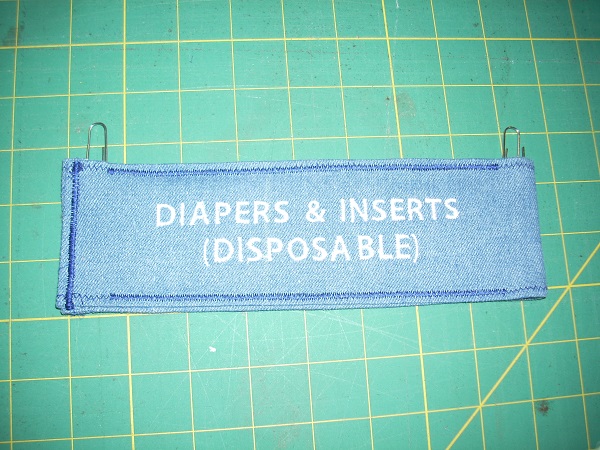
(3) CUT MATCHING TOP/BOTTOM PIECES: Trim your label to the desired size: at a MINIMUM, leave 1" from the stitching on top/bottom, and 2" from the stitching on left/right. If you plan to use paper clips to attach your labels, then make sure the height is at least: paper clip height + ½" If you want bigger margins around your stitching, that's fine. Using your top piece as a pattern, cut a bottom piece exactly the same size. |
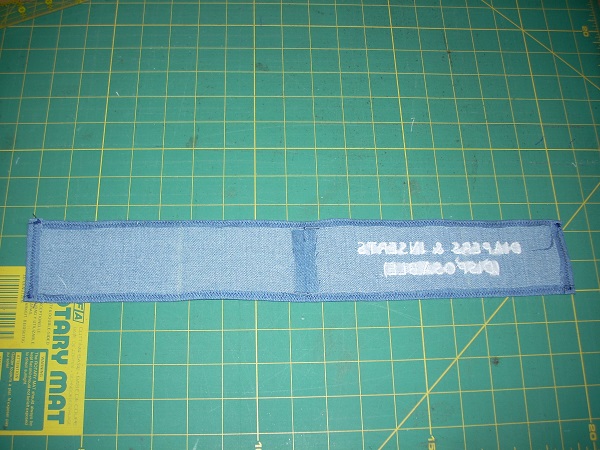
(4) SEW ONE SIDE SEAM; FINISH ALL RAW EDGES: Some of the stitching in this step will show in the final product, so use a thread color you're happy with. If you're doing more than one label at a time, use chaining on this step to speed things up. Put top/bottom right sides together, and sew ONE end with a 3/8" seam. Open up to get one long piece. Turn over all four raw edges slightly and straight-stitch, in this order:
|
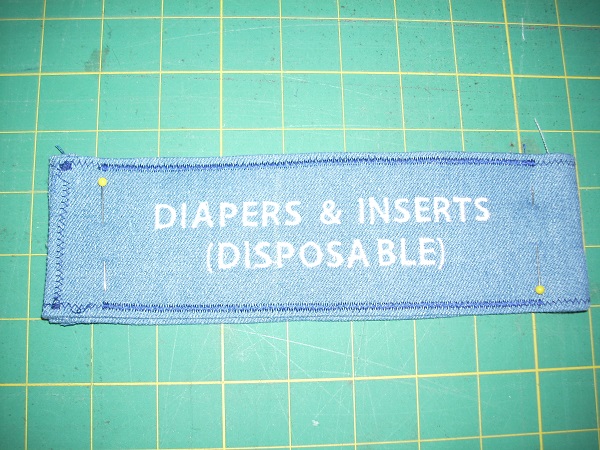
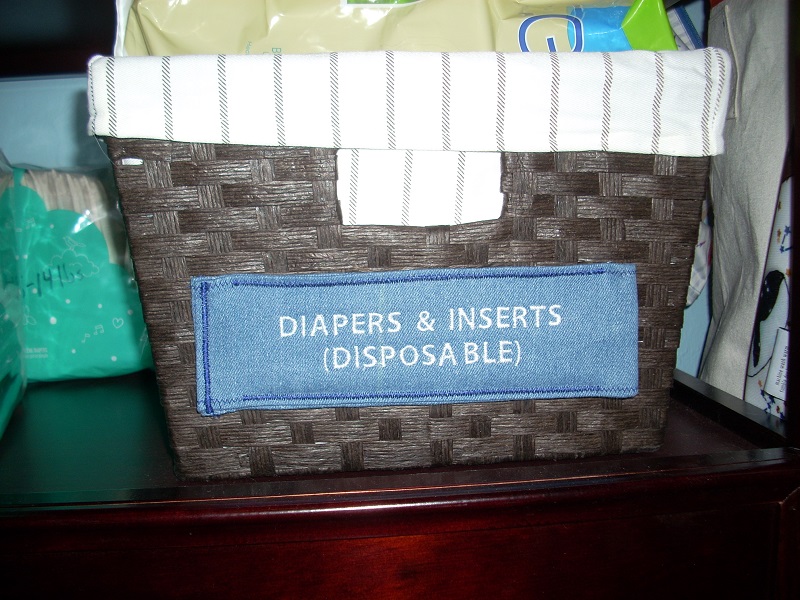
(5) ZIGZAG TOP/BOTTOM, LEAVING POCKETS FOR PAPER CLIPS: Match up the top/bottom pieces, with right sides out. Put a pin ¾" from each end, to keep the pieces matched up properly AND as a marker for where to start/stop zigzags (next). Zigzag top and bottom over the existing straight stitches BETWEEN the pins; use a tight zigzag utility stitch #8, density 0.6], and lock stitches securely at both beginning and end. Thus, there is ¾" open on both end (both top and bottom) for paper clip insertion. |
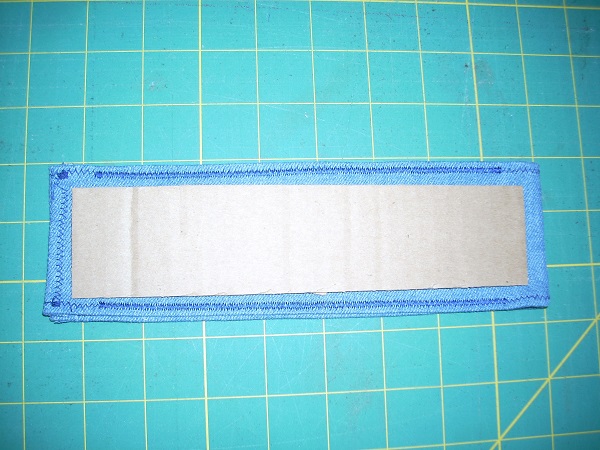
(6) CUT CARDBOARD, INSERT, ZIGZAG SHUT: Cut a piece of cardboard with both height and width ¾" smaller than the label. Insert the cardboard. Zigzag the end closed. Done! |