homepage: Dr. Carol JVF Burns
See the Sewing/Crafts section of my
main Table of Contents for other sewing projects!
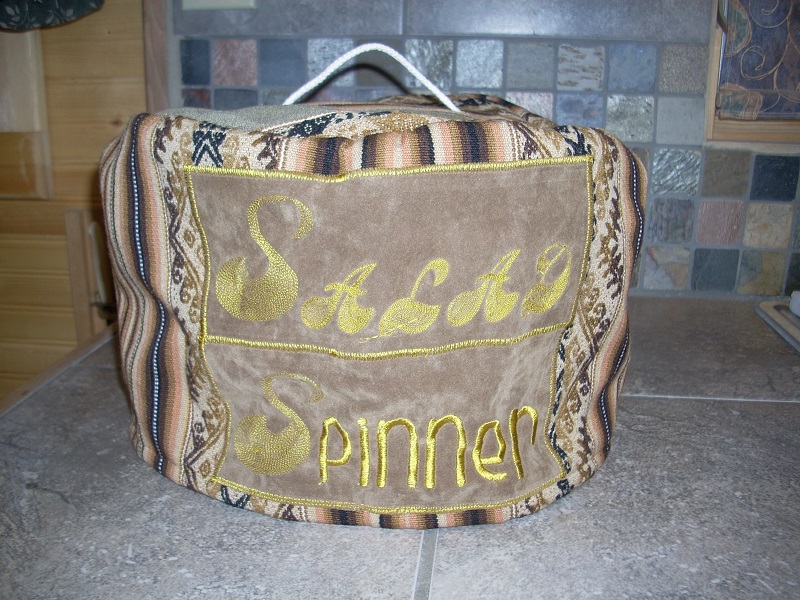
Give an appliance a cover, and it becomes special! It looks pretty and stays dust-free; the cover can be washed as needed.
This cover has all concealed seams—no ragged edges to fray. I use remnants, mixing-and-matching if I don't have enough of a single fabric.
I've illustrated the procedure with a salad spinner cover, but the technique will work for any shape appliance.
If the appliance is rectangular (like a toaster) you will need to generously round all the corners for
this design, or it won't work well. Scroll down for
more thorough instructions.
Custom Appliance Covers
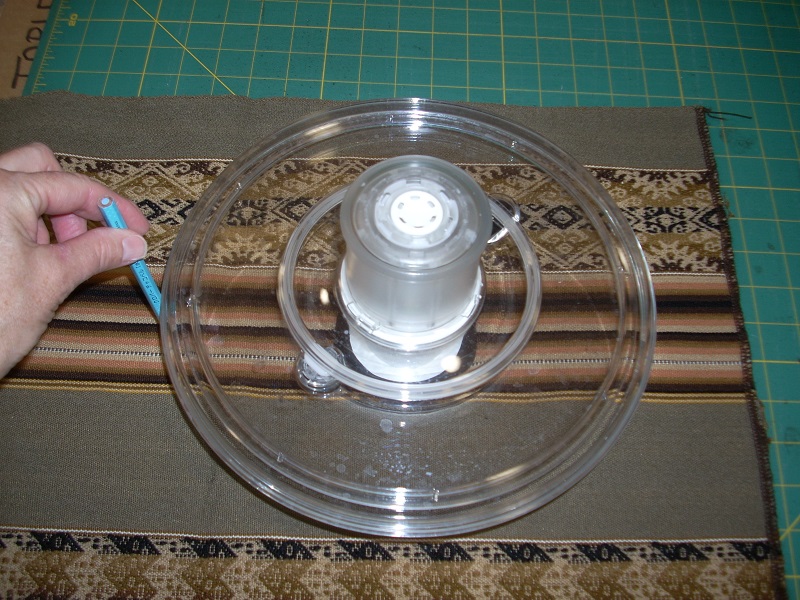
(1) trace around widest section |
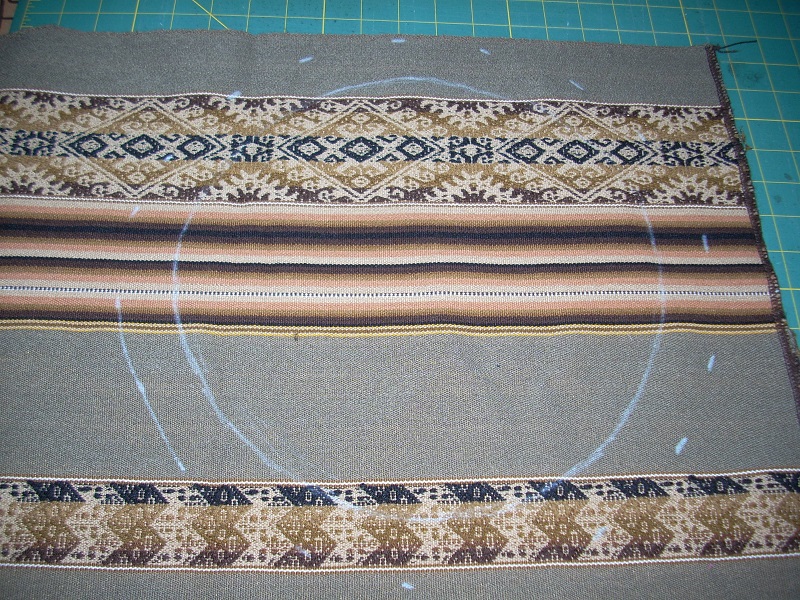
(2) make dashes 1" out;
connect dashes and cut |
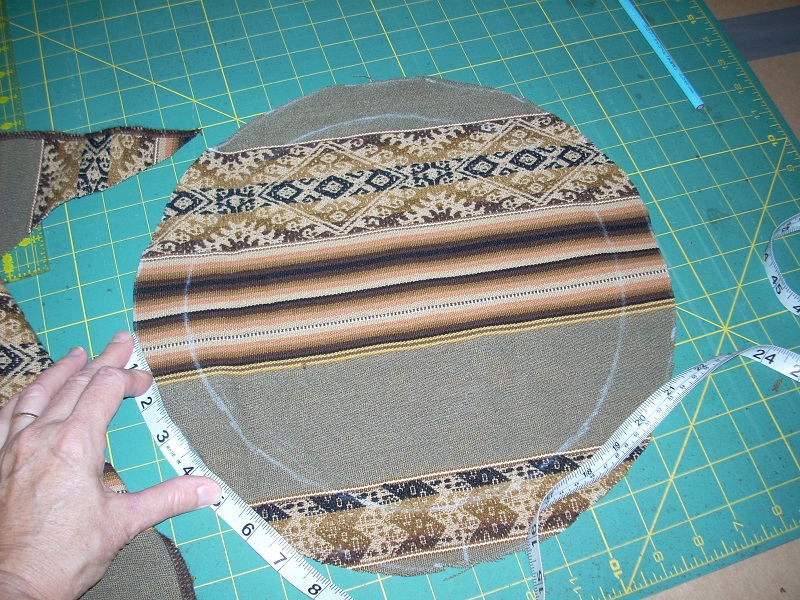
(3) measure perimeter ($\,p\,$) with flexible ruler
(or use math where appropriate ☺) |
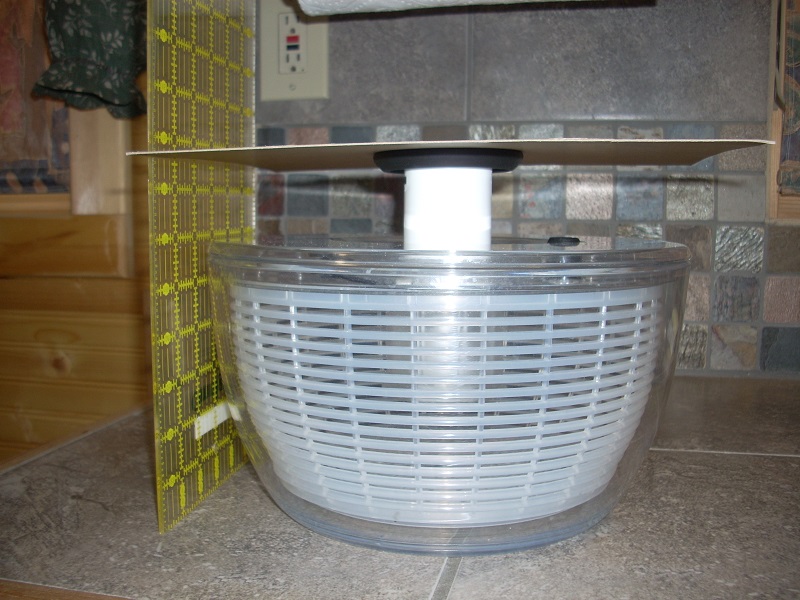
(4) measure appliance height ($\,h\,$) |
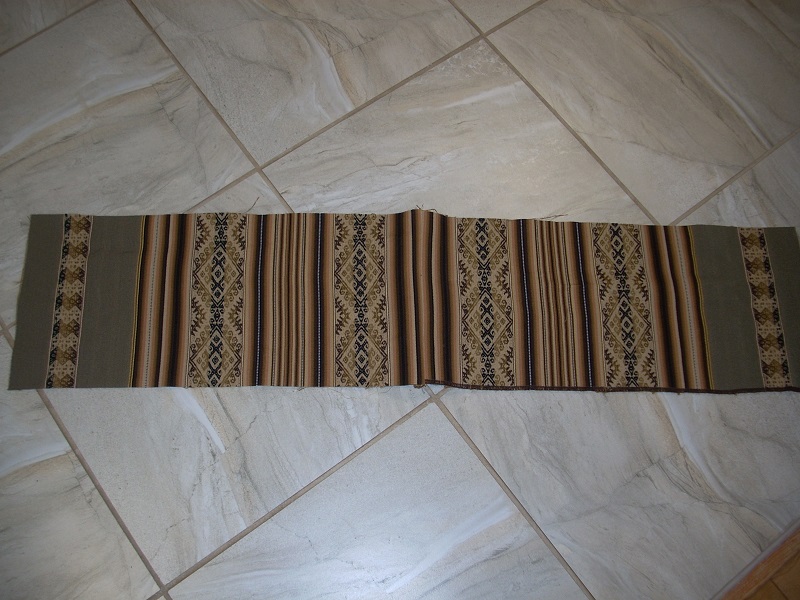
(5) cut rectangle for side, $\,(p+2)\times(h+2)\,$ |
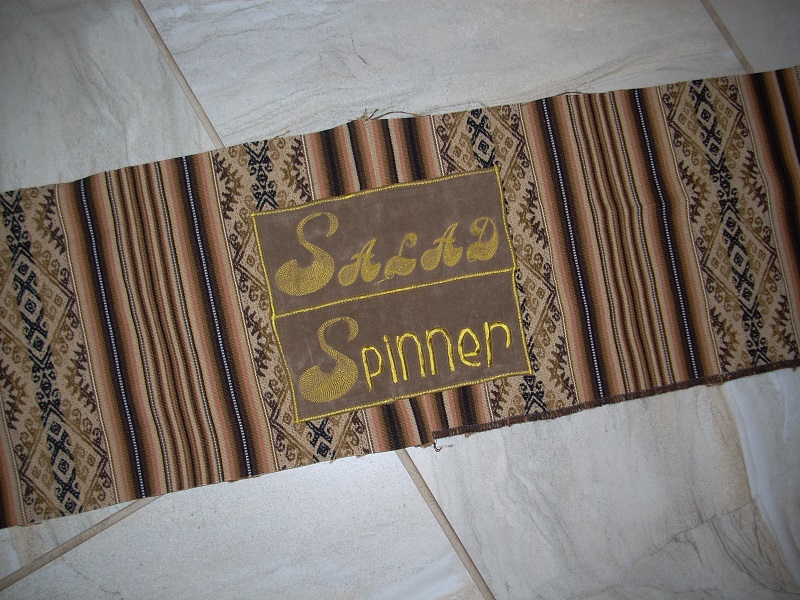
(6) label (optional) |
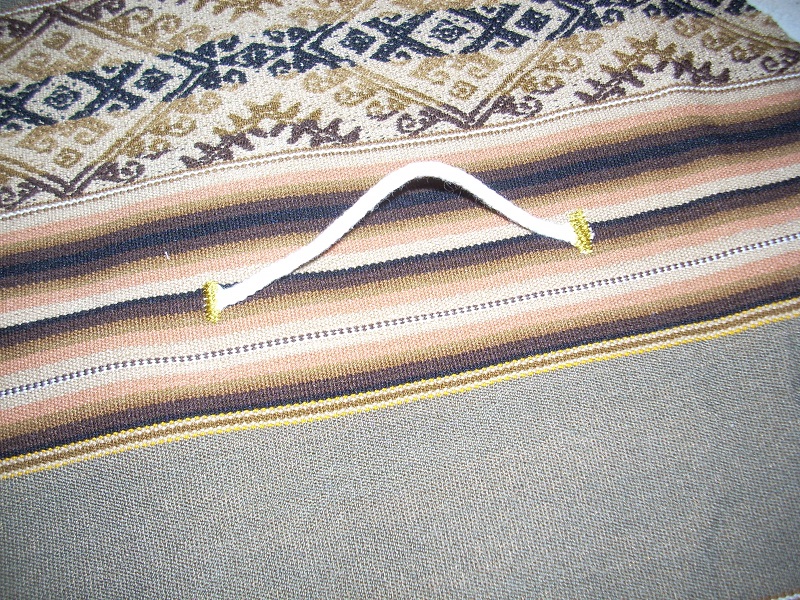
(7) hanging cord (optional) |
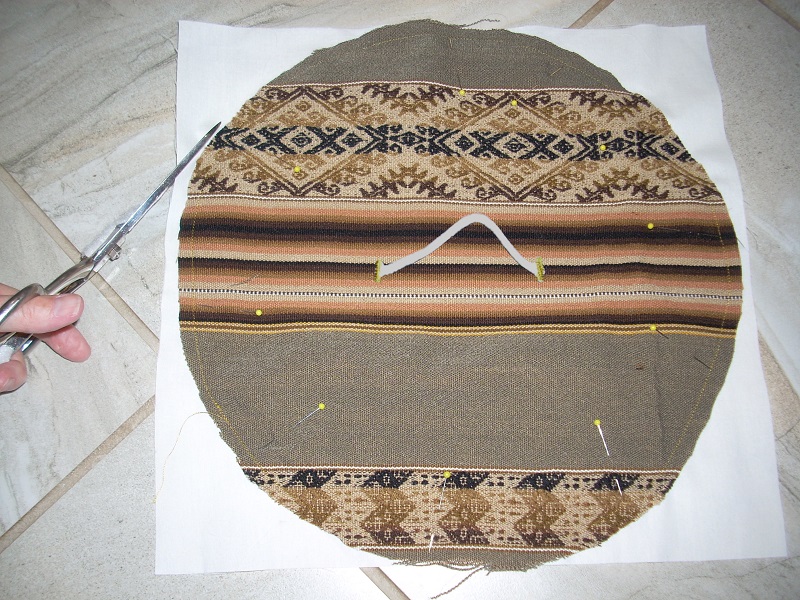
(8) line top and/or sides (optional) |
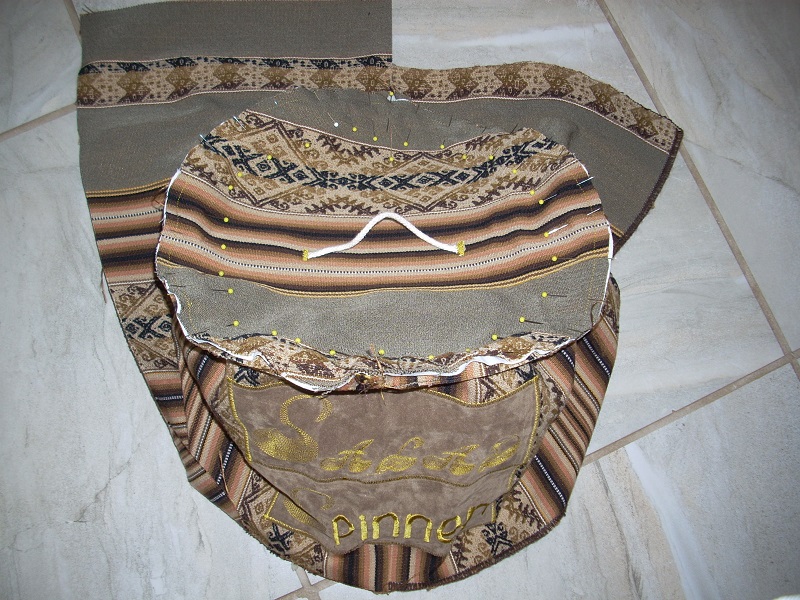
(9) pin top to sides, WRONG sides together;
stitch close to edge; remove pins |
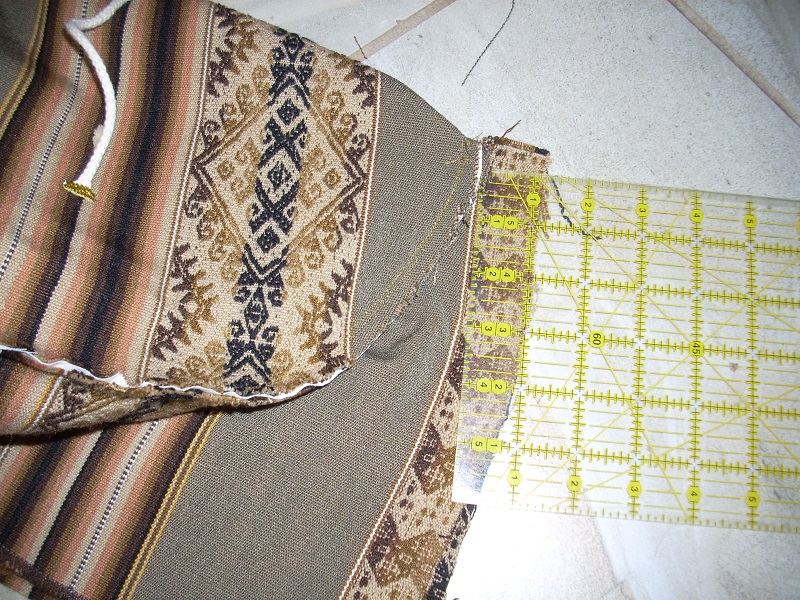
(10) trim ends of side rectangle to 1" (as needed);
stitch side seam close to edge, WRONG sides together
|
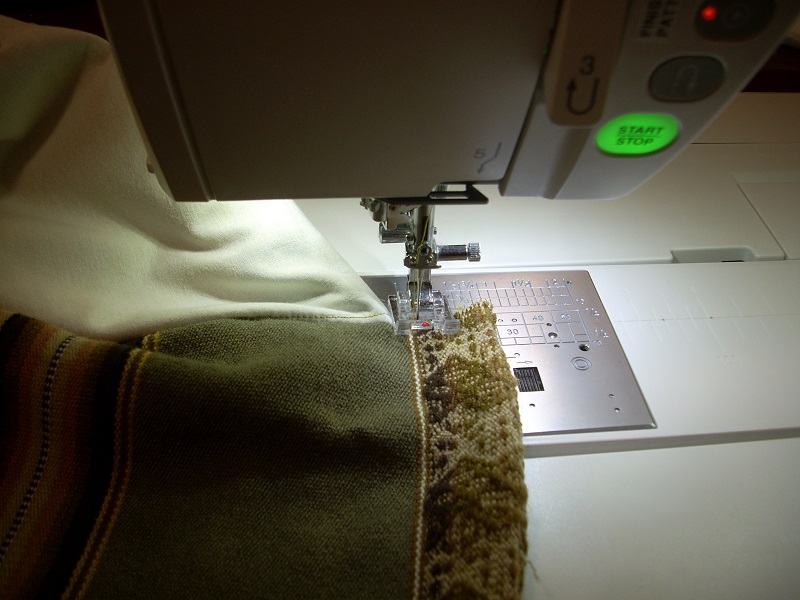
(11) invert piece: stitch side seam again, RIGHT sides together,
to finish side French seam
|
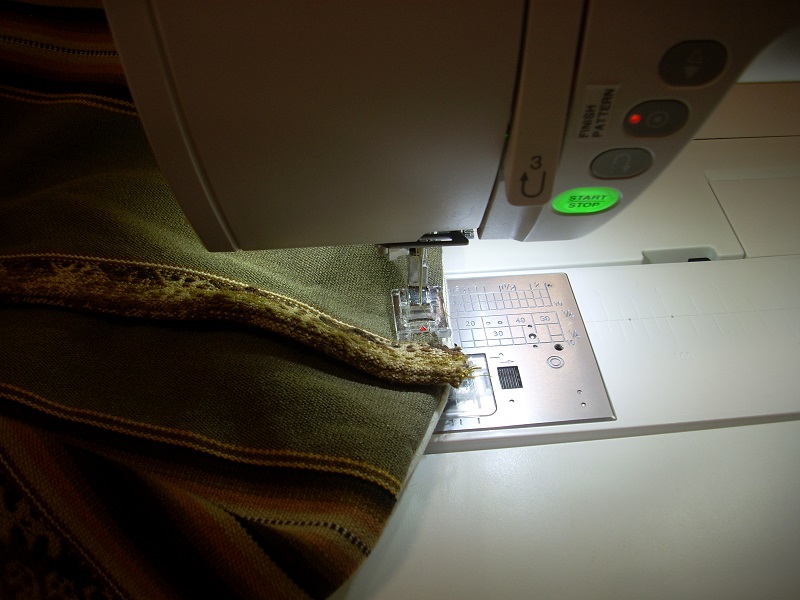
(12) stitch top to side, RIGHT sides together,
to finish top French seam
|
(13) hem; done! |
|
UNITS
All units are inches.
For example,
$\,h + 2\,$ means $\,h\,$ inches plus $\,2\,$ inches.
CUT TOP PIECE; MEASURE PERIMETER
Image (1):
Trace around the widest part of your appliance.
|

(1)
|
Image (2):
Make dashes about 1" further out (measure).
‘Connect the dashes’ to make
a continuous cutting line.
Cut.
|

(2)
|
Image (3):
With a flexible ruler (or math, as appropriate), measure the perimeter; call this length $\,p\,.$
|

(3)
|
MEASURE HEIGHT; CUT SIDE PIECE
Image (4):
Measure the appliance height, from bottom to the highest point.
I sometimes use a rigid ruler and piece of cardboard for this step.
Call this height $\,h\,.$
|

(4)
|
Image (5):
Cut a rectangle for the side, with dimensions:
$$\,(p + 2) \times (h + 2)$$
|

(5)
|
LABEL (optional)
Image (6):
Sew on an (optional) label.
You could also embroider directly on top/side fabric.
Think carefully about label placement!
|

(6)
|
HANGING CORD (optional)
IMAGE (7):
If desired, sew on a short piece of cord/ribbon for a handle/hanging cord.
Alternatively, you can use fabric:
- cut a small rectangular piece of fabric
- fold right sides together
- stitch one long and one short edge
- turn inside out
- fold in raw edge
- zig-zag ends to top cover piece
|

(7)
|
LINING (optional)
IMAGE (8):
To line top and/or side, use identical-size pieces of lining.
I often pin (WRONG sides together), machine-baste, and then cut.
(For this project, I only lined the top, not the side.)
|

(8)
|
ASSEMBLE WITH FRENCH (CONCEALED) SEAMS
Put a DOT at center back of top piece (right side),
3/4" from edge.
Call this dot $\,D\,.$
IMAGE (9):
Start 1" in on the long end of the side piece—NOT the very end!!
With WRONG SIDES together, PIN side to top, starting at $\,D\,.$
If you have tight curves, pin generously.
You should have about 1" left when you reach $\,D\,$ again.
(If you have excess length, it gets trimmed in a future step.)
Machine-baste the pinned top with a 1/4" seam:
- start basting at location $\,D\,$ (except 1/4" in, not 3/4")
- finish at the same place
Remove the pins.
|

(9)
|
IMAGE (10):
If your side piece was too long, TRIM so that there is 1" on both ends.
(Below, I refer to this as the ‘one inch overhang’).
Stitch from top to bottom, 1/4" from outer edge.
(Note: You still have WRONG sides together.)
|

(10)
|
IMAGE (11):
‘Invert’ the cover, so that RIGHT sides are together.
Stitch the side again from very top to bottom:
stitch along the very inside edge of the one inch overhang.
This encloses the side raw edge, finishing the side French seam.
(There will be a tiny raw edge at the top; zig-zag it if you want.)
|

(11)
|
IMAGE (12):
Still with RIGHT sides together, stitch the top-to-side seam.
Note: You'll stitch over the completed French side seam, as shown.
This encloses the top raw edges, finishing the top French seam.
Note: It may be thick near $\,D\,,$ due to several layers of fabric—be careful!
Turn right-side out.
Some raw edges showing?
If so, then stitch again, a little further in from the edge.
|

(12)
|
BOTTOM HEM:
IMAGE (13):
Turn up the bottom edge and zig-zag.
Turn up again and stitch (straight/zig-zag/decorative, as desired).
Done!
|

(13)
|


