(6) ASSEMBLE STOCKING
(A)
With right sides together, sew lining to stocking front,
across upper edge only.
Press seam towards lining.
(B)
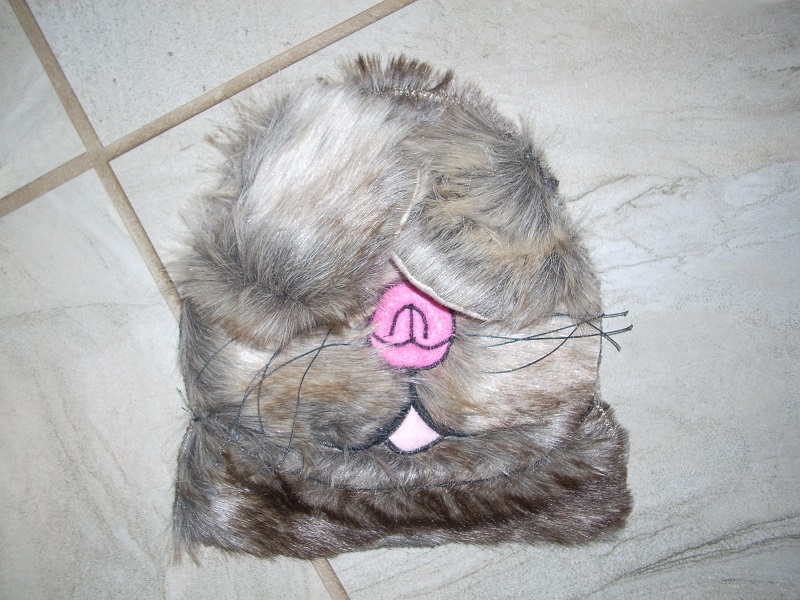
With right sides together, baste head to back lining.
The head should stop about 5/8" in on each side.
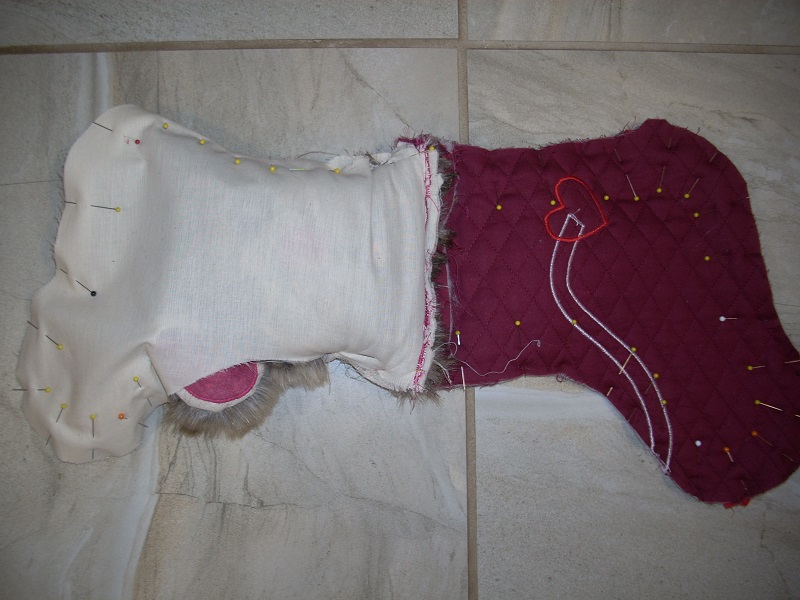
(C)
With right sides together and head folded down,
sew stocking back to back lining along the upper edge only.
Use the suggestions that follow to make this easier!
This is probably the most difficult seam of the entire stocking construction, because
of the thick head inside!
To help, use a narrower presser foot: I use the Janome HP professional grade foot with the needle all the way to the left.
Baste with a long stitch first.
Then, go over with a normal stitch.
Stitch again, for extra strength.
Slow and steady wins the race for this seam!
(D)
With right sides together,
sew stocking/lining front to stocking/lining back.
Leave a large opening in the lining to turn.
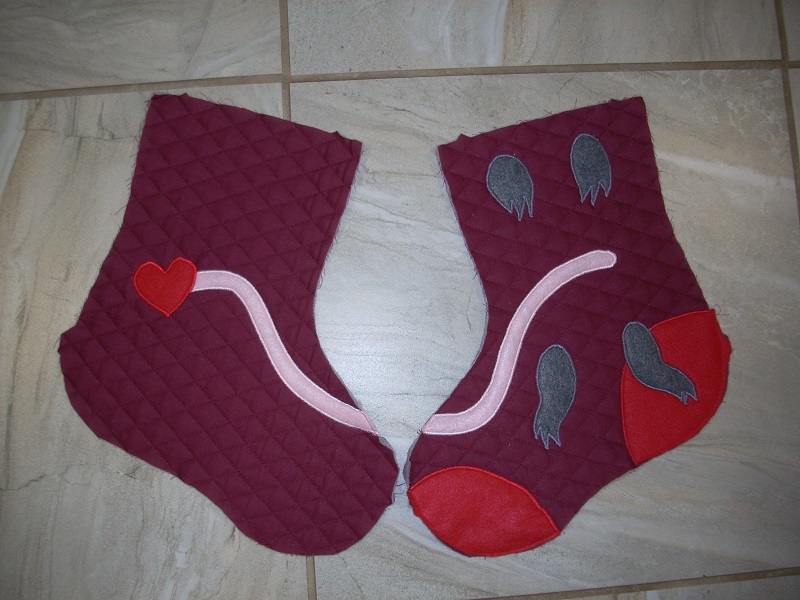
Be careful to match any ‘wrap-around’ features (like a tail).
Be careful not to catch the head in the seam.
Finally, turn right-side out.
Sew up the opening: since it's inside and not readily visible,
I use machine-stitching.
Tuck the lining inside.
You're done!!
|
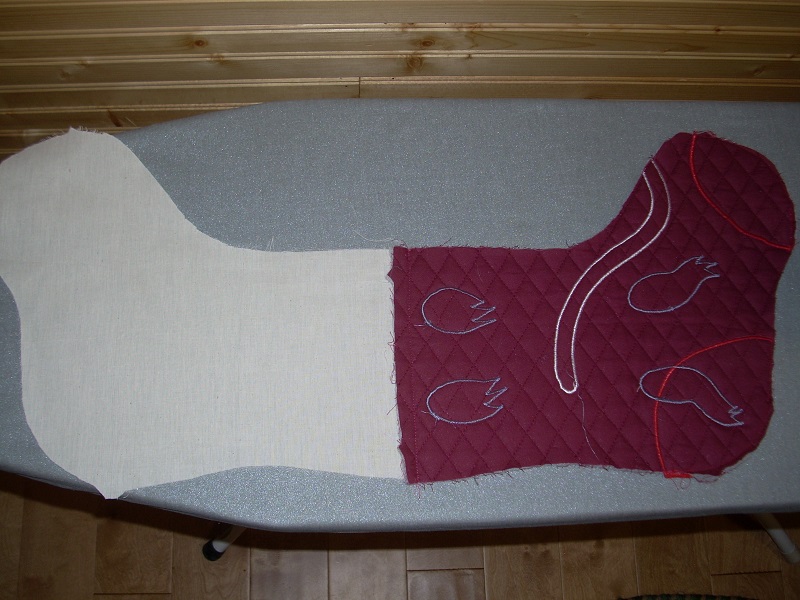
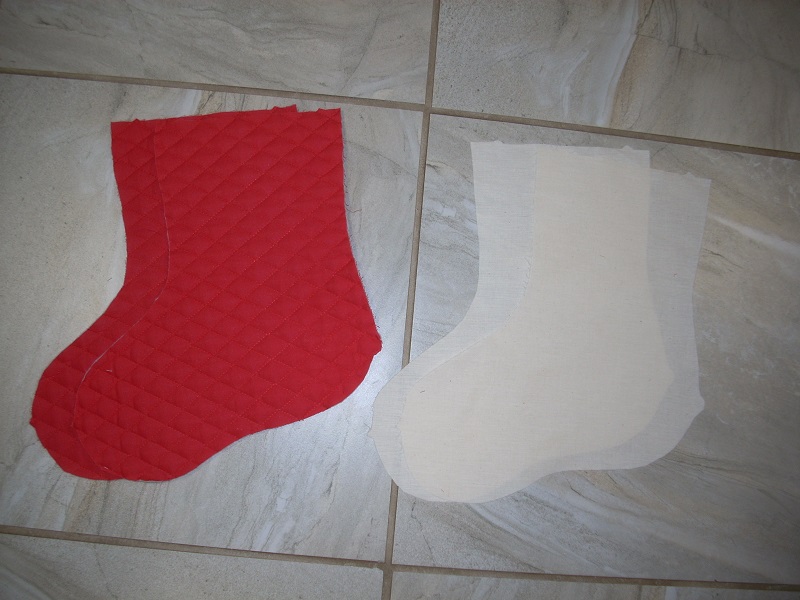
(A)
with right sides together,
sew lining to stocking front
(across upper edge only);
press seam towards lining
|

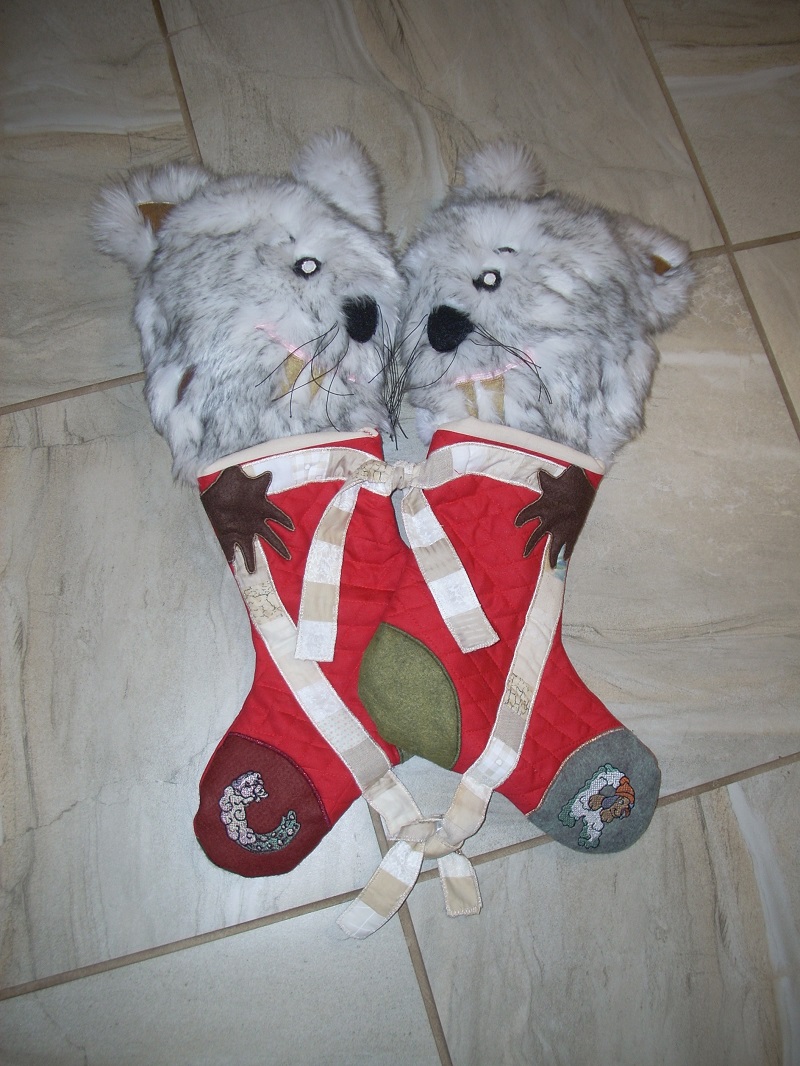
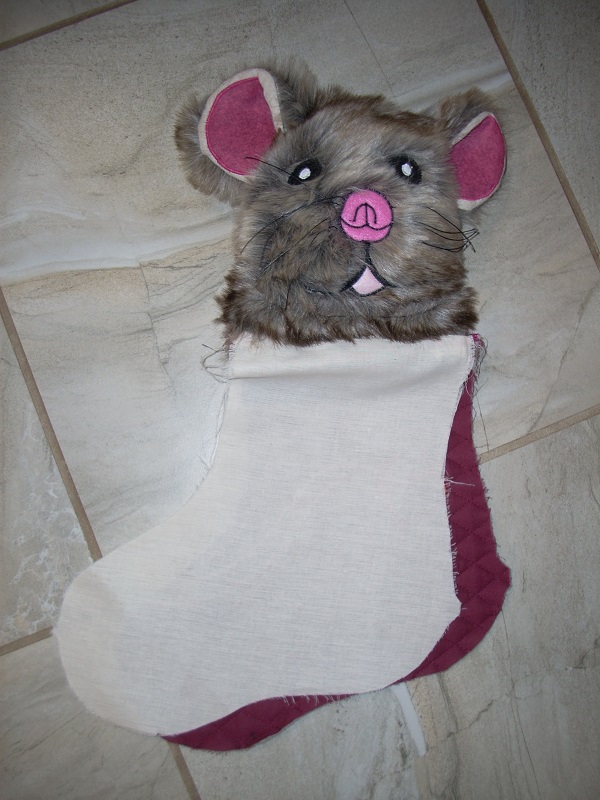
(B)
with right sides together,
baste head to back lining;
(shown here after basting is done)
|
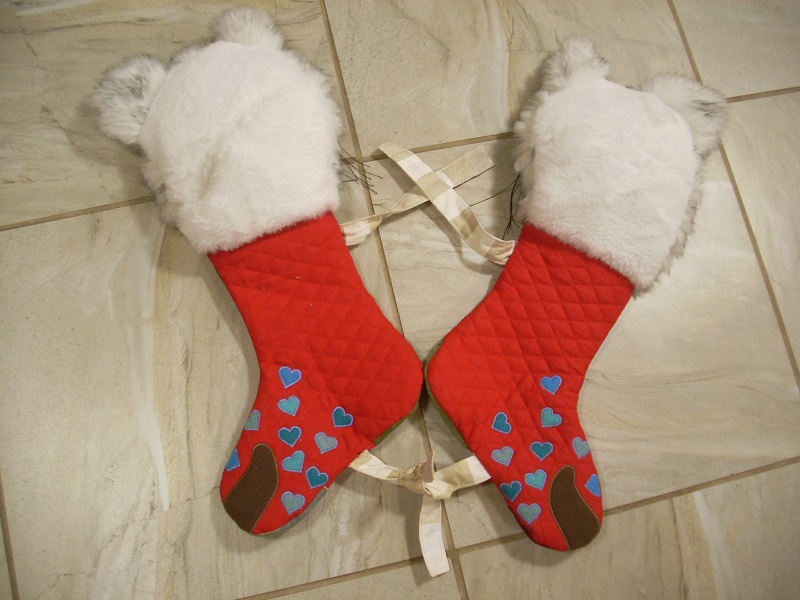
(C)
with right sides together
and head folded down,
sew stocking back to back lining
along upper edge only;
(shown here after sewing is done)
|